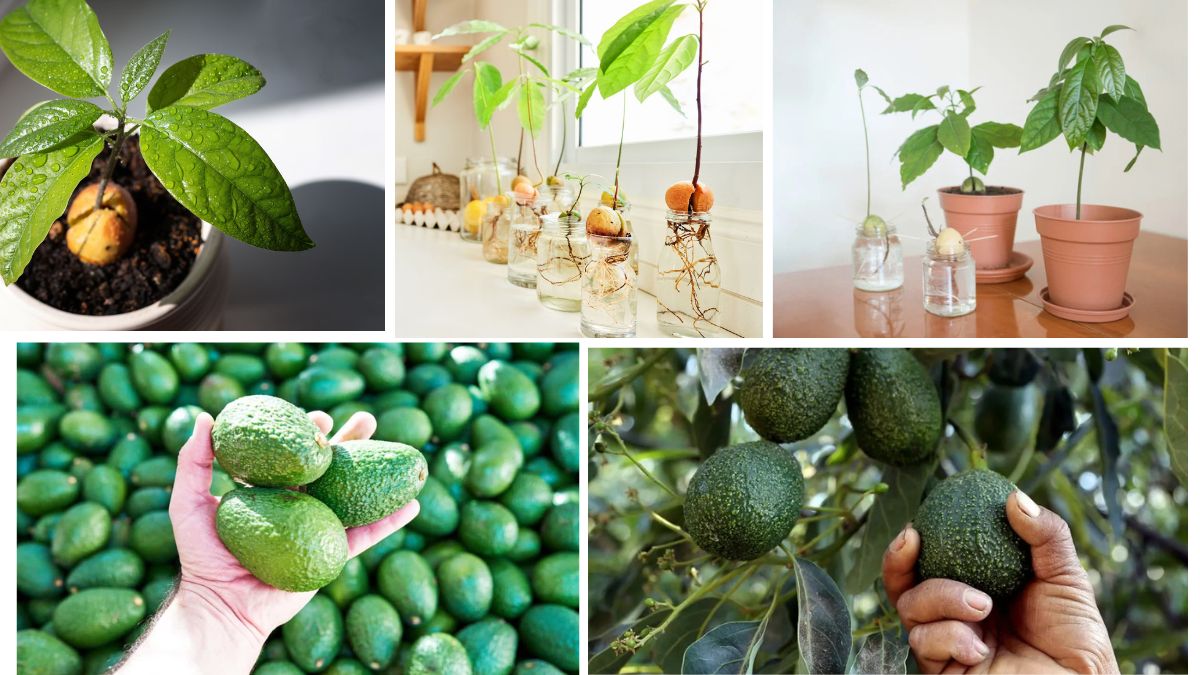
Growing an avocado tree from a seed might seem like a gardening challenge, but with the right technique, patience, and care, anyone can turn a simple seed into a flourishing tree. This rewarding process is not only a fun DIY project but also an environmentally friendly way to reuse kitchen scraps. If you’ve ever sliced into a creamy avocado and wondered what to do with the leftover pit, this avocado hack is for you!
In this step-by-step guide, we’ll cover everything from sprouting your avocado pit to nurturing it into a strong young tree ready for transplanting.
Why Grow an Avocado Tree at Home?
Before diving into the process, here are a few compelling reasons to grow your own avocado tree:
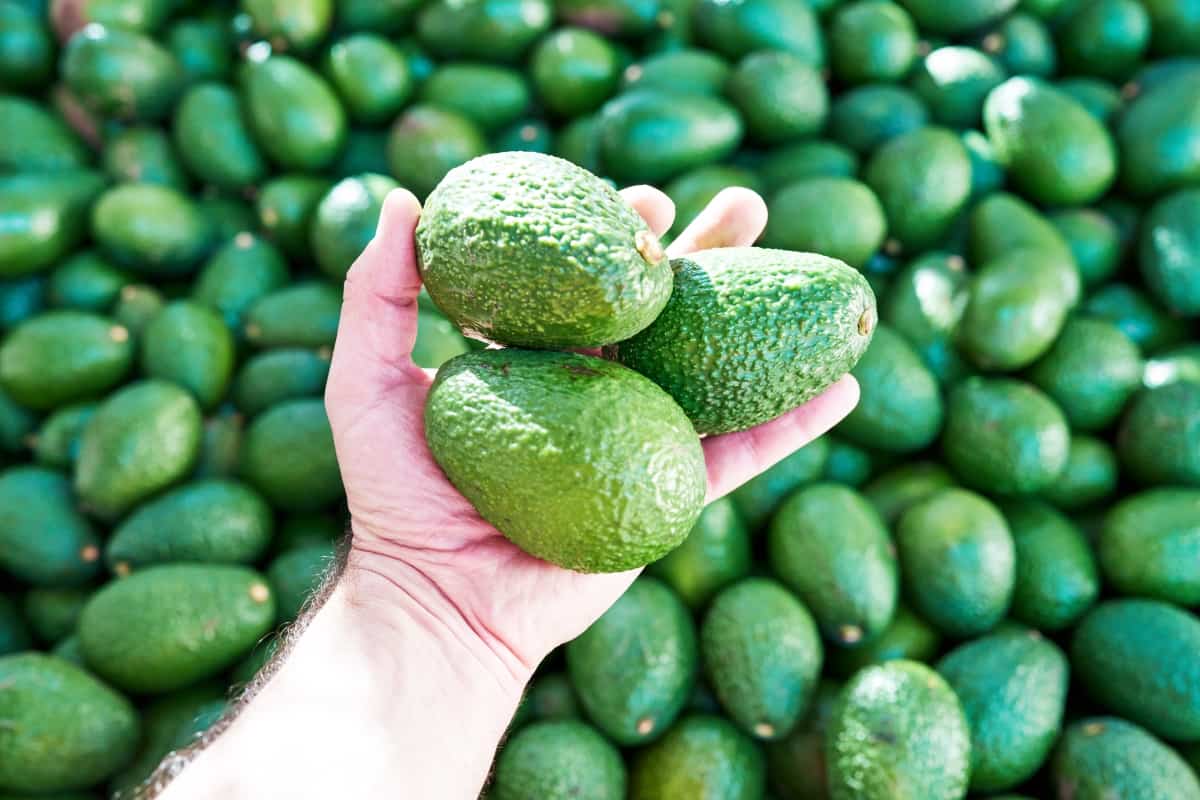
- Cost-effective: Avocados can be expensive; growing your own means long-term savings.
- Sustainability: Reduce food waste by giving the seed a new life.
- Educational: Great for teaching kids about plant biology and responsibility.
- Aesthetic: The tree’s glossy, deep-green leaves are a beautiful addition to any space.
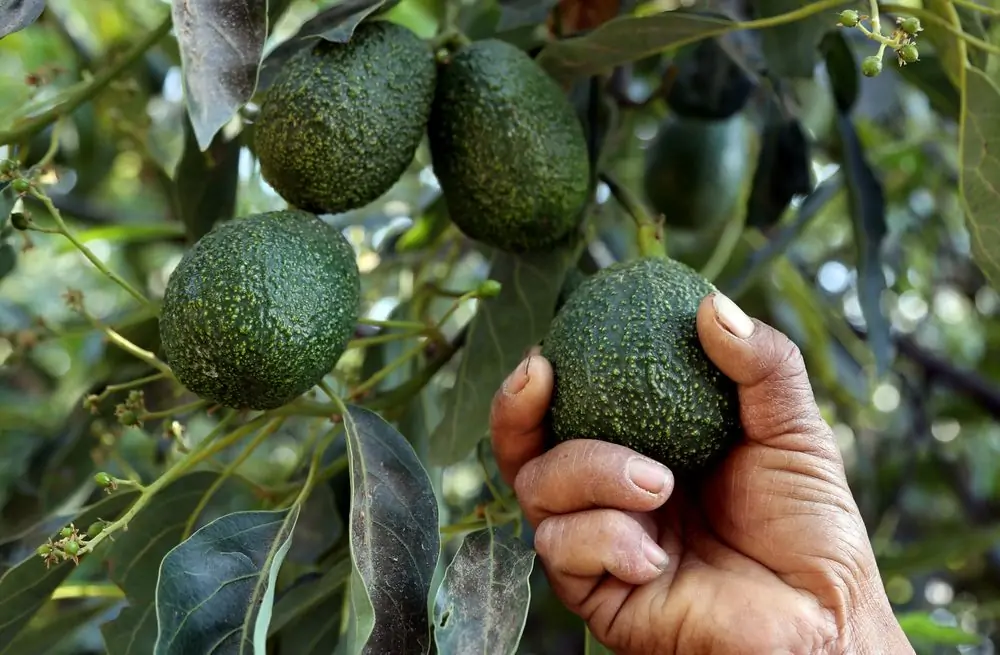
Step 1: Extract the Pit Carefully
Start by cutting your ripe avocado in half and gently removing the pit. Be cautious not to cut or damage the outer brown skin of the pit, as this can hinder germination. Rinse off any remaining flesh with lukewarm water.
Tip: Soak the pit for a few minutes in water to make the cleaning process easier, but do not remove the brown seed coat—it protects the inner seed.
Step 2: Determine the Top and Bottom
It’s essential to identify the seed’s top and bottom before planting or suspending it. The slightly pointier end is the top, from where the sprout will emerge, while the flatter end is the bottom, where roots grow.

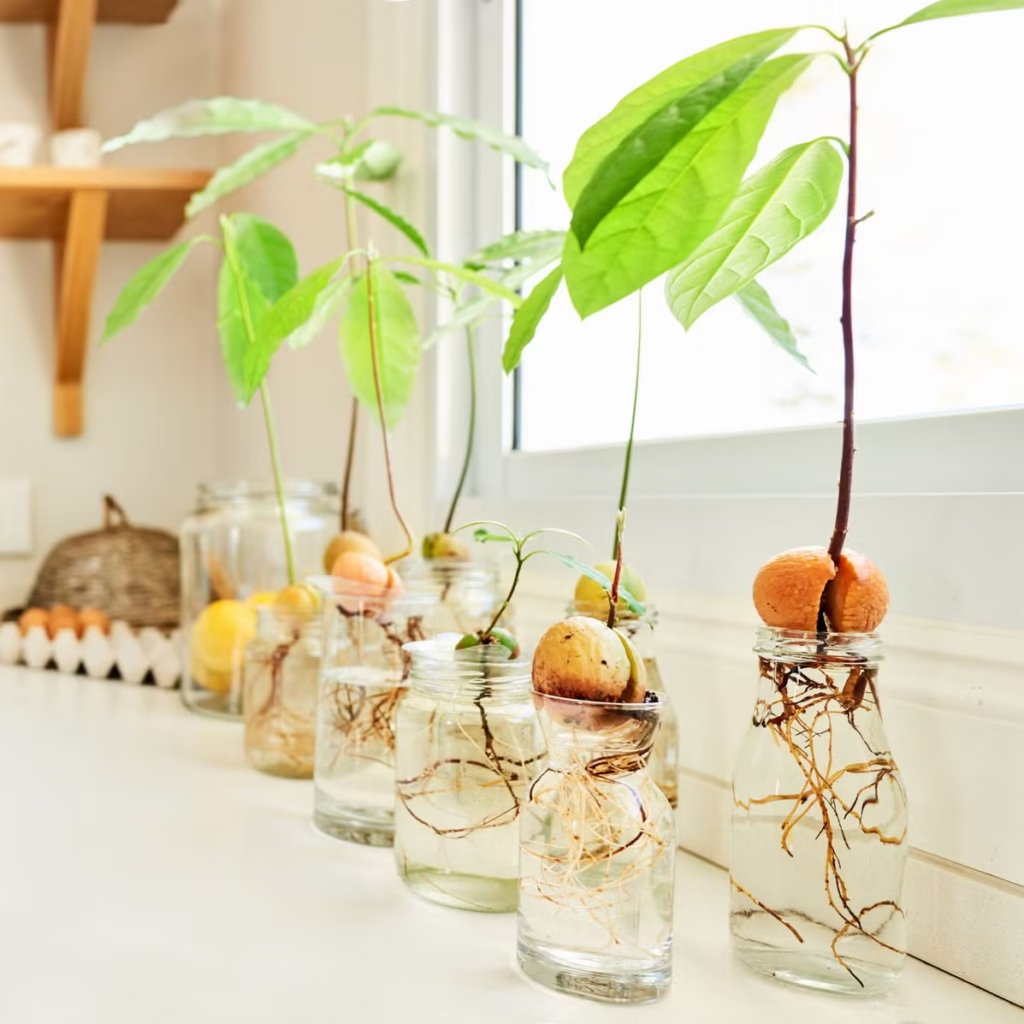
Step 3: Use the Toothpick Suspension Method (The Classic Hack)
This is the easiest and most popular method:
Materials Needed:
- One clean avocado pit
- Three to four toothpicks
- A glass or jar of water
Instructions:
- Insert toothpicks at a downward angle into the seed’s midsection. Space them evenly to create a tripod or cross structure.
- Suspend the pit over the glass of water with the pointed end facing upward.
- Fill the glass until the bottom of the seed is submerged in water.
Placement: Set the jar in a warm, sunny location (like a windowsill). Ensure it receives indirect sunlight.
Step 4: Monitor and Maintain
- Change water every 3–4 days to prevent mold and bacterial growth.
- Be patient: Germination can take anywhere from 2 to 8 weeks.
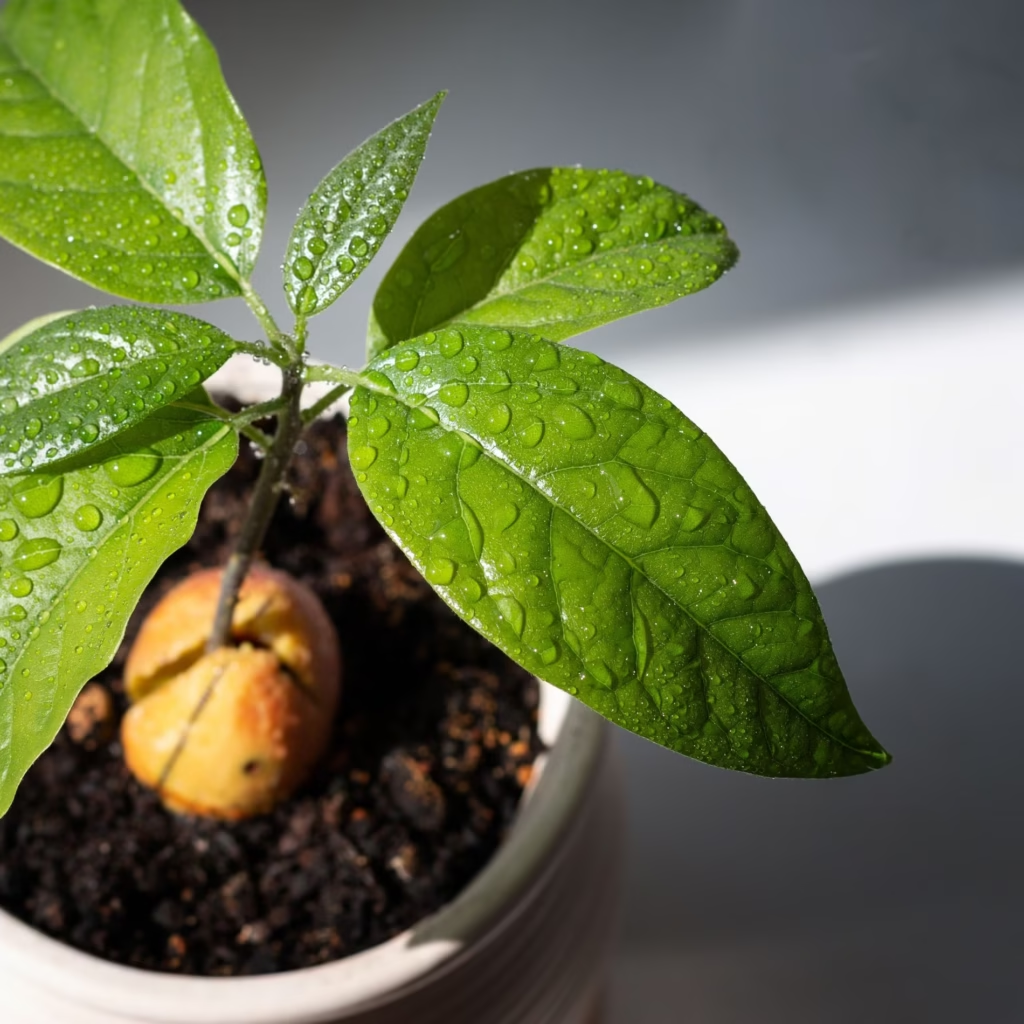
- Once the seed cracks and a white root tip begins to emerge, you’re on the right track. Soon, a stem will shoot upward.
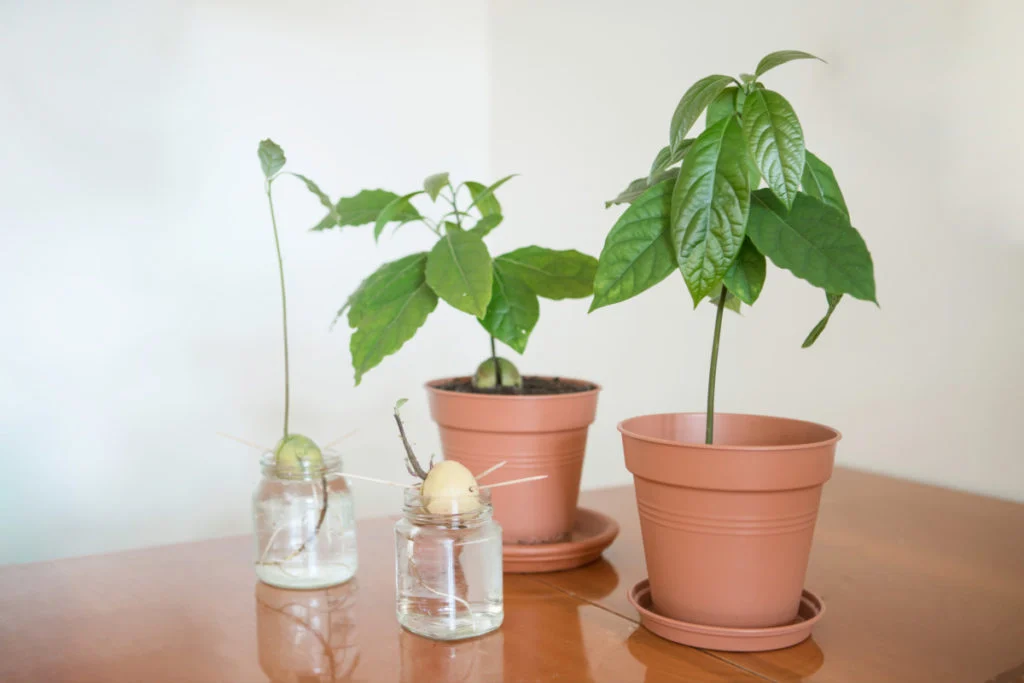
Step 5: Potting the Seedling
When the stem grows to about 6 inches, cut it back to 3 inches to encourage root growth. Once it reaches 6 inches again and has a healthy root system (about 2–3 inches long), it’s time to transplant into soil.
Potting Instructions:

- Choose a pot with good drainage holes.
- Use a rich potting mix with compost and perlite for aeration.
- Plant the seedling root-down, with the top half of the seed exposed above the soil.
- Water thoroughly and place in a bright, warm area.
Step 6: Growing Conditions for Healthy Development
1. Light: Avocados need at least 6 hours of sunlight daily. Indoors, a south-facing window is ideal.
2. Water: Keep the soil moist but never soggy. Allow the topsoil to dry slightly before watering again.
3. Temperature: Avocados love warmth. Ideal growing temperatures are 60–85°F (15–29°C). Protect the plant from cold drafts.
4. Fertilization: After 6 weeks in soil, begin feeding with a balanced liquid fertilizer every 2–4 weeks.
5. Pruning: Trim the top leaves when the plant reaches 12 inches. This promotes bushier growth and stronger branches.
Step 7: Transplanting Outdoors (Optional)
If you’re in a subtropical or tropical region (USDA zones 9–11), you can eventually transplant your avocado tree outdoors.

Steps:
- Wait until the tree is at least 1–2 years old and 2–3 feet tall.
- Choose a sunny, well-drained location.
- Dig a hole twice the width of the root ball.
- Gently remove the tree from the pot and place it in the hole.
- Fill in with soil, water thoroughly, and mulch around the base.
Tip: If frost is a concern, wait until late spring or keep your avocado as an indoor or patio plant.
Common Problems and Solutions
Yellowing Leaves: Overwatering is often the cause. Let the soil dry before watering again.
Leggy Growth: Not enough light. Move your plant to a sunnier spot.
No Sprout: If it’s been 8 weeks with no progress, try again with a fresh seed.
Pests: Indoor trees are occasionally affected by spider mites or aphids. Use neem oil or insecticidal soap as a remedy.

How Long Until Your Avocado Bears Fruit?
This is where reality sets in: growing an avocado tree from seed is fun and educational, but it can take 5–13 years to bear fruit, if at all. Additionally, seed-grown trees may not produce fruit identical to the original.
For fruit-bearing efficiency, grafted trees from nurseries are a better choice. However, for most people, the joy of growing the tree is reward enough.
Creative Variations: Other Fun Hacks
Hydroponic Growing: Try growing your avocado in a hydroponic system using nutrient-rich water and no soil.
Grow in Water Beads: Use decorative hydrogel beads as a colorful alternative to traditional water jars.
Paint Your Pit: As a fun family activity, decorate the outer coat of your seed before germination (use non-toxic markers or paints).
Final Thoughts
Turning a seed into a tree is a slow but deeply satisfying experience. This avocado hack lets you connect with nature, learn about plant growth, and possibly enjoy home-grown avocados in the future. Whether you’re a seasoned gardener or a complete beginner, this guide equips you to transform a kitchen leftover into a vibrant green companion.

So next time you slice open an avocado—don’t throw away that pit. You could be holding the beginning of your very own avocado tree!