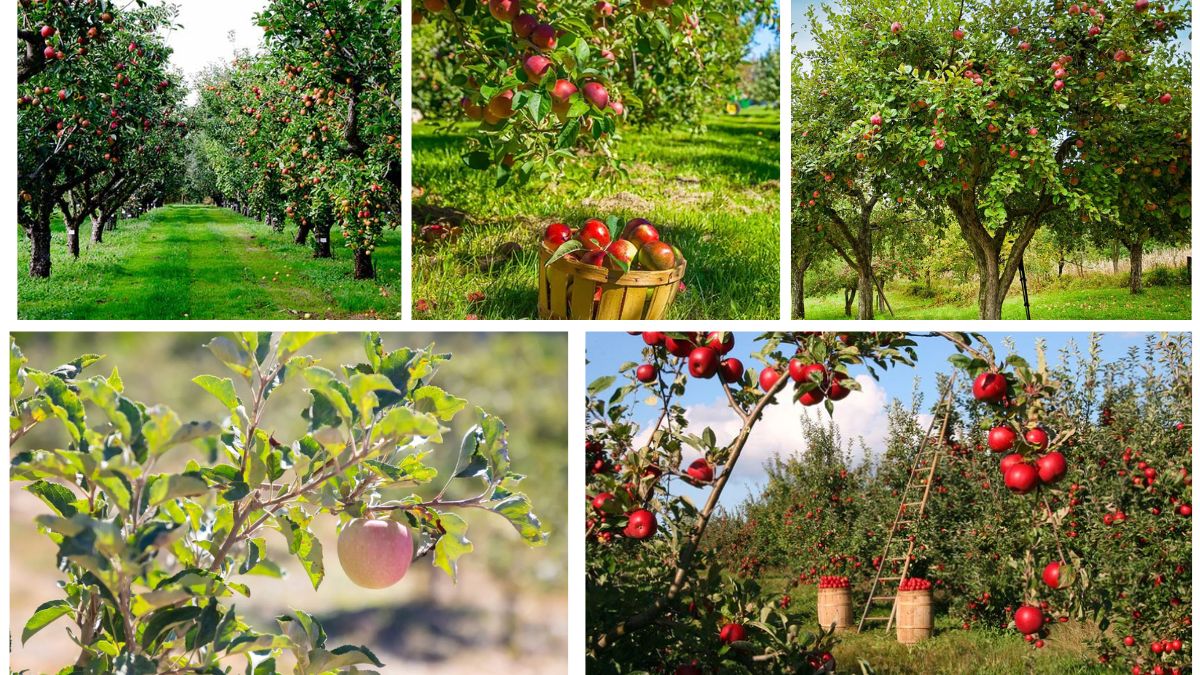
Growing your own apple tree at home is one of the most rewarding gardening experiences. Imagine walking into your backyard and picking fresh, crisp apples straight from the branch. Beyond the joy of harvesting, apple trees provide shade, enhance garden beauty, and contribute to a more sustainable lifestyle. For beginners, planting apple trees might seem intimidating, but with the right guidance, anyone can successfully grow them. This article will provide a comprehensive step-by-step guide to planting apple trees, ensuring that even first-time gardeners can enjoy a healthy, thriving tree for years to come.
Why Grow Apple Trees at Home?
Before diving into the planting process, it’s important to understand the many benefits of growing apple trees:
- Fresh, Organic Fruit – You can enjoy apples free from chemicals and pesticides.
- Cost Savings – Growing apples reduces dependence on store-bought fruit.
- Environmental Benefits – Apple trees improve air quality and support pollinators like bees.
- Long-Term Investment – A well-cared-for apple tree can produce fruit for decades.
- Aesthetic Value – Apple blossoms in spring add charm and fragrance to your garden.
With these advantages in mind, let’s explore how to plant and care for your own apple tree.
Step 1: Choosing the Right Apple Variety
Not all apple varieties grow well in every climate. Selecting the right type is crucial for success.
- Cool Climates: McIntosh, Honeycrisp, Gala, Fuji
- Warm Climates: Anna, Dorsett Golden, Ein Shemer
- Disease-Resistant Varieties: Liberty, Enterprise, Williams Pride
Tip: Most apple trees require cross-pollination from another variety nearby to bear fruit. Plant at least two different compatible varieties within 50 feet of each other, unless you choose a self-pollinating type.
Step 2: Preparing the Seed or Sapling
There are two main ways to grow apple trees:
1. From Seeds
Growing from seeds is possible but takes longer and often results in trees different from the parent fruit. Still, it’s fun for experimentation.
- Collect seeds from a fresh apple.
- Dry them for a few days.
- Place them in a damp paper towel inside a plastic bag and refrigerate for 6–8 weeks (cold stratification).
- Once they sprout, transfer them into small pots until they’re ready for outdoor planting.
2. From Saplings (Recommended for Beginners)
Buying grafted saplings from a nursery ensures you get the exact variety you want, with faster fruiting (3–5 years instead of 7–10).

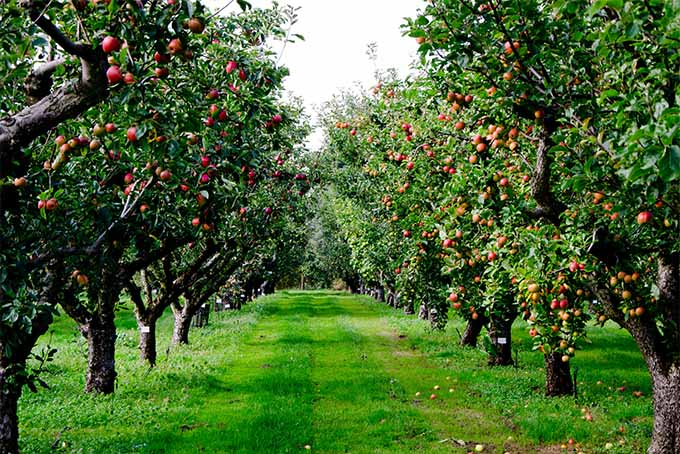
Step 3: Selecting the Planting Site
Apple trees need the right environment to thrive. Consider these factors:
- Sunlight: Choose a spot that gets at least 6–8 hours of direct sunlight daily.
- Soil Type: Loamy soil is best, with good drainage. Avoid heavy clay or waterlogged areas.
- pH Level: Apple trees prefer slightly acidic to neutral soil (pH 6.0–7.0).
- Space: Standard apple trees need 15–20 feet of spacing, while dwarf varieties require only 8–10 feet.
Step 4: Planting Your Apple Tree
Now that you’ve chosen the site and tree, it’s time to plant.
- Dig the Hole – Make it twice as wide and just as deep as the tree’s root ball.
- Prepare the Soil – Mix compost or organic matter into the soil for nutrients.
- Place the Tree – Position the sapling upright, ensuring the graft union (the bulge near the base) is above ground level.
- Fill and Firm – Cover the roots with soil and gently press down to eliminate air pockets.
- Water Thoroughly – Give your tree a deep watering immediately after planting.
- Mulch Around the Base – Apply 2–3 inches of mulch around the tree, leaving space around the trunk to prevent rot.
Step 5: Caring for Your Apple Tree
Planting is just the beginning. Proper care ensures strong growth and fruitful harvests.
Watering
- First year: Water deeply once a week.
- After establishment: Water during dry spells, especially during fruit development.
Fertilizing
- Apply a balanced fertilizer (10-10-10) in early spring before new growth starts.
- Avoid over-fertilizing, as too much nitrogen can encourage leafy growth instead of fruiting.
Pruning
- Prune during late winter or early spring.
- Remove dead, diseased, or crossing branches.
- Shape the tree to allow airflow and sunlight into the canopy.
Pest and Disease Control
Apple trees can be prone to pests like aphids, codling moths, and diseases like apple scab.

- Use organic sprays like neem oil or insecticidal soap.
- Encourage beneficial insects like ladybugs.
- Choose resistant varieties to minimize problems.
Step 6: Pollination
Since most apple trees require cross-pollination, make sure you have another variety nearby. Bees are the main pollinators, so planting pollinator-friendly flowers nearby can help boost fruit production.
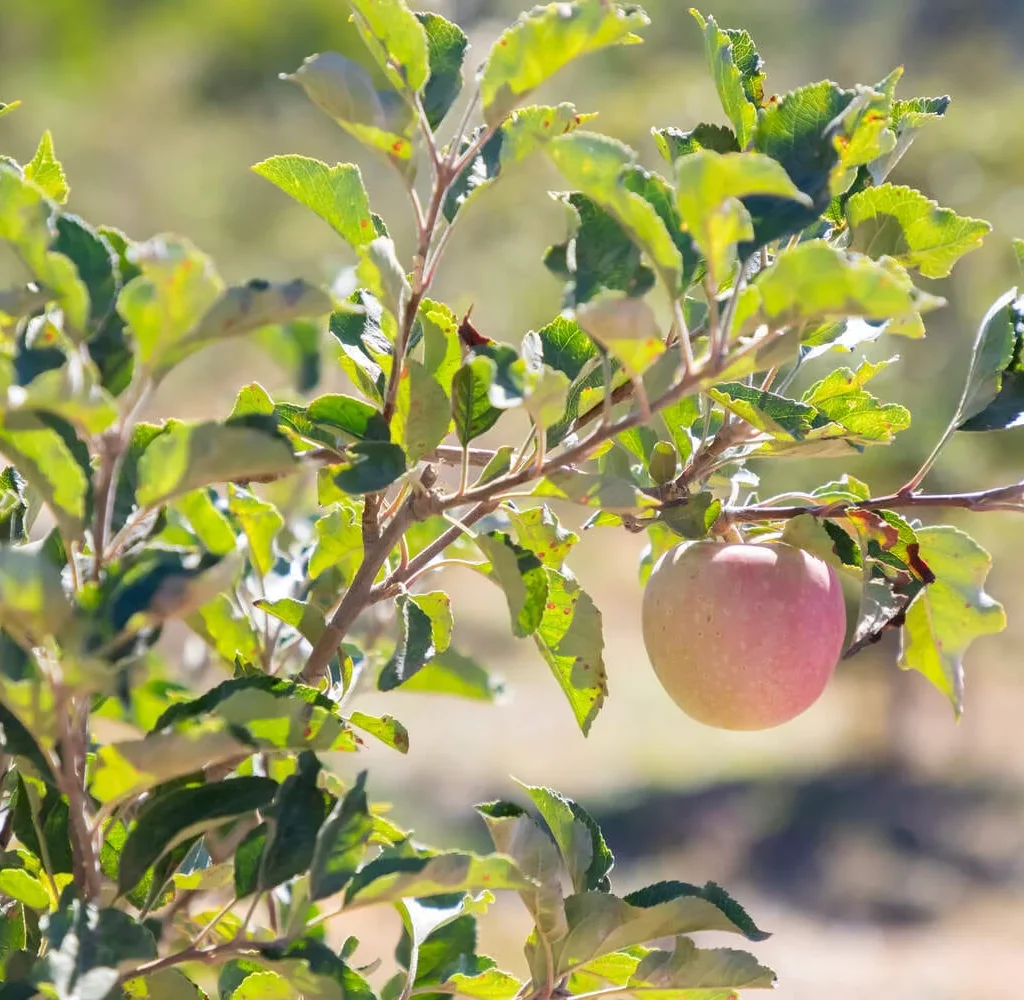
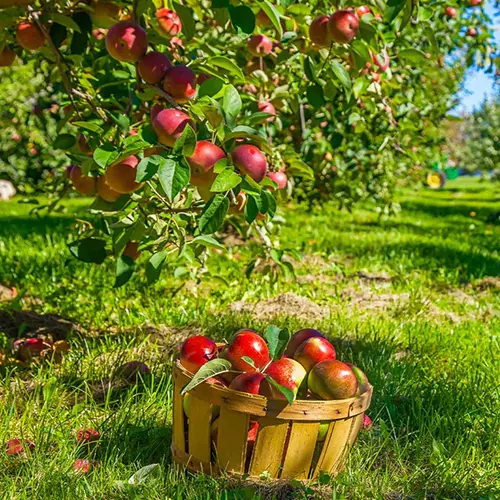
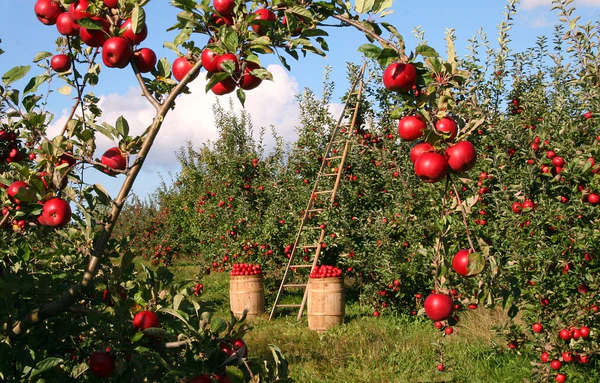
Step 7: Harvesting Apples
Apple trees typically take 3–5 years to produce fruit if grown from saplings. Here’s how to know when your apples are ready:
- Apples should come off easily when twisted.
- Seeds inside turn brown when mature.
- Taste test: ripe apples are sweet and juicy.
Harvest gently to avoid bruising, and store apples in a cool, dry place. Some varieties last for months when stored properly.
Common Mistakes to Avoid
- Planting in shady or poorly drained spots.
- Forgetting to water young trees regularly.
- Over-fertilizing, which delays fruiting.
- Not pruning, leading to overcrowded branches.
- Ignoring pollination needs.
Conclusion
Planting apple trees at home is an exciting journey that combines patience, care, and a love for nature. With the right apple variety, proper planting site, and consistent care, you can enjoy baskets of fresh apples every season. Whether you’re growing them for their sweet fruit, beautiful blossoms, or the satisfaction of cultivating your own food, apple trees bring long-term rewards to your garden and lifestyle.

So, roll up your sleeves, plant that tree, and watch it grow into a fruitful addition to your home garden.