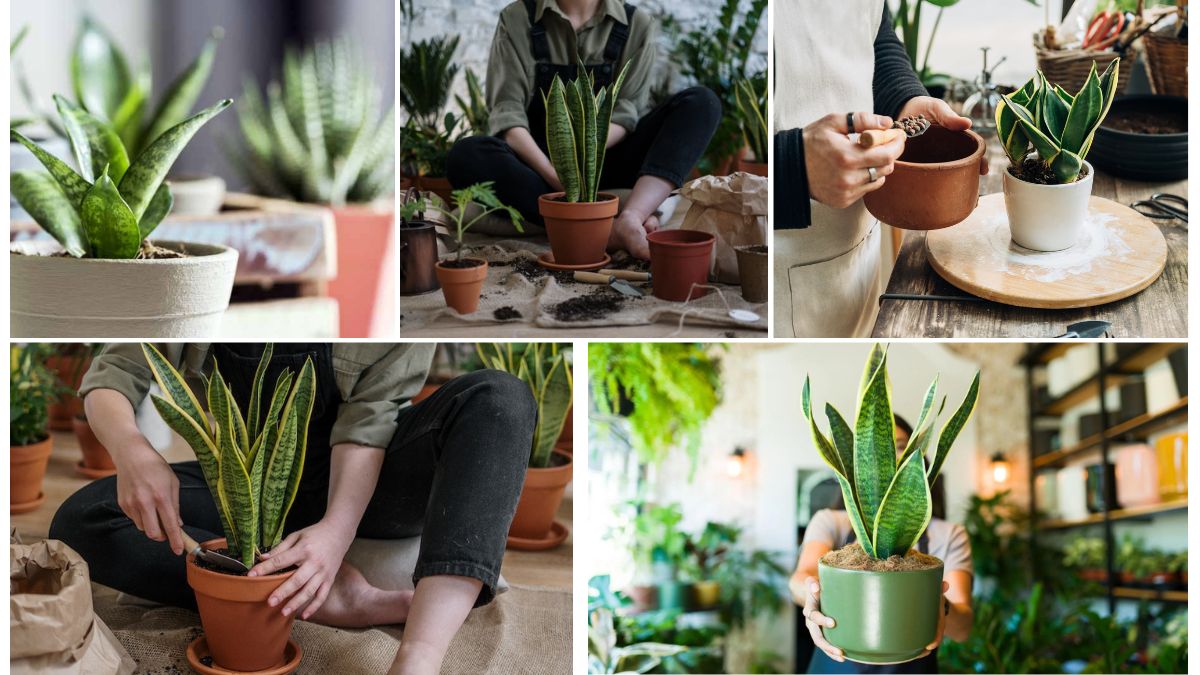
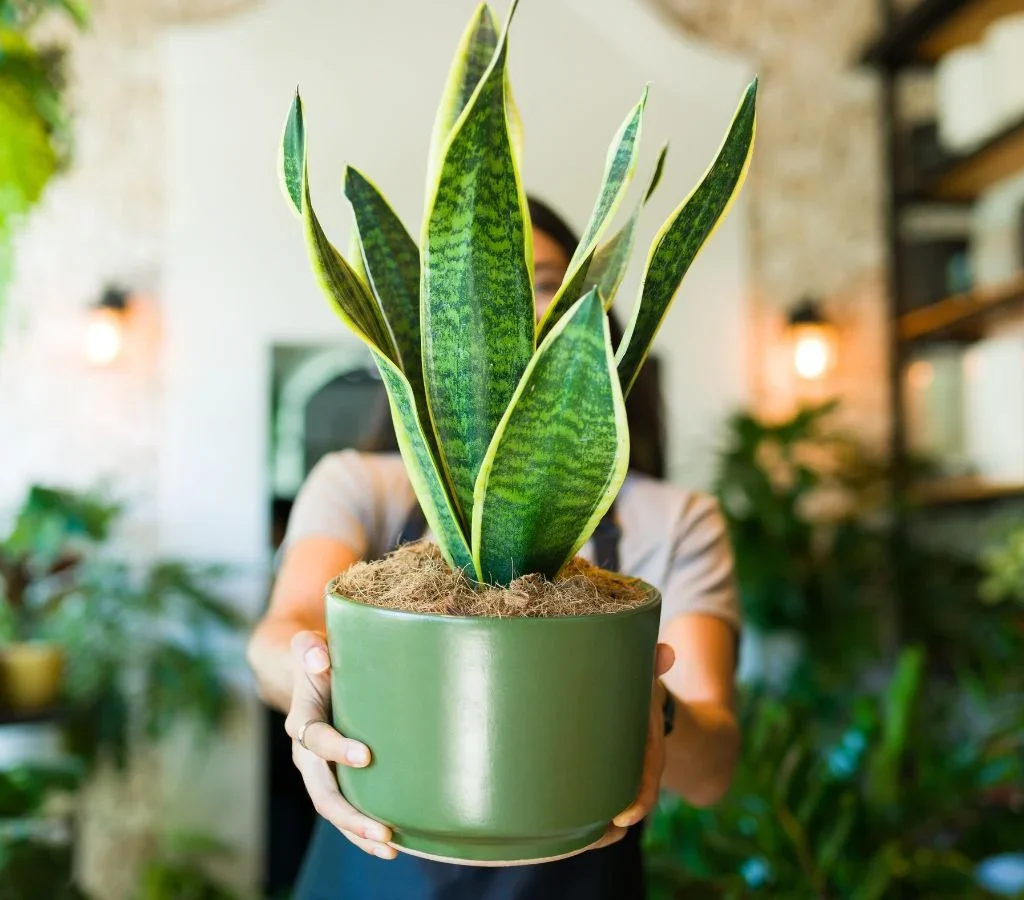
The snake plant (Dracaena trifasciata, formerly Sansevieria) is one of the most resilient and stylish houseplants you can own. With its upright, sword-like leaves and low maintenance needs, it’s a perfect choice for both new and experienced plant parents. But even the toughest plants need a little extra care sometimes—especially when it comes to repotting.
Repotting your snake plant may sound intimidating, especially if you’re a beginner. But with the right knowledge, it’s a simple task that can revitalize your plant, encourage new growth, and prevent issues like root rot or stunted development.
This comprehensive guide will walk you through when, why, and how to repot your snake plant safely and effectively, including tips on choosing the right soil, pot, and tools for the job.
Why Repot a Snake Plant?
Snake plants grow slowly, but over time, they outgrow their pots—especially when well cared for. Here’s why repotting is important:
1. Avoid Root Bound Conditions
When roots have no space to grow, they circle around the pot and choke the plant. This can reduce water absorption and nutrient uptake.
2. Refresh Tired Soil
Soil loses nutrients over time and may become compacted, leading to poor drainage. Fresh soil means better aeration and nourishment.

3. Encourage Healthy Growth
Repotting gives roots room to expand and promotes new shoots or “pups” from the base.
4. Prevent or Treat Root Rot
If your plant has been overwatered or the soil stays soggy, repotting can help by removing damaged roots and switching to a well-draining mix.
5. Divide and Propagate
Repotting is the perfect opportunity to divide large snake plants into multiple smaller ones.
When Is the Best Time to Repot?
The best time to repot a snake plant is during its active growing season, which is spring to early summer. This gives the plant ample time to adjust and recover in warm, bright conditions.
Repot if you notice any of these signs:
- Roots growing out of the drainage holes
- The plant is pushing upward or becoming top-heavy
- Water drains too quickly or too slowly
- The pot is cracked or bulging
- Soil looks compacted or smells musty
Generally, repotting every 2–3 years is ideal.

What You’ll Need
Gather these tools and supplies before you start:
- A new pot (1–2 inches wider in diameter)
- Well-draining potting mix (cactus or succulent soil)
- Gloves (optional, for protection)
- Sterilized scissors or pruning shears
- Trowel or scoop
- Newspaper or tarp (to protect your surface)
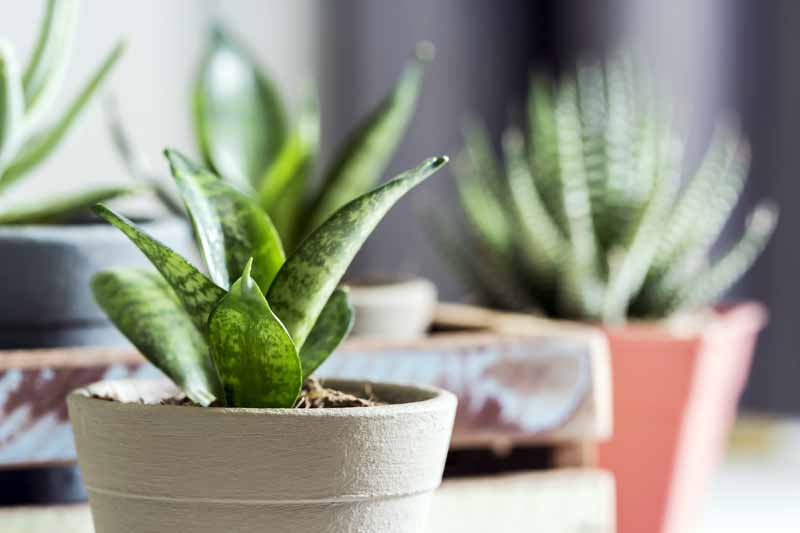
Choosing the Right Pot

Your snake plant’s health depends on a pot that:
- Has drainage holes
- Is 1–2 inches larger than the current pot (don’t go too big—this can cause overwatering issues)
- Is made of breathable material like terracotta or ceramic
Avoid pots that are too deep or wide, as they can trap excess moisture.
Choosing the Right Soil
Snake plants hate wet feet. A proper well-draining soil mix is essential.
Best Soil Mix:
- 2 parts cactus/succulent soil
- 1 part perlite or pumice
- Optional: add coarse sand or orchid bark for better aeration
Avoid using garden soil or regular potting mix without amendments—they retain too much moisture.
Step-by-Step Snake Plant Repotting Process
Step 1: Water Your Plant a Day Before
Watering a day in advance makes the soil moist and easier to remove without damaging the roots. But don’t water immediately before repotting—it will make the roots soggy and prone to rot.

Step 2: Gently Remove the Plant
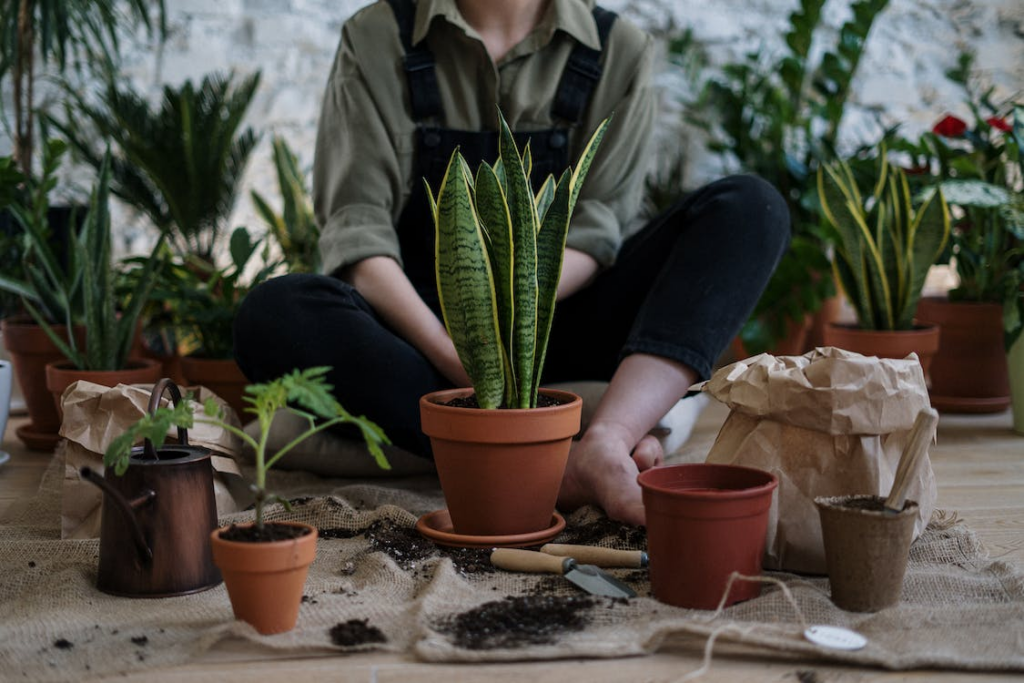
- Turn the pot sideways and carefully wiggle the plant out.
- Tap the sides or gently squeeze the pot if needed.
- Avoid pulling on the leaves, which can snap.
If the plant is root-bound, use a clean knife to loosen the edges.
Step 3: Inspect and Trim the Roots
Once removed:
- Shake off excess soil and inspect the root system.
- Trim away any black, mushy, or rotten roots with sterilized scissors.
- Healthy roots are firm and white or pale yellow.
If dividing the plant:
- Separate the root clumps at natural breaks or cut through the rhizomes with a clean knife.
- Each new section should have a few leaves and attached roots.
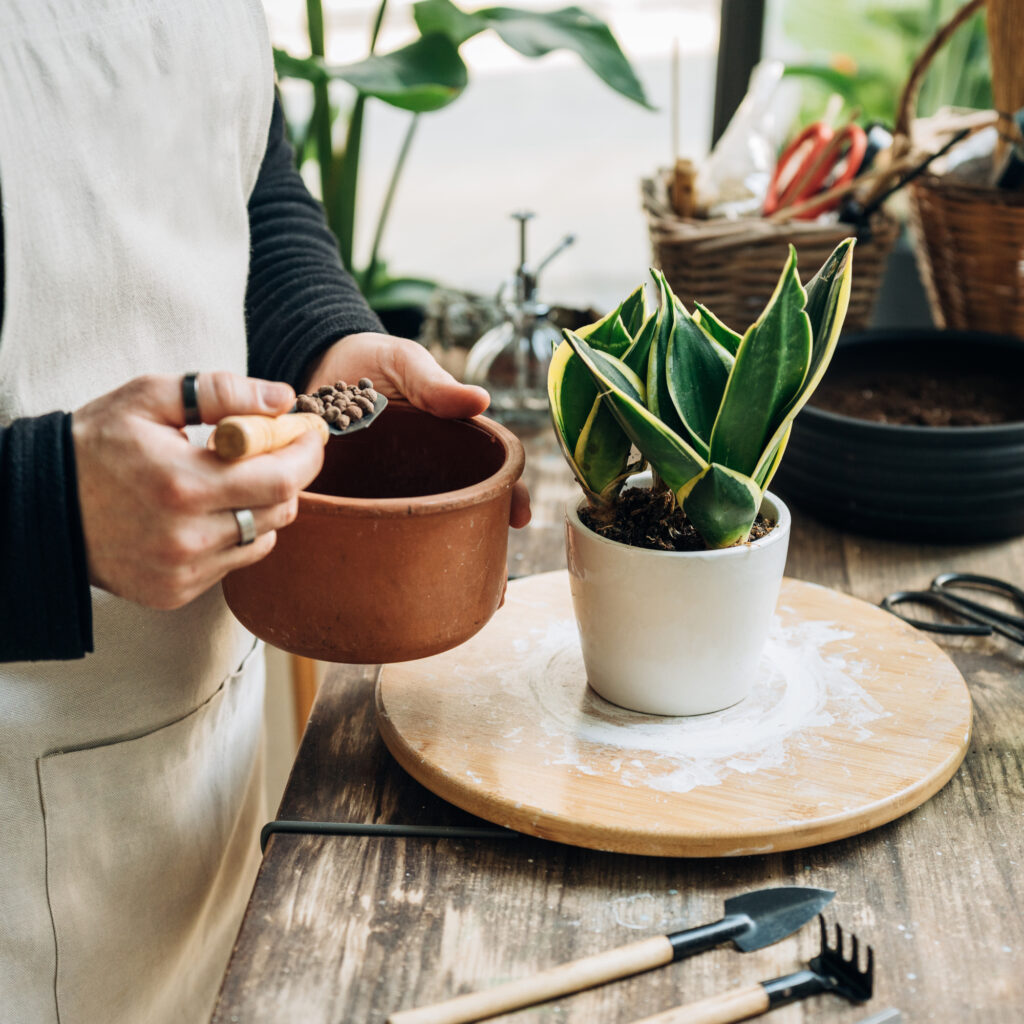
Step 4: Add Fresh Soil to the New Pot
- Fill the bottom 1/3 of the pot with your pre-mixed soil.
- Place the snake plant in the center and adjust the height so the base sits just below the rim.
- Fill around the roots with soil, pressing gently to eliminate air pockets.
- Do not bury the leaves or rhizome base too deep—keep it at soil level.
Step 5: Allow the Plant to Settle
- Don’t water right after repotting. Wait 4–7 days to let cut roots heal and prevent rot.
- Keep the plant in bright, indirect light during this recovery period.
Post-Repotting Care
After repotting, your snake plant may go through a short adjustment period. Here’s how to ensure a smooth transition:
1. Water Sparingly
After the initial dry spell, water lightly and let the soil dry out completely between waterings.
2. Avoid Direct Sunlight
Place in a warm spot with indirect sunlight. Too much direct sun can stress a freshly repotted plant.

3. Skip Fertilizing for a Month
Let the plant settle before adding nutrients. After 3–4 weeks, use a diluted, balanced liquid fertilizer once a month during the growing season.
4. Watch for Signs of Stress
Some yellowing or drooping may occur—this is normal. But persistent signs may indicate overwatering or poor soil drainage.
Bonus: How to Divide and Propagate While Repotting
Repotting is the best time to multiply your snake plant!
To Divide:
- Look for clumps with their own roots and leaves.
- Separate them gently and plant each in its own small pot.
- Follow the same repotting steps above.
To Propagate:
- Cut a healthy leaf into 4–5 inch segments.
- Let them dry and callous for 2–3 days.
- Plant upright in moist, well-draining soil or place in water.
- Roots will form in 4–6 weeks.
Common Mistakes to Avoid
| Mistake | Why It’s a Problem |
|---|---|
| Using a pot without drainage | Leads to water accumulation and root rot |
| Repotting in winter | Slows recovery and may cause stress |
| Watering right after repotting | Increases chances of root rot |
| Using heavy, moisture-retaining soil | Can suffocate the roots |
| Upsizing the pot too much | Causes overwatering and slows root growth |
FAQs: Repotting Snake Plants
Q: Can I use regular potting soil for snake plants?
A: Only if you mix in perlite or sand for better drainage. Avoid using it alone.
Q: How often should I repot a snake plant?
A: Every 2–3 years, or when the plant becomes root-bound or top-heavy.
Q: Should I prune leaves while repotting?
A: Yes—remove any yellow, broken, or dead leaves. You can also trim for shape or propagate.

Conclusion
Repotting your snake plant may seem like a daunting task for beginners, but it’s actually a simple and rewarding process when done with care. Whether you’re upgrading to a larger pot, refreshing old soil, or dividing your plant for propagation, repotting breathes new life into your snake plant.
With the right pot, soil mix, and a bit of patience, your Sansevieria will thrive for years—looking fresh, vibrant, and healthy. Don’t be afraid to get your hands a little dirty—your plant will thank you with lush, upright leaves and robust new growth.