
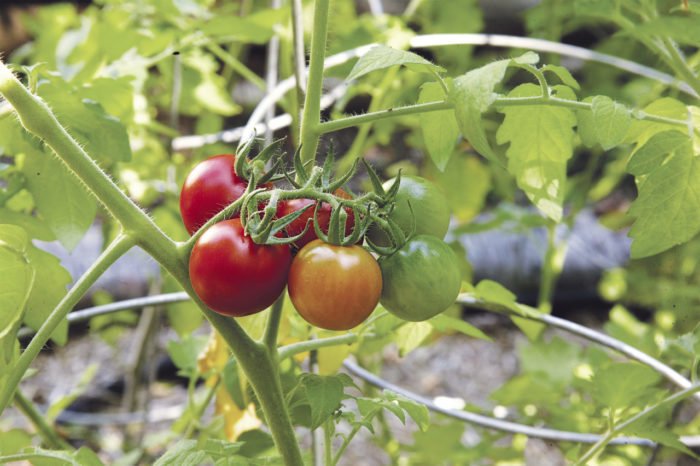
Few vegetables bring as much joy to the garden as tomatoes. Their vibrant colors, juicy texture, and sweet-tart flavor make them one of the most rewarding crops to grow. But if you want a head start on the season and an earlier harvest, starting tomatoes indoors is the way to go. By planting seeds indoors before the last frost, you’ll have strong, healthy seedlings ready to transplant outdoors once the weather warms.
In this guide, you’ll learn when and how to start tomatoes indoors, the supplies you’ll need, tips for healthy seedling growth, and how to transition them successfully outdoors for a bountiful harvest.
Why Start Tomatoes Indoors?
Tomatoes are warm-season crops that don’t tolerate frost. If you wait until the soil outdoors is warm enough, you’ll lose weeks of potential growing time. Starting seeds indoors gives you several advantages:

- Earlier harvests: You can enjoy ripe tomatoes weeks ahead of gardeners who sow directly outdoors.
- Stronger plants: Indoor seedlings get a chance to grow sturdy roots and stems before facing outdoor stress.
- More variety: Starting indoors allows you to grow unique or heirloom varieties not always available as transplants.
- Extended growing season: Particularly in cooler climates, indoor starting ensures enough time for fruit to ripen before frost returns.
When to Start Tomato Seeds Indoors
Timing is key to success. Tomato seeds should be started indoors 6–8 weeks before your region’s last expected frost date.
- For example, if your last frost date is May 15, start your seeds around March 15–April 1.
- Starting too early leads to tall, leggy plants that outgrow their containers.
- Starting too late delays your harvest.
Check a frost date calculator for your area to plan the best sowing time.
Supplies You’ll Need
To start tomatoes indoors, gather these essentials:

- Seeds: Choose your preferred variety (cherry, Roma, beefsteak, or heirloom).
- Containers: Seed trays, peat pots, or small cups with drainage holes.
- Seed-starting mix: Lightweight, well-draining soil designed for germination (not garden soil).
- Watering can or spray bottle: For gentle, even watering.
- Labels or markers: To keep track of varieties.
- Grow lights (optional but recommended): Fluorescent or LED grow lights to ensure strong growth.
- Heating mat (optional): Provides consistent warmth for faster germination.
Step-by-Step Guide to Starting Tomatoes Indoors
1. Prepare Your Containers
Fill seed trays or pots with moistened seed-starting mix. Avoid compacting the soil too tightly—roots need air circulation.
2. Sow the Seeds
- Plant tomato seeds ¼ inch deep into the soil.
- Place 2–3 seeds per cell or container.
- Lightly cover with soil and gently press down.
3. Provide Warmth and Moisture
- Tomatoes germinate best at 70–80°F (21–27°C).
- Place containers on a heating mat if your home is cool.
- Keep soil consistently moist but not waterlogged. Covering with plastic wrap or a humidity dome can help maintain moisture until germination.
4. Give Them Light
- Seeds sprout in 5–10 days. Once seedlings appear, remove any cover and place them under bright grow lights or near a sunny south-facing window.
- Provide 14–16 hours of light daily to prevent leggy growth.
- If using lights, position them 2–3 inches above seedlings and raise as plants grow.
5. Thin the Seedlings
When seedlings have two sets of true leaves, thin them by snipping weaker plants at soil level, leaving the strongest one in each pot.
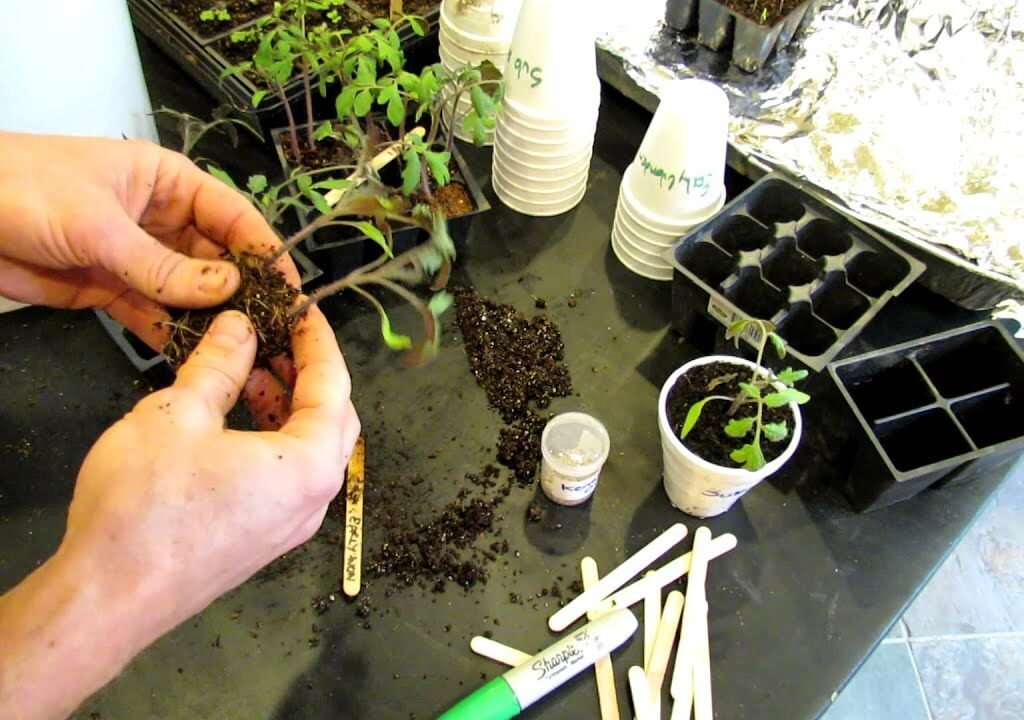
6. Pot Up for Growth
If seedlings outgrow their containers before transplanting outdoors, move them to larger pots. Plant them deeply, burying the stem up to the first set of leaves—tomatoes develop roots along buried stems, making them stronger.

Caring for Indoor Tomato Seedlings
- Watering: Keep soil consistently moist but not soggy. Use a spray bottle or gentle watering can.
- Air circulation: Place a small fan nearby on low speed for a few hours daily. This strengthens stems and prevents fungal diseases.
- Fertilizing: Begin feeding with a diluted, balanced liquid fertilizer every 1–2 weeks once seedlings develop their first true leaves.
Hardening Off Before Transplanting
Before moving seedlings outdoors permanently, they need to harden off—gradually acclimate to outdoor conditions.
- About 7–10 days before transplanting, place seedlings outside in a sheltered spot for a few hours each day.
- Gradually increase exposure to sun, wind, and cooler temperatures.
- By the end of the week, they’ll be ready for the garden.
Transplanting Tomatoes Outdoors
Once all danger of frost has passed and nighttime temperatures stay above 50°F (10°C), you can transplant your tomatoes outdoors.
- Soil preparation: Choose a sunny location with well-draining, nutrient-rich soil. Work in compost or aged manure before planting.
- Spacing: Space plants 18–24 inches apart for determinate varieties and 24–36 inches for indeterminate ones.
- Planting depth: Bury the stem deeply, leaving only the top few leaves above ground. This encourages strong root development.
- Support: Add stakes, cages, or trellises at planting time to avoid root disturbance later.
- Watering: Water deeply after transplanting to settle soil around the roots.
Common Mistakes to Avoid
- Starting too early: Leads to leggy, weak plants.
- Using garden soil indoors: Heavy soil retains too much moisture and harbors pests.
- Insufficient light: Causes spindly seedlings that won’t thrive outdoors.
- Skipping hardening off: Plants may suffer sunscald or shock when suddenly moved outside.
Pro Tips for a Bountiful Harvest
- Choose the right varieties: Early-maturing tomatoes like ‘Early Girl’ are great for short seasons, while cherry tomatoes often yield the fastest harvests.
- Prune and pinch: Remove suckers (small shoots between stem and branch) to encourage stronger fruit production.
- Mulch outdoors: Helps retain soil moisture and reduce weeds.
- Consistent watering: Prevents blossom-end rot and fruit cracking.
Final Thoughts
Starting tomatoes indoors may take some effort, but the reward of biting into a juicy, sun-warmed tomato weeks earlier makes it worthwhile. With the right timing, care, and preparation, you’ll grow vigorous seedlings that thrive once transplanted outdoors.

By following these steps—sowing seeds at the right time, providing warmth and light, hardening off properly, and transplanting with care—you’ll set the stage for a season full of crisp, flavorful, and abundant tomato harvests.