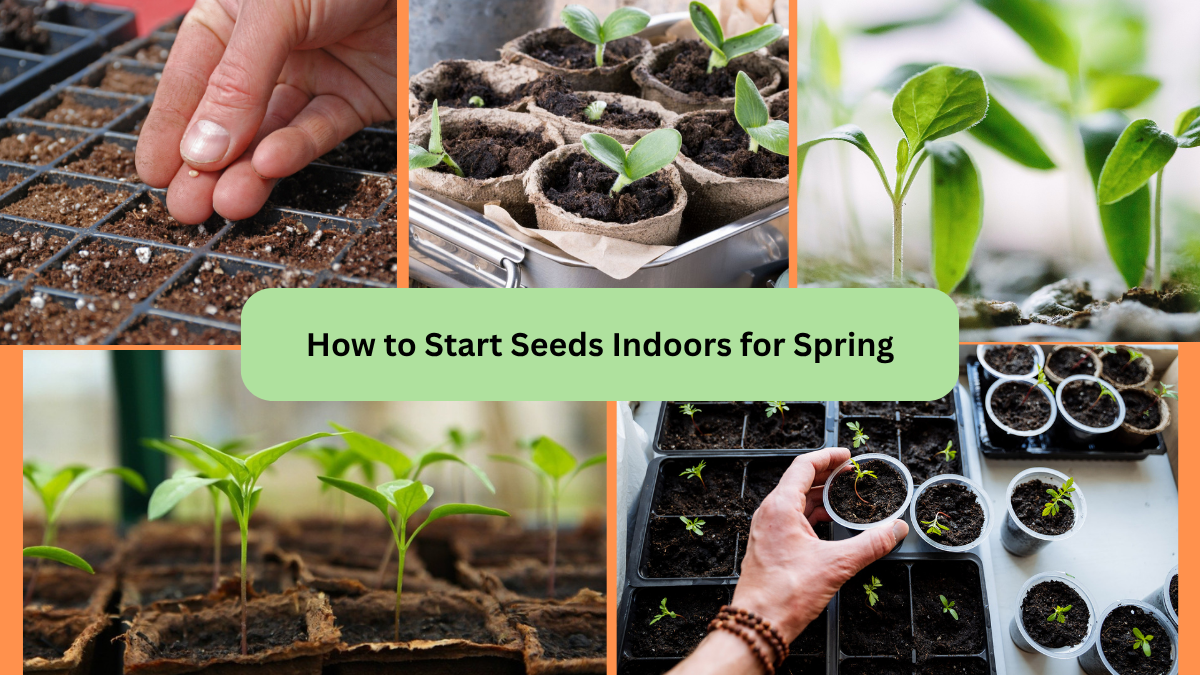
One of the most exciting parts of gardening is watching tiny seeds sprout into thriving plants. Starting seeds indoors before the arrival of spring allows you to get a head start on the growing season, giving your plants plenty of time to establish strong roots and healthy growth before moving outdoors.
Whether you’re growing vegetables, herbs, or flowers, starting seeds indoors is simple, fun, and budget-friendly. This guide will walk you through everything you need to know about how to start seeds indoors for spring — from choosing the right seeds to setting up your indoor growing space and successfully transplanting seedlings to your garden.
Why Start Seeds Indoors?
Starting seeds indoors has several benefits:
- Jumpstart the growing season in colder climates.
- Grow varieties not always available as nursery transplants.
- Protect young seedlings from unpredictable early spring weather.
- Enjoy the satisfaction of nurturing plants from seed to harvest.
- Save money compared to buying mature plants.
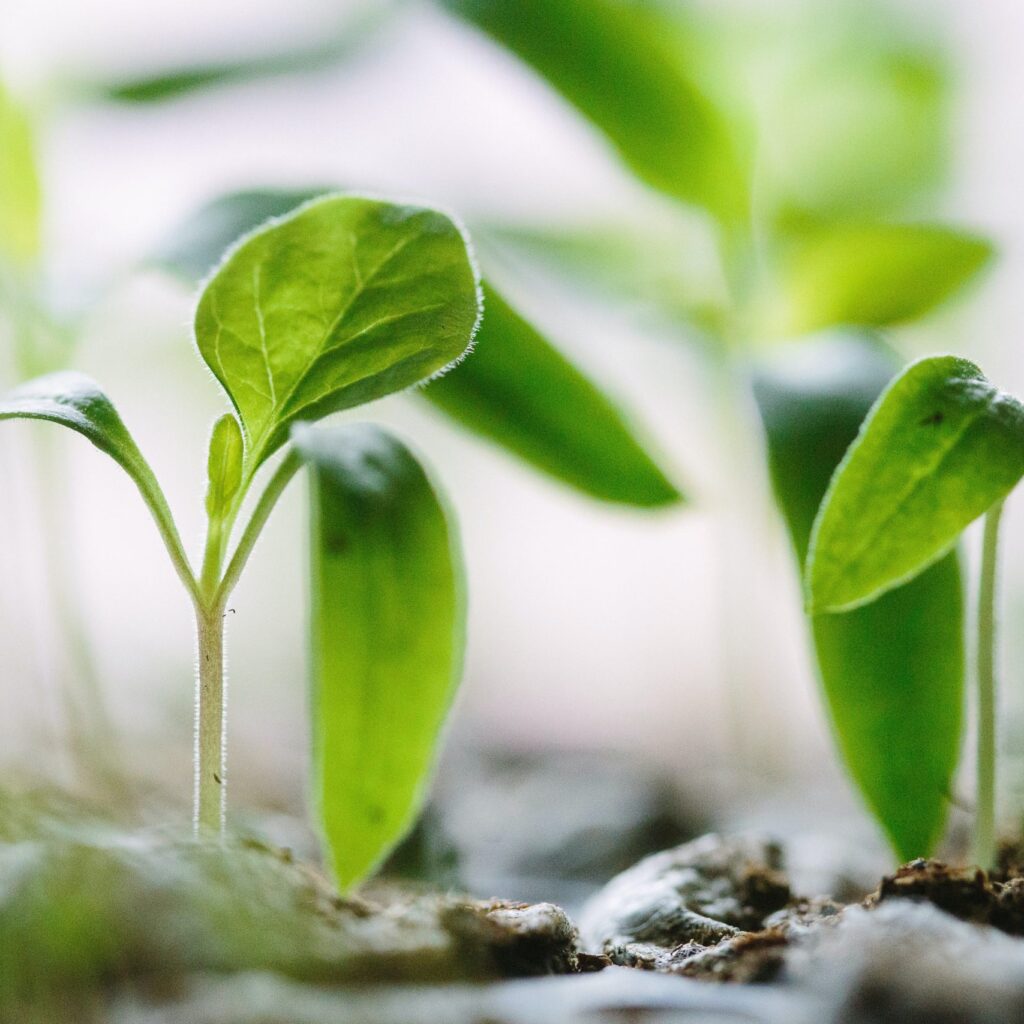
For many gardeners, watching those first green sprouts emerge is one of the most rewarding moments of the season.
What You’ll Need to Start Seeds Indoors
Before you begin, gather these basic supplies:
- Seeds (vegetables, herbs, flowers)
- Seed-starting mix (not regular garden soil)
- Seed trays or small containers (with drainage holes)
- Clear plastic dome or wrap (to retain humidity)
- Labels or markers
- Spray bottle (for misting)
- Grow lights or a bright windowsill
- Heat mat (optional) for faster germination of heat-loving plants
Tip: You can also upcycle containers like yogurt cups or egg cartons — just make sure to poke holes at the bottom for drainage.
How to Start Seeds Indoors: Step-by-Step
Step 1: Choose the Right Seeds
Not all seeds benefit from indoor sowing. Focus on plants that:
- Have a long growing season
- Are frost-sensitive
- Benefit from early indoor starts
Great choices include:
- Tomatoes
- Peppers
- Eggplants
- Basil
- Lettuce
- Broccoli
- Marigolds
- Zinnias
- Cucumbers (start later as they grow quickly)
Check seed packets for recommended sowing dates and indoor-start guidelines.
Step 2: Prepare Your Containers
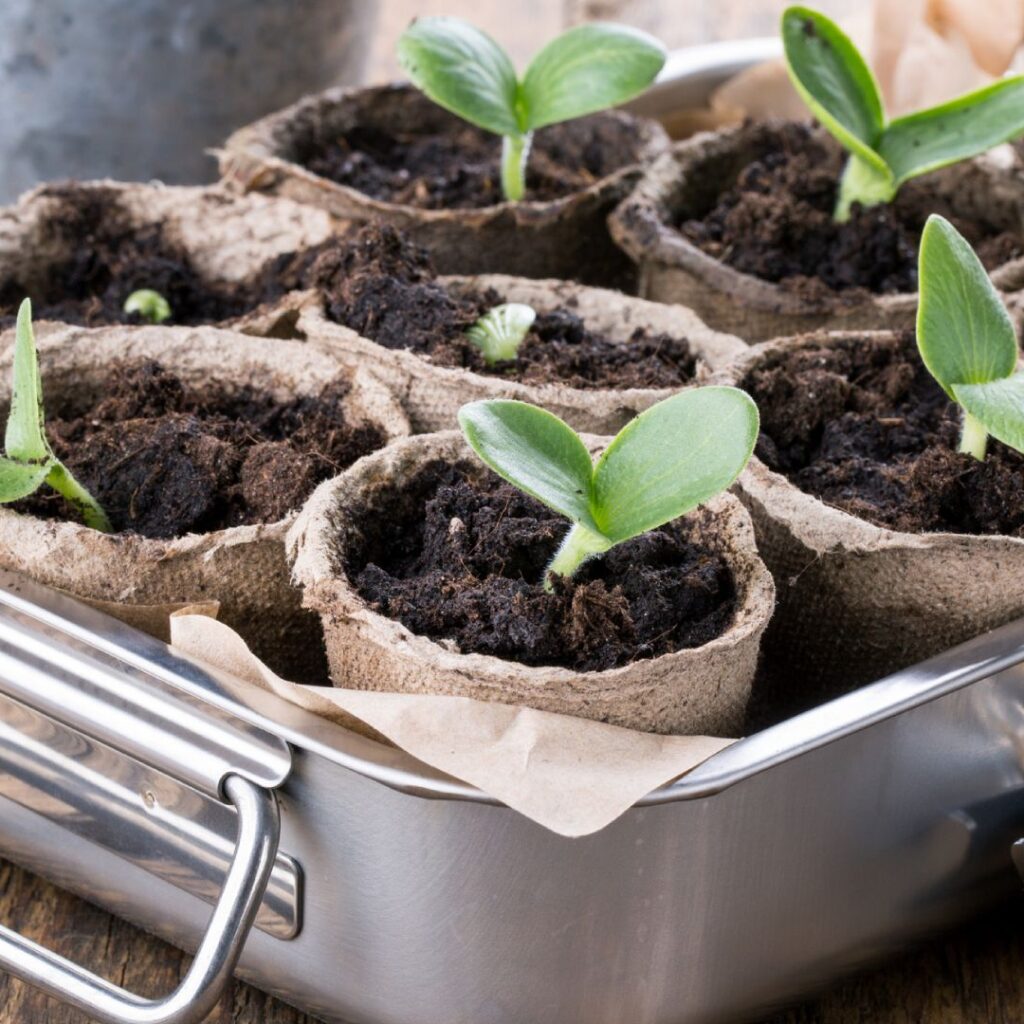
- Wash your containers or seed trays with warm, soapy water to remove old soil and possible pathogens.
- Add moist seed-starting mix — it’s lighter, fine-textured, and drains better than regular potting soil.
- Fill containers, leaving about ½ inch from the top.
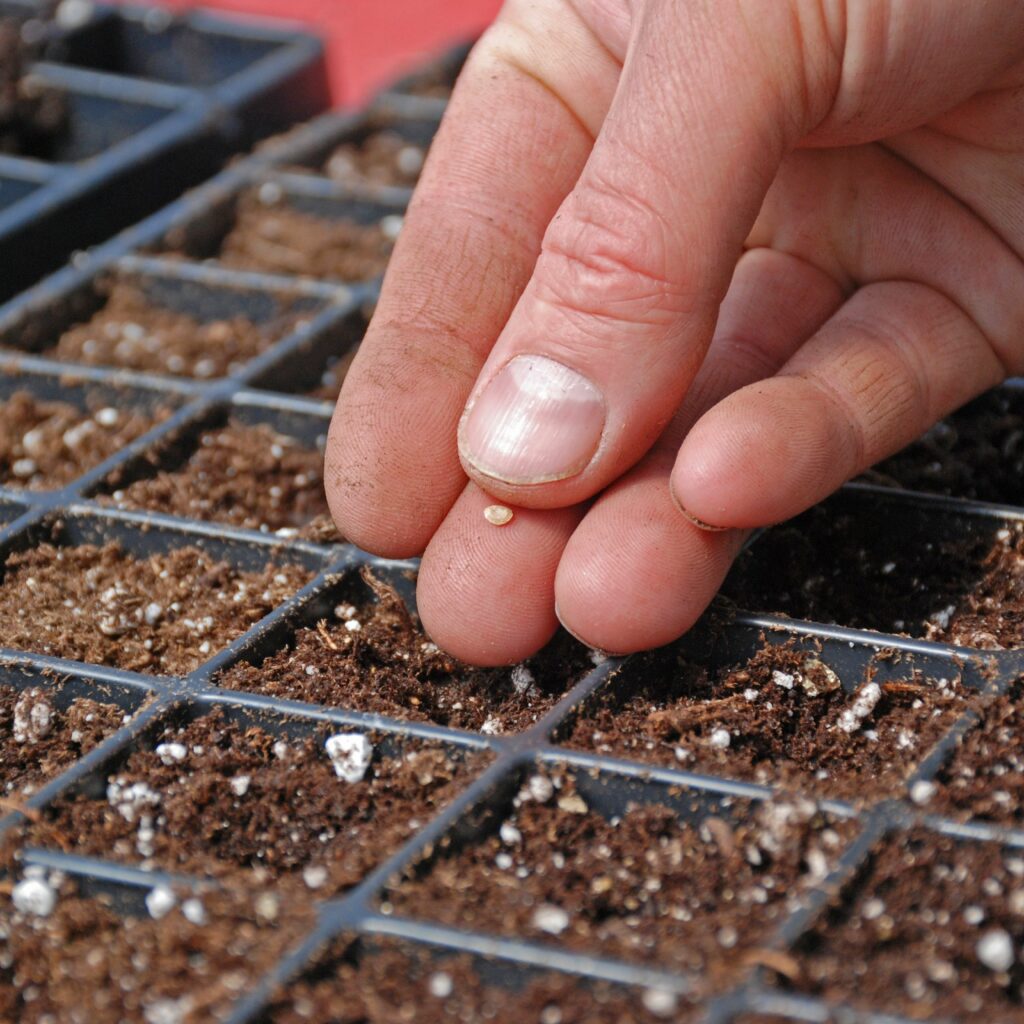
Step 3: Plant the Seeds
- Check seed packet instructions for proper planting depth — usually 2–3 times the seed’s size.
- Use a pencil or your fingertip to create shallow holes.
- Drop 1–2 seeds per hole.
- Gently cover with a thin layer of seed-starting mix and lightly press down.
Tip: Label each container or row with the plant name and sowing date.

Step 4: Water Carefully
Use a spray bottle to gently mist the surface until evenly moist. Avoid drenching the soil, as heavy watering can disturb tiny seeds.
To maintain humidity, cover the trays with a clear plastic dome, wrap, or ziplock bag until seeds germinate.
Step 5: Provide Warmth for Germination
Most seeds germinate best at 65–75°F (18–24°C). Place your seed trays:
- On a heat mat,
- Near a radiator,
- Or in a warm, bright room.
Remove the plastic covering once seedlings appear.
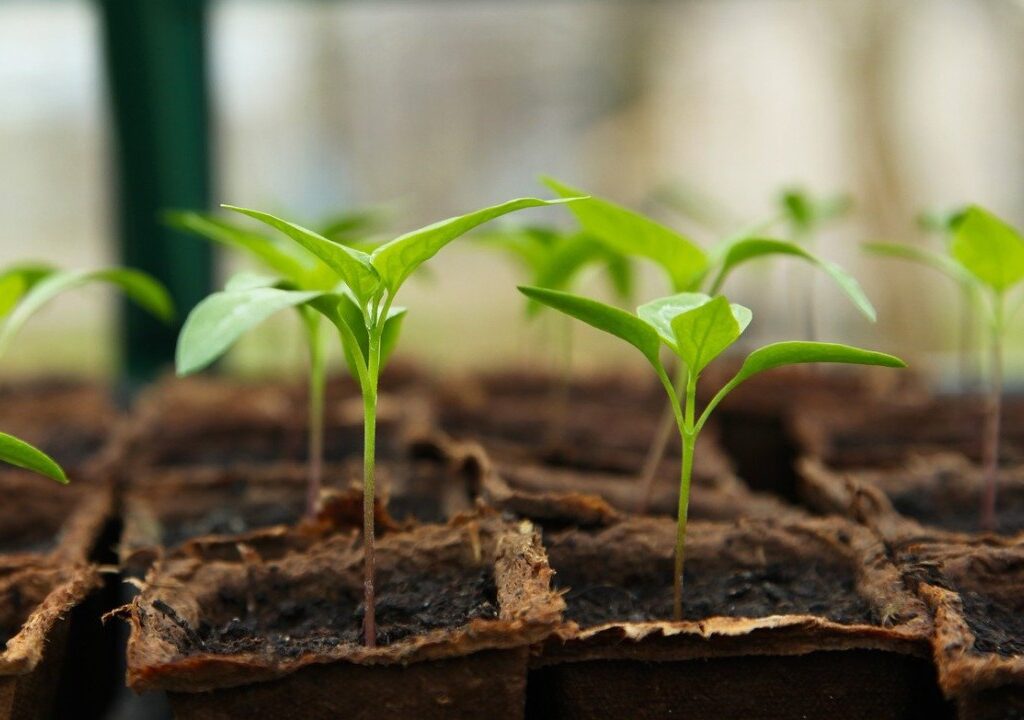
Step 6: Ensure Adequate Light
After sprouting, seedlings need 12–16 hours of light daily to stay strong and prevent leggy growth.

Options:
- A sunny south-facing windowsill (rotate trays daily for even growth)
- Fluorescent or LED grow lights hung 2–4 inches above seedlings
Tip: Keep grow lights on a timer for consistent light exposure.
Step 7: Water and Care for Seedlings
- Keep the soil moist but not soggy.
- Water from the bottom by placing trays in a shallow water dish.
- Avoid letting the soil dry out completely.
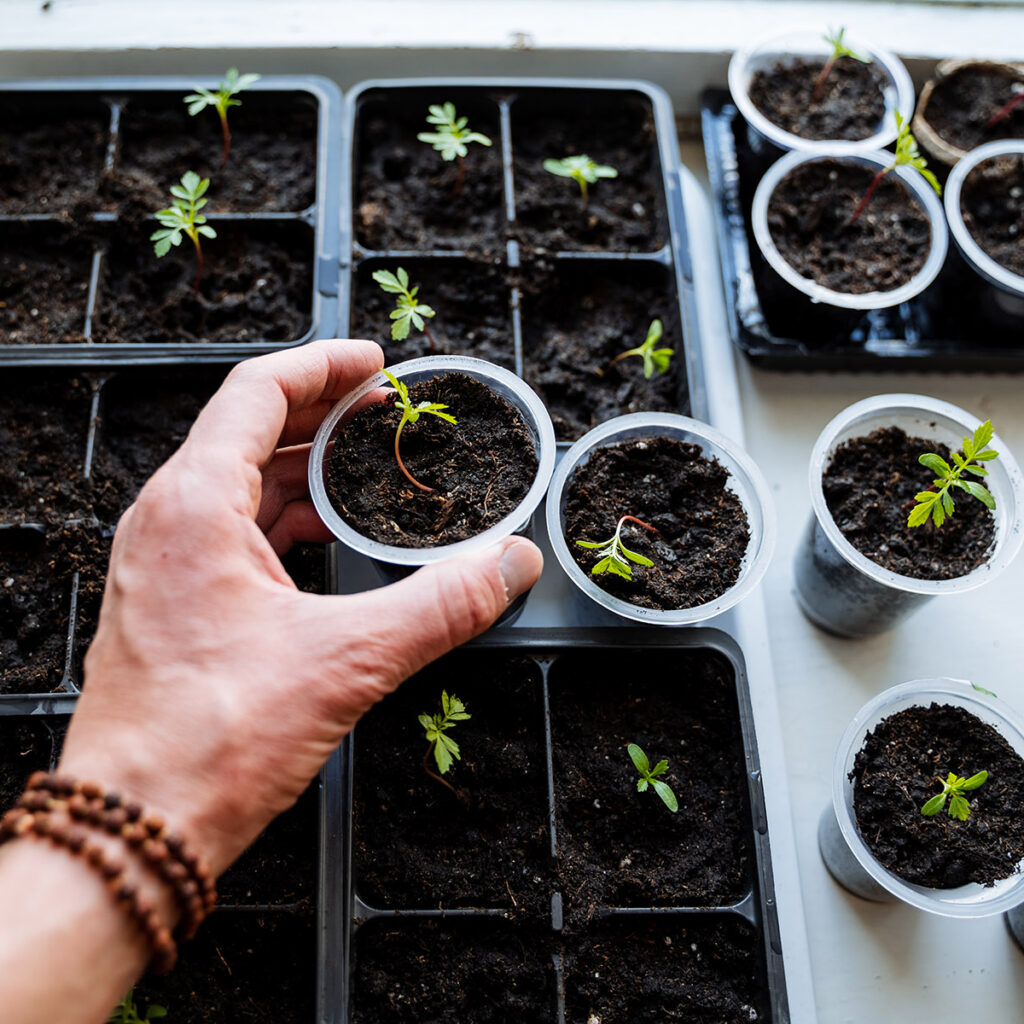
- Thin seedlings by snipping weaker sprouts with scissors, leaving the healthiest one per cell or container.
Step 8: Feed Your Seedlings
Once seedlings grow their first true leaves (the second set of leaves after the initial seed leaves), begin feeding with a diluted organic liquid fertilizer every 7–10 days.
Start with half the recommended strength to avoid burning delicate roots.
When to Transplant Seedlings Outdoors
Once your seedlings have grown 3–4 sets of leaves and outdoor temperatures stabilize:
- Gradually harden off your plants over 7–10 days.
- Move them outdoors for a few hours a day, increasing exposure daily.
- Avoid placing tender seedlings in direct sunlight immediately.
Ideal soil temperature for transplanting:
- Warm-season crops: 60°F (16°C) or higher
- Cool-season crops: 45–60°F (7–16°C)
Common Mistakes to Avoid
Using regular garden soil indoors
Overwatering or letting soil dry out
Not providing enough light
Skipping labels (easy to forget what’s what!)
Planting seeds too deeply
Not thinning seedlings
Being mindful of these small details ensures healthier, sturdier seedlings ready to thrive outdoors.
Bonus: Easiest Seeds for Beginners
If you’re new to starting seeds indoors, these varieties germinate quickly and are very forgiving:
- Basil
- Lettuce
- Marigold
- Zinnia
- Cucumber
- Nasturtium
- Sunflower
- Kale
These beginner-friendly choices are perfect for building confidence.
Final Thoughts
Learning how to start seeds indoors for spring opens up a world of gardening possibilities. Whether you have a backyard, patio, or balcony, starting from seed allows you to grow a wide range of plants at your own pace and selection.
With the right materials, consistent care, and a little patience, you’ll soon enjoy watching tiny sprouts turn into strong, productive plants ready to brighten your garden come spring.
So grab your seed packets and get planting — your spring garden starts now!