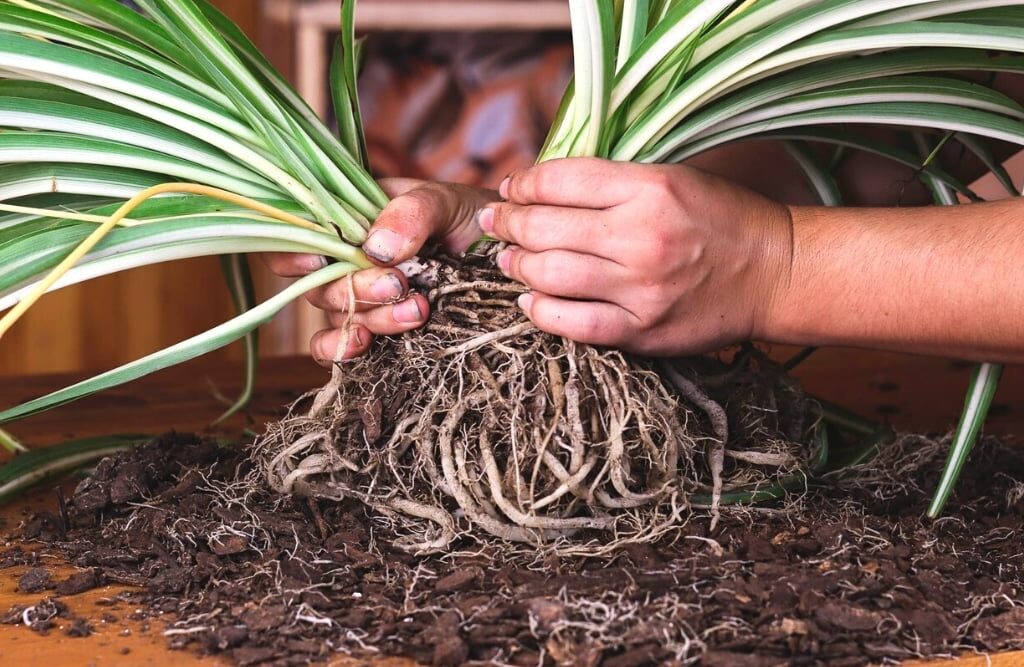
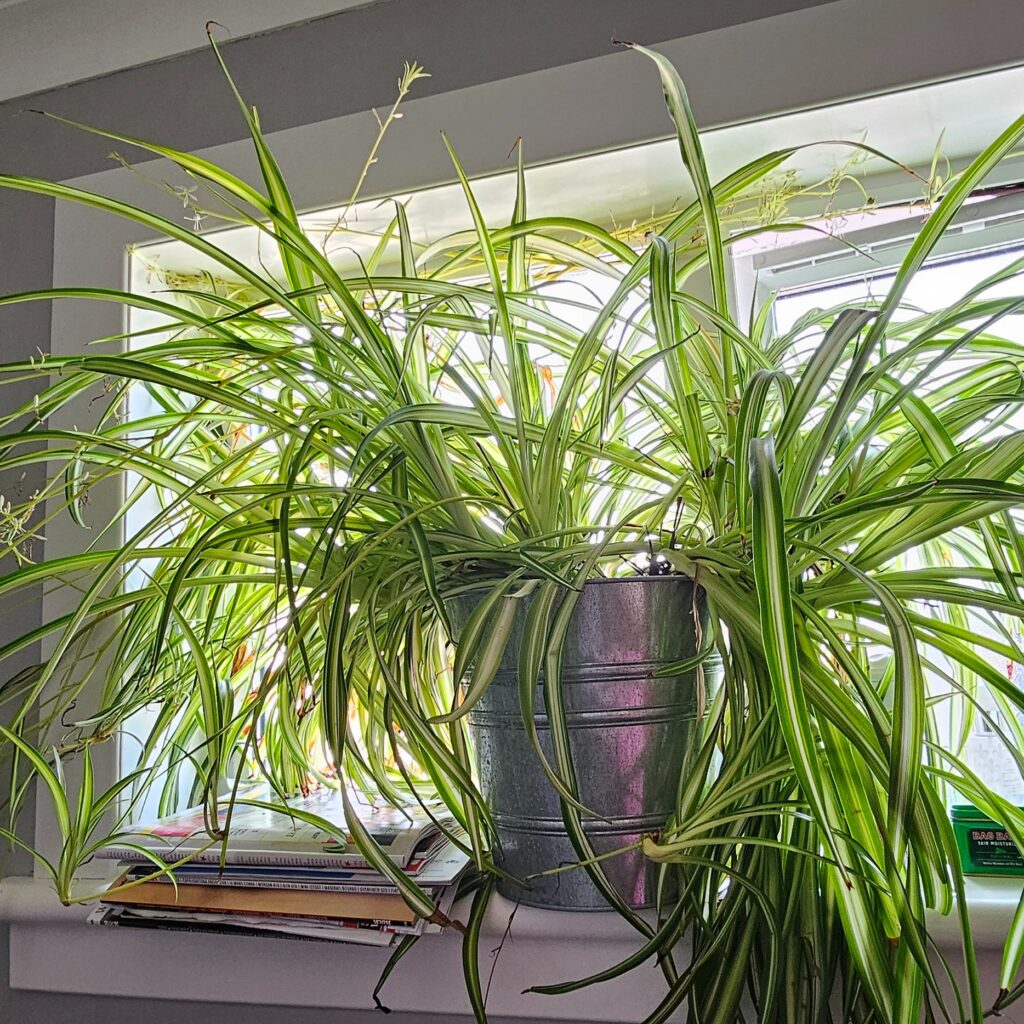
If you’re looking for an easy, resilient, and visually appealing houseplant, the spider plant (Chlorophytum comosum) should be at the top of your list. With its arching green-and-white striped leaves and charming baby plantlets, spider plants are perfect for beginners and seasoned gardeners alike. They not only purify indoor air but also add a touch of lush greenery to any room.
In this comprehensive guide, we’ll cover everything you need to know about starting and growing spider plants — from selecting the right plant and potting mix to ongoing care, propagation, and troubleshooting common issues.
Why Choose Spider Plants?
Before jumping into the how-tos, let’s appreciate why spider plants are such beloved houseplants:
- Low Maintenance: Perfect for busy plant parents or novices.
- Air Purification: NASA studies have shown spider plants can remove pollutants like formaldehyde and carbon monoxide.
- Pet Friendly: Non-toxic to cats and dogs.
- Attractive Appearance: Their cascading leaves and tiny offshoots (called “spiderettes”) make for eye-catching decor.
- Adaptable: Thrive in various lighting and temperature conditions.
Choosing Your Spider Plant
You can start your spider plant journey by purchasing a young plant from a nursery or propagating from a friend’s plantlet. Look for:

- Healthy Green Leaves: Free of brown tips or spots.
- Firm Roots: Avoid plants with mushy or discolored roots.
- No Pests: Check undersides of leaves for signs of insects.
Varieties include:
- Variegatum: Green leaves with white margins.
- Vittatum: Green leaves with a central white stripe.
- Bonnie: Curly leaves with a similar variegation pattern.
The Right Pot and Soil
Pot:
Choose a pot with good drainage holes. Spider plants dislike sitting in waterlogged soil. A slightly snug pot encourages healthy root development and prevents overwatering issues.
Soil:
Use a well-draining, lightweight potting mix. A mix of:
- 2 parts potting soil
- 1 part perlite or coarse sand
- 1 part peat moss or coco coir
is ideal.
Alternatively, most commercial indoor potting mixes work fine.

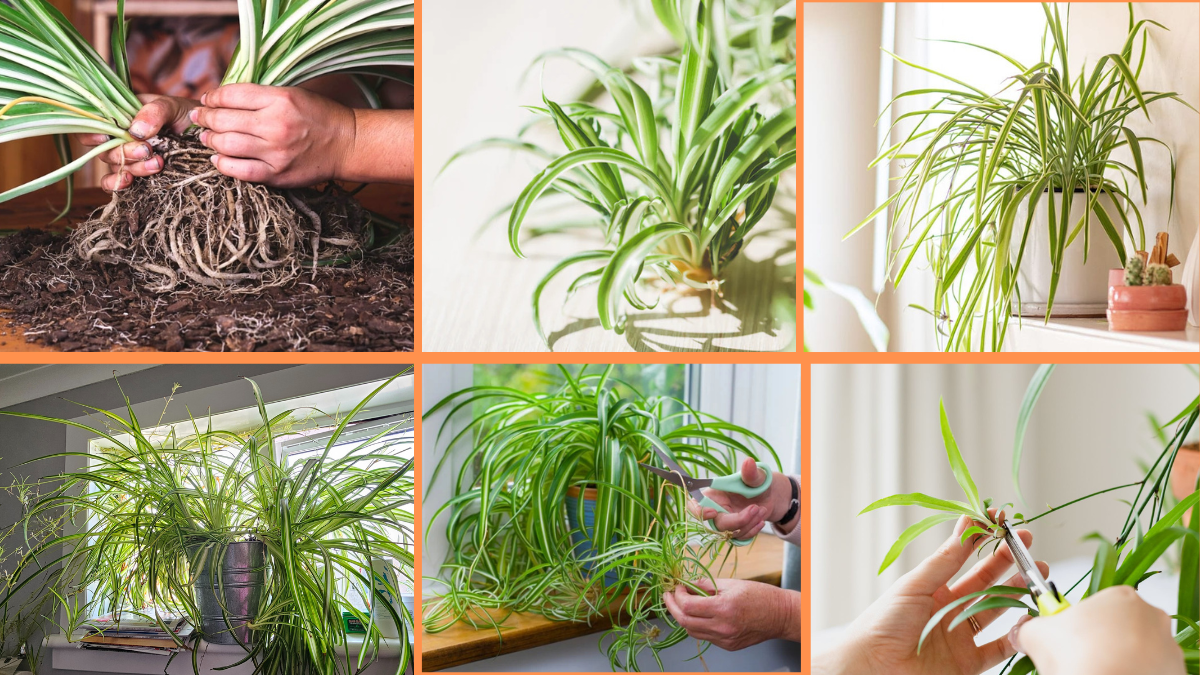
Planting Your Spider Plant
- Fill the Pot: Half-fill your chosen pot with the prepared soil.
- Position the Plant: Gently loosen the root ball if it’s tightly packed and place it in the center.
- Backfill: Add soil around the roots, firming gently to eliminate air pockets.
- Water Thoroughly: Let the excess water drain away.
Light Requirements
Spider plants prefer bright, indirect light. Too much direct sunlight can scorch the leaves, while too little light slows growth.
Ideal spots:
- Near east- or west-facing windows.
- A few feet away from a sunny, south-facing window.
- Under fluorescent or grow lights in darker spaces.
Watering Routine
Spider plants are quite forgiving when it comes to watering. However, for optimal growth:
- Check soil moisture: Insert your finger an inch into the soil. Water when it feels dry.
- Avoid overwatering: Yellowing leaves and root rot are signs of too much water.
- Water quality: They’re sensitive to fluoride and chlorine. Use filtered or rainwater if possible.
Pro Tip: Water less frequently in winter when the plant’s growth slows down.

Ideal Temperature and Humidity
- Temperature: Spider plants thrive in 65°F to 75°F (18°C to 24°C).
- Humidity: They enjoy moderate humidity but adapt well to normal indoor levels.
If your home is dry, occasional misting or placing the pot on a water-filled pebble tray can help.
Fertilizing Schedule
Feed your spider plant every 4-6 weeks during spring and summer with a balanced liquid houseplant fertilizer diluted to half strength.
Avoid over-fertilizing, as it can cause brown leaf tips and salt buildup in the soil.
Pruning and Maintenance
Regular maintenance keeps your plant healthy and attractive:
- Remove dead or yellowing leaves with clean, sharp scissors.
- Trim brown tips if needed — usually caused by water quality or low humidity.
- Repot every 1-2 years when roots start to outgrow the container.
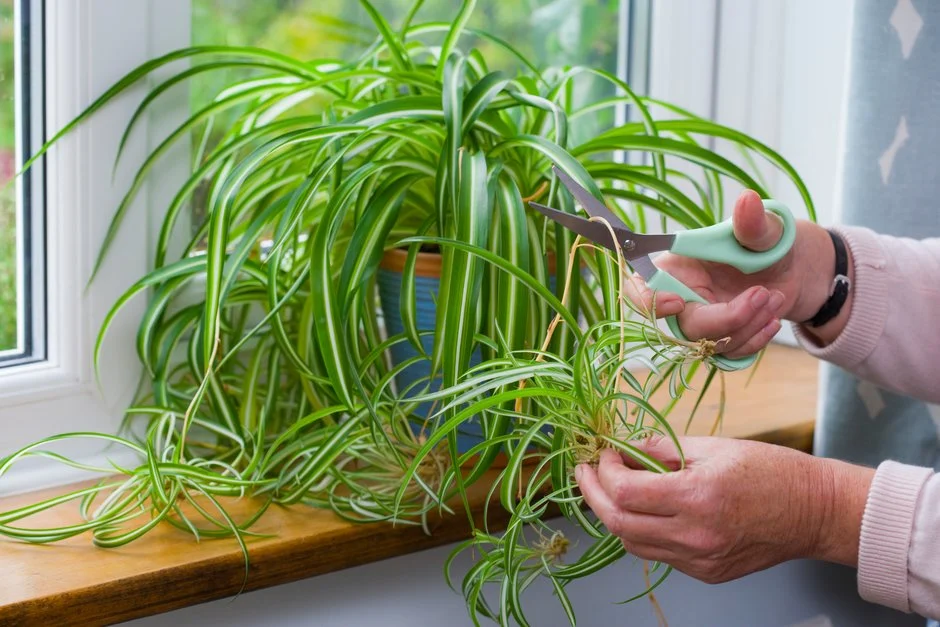
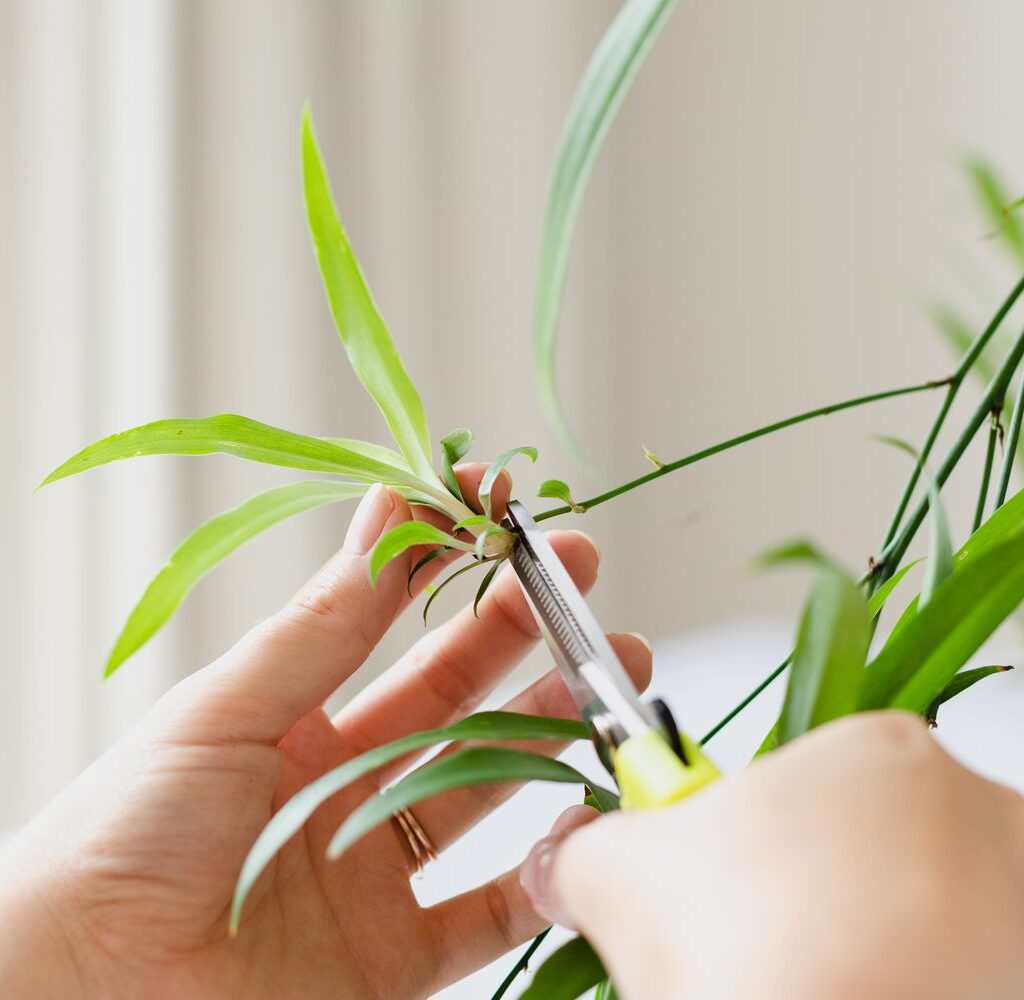
How to Propagate Spider Plants
One of the most rewarding aspects of spider plants is how easily they reproduce. Spiderettes, or plantlets, dangle from the mother plant and root readily.

Propagation Steps:
- Choose a healthy plantlet with small roots.
- Snip or detach the plantlet from the main plant.
- Place it in water or plant directly into moist potting soil.
- Keep it in a warm, bright spot. New roots will develop in 1-2 weeks.
- Transplant to a larger pot when established.
Fun Fact: You can leave spiderettes attached to the mother plant, letting them root in neighboring pots for a beautiful trailing effect.
Common Spider Plant Problems (and Solutions)
- Brown Leaf Tips: Caused by fluoride in tap water, low humidity, or over-fertilizing. Use filtered water and avoid overfeeding.
- Yellow Leaves: Typically due to overwatering. Allow soil to dry out before watering again.
- Pests: Occasionally susceptible to spider mites, aphids, or mealybugs. Wipe leaves with insecticidal soap or neem oil.
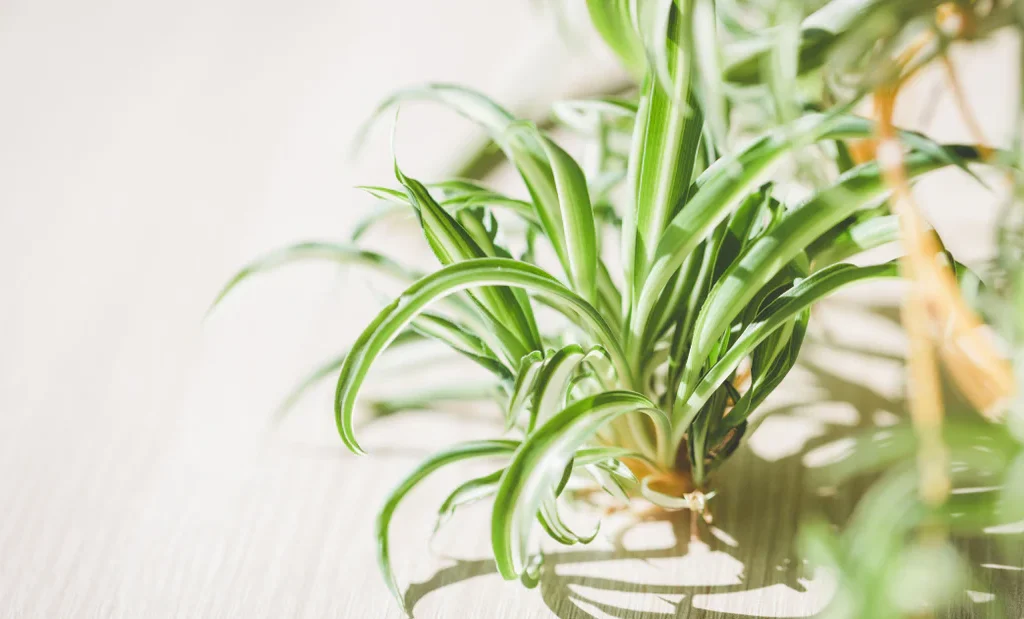
Decorating with Spider Plants
Thanks to their cascading foliage and baby plantlets, spider plants look fantastic:
- In hanging baskets.
- On shelves or mantels.
- As part of a grouped indoor plant display.
- In kitchens, offices, or bathrooms with natural light.
Final Thoughts
Growing spider plants is one of the simplest and most rewarding ways to add natural beauty and clean air to your home. With minimal care, these resilient plants thrive and multiply, offering you a lifetime of fresh greenery and easy propagation projects.

Whether you’re a beginner dipping your toes into the plant world or a seasoned plant lover looking for a hassle-free addition, the spider plant deserves a place in your collection.