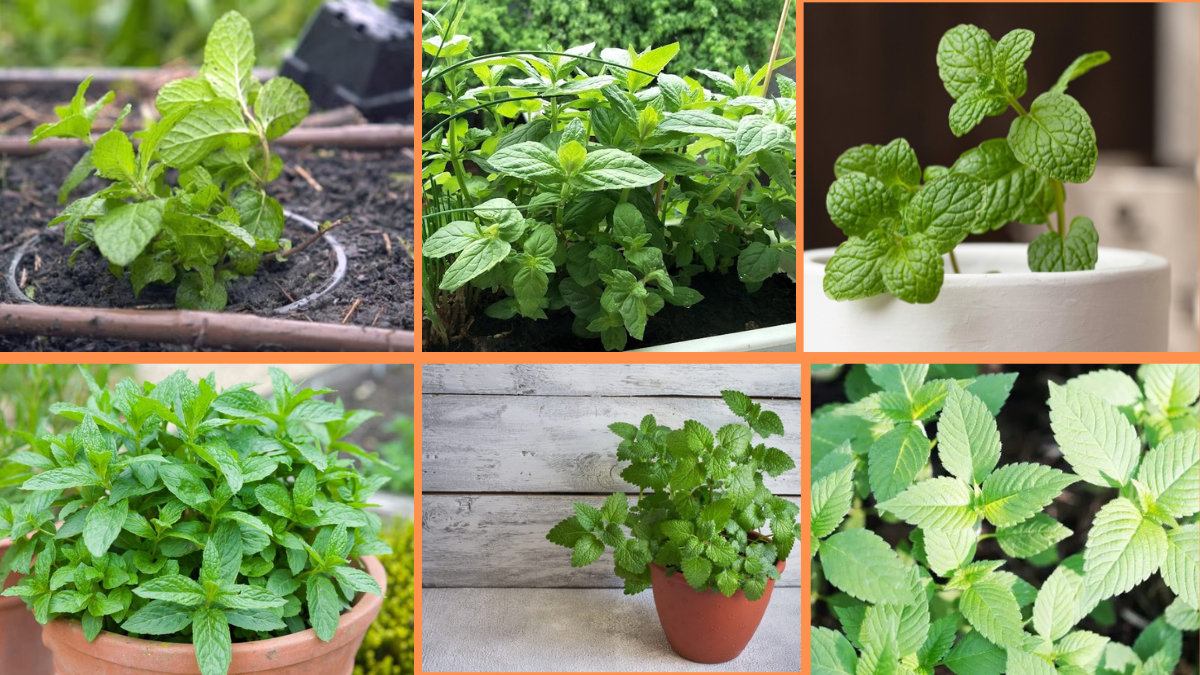
If you’re looking for a fast-growing, aromatic herb that’s easy to grow and endlessly useful in the kitchen and garden, mint is your perfect match. Known for its refreshing scent and cooling flavor, mint has been a garden favorite for centuries — not only for its culinary uses but also for its medicinal benefits, decorative appeal, and ability to attract beneficial pollinators.
Whether you want to brew soothing teas, garnish summer cocktails, flavor sauces and desserts, or simply enjoy the fresh fragrance in your garden, mint is one of the easiest herbs you can grow, even if you’ve never gardened before. In this detailed guide, we’ll cover everything you need to know about how to start growing mint successfully, from choosing the right variety to harvesting and preserving your bounty.
Why Grow Mint?
Before we get our hands in the soil, let’s talk about why mint is such a fantastic herb to grow:
- Exceptionally easy to grow and low-maintenance
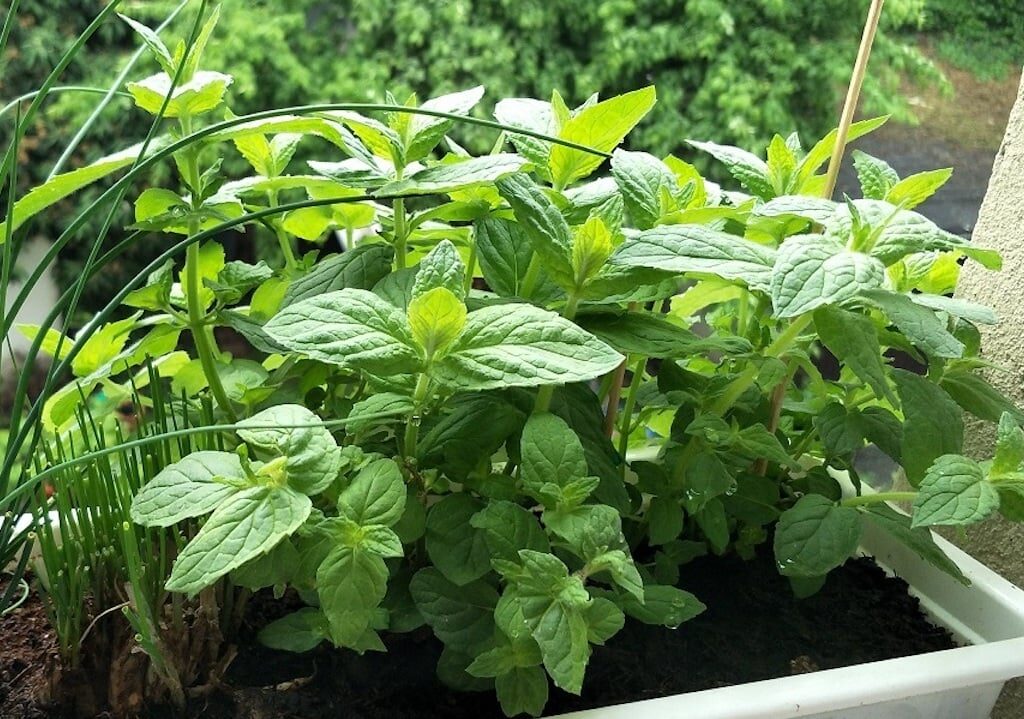
- Thrives in both garden beds and containers
- Fast-growing with high yields
- Naturally repels pests like mosquitoes and ants
- Attracts pollinators like bees and butterflies
- Can be used in teas, desserts, savory dishes, and herbal remedies
Mint is also known for its vigorous spreading nature — which can be both a benefit and a challenge (more on that shortly).
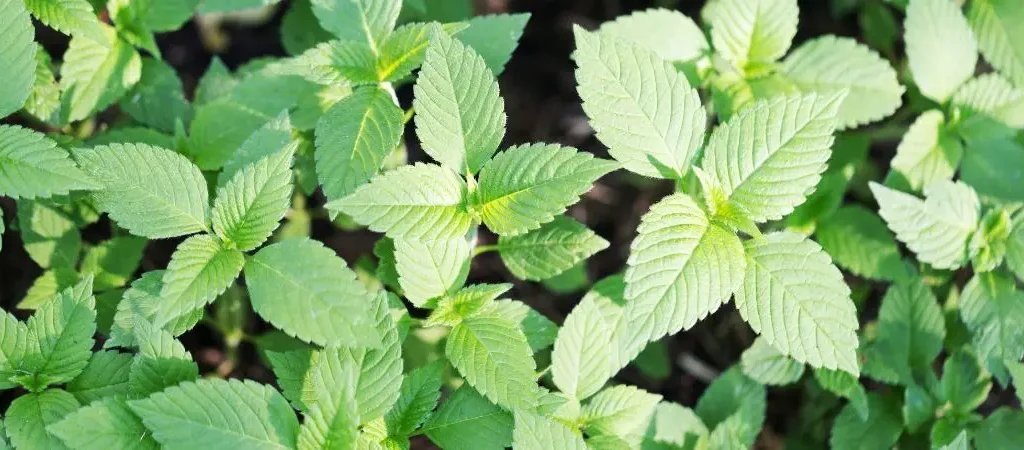
Popular Mint Varieties to Grow
Mint comes in a variety of flavors and scents beyond the classic spearmint and peppermint you might be familiar with. Here are some of the most popular options to consider:
- Spearmint (Mentha spicata): The most common kitchen mint, with mild, sweet flavor — perfect for teas, sauces, and salads.
- Peppermint (Mentha × piperita): Stronger, menthol-heavy mint with intense cooling flavor. Great for desserts, teas, and aromatherapy.
- Chocolate Mint: Hints of cocoa with a refreshing minty flavor. Popular for desserts and flavored drinks.
- Apple Mint: Slightly fruity, mild mint with fuzzy leaves. Lovely in salads and fruit dishes.
- Orange Mint: Citrus-scented with a sweet aftertaste — ideal for cocktails and desserts.
- Pineapple Mint: Variegated leaves with a fruity aroma, excellent for decorative plantings and flavored drinks.
Tip: Start with spearmint or peppermint if you’re a beginner — they’re hardy, reliable, and versatile.
Where and When to Plant Mint
Best Time to Plant:
- Outdoors: After the last frost in spring when temperatures stay consistently above 50°F (10°C).
- Indoors: Year-round in a bright, sunny window or under grow lights.
Choosing a Location:
- Sunlight: Mint thrives in partial to full sun (4-6 hours of sunlight daily).
- Soil: Prefers moist, well-draining soil rich in organic matter. Ideal pH is 6.0–7.0.
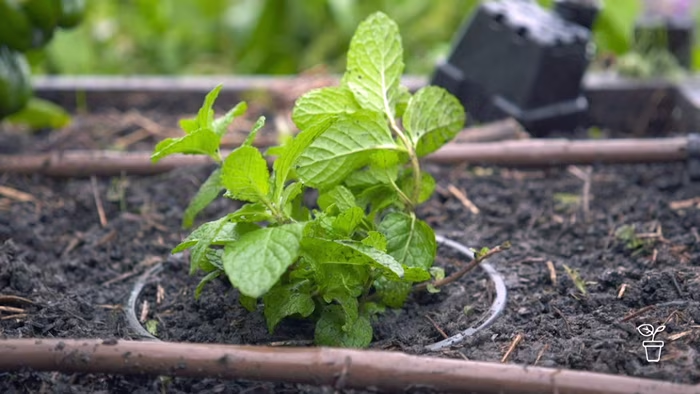
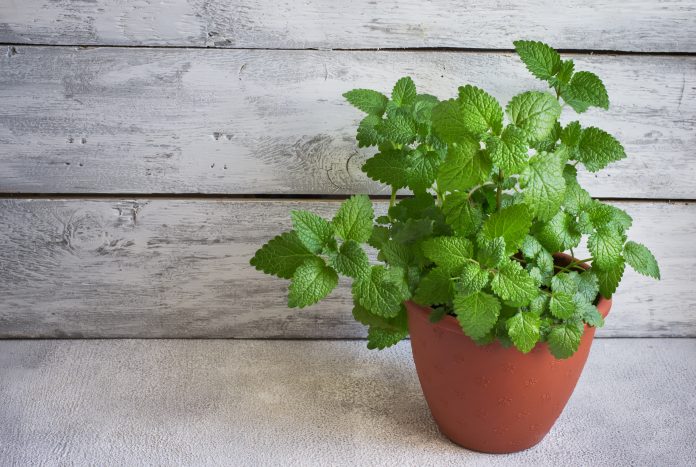
- Containers: Mint is invasive in garden beds. Growing it in containers prevents it from overtaking other plants.
Pro Tip: Even if planting outdoors, it’s a good idea to sink pots of mint into the ground to contain their roots.

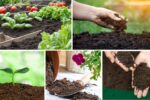
How to Plant Mint
From Seeds:
Mint can be grown from seed, though it’s slower and less predictable than using cuttings or transplants.
Steps:
- Start seeds indoors 6-10 weeks before the last frost.
- Sow seeds on the surface of moist seed-starting mix — lightly press but do not cover.
- Keep soil moist and place in a warm, bright location.
- Seeds germinate in 10-16 days.
- Transplant seedlings outdoors after frost danger has passed.
From Cuttings:
The easiest and fastest way to grow mint.

Steps:
- Snip a 4-6 inch stem from a healthy mint plant.
- Remove lower leaves, leaving the top set intact.
- Place the cutting in a glass of water.
- Roots will develop in 7-10 days.
- Once roots are 1-2 inches long, transplant into soil or a pot.
From Nursery Transplants:
Simply plant directly into your container or garden bed, spacing plants 12-18 inches apart.
Caring for Mint Plants
Mint is famously undemanding, but proper care ensures healthier, more productive plants.
Watering:
- Keep soil consistently moist but not soggy.
- Water deeply whenever the top inch of soil feels dry.
- Avoid letting containers dry out completely.
Fertilizing:
- Mint generally thrives with minimal fertilizing.
- Add compost or organic matter to the soil at planting time.
- If desired, use a balanced liquid fertilizer once a month during the growing season.
Pruning and Pinching:
- Regularly pinch back the top leaves to promote bushy growth.
- Trim leggy or flower-bearing stems to maintain flavor and prevent bolting.
- If mint flowers, it will direct energy away from leaf production, so snip off blooms as they appear.

Controlling Mint Spread
Mint is an enthusiastic grower — sometimes too enthusiastic. It spreads via underground runners (rhizomes) and can quickly overtake a garden.
Ways to Control Spread:

- Grow in containers or hanging baskets.
- Sink pots into the ground with the rim slightly above soil level.
- Install underground barriers around in-ground mint beds.
- Divide plants annually to manage growth.
Common Pests and Diseases
Mint is relatively pest-resistant, but a few issues may occur:
Pests:
- Aphids: Remove with a strong blast of water or use insecticidal soap.
- Spider Mites: Increase humidity or use neem oil spray.
- Flea Beetles: Use row covers or neem oil.
Diseases:
- Mint Rust: Characterized by orange spots on leaves. Remove affected leaves and improve airflow.
- Powdery Mildew: Prevent by spacing plants and watering at the base.
Harvesting Mint
Mint can be harvested as soon as the plants have multiple stems with at least 4-6 inches of growth.
How to Harvest:
- Snip sprigs just above a pair of leaves.
- Harvest in the morning when oils are most concentrated.
- Regular harvesting encourages bushier, denser growth.
Note: Avoid harvesting more than one-third of the plant at a time to allow for regrowth.
Storing and Preserving Mint
Freshly harvested mint can be used immediately or stored for later use.

Storing Fresh:
- Place stems in a glass of water and loosely cover with a plastic bag.
- Refrigerate for up to 7 days.
Drying:
- Bundle stems and hang in a warm, dark, well-ventilated place.
- Once fully dry, crumble leaves and store in airtight containers.
Freezing:
- Chop leaves and freeze in ice cube trays with water.
- Use cubes in drinks, sauces, or teas.
Companion Planting with Mint
Mint makes a useful companion plant thanks to its strong aroma, which deters pests.
Good companions:
- Cabbage
- Broccoli
- Kale
- Carrots
- Tomatoes
Avoid planting mint near: Parsley and chamomile, as it can overpower them.
Pro Tips for Successful Mint Growing
- Pinch frequently to encourage full, bushy plants.
- Contain roots if planting in the ground.
- Water consistently to prevent drying.
- Harvest before flowering for the best flavor.
- Divide plants yearly to rejuvenate growth.
Final Thoughts
Growing mint is one of the most rewarding gardening projects you can take on, whether you’re a seasoned gardener or a complete beginner. With its refreshing aroma, rapid growth, culinary versatility, and natural pest-repelling abilities, mint is a must-have herb for every home garden or kitchen windowsill.
Start with a container or a small patch of soil, give it sunlight and water, and before you know it, you’ll have an abundance of crisp, fragrant leaves to enjoy in teas, desserts, cocktails, and savory dishes. Follow this guide, and you’ll be well on your way to becoming a mint-growing pro.