Chives, with their delicate onion-like flavor and cheerful purple blossoms, are one of the easiest, most versatile herbs you can grow at home. Perfect for beginner gardeners and seasoned green thumbs alike, chives add a subtle punch to a variety of dishes and brighten up your garden beds or container arrangements.
In this complete guide, you’ll learn everything you need to know about how to start growing chives — from choosing the right location and planting to harvesting and preserving your homegrown crop.
Why Grow Chives?
Chives (Allium schoenoprasum) belong to the same family as onions, leeks, and garlic but are milder and far easier to cultivate. Here’s why you should consider adding chives to your garden:
- Easy to grow and low maintenance
- Perennial herb that returns year after year
- Attractive edible flowers that also support pollinators
- Excellent for both culinary and ornamental use
- Grows well in garden beds, borders, and containers
Whether you’re starting a kitchen herb garden or want an edible edging plant, chives are a perfect fit.
Choosing the Right Variety
There are two main types of chives commonly grown:

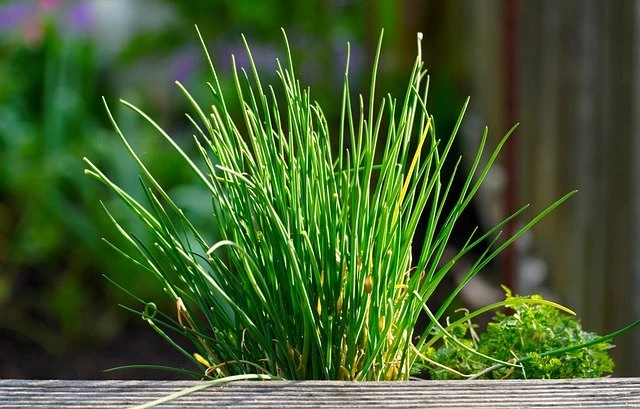
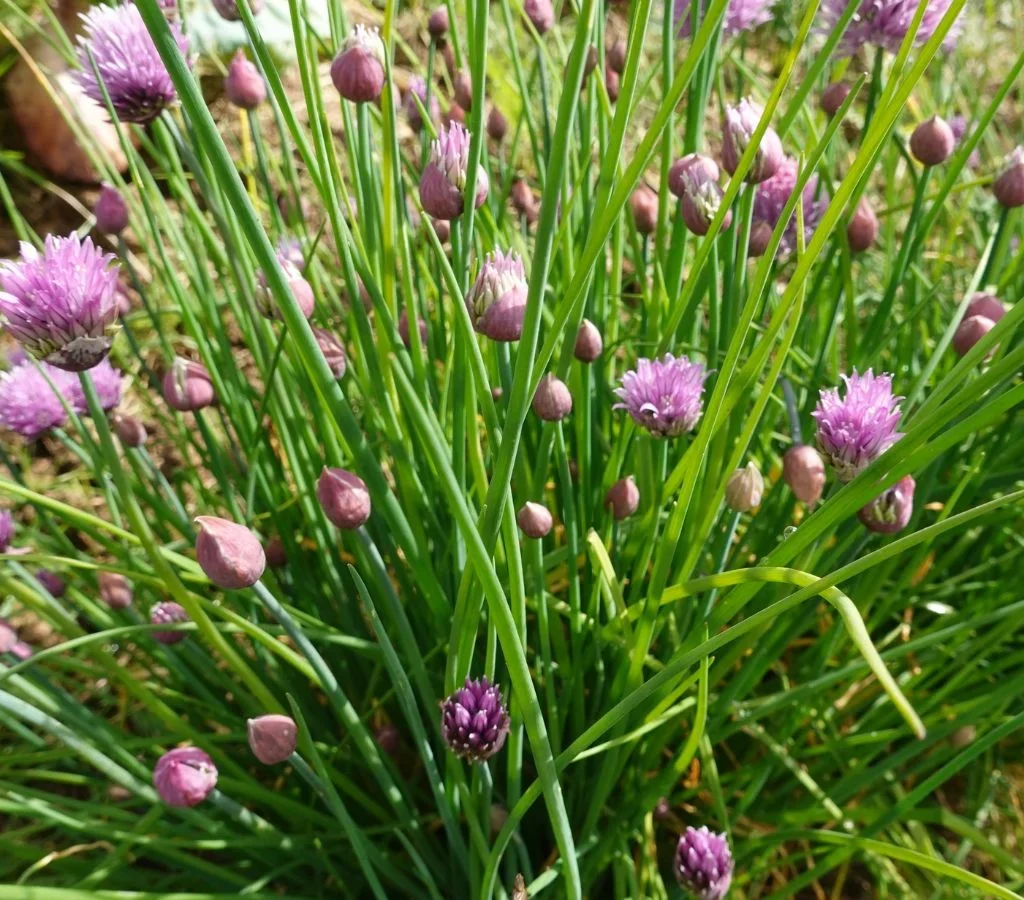
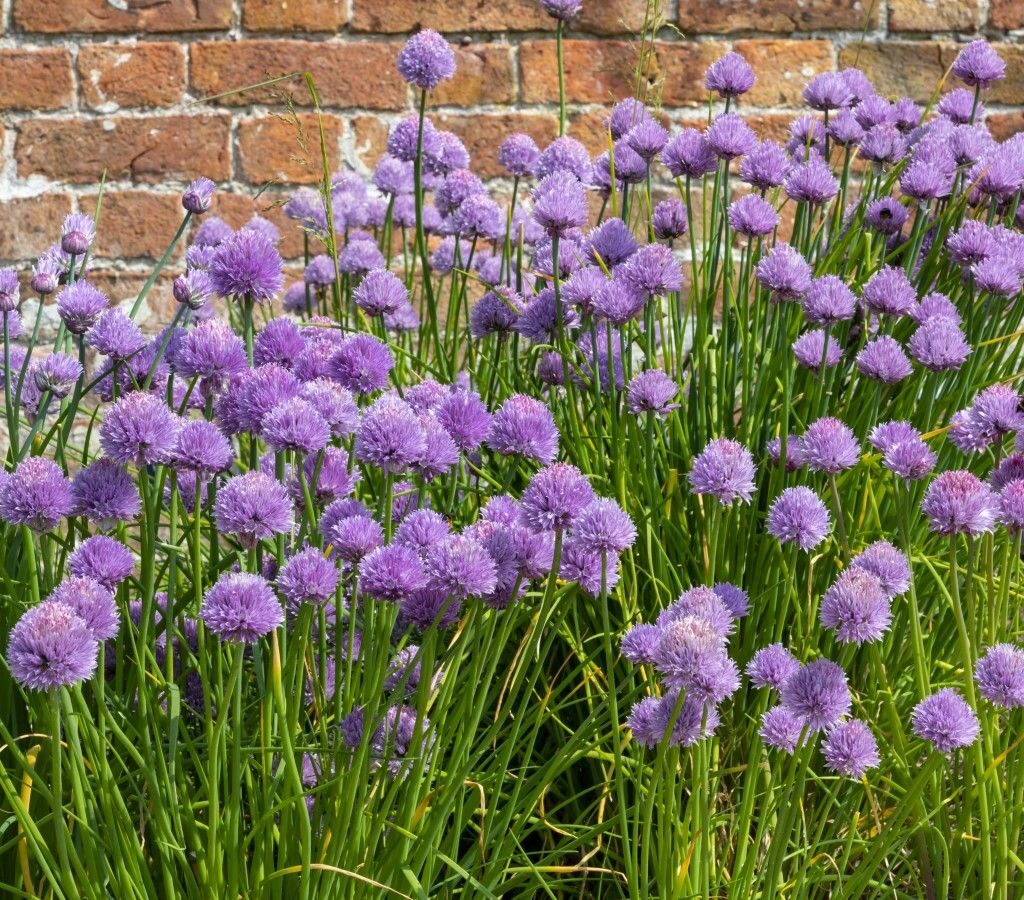
- Common chives (Allium schoenoprasum): Slim, hollow, grass-like leaves with a mild onion flavor and purple globe-shaped flowers.
- Garlic chives (Allium tuberosum): Flat, solid leaves with a garlicky flavor and white star-shaped blossoms.
Both are hardy and perennial but offer slightly different flavors and appearances.
When and Where to Plant Chives
Timing:
Chives thrive in spring and early summer. You can sow seeds indoors 6-8 weeks before your last frost date or directly sow outdoors once the soil warms up to around 60°F (15°C).
Location:
Choose a spot with:
- Full sun (at least 6 hours of sunlight daily)
- Well-drained soil enriched with organic matter
- Room for air circulation to prevent mildew
If you’re growing in containers, pick pots at least 6-8 inches deep with good drainage holes.
How to Plant Chives
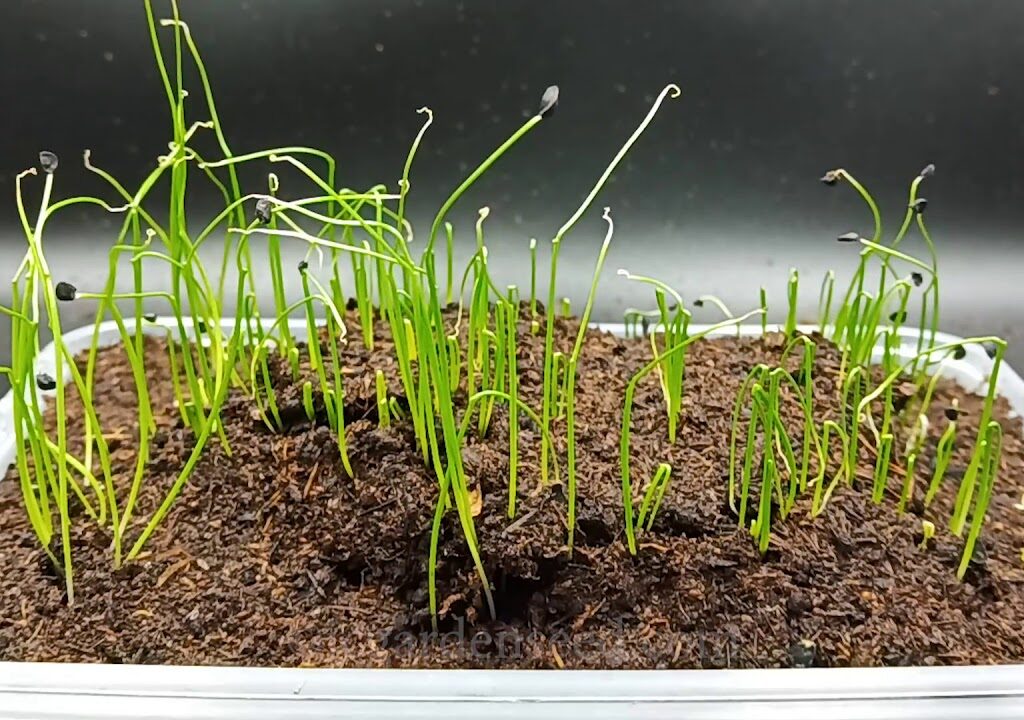
Starting from Seed
- Prepare the Soil: Loosen soil to a depth of 6-8 inches and mix in compost.
- Sow the Seeds: Scatter seeds on the surface or plant ¼ inch deep.
- Spacing: Thin seedlings to about 6 inches apart once established.
- Water Lightly: Keep the soil moist but not soggy until germination (typically 14-21 days).
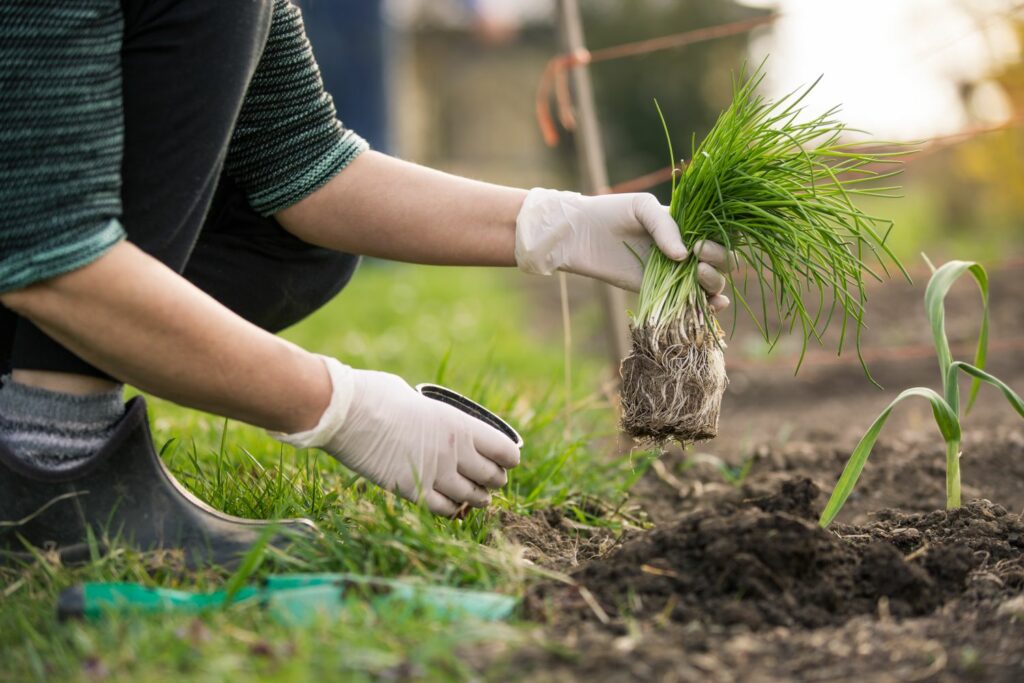
Planting from Transplants or Divisions
If you’re starting with nursery plants or dividing existing clumps:

- Dig a hole twice the width of the root ball.
- Place the plant at the same depth it was growing.
- Firm the soil gently around it and water well.
- Space plants 6-12 inches apart.
Caring for Your Chive Plants
Chives are delightfully low-maintenance but appreciate a little attention to thrive.
Watering:
Water regularly, keeping the soil consistently moist but not waterlogged. Chives prefer evenly moist conditions, especially during dry spells.
Feeding:
Feed plants with a balanced organic fertilizer once in early spring and again midseason.
Mulching:
Add a layer of organic mulch around the base of plants to retain moisture and suppress weeds.
Pruning:
Regularly snip leaves to encourage new growth. Cut them down to about 1-2 inches above the soil several times a season.

Deadheading:
Remove faded flowers to prevent excessive self-seeding and keep plants tidy.
Common Pests and Problems
Chives are fairly pest-resistant but can occasionally attract:
- Aphids: Spray with a gentle stream of water or insecticidal soap.
- Thrips or onion maggots: Rare in home gardens but treat with neem oil if spotted.
Also, watch for:
- Downy mildew in humid conditions — improve air circulation and avoid overhead watering.
Harvesting Chives
You can begin harvesting once the plants are 6 inches tall.
- Use sharp scissors to cut leaves about 1-2 inches above the ground.
- Harvest from the outside of the clump inward.
- Avoid removing more than one-third of the plant at a time to keep it healthy.
Flower Harvesting:
Chive flowers are edible and make a stunning garnish for salads or infused vinegars.

Preserving Chives
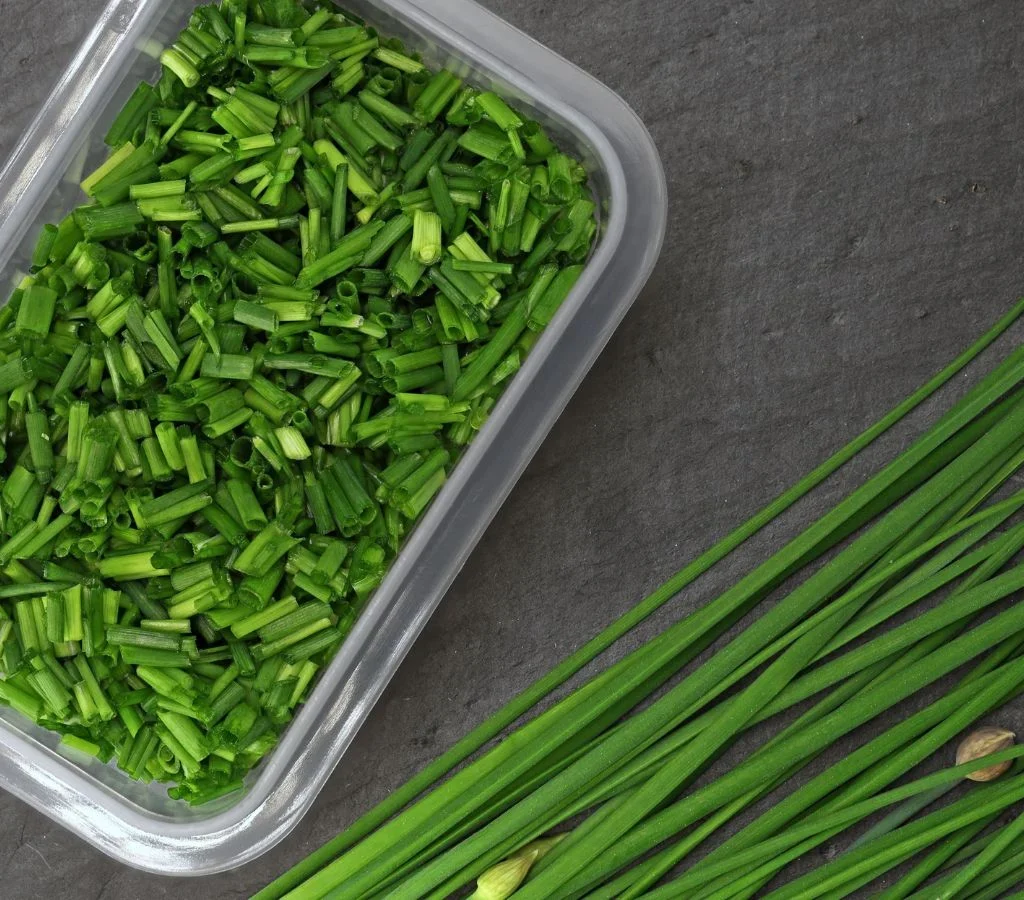
To enjoy chives year-round:
- Freezing: Chop fresh chives and pack them into ice cube trays with water or oil, then freeze.
- Drying: Air-dry or dehydrate at low heat, though this can diminish flavor.
- Chive Butter: Blend chopped chives into softened butter, then refrigerate or freeze for a savory spread.
Growing Chives Indoors
Chives grow well indoors on sunny windowsills or under grow lights.
- Use a container at least 6 inches deep with drainage.
- Provide 6+ hours of light or use a grow light.
- Water consistently but avoid soggy soil.
- Harvest regularly to keep plants productive.
Propagating Chives
After 3-4 years, clumps can become crowded. To rejuvenate:
- Dig up the clump in early spring or fall.
- Gently separate into smaller divisions with 5-10 bulbs each.
- Replant divisions 6 inches apart in prepared soil.
Benefits of Growing Chives
Beyond their culinary uses, chives offer numerous benefits:
- Attract pollinators like bees and butterflies
- Natural pest repellent (deterring aphids and carrot flies)
- Enhance garden biodiversity
- Act as a charming, edible border plant
Final Thoughts
Growing chives is one of the easiest and most rewarding ways to add fresh, homegrown flavor to your kitchen. Whether in a traditional garden, container, or windowsill planter, chives are hardy, productive, and beautifully ornamental.

By following the tips in this guide — from choosing a sunny spot and regular harvesting to dividing mature clumps — you’ll enjoy a thriving patch of these flavorful herbs for years to come.