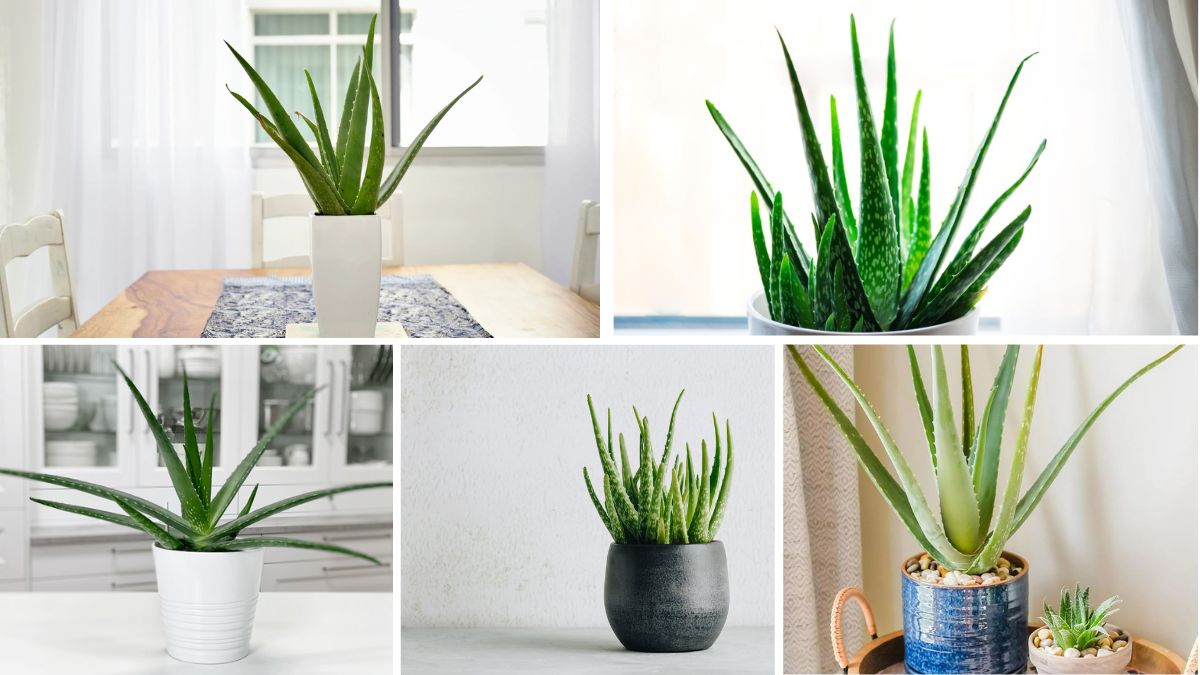
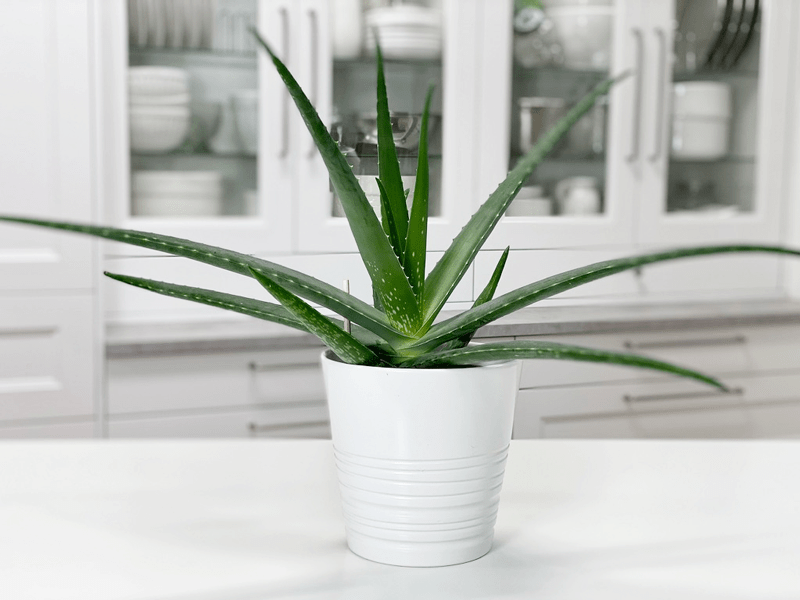
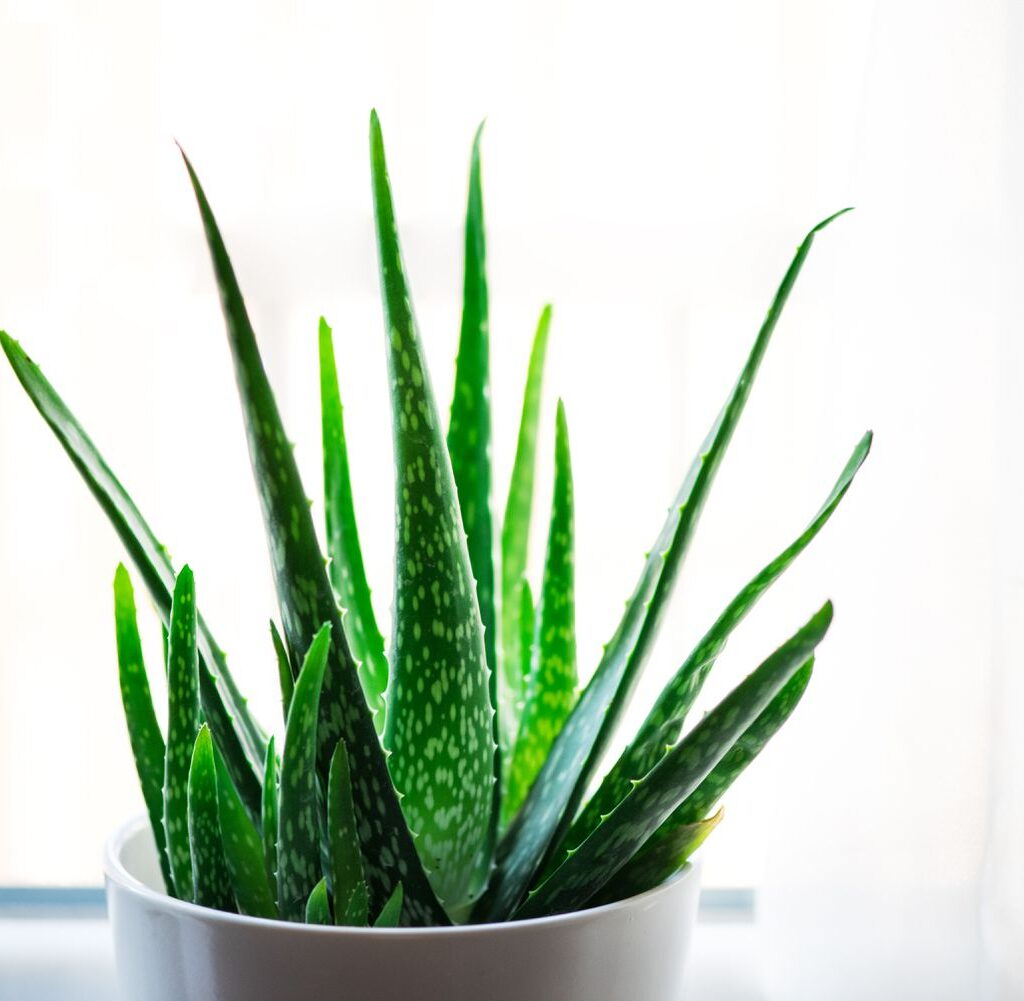
Aloe vera is one of the most popular and versatile succulent plants known for its medicinal properties, ease of care, and striking appearance. Growing aloe vera indoors not only adds a touch of greenery to your living space but also provides a natural source of healing gel for burns, skin care, and more. For beginners and experienced gardeners alike, starting and maintaining aloe vera indoors can be a rewarding and straightforward process when you know the right steps. This comprehensive guide will walk you through everything you need to know to start growing aloe vera indoors successfully — from choosing the right pot and soil to watering, lighting, and troubleshooting common problems.
Why Grow Aloe Vera Indoors?
Growing aloe vera indoors has several benefits:
- Medicinal Uses: The gel inside the leaves is widely used for treating minor burns, cuts, and skin irritations.
- Air Purification: Aloe vera helps purify indoor air by removing toxins.
- Low Maintenance: Aloe vera requires minimal care and is very forgiving, perfect for beginners.
- Aesthetic Value: Its fleshy, green leaves add a modern, natural touch to your home decor.
- Year-Round Growth: Indoors, aloe vera can grow throughout the year without worrying about frost or harsh weather.
Step 1: Selecting the Right Aloe Vera Plant
Start by selecting a healthy aloe vera plant or pup (offset) from a nursery or garden center. Look for these qualities:
- Firm, thick, green leaves without signs of browning or damage.
- A well-established root system if buying a potted plant.
- If starting from pups, choose offsets that are at least 3-4 inches tall with several leaves.
Avoid plants with mushy or yellowing leaves, which may indicate overwatering or disease.

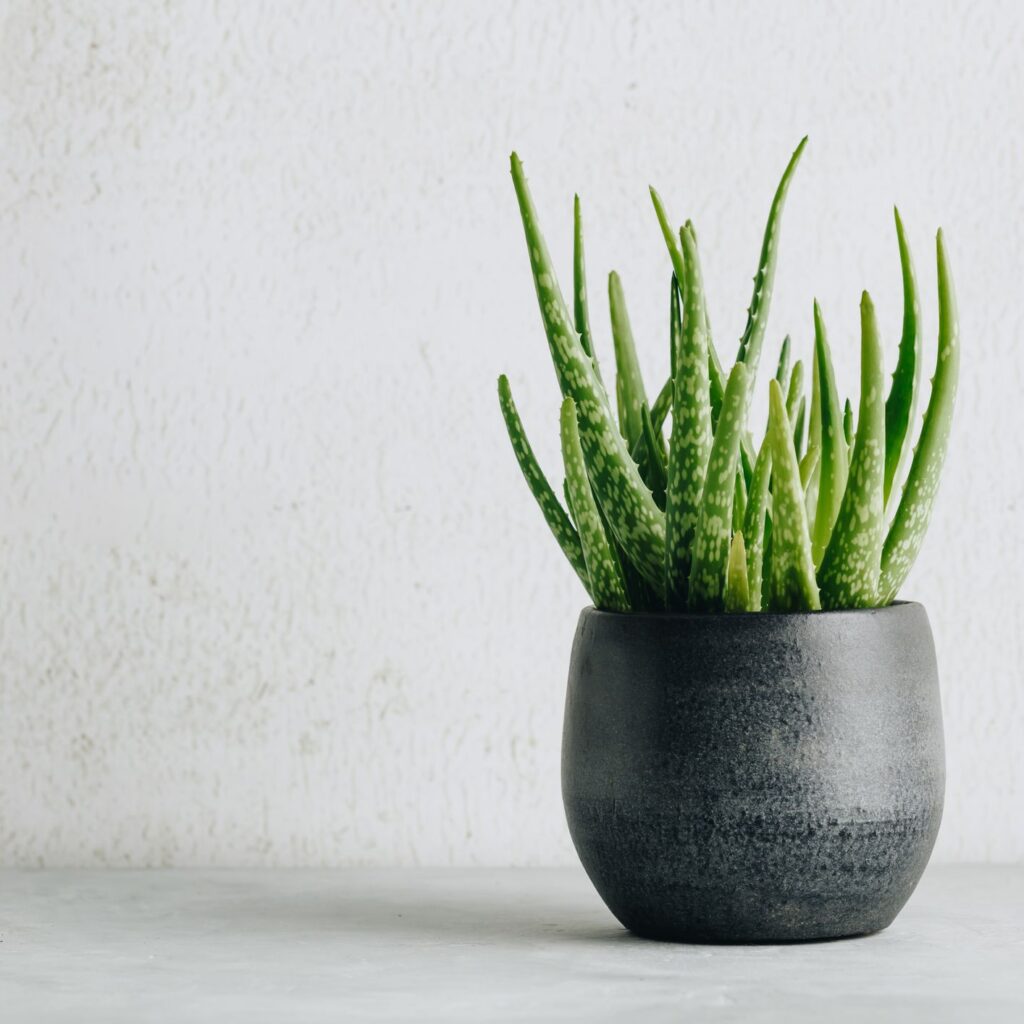
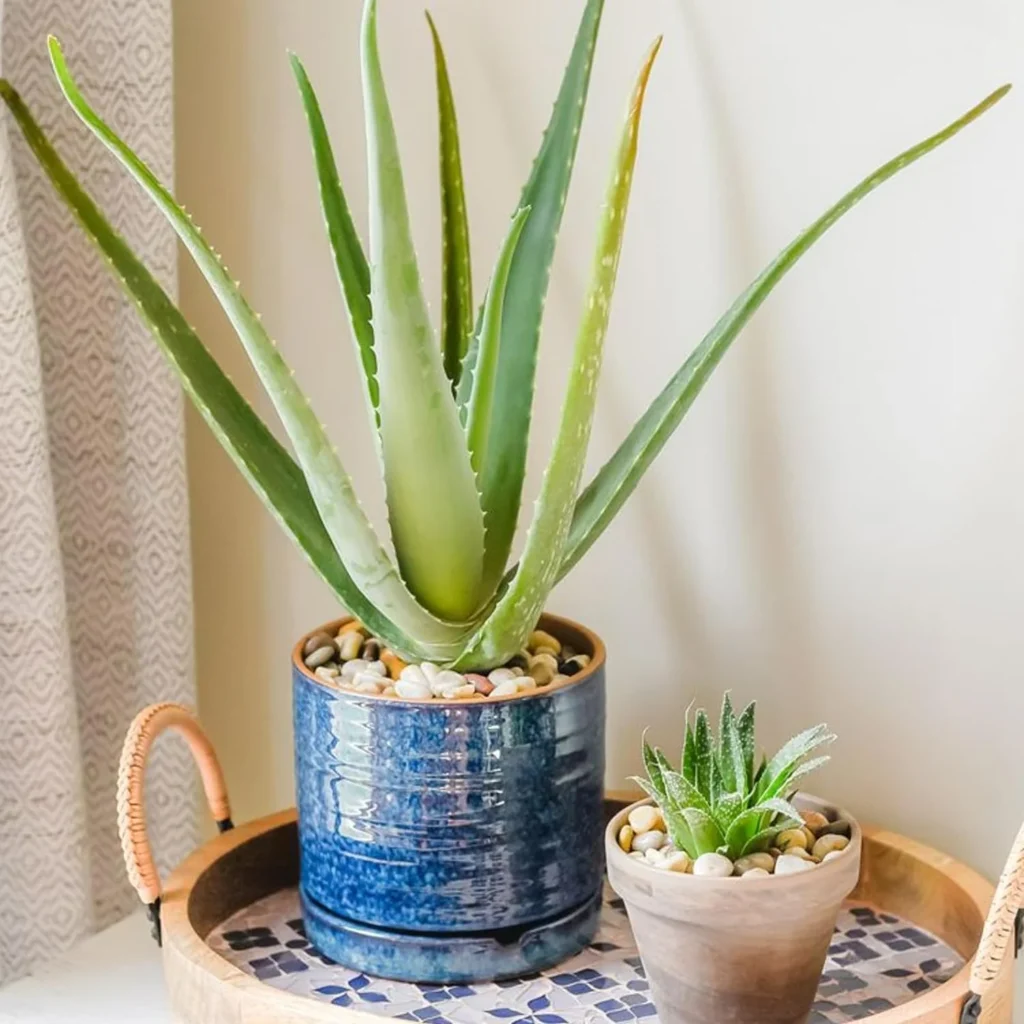
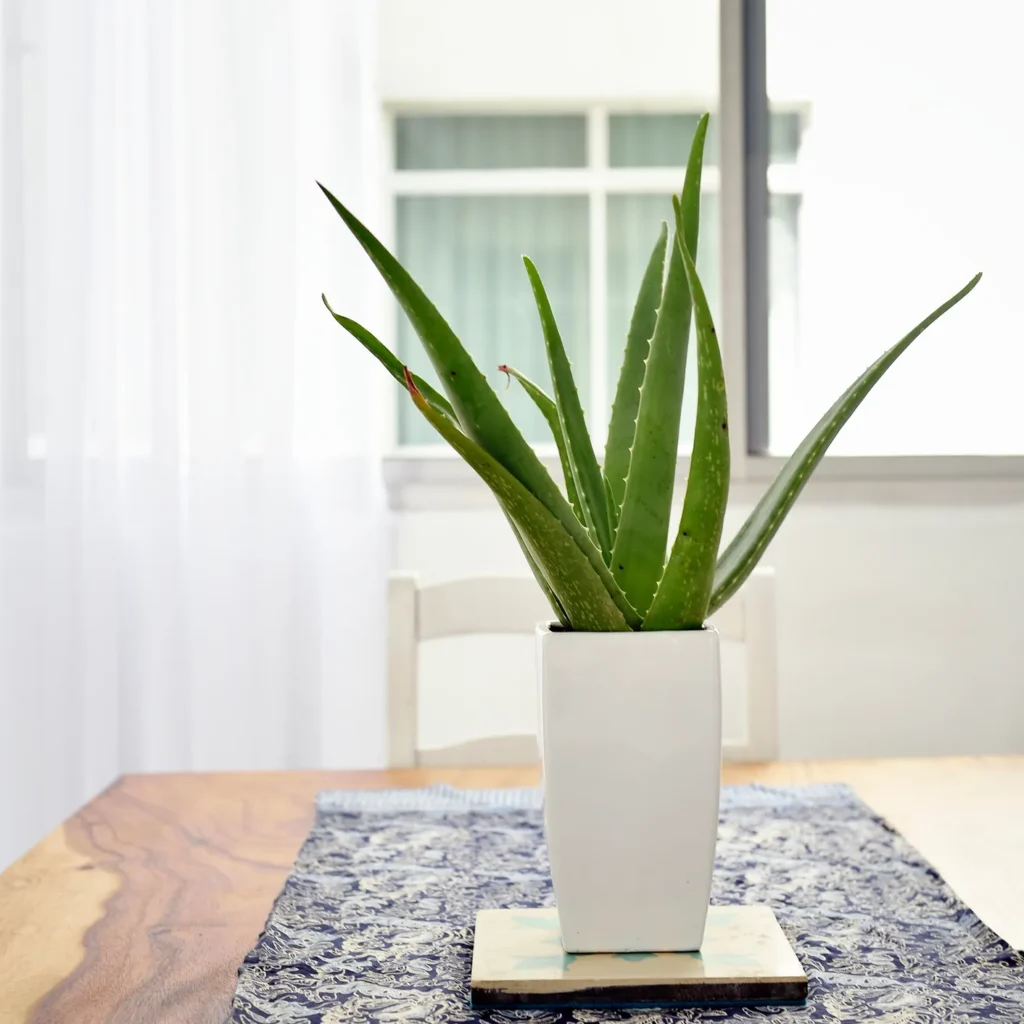
Step 2: Choosing the Right Container
Container choice is critical for healthy aloe vera growth.
- Size: Choose a pot slightly larger than the plant’s root ball to allow room for growth. Typically, a 6-8 inch diameter pot is good for a young aloe.
- Material: Terra cotta or unglazed ceramic pots are ideal because they absorb excess moisture and help prevent root rot.
- Drainage: Ensure the pot has drainage holes to allow excess water to escape.
Avoid plastic pots without drainage, as aloe vera roots are prone to rotting if left in standing water.
Step 3: Selecting the Appropriate Soil Mix
Aloe vera requires well-draining soil to prevent water retention and root rot.
- Use a cactus or succulent potting mix, which is specifically designed for fast drainage.
- Alternatively, create your own mix by combining regular potting soil with sand, perlite, or pumice (about 50% soil, 50% sand/perlite).
- Avoid heavy garden soil or soil mixes that retain moisture excessively.
Step 4: Planting Your Aloe Vera
- Gently remove the aloe plant from its nursery pot, loosening any circling roots.
- Fill the bottom of the new container with some soil mix.
- Position the plant in the pot so that the base of the leaves sits just above the soil surface.
- Fill around the roots with soil mix, gently firming it but not packing too tightly.
- Water lightly immediately after planting.
If planting pups, separate them from the parent plant carefully, making sure to retain some roots.

Step 5: Provide Optimal Light Conditions
Light is one of the most important factors for indoor aloe vera growth.
- Aloe vera thrives in bright, indirect sunlight.
- Place the pot near a south- or west-facing window that receives 6-8 hours of sunlight daily.
- Avoid direct harsh midday sun for prolonged periods, especially through glass, which can scorch the leaves.
- If natural light is limited, supplement with a grow light designed for succulents.
Rotate the pot every few days to ensure even light exposure and symmetrical growth.
Step 6: Watering Your Aloe Vera
Watering is often the biggest challenge in aloe vera care, as the plant is drought-tolerant but vulnerable to overwatering.
- Water deeply but infrequently.
- Allow the soil to dry out completely between watering sessions.
- During the growing season (spring and summer), watering once every 2-3 weeks is usually sufficient.
- In fall and winter, reduce watering to once every 4-6 weeks.
- Water at the base of the plant, avoiding getting the leaves wet.
- Ensure excess water drains out of the pot.
Signs of overwatering include mushy, brown leaves and root rot, while underwatering causes shriveled or curling leaves.

Step 7: Temperature and Humidity Requirements
Aloe vera prefers warm indoor temperatures and low humidity.
- Ideal temperatures range between 55°F and 80°F (13°C to 27°C).
- Protect the plant from drafts, cold windows, and temperatures below 40°F (4°C).
- Aloe vera tolerates dry indoor air well but avoid overly humid conditions that encourage fungal growth.
Step 8: Fertilizing Aloe Vera
Aloe vera is a slow-growing plant and does not require heavy feeding.
- Use a balanced, water-soluble fertilizer diluted to half strength.
- Fertilize once in spring and once in summer during active growth.
- Avoid fertilizing during fall and winter dormancy.
- Alternatively, use a fertilizer formulated for succulents.
Over-fertilization can cause leaf burn or weak growth.
Step 9: Repotting Your Aloe Vera
Repotting is essential every 2-3 years to refresh the soil and allow room for growth.

- Choose a pot 1-2 inches larger in diameter.
- Repot in spring or early summer when growth resumes.
- Handle roots gently to avoid damage.
- Remove any pups if you want to propagate new plants.
- Refresh soil with a well-draining mix.
Step 10: Propagating Aloe Vera Indoors
Aloe vera propagation is simple and rewarding.
- Remove offsets (pups) from the base of the mother plant.
- Let the pups dry for a day or two to allow cuts to callous.
- Plant pups in small pots with succulent soil mix.
- Water sparingly until roots establish.
- Place in bright, indirect light.
Propagation allows you to multiply your plants and share with friends.
Common Problems and How to Fix Them
- Brown Leaf Tips: Usually caused by too much direct sunlight or underwatering.
- Soft, Mushy Leaves: Signs of overwatering and root rot; reduce watering and repot if needed.
- Pests: Aloe vera can be affected by mealybugs, aphids, or scale insects. Treat with insecticidal soap or neem oil.
- Leaf Curling or Wilting: May indicate underwatering or cold drafts.
- Yellowing Leaves: Can result from overwatering or poor drainage.
Benefits of Growing Aloe Vera Indoors
- Provides easy access to natural skin remedies.
- Adds greenery and improves indoor air quality.
- Low-maintenance plant ideal for busy lifestyles.
- Creates a calming, natural ambiance in your home.
Conclusion
Starting to grow aloe vera indoors is a fantastic way to enjoy the benefits of this remarkable succulent year-round. With proper care — including choosing the right pot and soil, providing sufficient light, watering carefully, and maintaining optimal temperature — your aloe vera plant will thrive and bring both beauty and utility to your home. Whether for medicinal use, decoration, or simply the joy of gardening, aloe vera is a rewarding plant to cultivate indoors.
Ready to bring a little green healing power into your home? Follow these steps, and you’ll soon enjoy the vibrant growth and soothing benefits of your very own indoor aloe vera plant.