There’s nothing more disheartening for a plant lover than watching a once-thriving indoor plant wilt, turn yellow, or drop its leaves. But before you give up and toss it out, know this — many seemingly dying plants can be revived with the right care and a little patience.
Whether your plant is suffering from overwatering, poor lighting, pests, or neglect, there’s usually a way to bring it back to life. In this guide, we’ll walk you through how to save a dying indoor plant with practical steps, troubleshooting tips, and expert advice to nurse your greenery back to health.
Common Reasons Indoor Plants Decline
Before you can revive your plant, it’s crucial to identify what’s causing the problem. Here are the most common culprits behind drooping, yellowing, or dying houseplants:
- Overwatering
- Underwatering
- Insufficient or excessive light
- Pests and diseases
- Poor soil drainage
- Temperature stress
- Nutrient deficiencies
- Rootbound conditions
Once you spot the issue, it’s much easier to apply the right remedy.
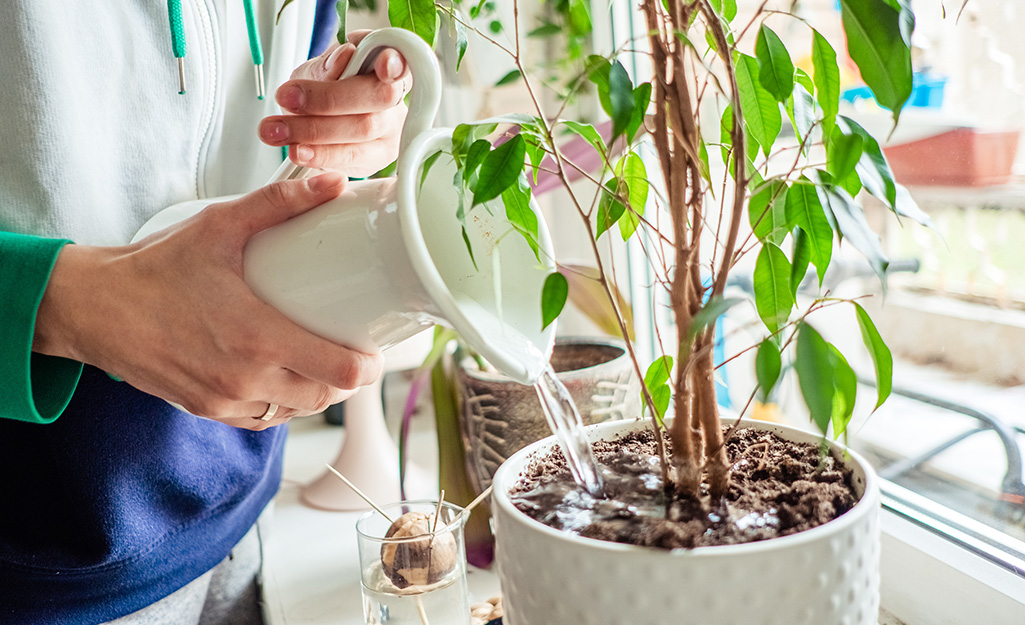
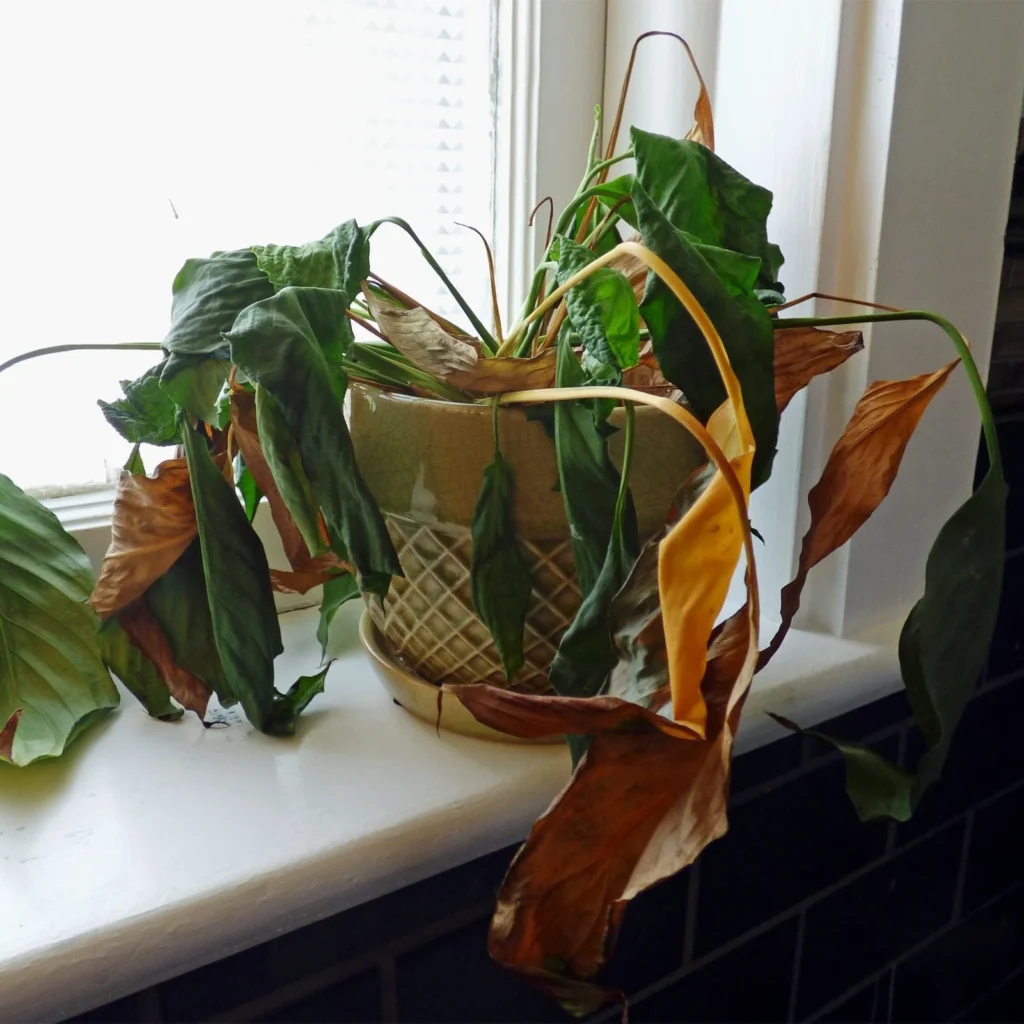
Signs of a Dying Plant
Look out for these warning signs that your indoor plant needs urgent care:
- Wilting or drooping leaves
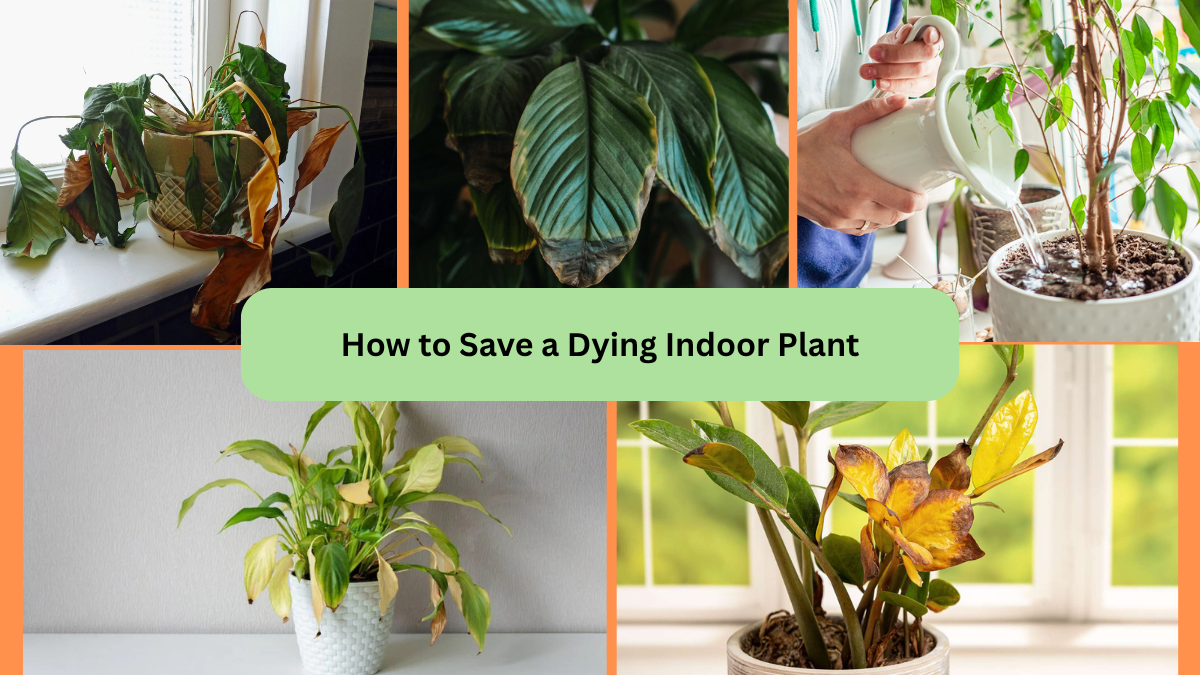
- Yellow, brown, or crispy leaf edges
- Foul odor from the soil
- Mushy or rotten roots
- Leaf drop
- Stunted or no new growth
- Mold or fungus on soil surface
Don’t panic — most plants give clues before reaching the point of no return. Catching these early increases your chances of saving your plant.

How to Save a Dying Indoor Plant: Step-by-Step
Let’s walk through the practical rescue steps you can follow to revive your plant:
Step 1: Identify the Problem
Observation is key.
- Is the soil too wet or bone dry?
- Are leaves pale or scorched?
- Are there pests on the underside of leaves?
- Is the plant in a drafty or too-dark location?
By identifying the cause, you can avoid trial-and-error and act quickly.
Step 2: Check the Soil Moisture
Use your finger or a wooden skewer to check soil moisture 1–2 inches below the surface.
- If wet and soggy: Your plant is likely overwatered.
- If dry and crumbly: It’s underwatered.
Adjust your watering routine based on the results.
Step 3: Inspect the Roots
Gently remove the plant from its pot and check the roots:

- Healthy roots are firm and white or light tan.
- Rotten roots are brown, mushy, and may smell foul.
If root rot is present:
- Trim off all mushy, dead roots with sterilized scissors.
- Rinse remaining roots with clean water.
- Repot in fresh, well-draining potting mix.
Step 4: Trim Dead or Dying Leaves
Prune away:
- Yellowed, brown, or crispy leaves
- Wilting stems
- Any diseased or pest-infested parts
This helps redirect the plant’s energy to healthy, new growth.
Step 5: Refresh the Soil
Old, compacted, or moldy soil lacks nutrients and good drainage.
Repot your plant with fresh, high-quality potting mix, adding perlite or coco peat for improved aeration. Ensure the pot has adequate drainage holes.
Step 6: Adjust Light Conditions
Plants can suffer from both too much and too little light:
- If leaves are scorched or pale: Move to a spot with bright, indirect light.
- If leaves are yellow and drooping: Shift to a brighter location.
Rotate the plant regularly for even exposure.

Step 7: Treat for Pests
Check for tiny pests like spider mites, aphids, mealybugs, and whiteflies under leaves and along stems.
If found:
- Wipe leaves with a damp cloth.
- Spray with neem oil or insecticidal soap.
- Isolate the plant to prevent spread.
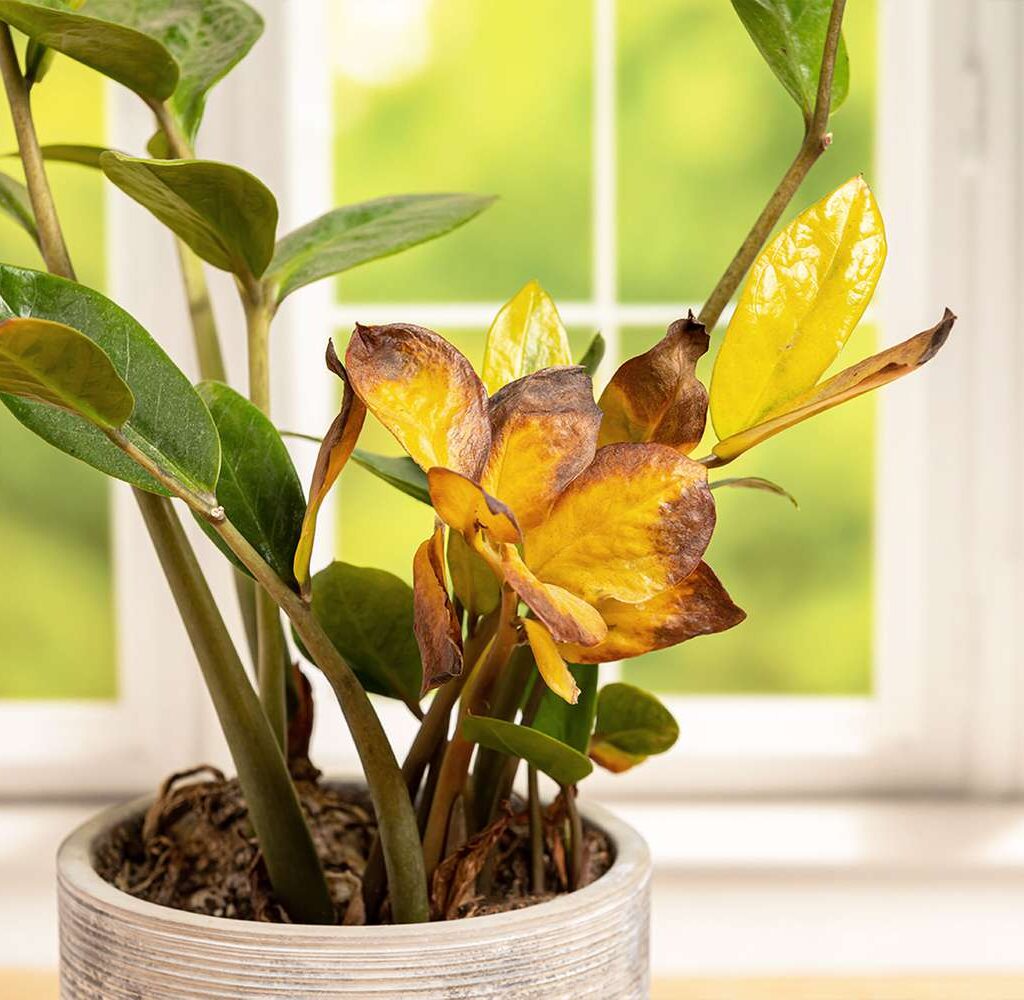
Step 8: Moderate Watering
Reassess your watering habits:
- Water thoroughly but let excess drain out.
- Allow the topsoil to dry before the next watering.
- Use room-temperature, filtered water.
Tip: Stick to a flexible watering schedule based on soil moisture, not a fixed calendar.
Step 9: Feed with a Balanced Fertilizer
If your plant appears weak or isn’t growing, it may need nutrients.
Use a diluted liquid fertilizer:

- Every 2–4 weeks during the growing season (spring and summer)
- Reduce feeding in autumn and winter
Avoid over-fertilizing, which can burn roots and worsen problems.
Step 10: Increase Humidity for Tropical Plants
For moisture-loving plants like ferns, calatheas, and peace lilies:
- Mist leaves regularly.
- Group plants together.
- Use a pebble tray filled with water.
- Consider a small humidifier.
Bonus Tips to Keep Plants Healthy After Recovery
- Regularly wipe leaves to remove dust and pests.
- Prune dead leaves promptly to prevent disease.
- Repot every 1–2 years to refresh soil and accommodate growth.
- Monitor for early signs of stress (wilting, leaf discoloration).
- Rotate plants weekly for balanced light exposure.
Quick Troubleshooting Chart
| Problem | Cause | Fix |
|---|---|---|
| Yellow, wilting leaves | Overwatering | Cut back watering, check drainage |
| Brown, crispy leaf tips | Underwatering or low humidity | Water consistently, mist plant |
| Soft, mushy roots | Root rot due to overwatering | Trim roots, repot with fresh soil |
| Stunted growth | Lack of nutrients or poor light | Fertilize gently, adjust light levels |
| Pests (mites, aphids) | Infestation | Wipe leaves, use neem oil or soap spray |
Can All Dying Plants Be Saved?

Not always.
If:
- More than 70% of roots are rotten
- The plant crown (growth center) is mushy
- Entire stems are blackened or hollow
…it might be too late. In that case:
- Take healthy cuttings for propagation.
- Learn from the experience for future care.
Final Thoughts
Seeing your beloved houseplant fade is tough — but remember, plants are resilient. With the right care, observation, and adjustments, most struggling plants can bounce back.
By understanding their natural needs and creating a healthier environment, you can turn drooping, yellowing plants into vibrant, thriving greenery once again.

So before you give up on your fading foliage, grab your watering can, inspect those roots, and show your plant some TLC. It just might surprise you!