
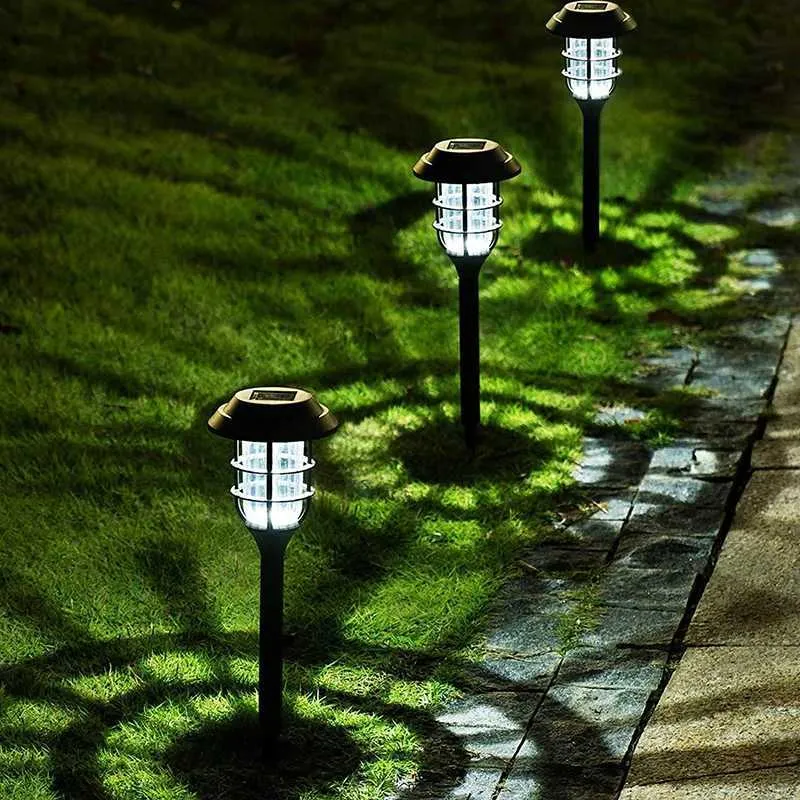
Properly installed garden lighting can elevate your outdoor space, making it more beautiful, safe, and functional after dark. Whether you’re creating a cozy garden retreat, enhancing nighttime curb appeal, or improving path visibility, wiring your garden lights correctly is crucial—not just for aesthetics, but for safety. Faulty wiring can pose serious hazards such as electric shock, fire, or system failure, especially in outdoor environments exposed to weather.
That’s why it’s essential to follow expert advice. In this article, we’ll walk you through the process of safely wiring garden lights, with detailed guidance and practical tips from licensed electricians who’ve mastered the art of outdoor electrical installations.
Why Safe Wiring Matters in Outdoor Lighting

Before diving into techniques, it’s important to understand the risks associated with improper wiring outdoors:
- Water exposure increases the chance of short circuits.
- Incorrect voltage can damage bulbs and transformers.
- Poor grounding may result in electric shock.
- Loose or exposed wires can be hazardous to pets and children.
- Code violations can lead to penalties or failed inspections.
Licensed electricians emphasize that outdoor wiring is not a DIY zone for guesswork. Even low-voltage lighting systems require careful planning, quality materials, and safe installation practices.
Step 1: Choose Between Low Voltage and Line Voltage

Electricians first determine what type of lighting system suits your garden best:

Low-Voltage Lighting (12V):
- Safer to install and operate
- Ideal for pathways, flower beds, and accent lighting
- Requires a transformer to step down from 120V to 12V
Line-Voltage Lighting (120V or higher):
- Suitable for high-power floodlights or commercial-grade fixtures
- Requires buried conduit and licensed electrician installation
- Must follow stricter codes and safety regulations
Tip from electricians: For most residential gardens, low-voltage lighting is recommended due to its safety, ease of installation, and energy efficiency.
Step 2: Plan Your Lighting Layout
Start with a clear vision of what areas need illumination:
- Pathways
- Stairs
- Trees and shrubs
- Water features
- Entry points
- Seating or patio areas
Sketch a garden map marking where lights will be placed. Include distances between lights, existing electrical outlets, and landscape features.
Electrician insight: Plan wire runs in the shortest, most direct routes. Avoid areas with frequent digging or lawn maintenance to protect cables from damage.
Step 3: Use Outdoor-Rated Equipment Only
Only use components specifically rated for outdoor use:

- Waterproof connectors (gel-filled or silicone-sealed)
- Direct burial wire (typically 12/2 or 14/2 gauge for low voltage)
- Weather-resistant light fixtures (UL-listed for wet locations)
- GFCI outlets for line-voltage systems
Pro tip: Do not use indoor-rated wires or adapters outside, even temporarily. Exposure to moisture and UV rays can quickly degrade them and cause hazards.
Step 4: Install a Transformer for Low-Voltage Systems
For 12V systems, a transformer is essential. Electricians recommend:
- Sizing the transformer to handle at least 20% more than the total wattage of your lights.
- Mounting it near a GFCI-protected outdoor outlet.
- Using a smart timer, photocell, or Wi-Fi controller for automatic on/off control.
Example:
If your garden has 10 lights at 6W each = 60W
Choose a 75W–100W transformer to allow room for future expansion and prevent overload.
Electrician tip: Use a multi-tap transformer for long wire runs to prevent voltage drop and ensure even brightness.
Step 5: Lay the Cables Properly

For Low-Voltage Systems:
- Use direct-burial-rated low-voltage cable
- Lay cables 6 inches deep to avoid accidental cuts during gardening
- Keep wires clear of sprinkler systems or root zones
For Line-Voltage Systems:
- Install wires in rigid PVC conduit
- Bury at least 18 inches deep or per local code
- Leave pull boxes for inspection and future maintenance
Electrician reminder: Always call 811 or your local utility locator service before digging to avoid striking buried gas or electric lines.

Step 6: Make Waterproof Connections
All wire connections must be fully sealed against moisture. Options include:
- Waterproof wire nuts filled with dielectric grease
- Heat-shrink tubing for watertight seals
- Pre-molded connectors that click into place and lock
Never leave exposed wire or rely solely on electrical tape—it will deteriorate quickly outdoors.
Pro tip: Group wire junctions in a weatherproof junction box elevated off the ground or mounted on a stake.
Step 7: Avoid Voltage Drop
Voltage drop happens when lights far from the transformer get dimmer due to long wire runs. Electricians prevent this by:
- Using thicker cable (lower gauge number = thicker wire)
- Creating T-connections or loop wiring to distribute voltage evenly
- Limiting wire runs to under 100 feet when possible
Formula: The longer the wire and higher the wattage, the thicker the wire you need. Use voltage drop calculators for precise planning.

Step 8: Test the System Thoroughly
Before burying wires and finalizing installation:
- Connect all lights
- Power on the system
- Check each light for brightness
- Inspect all connections for heat or flickering
- Verify timers and sensors are working correctly
Electrician advice: Leave the system on for 30+ minutes to test stability before burying wires or securing fixtures.
Step 9: Final Safety Checks and Code Compliance
Once the system is live:
- Double-check all GFCI outlets are functioning
- Confirm transformers and junction boxes are weather-sealed
- Ensure lights near water (like ponds or fountains) follow wet-location ratings
- Use grounding stakes or grounding conductors where required
Licensed electricians always follow the NEC (National Electrical Code) and local building codes. Even for low-voltage setups, city permits may be needed depending on your area.
Step 10: Maintain and Upgrade Over Time
Outdoor lighting systems need maintenance to stay safe and effective:

- Clean lenses and housings every 2–3 months
- Replace any damaged wires or corroded connectors
- Trim back plants to avoid overheating or light blockage
- Inspect timers and transformers seasonally
Electrician’s final tip: Every year, schedule a professional inspection to test grounding, waterproofing, and electrical integrity—especially after monsoon or storm seasons.
Conclusion
Wiring garden lights may seem like a small project, but it requires a thoughtful approach and strict safety measures. By following professional techniques—like proper transformer use, cable protection, waterproof connections, and code compliance—you can ensure your outdoor lighting system is both beautiful and secure.
Licensed electricians bring invaluable experience to this process. Their knowledge of wiring layouts, voltage management, and local codes not only makes the system safer but also enhances its performance and longevity.
So, whether you’re a homeowner planning a DIY upgrade or a student researching for your electrical thesis, remember: safety and planning are the foundations of a brilliant, worry-free garden lighting system.