Indoor plants not only brighten up your living space but also improve air quality and create a relaxing atmosphere. However, as they grow, their roots eventually outgrow their containers — leading to cramped roots, stunted growth, and poor health.
Repotting your indoor plants the right way is essential to keep them thriving and beautiful. It’s one of the most important — yet often overlooked — aspects of plant care.
In this detailed guide, you’ll learn when, why, and how to repot your indoor plants correctly, along with pro tips, common mistakes to avoid, and everything you need to know for happy, healthy plants.
Why Repot Indoor Plants?
Plants grow continuously, and so do their root systems. When a plant’s roots run out of space, it can lead to several issues:
- Stunted growth
- Yellowing leaves
- Wilting despite regular watering
- Roots circling the inside of the pot
- Soil that dries out too quickly
Repotting gives your plants:
- Fresh, nutrient-rich soil
- Room for root expansion
- Better moisture retention
- Protection against root rot and disease
Regular repotting keeps your indoor plants vibrant and thriving.
How Often Should You Repot Indoor Plants?
The repotting schedule depends on the type of plant, growth rate, and pot size. As a general rule:
| Plant Type | Repot Every |
|---|---|
| Fast-growing (Pothos, Spider Plant, Tradescantia) | 12–18 months |
| Slow-growing (Snake Plant, ZZ Plant, Rubber Plant) | 2–3 years |
| Large mature plants (Fiddle Leaf Fig, Monstera) | 2–3 years or as needed |
Tip: Always check for root-bound signs before deciding to repot.
Signs Your Indoor Plant Needs Repotting
Look for these indicators:
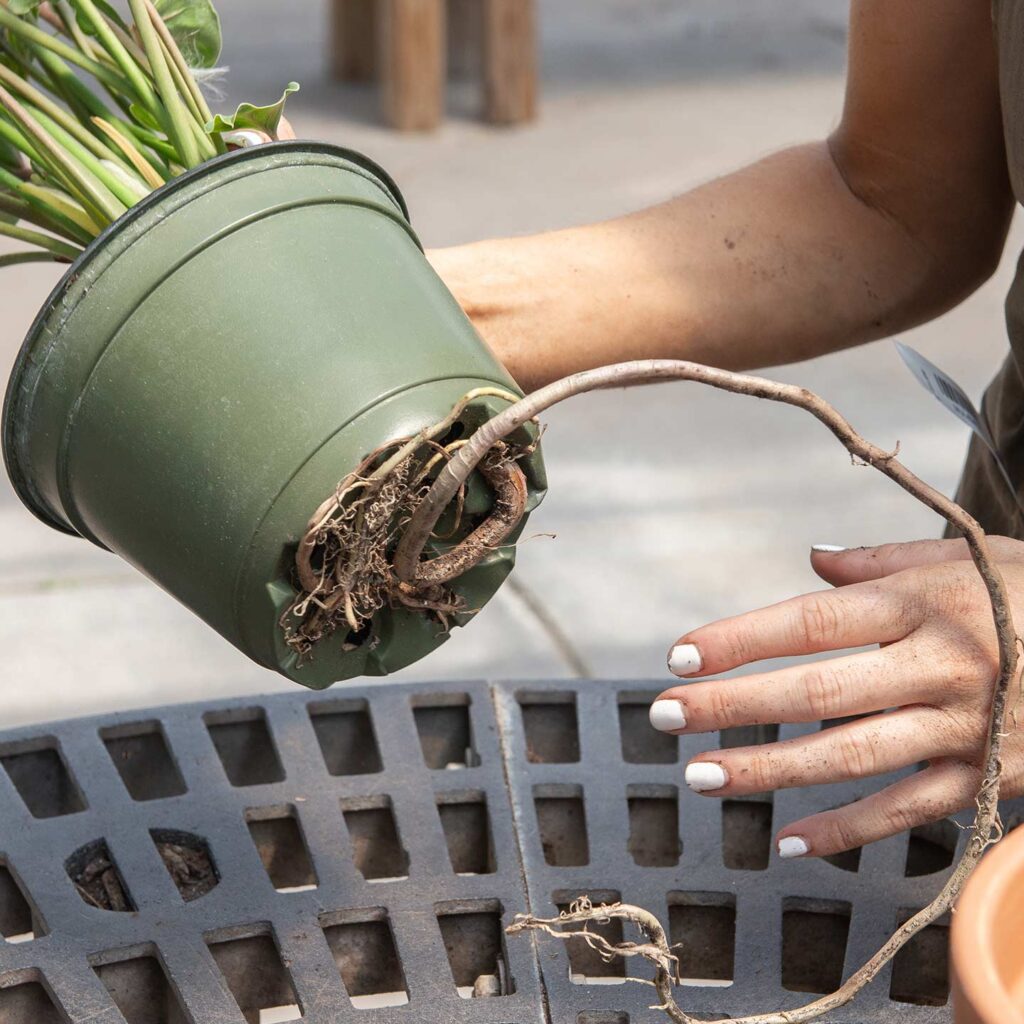
- Roots peeking out from drainage holes
- Roots circling the surface of the soil
- Water draining through the pot too quickly
- Plant growth has slowed or leaves are wilting
- Soil looks depleted or compacted
- White salt or mineral buildup on the soil surface
What You’ll Need to Repot
Before you begin, gather these essentials:
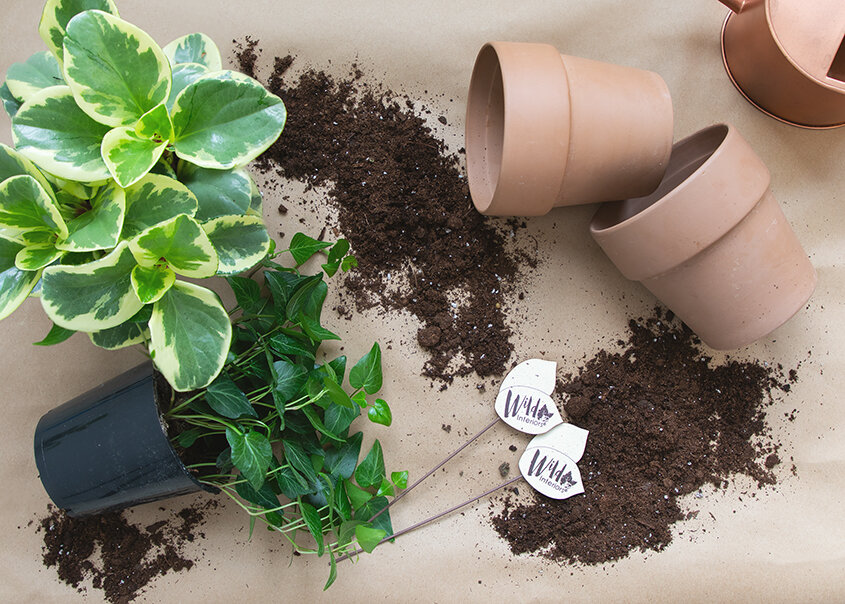
- New pot (1–2 inches larger in diameter than the current one)
- Fresh, well-draining potting mix
- Gloves (optional)
- Garden trowel or spoon
- Watering can
- Scissors or pruning shears
- Old newspapers or plastic sheet (to catch soil)
Note: Ensure your new pot has drainage holes to prevent waterlogging.
How to Repot Your Indoor Plants: Step-by-Step
Step 1: Choose the Right Pot
Select a pot that’s 1–2 inches wider than the current one. Avoid overly large pots, as excess soil can retain water and cause root rot.
For hanging or trailing plants, wider and shallow pots work best. Tall plants need deeper containers for stability.
Step 2: Prepare the New Pot
- Clean the new pot thoroughly, especially if it’s reused.
- Add a layer of small pebbles or broken pottery over the drainage holes (optional, for improved drainage).
- Place a small layer of fresh potting mix at the bottom.
Tip: Use a potting mix suited to your plant type (cactus mix for succulents, moisture-retaining mix for tropical plants).
Step 3: Remove the Plant Gently
- Water the plant a day before repotting to soften the soil.
- Turn the pot sideways and gently hold the plant at the base.
- Tap the sides and bottom of the pot to loosen the root ball.
- Carefully slide the plant out without tugging forcefully.
If the plant is root-bound (tight mass of roots circling inside), use a knife or stick to loosen and untangle roots gently.
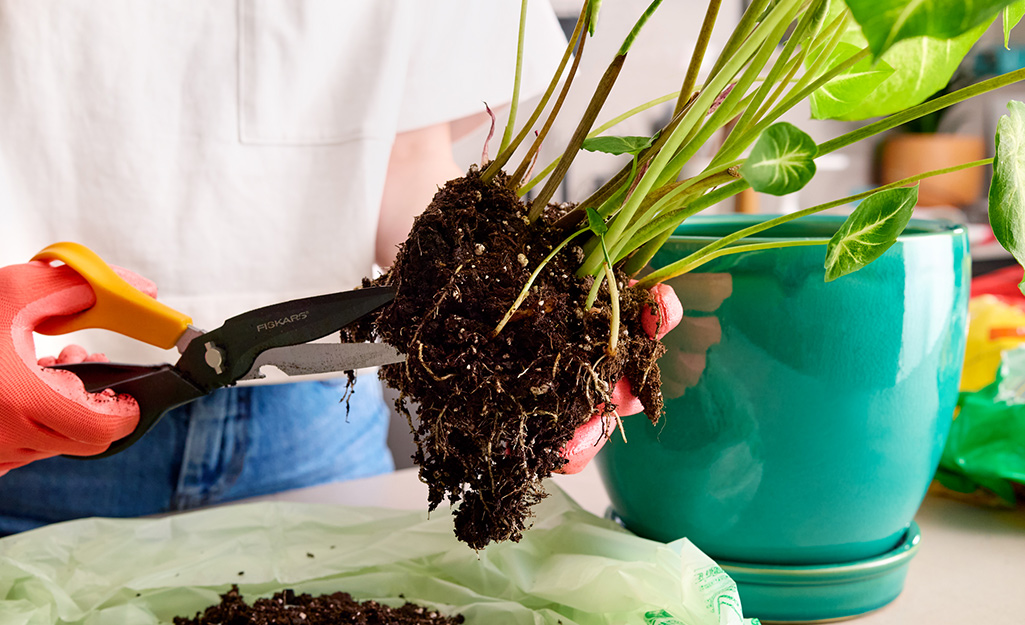
Step 4: Trim Dead or Rotting Roots
Inspect the roots:
- Healthy roots: white or light tan, firm
- Dead roots: brown, black, mushy
Use clean scissors or pruning shears to trim away dead, damaged, or excessively long roots.
Tip: This encourages new, healthy root growth.
Step 5: Position the Plant in the New Pot
- Place the plant in the center of the new pot.
- Adjust the height so the top of the root ball sits about 1 inch below the rim of the pot.
This prevents soil from spilling over during watering.
Step 6: Fill in with Fresh Soil
- Add fresh potting mix around the sides of the plant.
- Press gently to eliminate air pockets but avoid compacting too tightly.
- Leave about ½ inch of space at the top for watering.
Step 7: Water Thoroughly
- Water the plant slowly until it drains from the bottom.
- Let it rest in a shaded, warm area for a day or two to adjust.
- Avoid fertilizing immediately after repotting — wait about 4 weeks to let the plant recover.
Aftercare: Post-Repotting Tips
- Keep the plant out of direct sunlight for a few days.
- Maintain consistent watering — don’t let the soil completely dry out or stay soggy.
- Check for signs of transplant shock: drooping leaves, slowed growth (usually temporary).
- Resume normal care routine after 1–2 weeks.
Common Repotting Mistakes to Avoid
Choosing an oversized pot
Using garden soil indoors (can introduce pests and poor drainage)
Failing to trim circling or rotting roots
Forgetting to water after repotting
Compacting soil too tightly around roots
Repotting stressed or sick plants unnecessarily
Bonus: Plants That Dislike Frequent Repotting
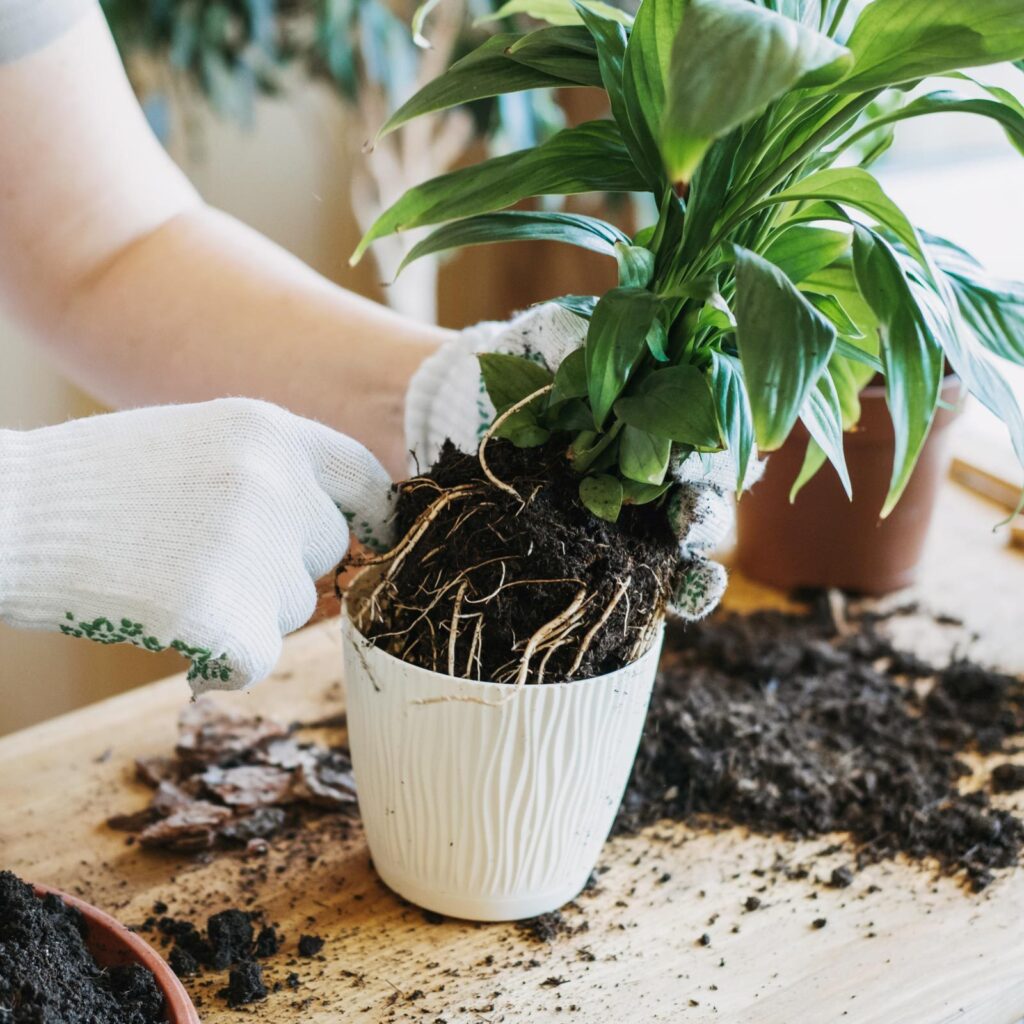
Some plants prefer being slightly root-bound and dislike frequent repotting:
- Snake Plant
- Peace Lily
- Spider Plant
- Aloe Vera
- ZZ Plant
Repot these only when roots completely outgrow the pot or health declines.
Final Thoughts
Repotting is a vital part of indoor plant care, ensuring your green friends stay healthy, grow strong, and beautify your home for years. By learning how to repot your indoor plants the right way, you’ll protect them from root issues, refresh their soil nutrients, and give them the space they need to thrive.
It’s easier than you might think — and your plants will thank you with lush, vibrant growth. So grab those pots, fresh soil, and let’s give your plant babies a fresh start!
