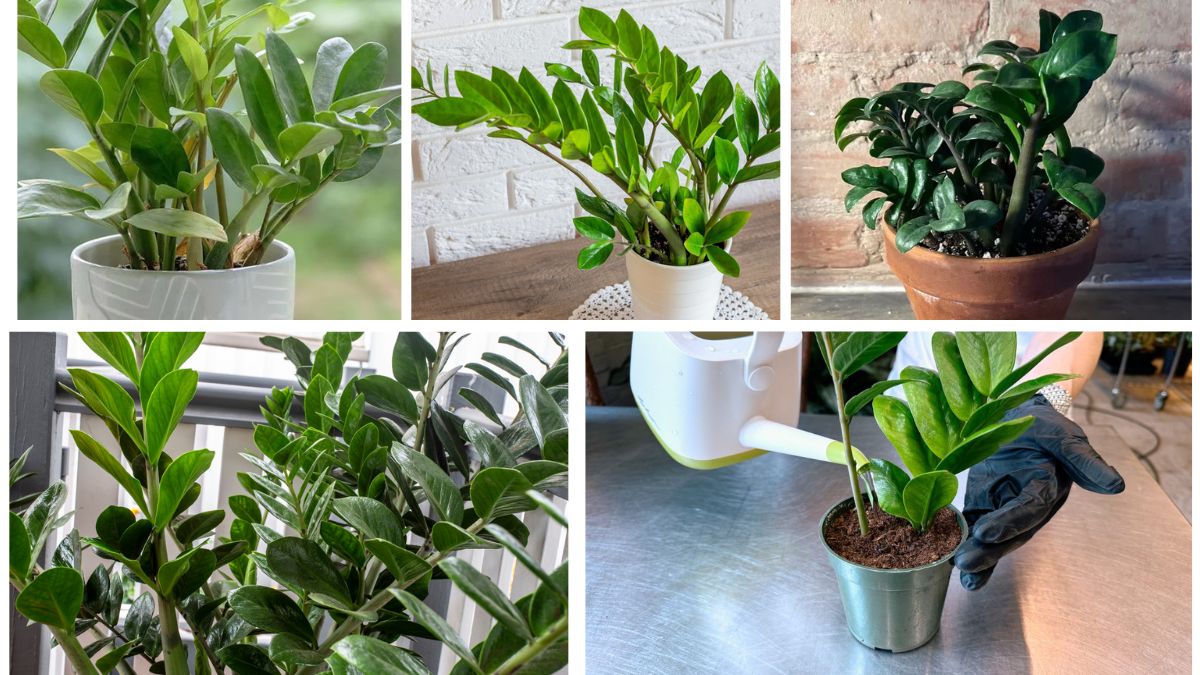
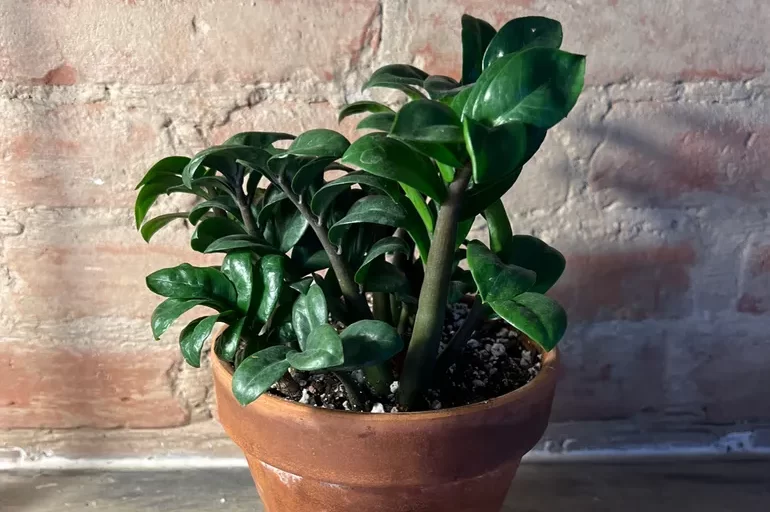
The ZZ plant (Zamioculcas zamiifolia), also known as the Zanzibar Gem, is one of the most popular indoor plants because of its striking glossy leaves, resilience, and low-maintenance nature. Native to Eastern Africa, this plant has gained global admiration for its ability to thrive even in low-light conditions and withstand infrequent watering.
For plant lovers, one of the most rewarding aspects of owning a ZZ plant is learning how to propagate it. Propagation allows you to grow new plants from your existing one, expand your indoor greenery, and even share healthy cuttings with friends and family. If you’ve ever admired the lush look of a ZZ plant and wished for more, propagation is the perfect way to multiply your collection.
In this complete guide, we’ll cover everything you need to know about propagating ZZ plants successfully, from different propagation methods to aftercare tips.
Why Propagate a ZZ Plant?
Before diving into the step-by-step process, let’s understand why propagation is worth the effort:

- Cost-Effective Growth: Buying mature ZZ plants from nurseries can be expensive. Propagation gives you new plants for free.
- Gifting Potential: ZZ plants are excellent gifts. A propagated plant in a small pot makes a meaningful, green present.
- Aesthetic Expansion: Propagation lets you fill your home with multiple lush ZZ plants without extra cost.
- Sustainability: Instead of purchasing new plants, propagation makes the most of what you already have.
Three Main Methods of ZZ Plant Propagation
The ZZ plant can be propagated through three primary methods:
- Leaf Cuttings
- Stem Cuttings
- Division of Rhizomes
Each method has its own advantages, and choosing the right one depends on your patience, resources, and how quickly you want results.
1. Propagation by Leaf Cuttings
This is the most popular method because it’s simple and requires minimal effort.
Step-by-Step Guide:

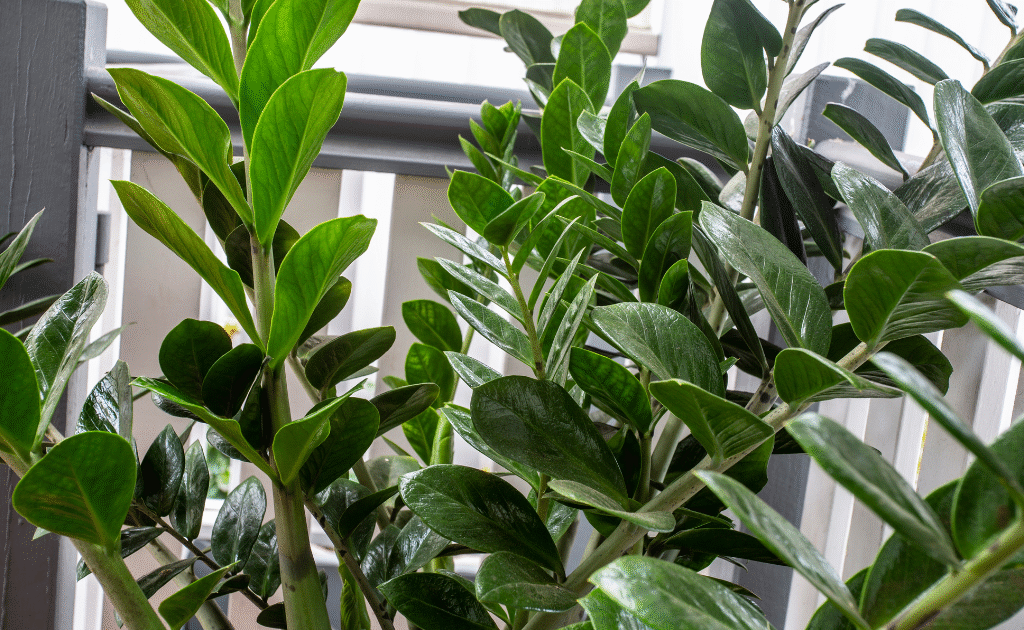
- Select a Healthy Leaf: Choose a mature, glossy leaf from the plant. Avoid yellow or damaged leaves.
- Cut the Leaf: Use sterilized scissors or pruning shears to snip the leaf at its base.
- Prepare the Cutting: Let the leaf cutting air-dry for a few hours to prevent rotting.
- Planting the Leaf: Place the base of the leaf into a small pot with well-draining soil mix (ideally a blend of potting soil, perlite, and sand).
- Watering: Lightly water the soil, keeping it slightly moist but never soggy.
- Root Formation: Over time, a rhizome (underground tuber) will form at the base, eventually sprouting roots and new shoots.
Patience Needed: This method takes the longest. It may take 6–9 months before you notice new growth.
Best For: Beginners who want an easy, low-maintenance way to propagate.
2. Propagation by Stem Cuttings
Stem cutting is a faster alternative to leaf cuttings, as stems already contain multiple leaves and nodes.
Step-by-Step Guide:

- Choose a Healthy Stem: Pick a long, healthy stem with at least 3–5 leaves.
- Cut the Stem: Use clean shears to cut the stem near the base of the plant.
- Water Propagation Option: Place the stem in a glass jar filled with clean water, ensuring the base is submerged but leaves remain above water. Change the water every 1–2 weeks. Roots usually develop within 2–3 months.
- Soil Propagation Option: Instead of water, you can directly plant the stem cutting in moist, well-draining soil.
Advantages: This method provides faster results compared to leaf cuttings.
Best For: Plant parents who want quicker propagation success.
3. Propagation by Rhizome Division
The ZZ plant grows from rhizomes, thick tuber-like structures that store water and nutrients. Dividing rhizomes is the quickest propagation method, but it requires a mature plant.
Step-by-Step Guide:

- Remove the Plant from Its Pot: Gently take the ZZ plant out of its container. Shake off excess soil.
- Locate the Rhizomes: You’ll notice potato-like structures at the root base.
- Divide the Rhizomes: Using a clean, sharp knife, separate one or more rhizomes, ensuring each has roots and shoots attached.
- Replanting: Place each rhizome division in a separate pot with well-draining soil.
- Watering: Lightly water the soil and keep the pot in bright, indirect light.
Advantages: Fastest propagation method with immediate plant growth.
Best For: Experienced gardeners with mature, large ZZ plants.
Best Soil and Conditions for ZZ Plant Propagation
No matter which method you choose, the right conditions are key to success.
- Soil: Use a well-draining mix (potting soil + perlite + sand). ZZ plants hate soggy soil.
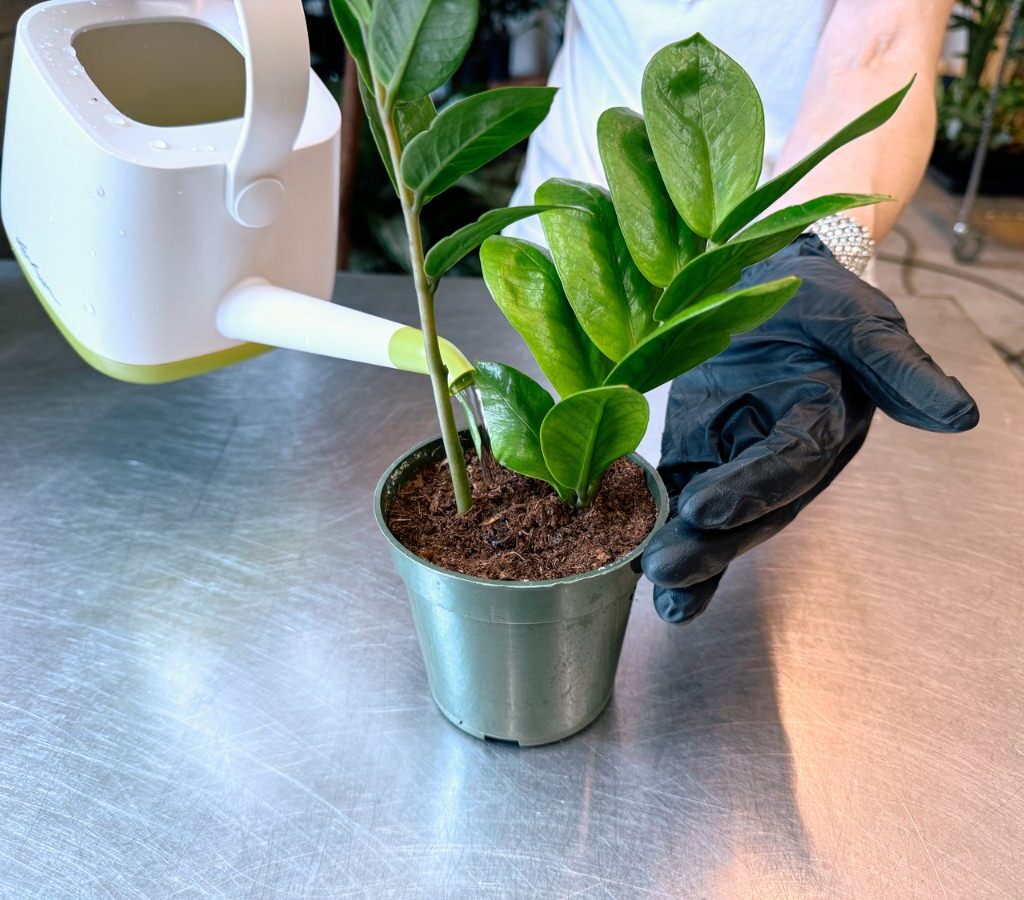
- Watering: Keep the soil lightly moist but avoid overwatering. Let the top inch dry out before watering again.
- Light: Place the cuttings in bright, indirect light. Too much direct sunlight can scorch leaves, while low light slows growth.
- Temperature: ZZ plants thrive in warm conditions between 65–85°F (18–29°C).
- Humidity: Average indoor humidity works fine, but avoid extremely dry air.
Aftercare for New ZZ Plant Growth
Once your propagated ZZ plant starts developing roots and shoots, proper care ensures long-term success.

- Gradual Light Exposure: Avoid sudden direct sun exposure. Let the plant adjust slowly.
- Fertilization: Feed with a balanced liquid fertilizer diluted to half strength every 6–8 weeks during the growing season (spring and summer).
- Pot Size: ZZ plants prefer being slightly root-bound, so avoid large pots.
- Pest Control: Watch for pests like spider mites or mealybugs. Wipe leaves regularly with a damp cloth.
- Patience with Growth: ZZ plants are slow growers. Don’t be discouraged if new leaves take months to appear.
Common Mistakes to Avoid When Propagating ZZ Plants
- Overwatering: The most common mistake. Too much water causes root rot.
- Using Heavy Soil: Dense soil retains excess moisture, leading to rotting.
- Impatience: ZZ plants are famously slow to propagate. Don’t discard cuttings too soon.
- Too Much Sunlight: Direct sunlight burns their glossy leaves.
Benefits of Propagating ZZ Plants
- Indoor Air Purification: ZZ plants are known to filter toxins like xylene and toluene.
- Stress Reduction: Having more greenery improves mental health and reduces stress.
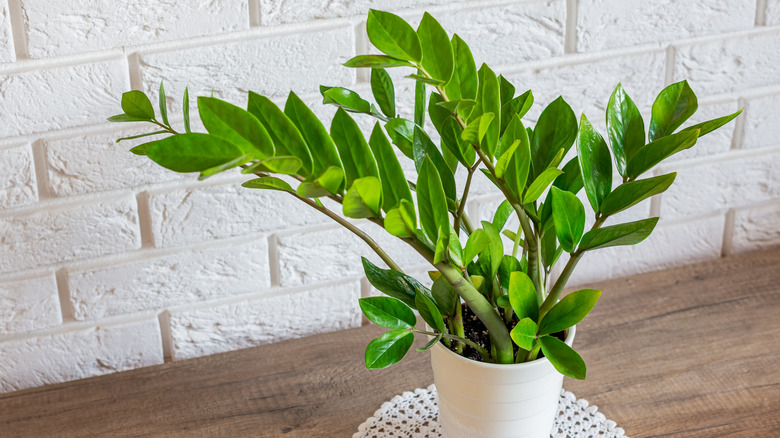
- Decorative Use: Multiple propagated plants can be placed around the home or office for a cohesive, lush aesthetic.
- Long-Term Growth: Each propagated ZZ plant can live for years, making it a lasting addition to your indoor garden.
Conclusion
Propagating ZZ plants is a rewarding process that allows you to expand your greenery, share plants with loved ones, and enjoy the satisfaction of growing new life from your existing plant. Whether you choose leaf cuttings, stem cuttings, or rhizome division, patience and proper care are the keys to success.
By providing the right soil, light, and watering routine, your propagated ZZ plants will thrive and reward you with healthy, glossy green leaves for years to come.
With time, you’ll not only have more ZZ plants to decorate your home but also gain a deeper appreciation for the resilience and beauty of this remarkable plant.