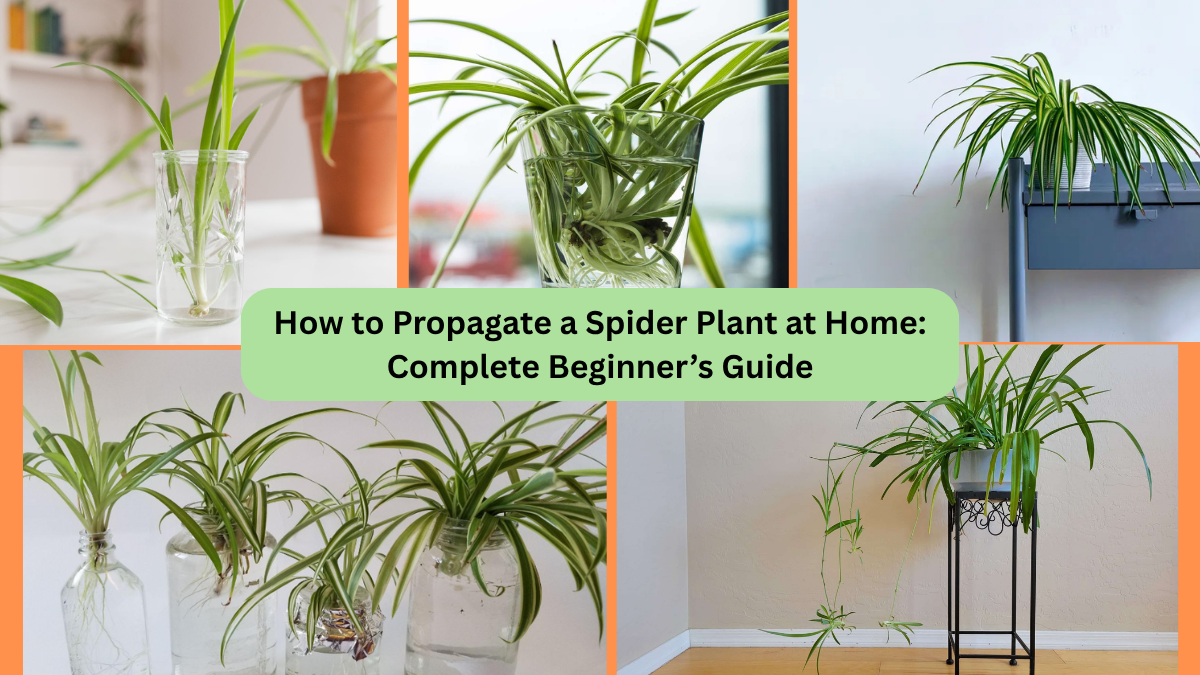
Spider plants (Chlorophytum comosum) are one of the most popular and easy-care houseplants around the world. Loved for their arching, ribbon-like leaves and ability to purify indoor air, they’re also famous for being incredibly easy to propagate. If you’re looking to grow your own indoor jungle or gift new plants to friends and family, spider plant propagation is one of the simplest, most rewarding ways to do it.
This guide will walk you through how to propagate a spider plant at home — covering various propagation methods, what supplies you’ll need, step-by-step instructions, care tips for new plants, and solutions to common problems.
Let’s dive in and get your plant babies growing!
Why Propagate a Spider Plant?

Before we get into how to propagate, here’s why you should:
- Expand your houseplant collection for free
- Refresh an overgrown or root-bound spider plant
- Create thoughtful plant gifts
- Learn basic propagation skills perfect for beginners
- Add natural air purifiers to every room
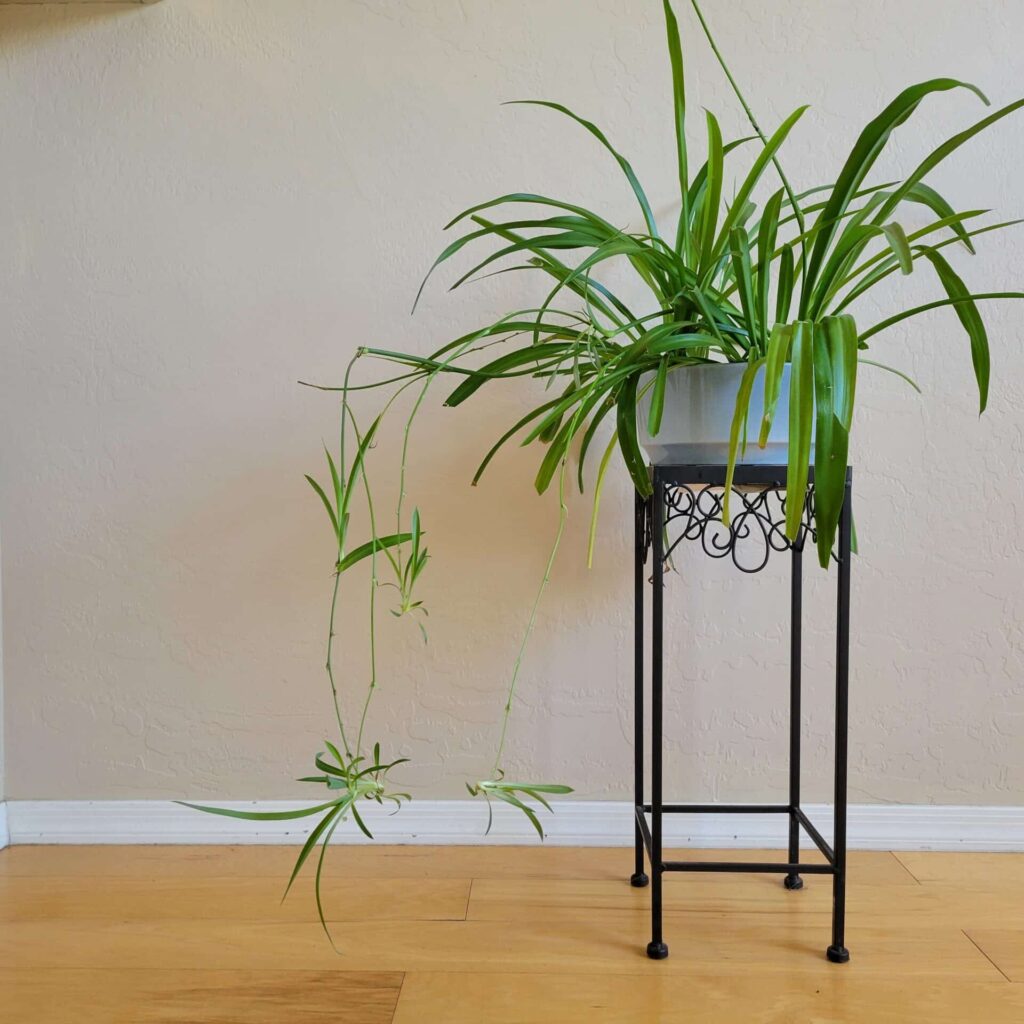
Spider plants naturally produce baby plantlets, called “pups” or “spiderettes”, making propagation a breeze even for first-time plant parents.
Best Time to Propagate a Spider Plant
While spider plants can be propagated year-round indoors, the best time is during the plant’s active growing season — spring and early summer. Warm temperatures, bright indirect light, and longer daylight hours help new cuttings or pups establish roots faster.
What You’ll Need
To successfully propagate a spider plant at home, gather these supplies:
- A healthy, mature spider plant
- Clean, sharp scissors or garden shears
- Small pots with drainage holes
- Potting mix (well-draining, all-purpose houseplant soil or a mix of peat moss, perlite, and compost)
- Small glass jars (for water propagation)
- Clean, filtered water
3 Popular Methods for Propagating Spider Plants
There are three easy ways to propagate spider plants at home:
- Propagating Spider Plant Pups in Water
- Propagating Spider Plant Pups in Soil
- Propagating from Division (splitting a mature plant)
Let’s cover them in detail:
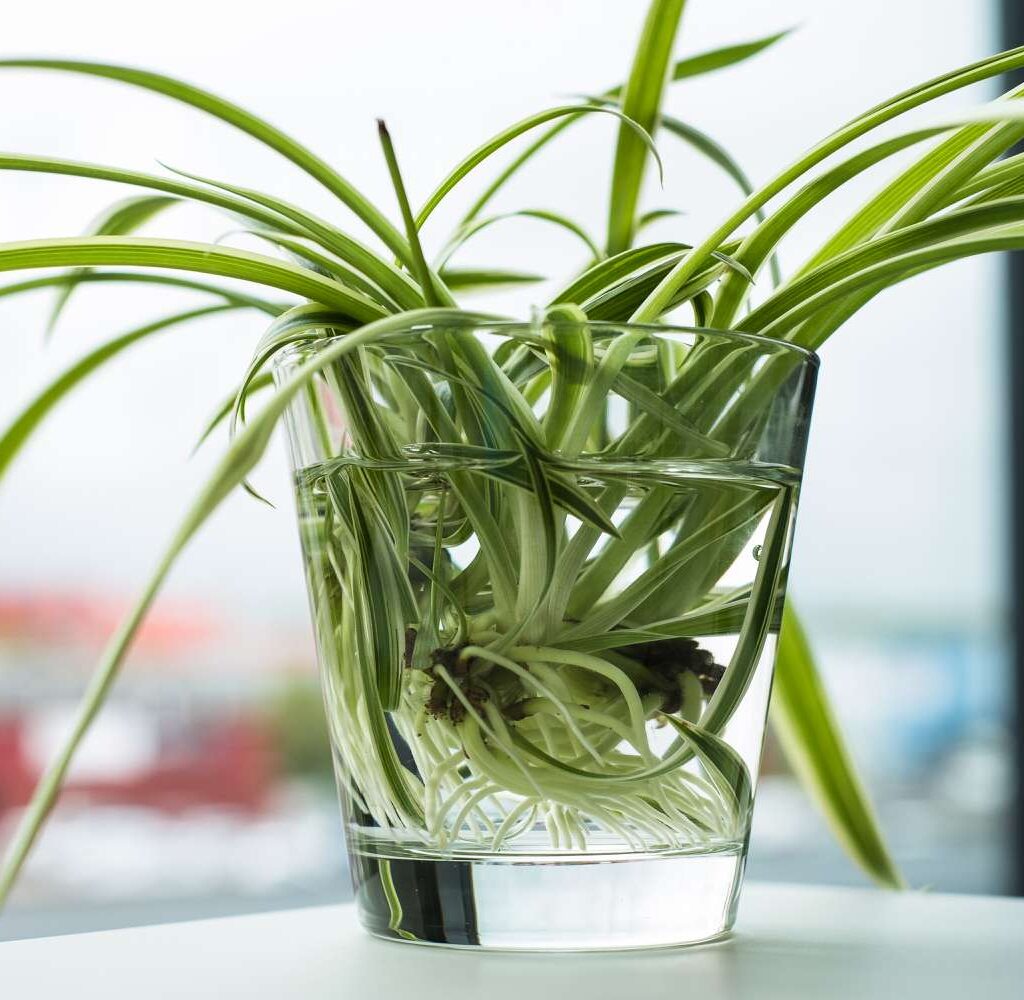
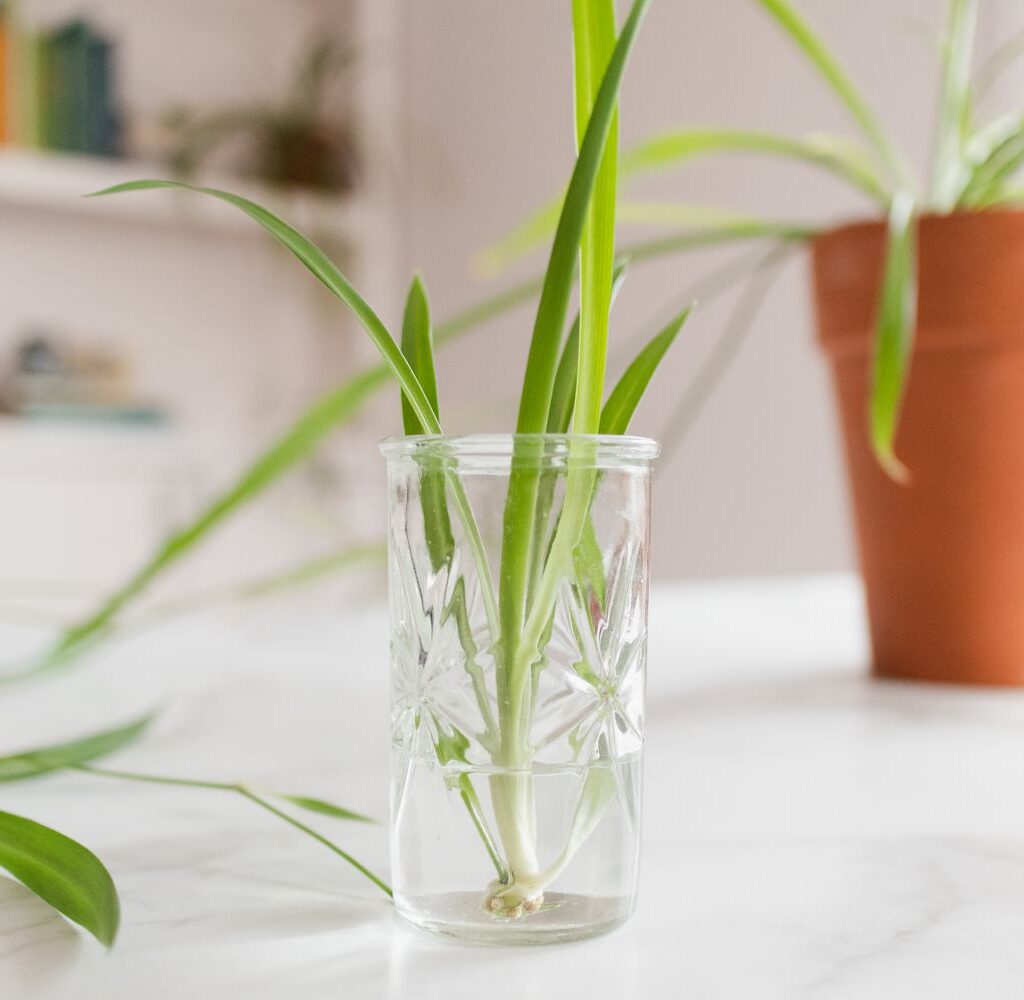
Propagating Spider Plant Pups in Water
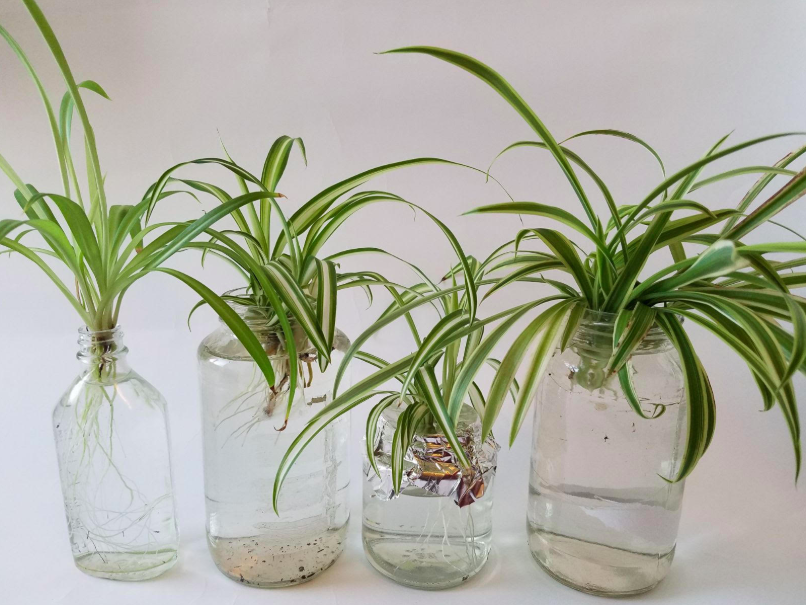
Water propagation is a fun, beginner-friendly way to grow new plants. It’s also visually appealing as you watch roots develop.

Steps:
- Identify a healthy spiderette: Look for pups with small, visible roots or multiple leaves.
- Snip the pup: Use sterilized scissors to cut the pup from the long stem (runner) connecting it to the mother plant.
- Place in water: Put the base of the pup in a small glass jar filled with clean, filtered water. Ensure only the bottom part is submerged, not the leaves.
- Provide indirect sunlight: Place the jar near a bright window, but away from direct sun.
- Change water regularly: Refresh the water every 3–5 days to keep it clean and oxygenated.
- Wait for roots: Roots usually grow within 1–2 weeks. Once the roots are about 1–2 inches long, transfer the pup to soil.
Propagating Spider Plant Pups in Soil
Soil propagation skips the water stage and encourages stronger, soil-adapted roots from the start.
Steps:
- Choose a healthy pup: Similar to the water method, pick a spiderette with a few leaves and, if possible, tiny starter roots.
- Cut from the mother plant: Snip the runner just above the base of the pup.
- Prepare a small pot: Fill a pot with well-draining houseplant soil.
- Plant the pup: Make a hole in the soil and gently plant the pup with its base just below the soil line.
- Water lightly: Moisten the soil, ensuring it’s not soggy.
- Provide indirect light: Keep in a bright spot away from direct sun.
- Care for it like a mature spider plant: Water when the top inch of soil feels dry. In 2–3 weeks, the pup should start growing new leaves.
Propagating from Division
If your spider plant has become root-bound or overcrowded, dividing the entire plant is an excellent way to propagate several new ones.
Steps:
- Remove the plant from its pot: Gently tip it out, loosening the soil.
- Separate root clusters: Using your hands or a clean knife, carefully split the plant into sections, ensuring each has roots attached.
- Repot divisions: Plant each section in its own pot with fresh, well-draining soil.
- Water and care: Lightly water and keep in indirect light. New growth will typically appear within a few weeks.
Ideal Conditions for Propagating Spider Plants
Whether propagating in water or soil, these conditions will encourage successful rooting:
- Light: Bright, indirect sunlight
- Temperature: 65–85°F (18–29°C)
- Humidity: Average indoor humidity is perfect
- Water: Keep water fresh for water propagation; lightly moisten soil for soil propagation
Avoid placing cuttings in harsh direct sunlight, as it can scorch the leaves or overheat water jars.
Common Problems and Fixes
Even though spider plants are easygoing, propagation can occasionally run into issues. Here’s how to troubleshoot:

| Problem | Cause | Solution |
|---|---|---|
| Brown, mushy cuttings | Overwatering or contaminated water | Change water often; let soil dry between waterings |
| No root growth | Low light or cold temperatures | Move to a brighter, warmer spot |
| Wilting spiderettes | Too much or too little water | Adjust watering routine |
| Algae in water jars | Sun exposure or stale water | Use opaque containers and refresh water regularly |
How Long Does Propagation Take?
- Water Propagation: 1–2 weeks for roots, then transfer to soil
- Soil Propagation: 2–3 weeks for roots to establish
- Division: Instant new plants
Patience is key — while spider plants propagate quickly, visible new growth may take a few weeks.
Bonus Care Tips for New Spider Plant Pups
- Use room-temperature water when propagating in jars.
- Avoid overwatering young plants in soil; soggy soil leads to root rot.
- Gradually increase sun exposure as new plants mature.
- Add a diluted, balanced houseplant fertilizer once pups are established.
- Prune off any damaged or brown leaves to encourage healthy growth.
Final Thoughts
Propagating a spider plant at home is one of the easiest, most satisfying plant projects — perfect for beginners and seasoned indoor gardeners alike. Whether you choose to propagate in water, soil, or by dividing a mature plant, you’ll enjoy watching new plants take root and thrive.
In just a few weeks, those adorable spiderettes will transform into full-grown, air-purifying houseplants ready to decorate your space or gift to fellow plant lovers.