Cherries (Prunus avium and Prunus cerasus) are cherished for their sweet, juicy fruits and ornamental blossoms. Growing cherry trees from pits is an engaging and educational project that allows gardeners to witness the entire life cycle from seed to tree. While it requires patience and careful care, planting cherry pits can result in fruit-bearing trees and a beautiful addition to any garden. This guide provides a comprehensive, step-by-step approach to help beginners succeed.
Introduction
Growing cherries from pits is a rewarding endeavor for gardeners and plant enthusiasts. Unlike purchasing young saplings, starting from a cherry pit allows you to experience the full growth journey, understanding the biology and seasonal needs of the tree.
Home-grown cherry trees not only provide delicious fruit but also enhance your landscape with vibrant spring blossoms and attract pollinators like bees and butterflies. With proper care, a cherry tree can thrive for decades, providing both beauty and sustenance.
1. Selecting the Right Cherry Pit
The first step is choosing a healthy, viable pit.
Guidelines:
- Select fully ripe cherries, preferably organic to avoid chemical treatments.
- Carefully remove the pit, avoiding cracks or damage, as this can reduce germination success.
- Look for plump, firm pits without discoloration or mold.
Benefits:
Starting with a healthy pit increases the chances of successful germination and vigorous growth.

2. Preparing Cherry Pits for Planting
Cherry seeds require cold stratification, mimicking winter conditions to break dormancy.
Steps:
- Clean the pit thoroughly to remove all fruit flesh, preventing mold growth.
- Place the pit in a moist paper towel or sand inside a sealed plastic bag.
- Refrigerate at 33–41°F (1–5°C) for 8–12 weeks.
Tips:
- Ensure the medium remains moist but not soggy.
- Check periodically for signs of mold, discarding any infected seeds.
Benefits:
Cold stratification increases germination rates by tricking the seed into “thinking” it has gone through winter.
3. Germinating Cherry Pits
After stratification, the cherry pit is ready for germination.
Steps:
- Remove the pit from the refrigerator and soak in warm water for 24 hours to soften the seed coat.
- Plant the pit 2–3 inches deep in a small pot filled with well-draining potting mix.
- Place in a warm, sunny location with indirect light.
- Keep the soil moist but not waterlogged.
Timeline:
- Germination may take 2–8 weeks, depending on the cherry variety and environmental conditions.
Benefits:
A properly germinated pit ensures healthy root development and strong initial growth.
4. Transplanting Seedlings to Larger Pots
Once seedlings develop 2–3 true leaves and a sturdy root system, they are ready for larger pots.

Steps:
- Choose a well-draining container at least 12 inches deep.
- Use nutrient-rich potting soil suitable for fruit trees.
- Transplant carefully to avoid damaging the delicate roots.
- Water thoroughly after transplanting to settle the soil around roots.
Benefits:
Transplanting at the right stage promotes robust growth and prepares the tree for eventual outdoor planting.
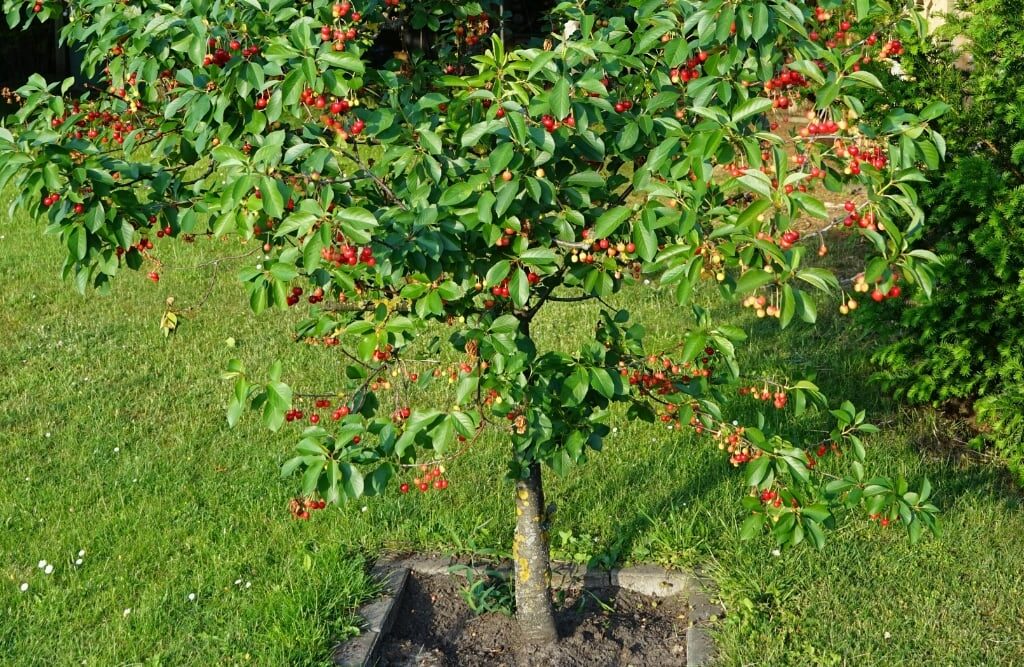
5. Planting Cherry Trees Outdoors
When the seedling reaches 12–18 inches in height and outdoor conditions are favorable, it can be planted in the garden.
Site Selection:
- Full sun exposure for 6–8 hours daily.
- Well-drained soil with slightly acidic to neutral pH (6.0–7.0).
- Protection from strong winds and late frosts.
Planting Steps:
- Dig a hole twice as wide as the root ball.
- Gently remove the tree from the pot and place it in the hole.
- Backfill with soil and water thoroughly.
- Mulch around the base to retain moisture and regulate temperature.
Benefits:
Choosing the right site ensures healthy growth, strong root development, and better fruit production.
6. Watering and Fertilization
Proper watering is critical for young cherry trees.
Guidelines:
- Keep the soil consistently moist during the first year.
- Water deeply 1–2 times per week, depending on rainfall.
- Avoid waterlogging, which can lead to root rot.
Fertilization:
- Apply a balanced fertilizer every 6–8 weeks during the growing season.
- Reduce nitrogen-heavy fertilizers once the tree matures to encourage flowering and fruiting.
Benefits:
Consistent water and nutrients lead to healthy foliage, strong stems, and higher fruit yield.
7. Pruning and Maintenance
Pruning encourages bushy growth, airflow, and fruiting.
Guidelines:
- Prune in late winter while the tree is dormant.
- Remove dead, damaged, or crossing branches.
- Thin out excess growth to allow sunlight to penetrate and reduce disease risk.
Benefits:
Proper pruning improves tree structure, fruit quality, and overall plant health.
8. Pollination and Flowering
Most cherry trees require cross-pollination for fruit set.
Guidelines:
- Plant compatible cherry varieties nearby to improve pollination efficiency.
- Attract pollinators such as bees and butterflies to enhance fruit production.
- Avoid applying pesticides during flowering to protect pollinators.
Benefits:
Successful pollination ensures healthy fruit set and higher yields.
9. Pest and Disease Management
Cherry trees are susceptible to several pests and diseases.

Common Problems:
- Cherry leaf spot: causes yellowing and leaf drop.
- Aphids, spider mites, and borers: damage leaves and stems.
- Brown rot: affects flowers and fruit.
Solutions:
- Apply organic treatments like neem oil or insecticidal soap.
- Maintain good garden hygiene by removing fallen leaves and infected fruit.
- Ensure adequate spacing for airflow to reduce fungal infections.
Benefits:
Early intervention prevents significant damage and ensures a healthy tree.
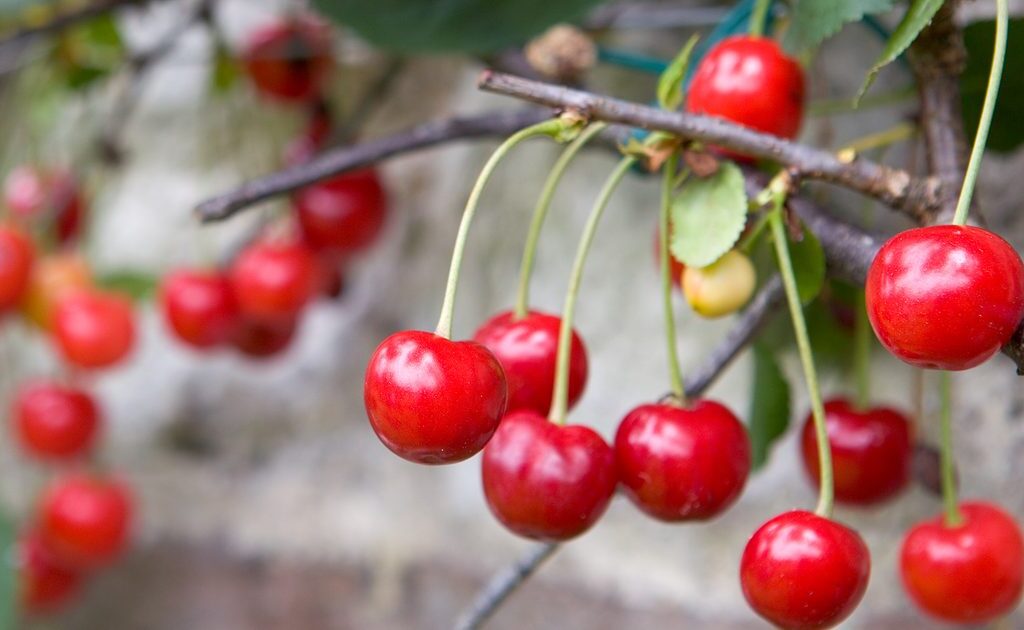
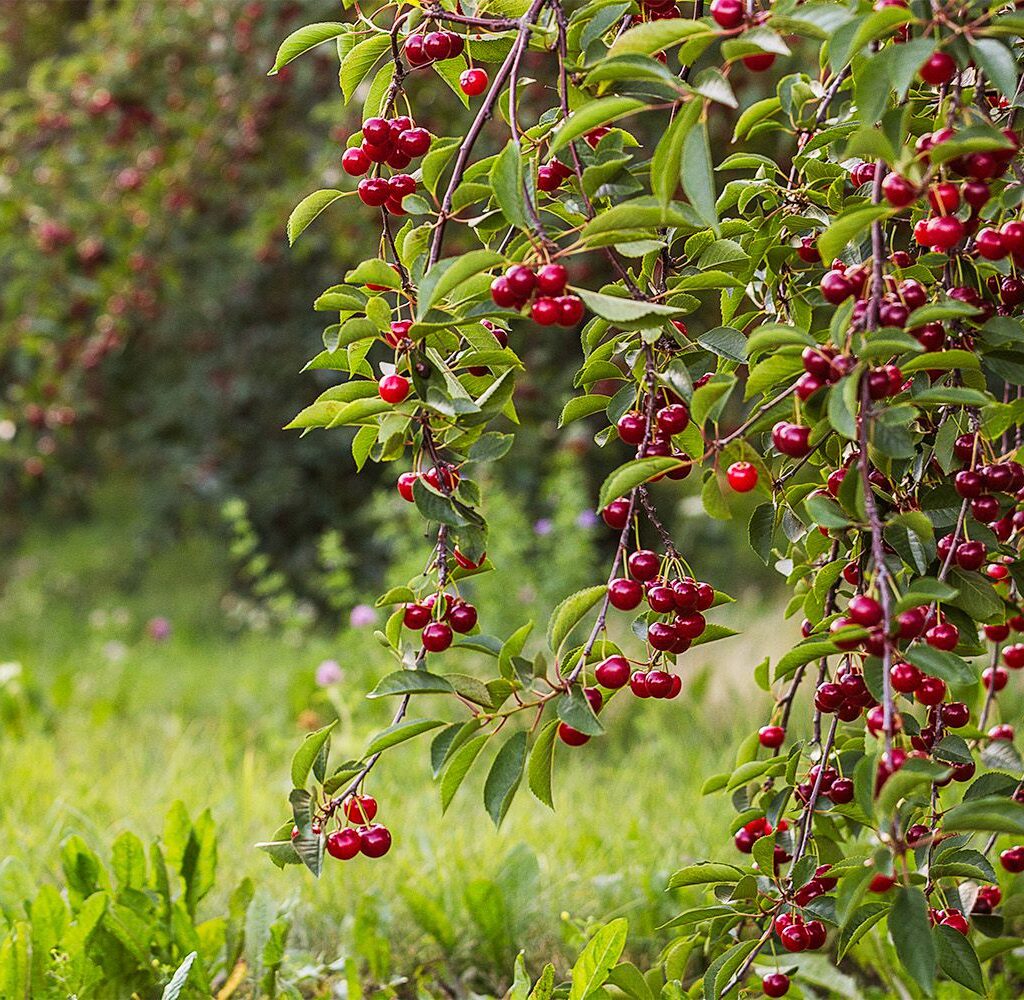
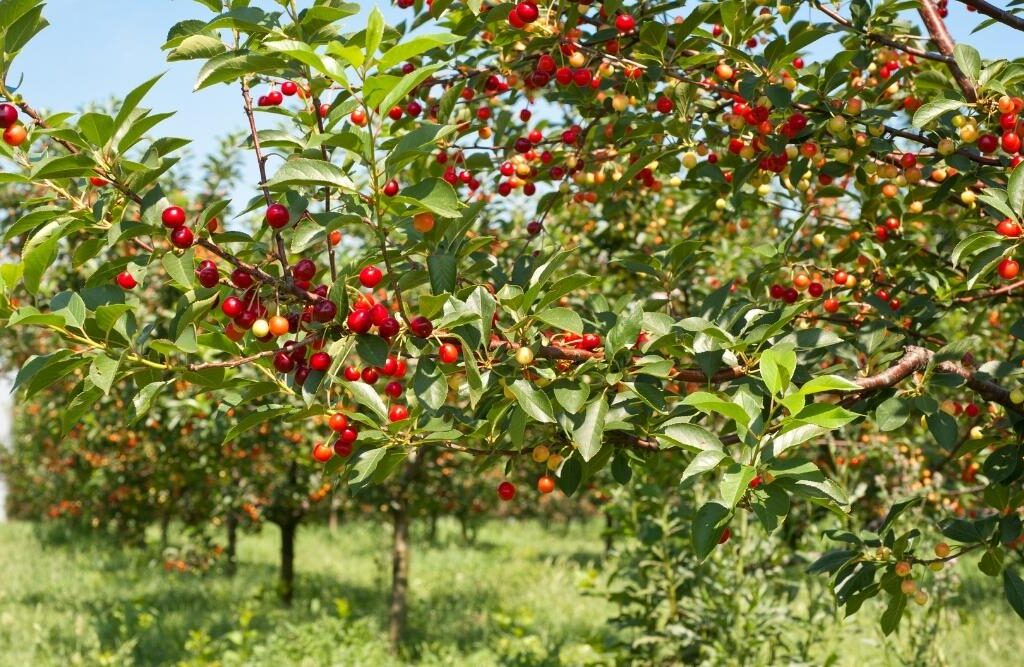
10. Harvesting Cherries
Patience is key—cherry trees grown from pits may take 3–7 years to bear fruit, depending on the variety and growing conditions.
Guidelines:
- Harvest cherries when they are fully colored and firm.
- Pick fruit carefully to avoid damaging branches.
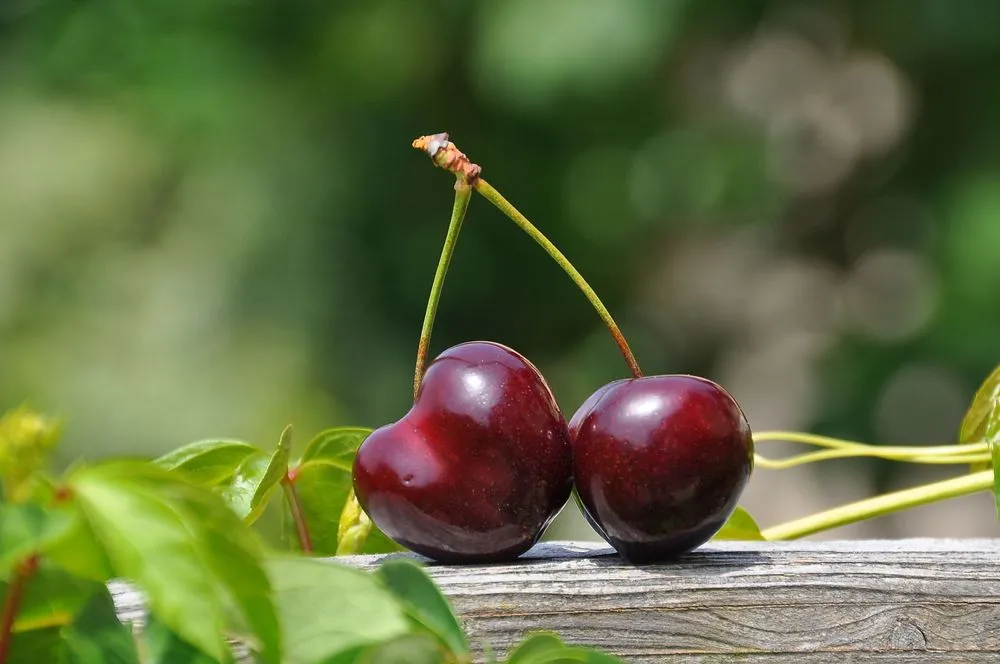
- Enjoy cherries fresh or use them in jams, desserts, and preserves.
Benefits:
Home-grown cherries provide a fresh, flavorful, and chemical-free fruit source.
Conclusion
Growing cherry trees from pits is a rewarding and educational process that combines patience, care, and horticultural skill. By following the steps outlined—from selecting the right pit, stratification, germination, transplanting, and outdoor care—gardeners can successfully cultivate healthy, fruit-bearing trees.
Even if fruit production takes several years, cherry trees add ornamental beauty, attract pollinators, and contribute to a sustainable garden ecosystem. With dedication, careful watering, pruning, and pest management, your cherry tree will flourish for years, rewarding you with delicious fruit and vibrant spring blossoms.
Growing cherries from pits is not just about producing fruit; it’s about cultivating patience, observation, and a connection with nature, making it an ideal project for beginners and seasoned gardeners alike.