Aloe vera is one of the most beloved plants in the world—not just for its striking appearance, but also for its numerous health and skincare benefits. Known as the “plant of immortality” in ancient civilizations, aloe vera has been cherished for centuries. Today, it remains popular as both a decorative houseplant and a natural remedy for soothing burns, nourishing skin, and even aiding digestion.
If you’re a beginner gardener, planting and growing aloe vera is an excellent choice. It requires minimal effort, thrives in most conditions, and rewards you with both beauty and utility. In this guide, we’ll walk you step-by-step through everything you need to know about planting aloe vera successfully.
Why Aloe Vera is Perfect for Beginners
Before diving into the planting process, it’s important to understand why aloe vera is such a beginner-friendly plant:
- Low Maintenance: Aloe vera thrives on neglect—it doesn’t need frequent watering or fertilizing.
- Drought Tolerant: As a succulent, aloe stores water in its leaves, making it perfect for dry climates.
- Indoor & Outdoor Friendly: Aloe vera adapts well to containers indoors and can also grow outdoors in warm climates.
- Healing Properties: Its gel is famous for soothing burns, hydrating skin, and even promoting hair health.
- Fast Growth with Little Effort: With the right care, aloe vera grows steadily and produces baby plants (called pups) that you can replant.
Step 1: Choosing the Right Aloe Vera Variety
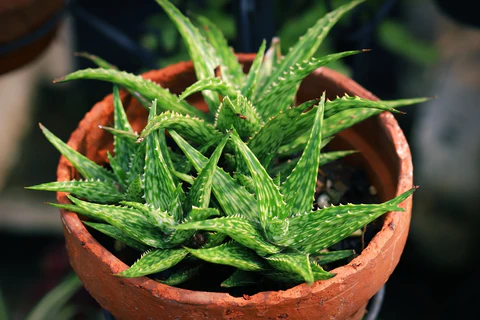
There are many types of aloe, but Aloe barbadensis miller is the most popular variety for home planting. It’s the one most commonly used for skin care and medicinal purposes. Other ornamental varieties exist, but if you want a functional plant that looks great and is useful, this is the one to go for.
Step 2: Selecting the Ideal Pot and Soil
Aloe vera’s success starts with the right container and soil.
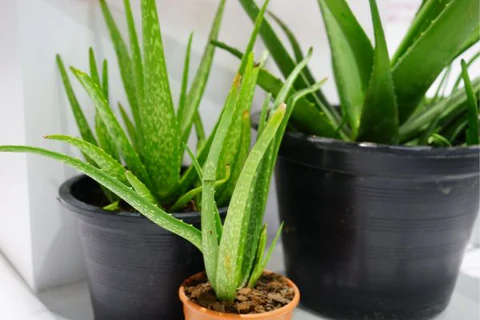
The Pot
- Choose a terracotta or clay pot with a drainage hole at the bottom. These materials allow excess moisture to evaporate, preventing root rot.
- A pot about 6–8 inches deep is ideal for a single aloe vera plant. If you’re planting multiple pups, opt for a wider container.
The Soil
Aloe vera cannot tolerate soggy soil. It needs a well-draining mix similar to what cacti and succulents thrive in.
- Buy a cactus/succulent potting mix from a garden store.
- Or make your own: mix 2 parts regular potting soil, 1 part coarse sand, and 1 part perlite or pumice.
This ensures excellent drainage while still giving your plant the nutrients it needs.
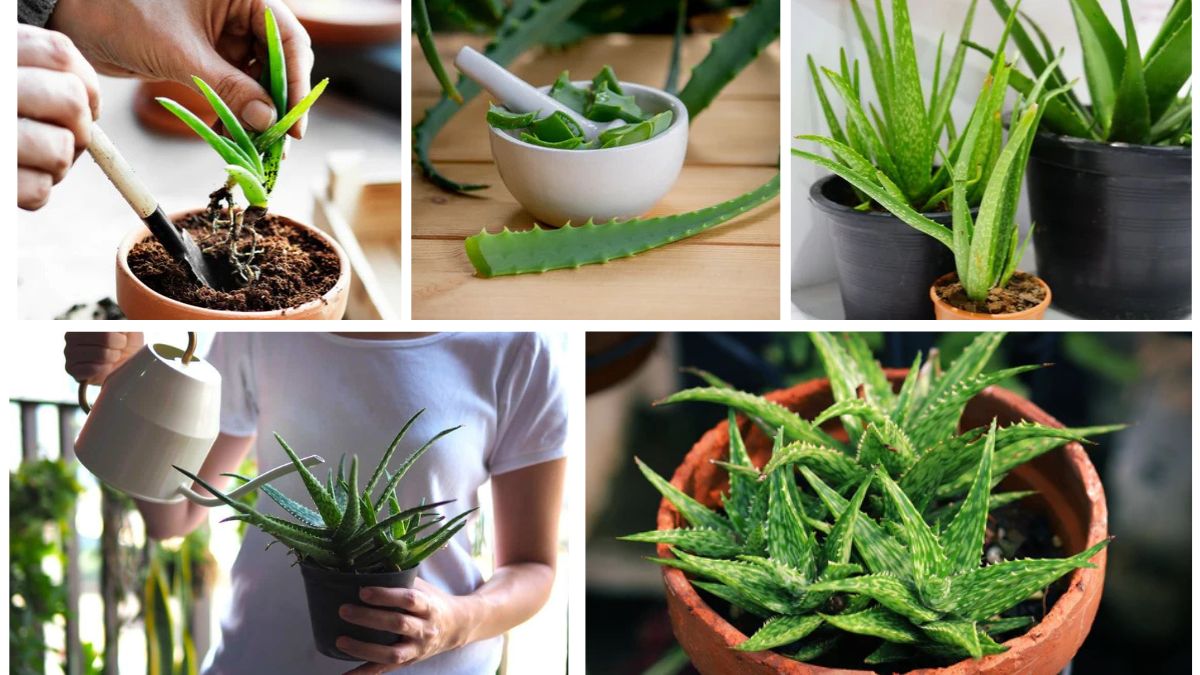
Step 3: Planting Aloe Vera
Once you have the pot and soil ready, planting is simple:

- Prepare the Pot: Fill the pot about two-thirds full with the soil mix.
- Position the Plant: Place your aloe vera in the center, ensuring the roots spread out comfortably.
- Add Soil Around the Roots: Gently fill in soil around the plant, leaving about an inch of space at the top of the pot to avoid overflow during watering.
- Don’t Water Immediately: Wait for about 3–4 days before the first watering. This allows any damaged roots to heal and prevents rot.
Step 4: Finding the Perfect Location
Aloe vera loves sunlight but needs protection from extremes.
- Indoors: Place your aloe near a sunny window where it can get about 6–8 hours of indirect sunlight per day. South or west-facing windows work best.
- Outdoors: If you live in a warm climate (USDA Zones 9–11), aloe vera thrives outside. Place it where it gets morning sunlight and partial afternoon shade to prevent leaf burn.
If your plant starts leaning toward the light, rotate the pot every week to encourage even growth.
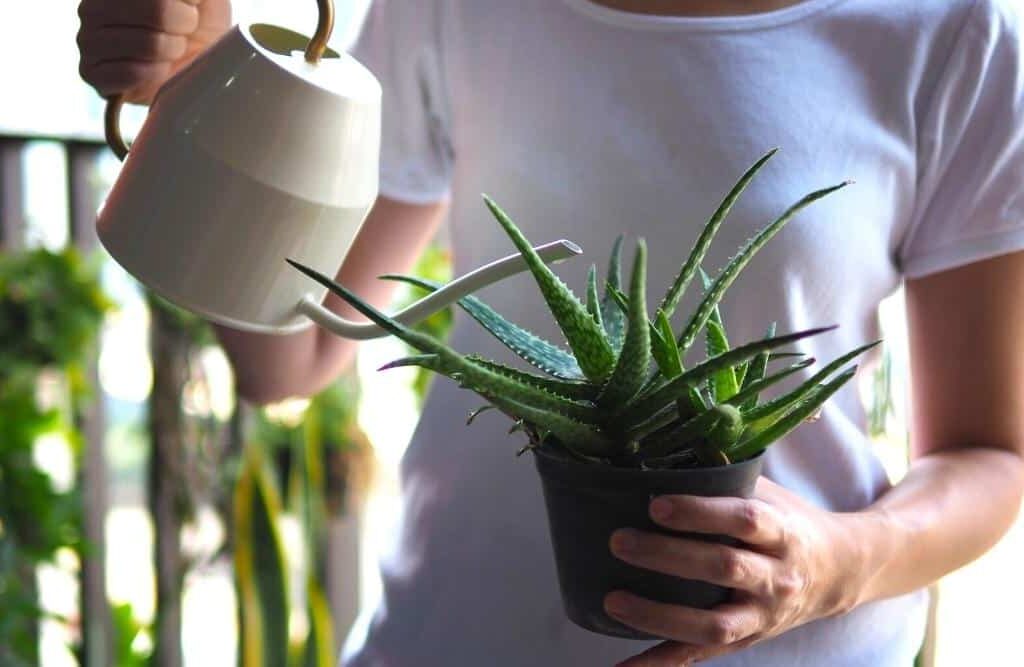
Step 5: Watering Aloe Vera the Right Way
One of the most common mistakes beginners make is overwatering aloe vera.
- How Often to Water: Water your aloe vera every 2–3 weeks, or when the top 2 inches of soil are completely dry. In winter, reduce watering to once a month.
- How to Water: Pour water directly at the base of the plant until it drains out of the bottom. Discard any water that collects in the saucer—never let your plant sit in water.
- Warning Sign: If leaves become mushy or brown at the base, you’re overwatering. If leaves shrivel or curl, it’s underwatered.
Step 6: Fertilizing Aloe Vera
While aloe doesn’t need much feeding, a little boost helps it stay vibrant.

- Fertilize once in spring and once in summer using a diluted succulent fertilizer (half the recommended strength).
- Avoid fertilizing in winter when the plant is dormant.
Step 7: Repotting and Propagation
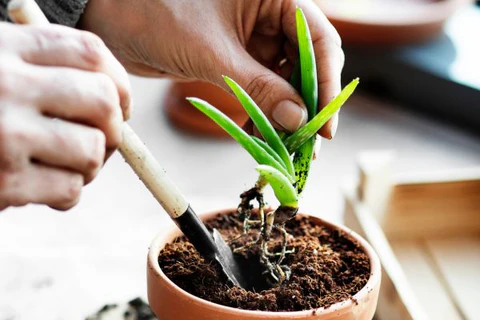
Aloe vera grows pups—baby plants that sprout at the base. Repotting not only refreshes the soil but also gives you the opportunity to multiply your aloe plants.
Repotting Steps
- Carefully remove the aloe from its pot.
- Brush away old soil and check for healthy roots.
- Replant in a slightly larger pot with fresh soil if the plant looks crowded.
Propagating Pups
- Gently separate pups from the mother plant. Each pup should have its own root system.
- Let them sit out for 24 hours to allow the cut ends to callous over.
- Plant them in small pots with succulent soil.
- Water lightly after 3–4 days.
This way, you can create new aloe vera plants for friends, family, or even your own expanding garden.
Step 8: Common Problems and Solutions
Even though aloe vera is hardy, it can sometimes face issues.
- Yellow/Brown Leaves: Overwatering or poor drainage. Check the soil and cut back on watering.
- Thin or Leggy Growth: Not enough sunlight. Move your plant to a sunnier spot.
- Dry Leaf Tips: Underwatering or too much direct heat. Increase watering frequency slightly.
- Pests (like aphids or mealybugs): Wipe leaves with a damp cloth and spray with neem oil.
Step 9: Harvesting Aloe Vera Safely
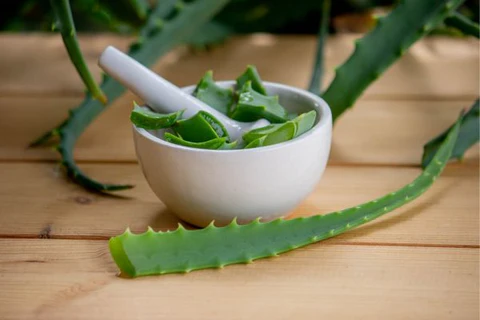
One of the best rewards of growing aloe is using its gel. Here’s how to do it properly:

- Choose mature outer leaves—they’re thicker and contain the most gel.
- Cut the leaf near the base using a clean, sharp knife.
- Stand the cut leaf upright for 10–15 minutes to let the yellow latex (aloin) drain out. This latex can irritate skin.
- Slice the leaf open and scoop out the clear gel with a spoon.
Store fresh gel in the refrigerator for up to a week, or freeze it in cubes for longer use.
Step 10: Extra Tips for Success
- Avoid keeping aloe vera in rooms with no natural light—it won’t thrive.
- If your climate gets too cold (below 50°F / 10°C), bring outdoor plants inside.
- Clean dusty leaves with a damp cloth so they can absorb light better.
- Never use regular garden soil—it retains too much water and suffocates roots.
Conclusion
Planting aloe vera is one of the most rewarding gardening projects for beginners. With minimal effort, you’ll enjoy year-round greenery and the added benefit of having a natural healing plant right at your fingertips. From preparing the right pot and soil to watering correctly and harvesting its soothing gel, aloe vera proves that gardening doesn’t have to be complicated to be fulfilling.
So, grab a pot, some well-draining soil, and a small aloe vera plant—and start your journey toward growing a low-maintenance, useful, and beautiful green companion today!