Watermelons are one of the most refreshing fruits to enjoy on a hot summer day, with their juicy, sweet flesh and thirst-quenching qualities. The good news is that you don’t have to rely on grocery stores to get your hands on fresh melons—you can grow them yourself! While watermelon plants need a bit of space, warmth, and care, the process is incredibly rewarding. From planting the seeds to harvesting those big green beauties, this step-by-step guide will help you cultivate watermelons successfully right in your garden.
Introduction to Growing Watermelons

Watermelons (Citrullus lanatus) are warm-season crops that thrive in hot, sunny weather. They are members of the cucurbit family, which also includes cucumbers, pumpkins, and squash. Known for their sprawling vines and large fruit, watermelons require patience and attention, but the payoff is well worth it.
Whether you’re planting them in your backyard garden, raised beds, or even containers, the right approach will ensure a sweet harvest. Beginners may find growing watermelons challenging, but with the right steps and consistent care, you’ll soon enjoy delicious homegrown fruit.
Step 1: Choosing the Right Variety
Watermelons come in many shapes, sizes, and flavors. Before planting, it’s important to select the variety that best fits your space, climate, and taste preferences.
Popular Varieties:
- Sugar Baby: A small, round melon perfect for small gardens. Matures quickly in about 70–80 days.
- Crimson Sweet: Known for its striped rind and sweet, red flesh. Larger, ideal for bigger gardens.
- Charleston Gray: Oblong in shape and resistant to many diseases. Great for warmer climates.
- Seedless Watermelons: Require special pollination but are a favorite for those who prefer no seeds.
Tip: Check your local growing season length. Smaller, quick-maturing varieties work best in regions with shorter summers.

Step 2: Preparing the Soil
Watermelons need warm, well-drained, and nutrient-rich soil. Since they are heavy feeders, they require plenty of organic matter to support their rapid growth.
Ideal Soil Conditions:
- Soil Type: Sandy loam with good drainage.
- pH Level: 6.0–6.8 (slightly acidic to neutral).
- Nutrients: Add compost, aged manure, or organic fertilizers rich in nitrogen, phosphorus, and potassium.
Before planting, loosen the soil about 12–18 inches deep and remove any weeds or debris. Raised mounds or hills are recommended because they warm up quickly and improve drainage.
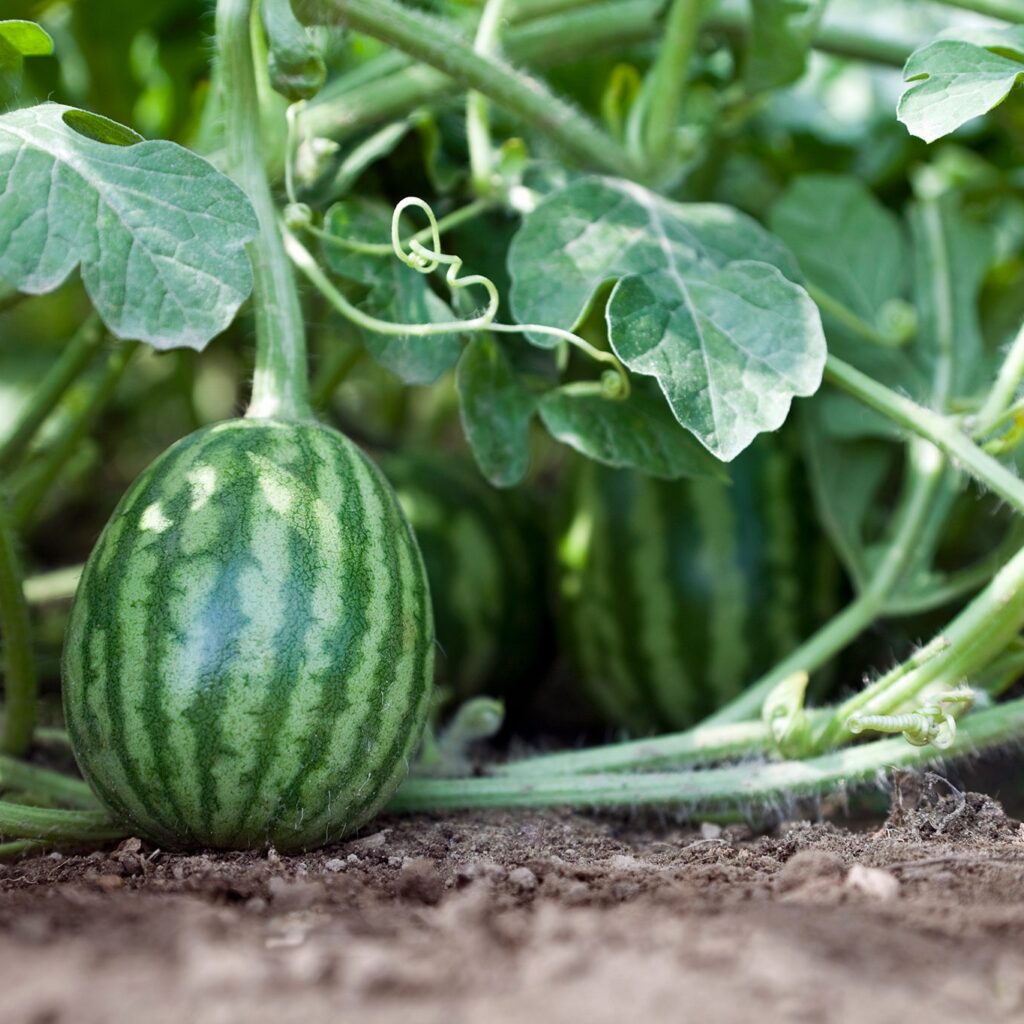
Step 3: Planting Watermelon Seeds
Watermelons thrive in warm weather, so timing is crucial. They need soil temperatures of at least 70°F (21°C) for successful germination.
When to Plant:
- Outdoors: After the last frost when soil is consistently warm.
- Indoors: Start seeds 3–4 weeks before transplanting if you have a short growing season.
How to Plant:

- Form small mounds or hills about 3 feet apart.
- Plant 2–3 seeds per mound, about 1 inch deep.
- Space rows 6–8 feet apart to allow vines to spread.
- Thin to the strongest seedling once they sprout.
For container growing, use large pots (minimum 5 gallons) and a trellis or support system for vines.
Step 4: Watering and Feeding Your Plants
Watermelons need consistent watering, especially during flowering and fruit development. However, overwatering can lead to root rot and less flavorful fruit.
Watering Tips:
- Water deeply once or twice a week.
- Keep soil moist but not soggy.
- Use drip irrigation or soaker hoses to avoid wetting the leaves (reduces risk of disease).
- Reduce watering once fruits start ripening to enhance sweetness.
Fertilizing Schedule:
- Early Growth: Use nitrogen-rich fertilizer to encourage leafy growth.
- Flowering Stage: Switch to a balanced fertilizer with phosphorus and potassium for strong roots and blossoms.
- Fruit Development: Continue feeding with potassium-heavy fertilizer to boost fruit size and sweetness.
Step 5: Supporting Healthy Growth
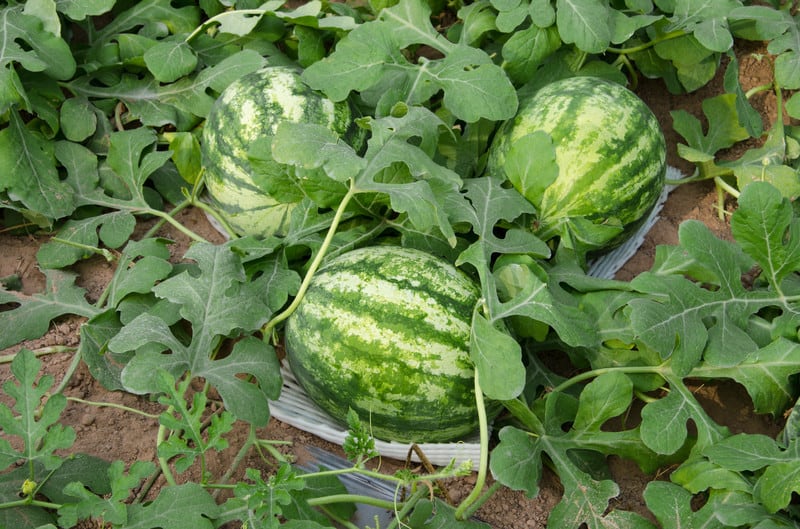
Since watermelon vines sprawl and grow rapidly, they need space and support. Mulching and pruning can also help keep the plants healthy.
Tips for Healthy Growth:

- Mulching: Apply organic mulch (straw, leaves, or grass clippings) around the base to conserve moisture, regulate temperature, and suppress weeds.
- Weeding: Remove weeds regularly to reduce competition for nutrients.
- Pruning: Pinch off excess vines to direct energy toward fruit production. Leave the main vine and a few side shoots.
For smaller gardens, consider vertical growing with a strong trellis and slings to support developing melons.
Step 6: Pollination
Watermelons produce separate male and female flowers. Bees and pollinators play a vital role in transferring pollen from male to female blossoms.
Encouraging Pollination:
- Plant flowers nearby to attract bees.
- Avoid using pesticides that harm pollinators.
- If natural pollination is poor, use a small brush to hand-pollinate by transferring pollen from male to female flowers.
Without proper pollination, fruits may not form or may develop poorly.
Step 7: Monitoring Pests and Diseases
Like many garden crops, watermelons are susceptible to pests and diseases. Preventing problems early will ensure a healthy harvest.
Common Pests:

- Aphids
- Cucumber beetles
- Squash bugs
- Spider mites
Common Diseases:
- Powdery mildew
- Fusarium wilt
- Downy mildew
Prevention Tips:
- Rotate crops each year to reduce soil-borne diseases.
- Avoid overhead watering to minimize fungal issues.
- Use row covers to protect seedlings.
- Apply neem oil or insecticidal soap for organic pest control.
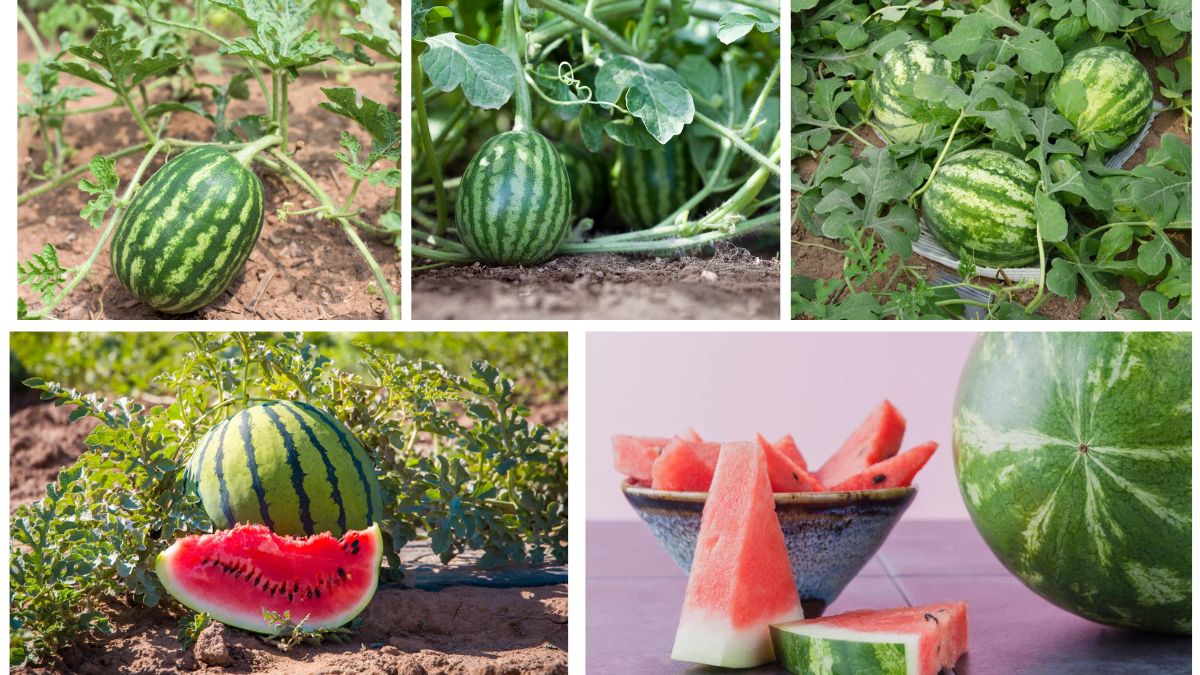
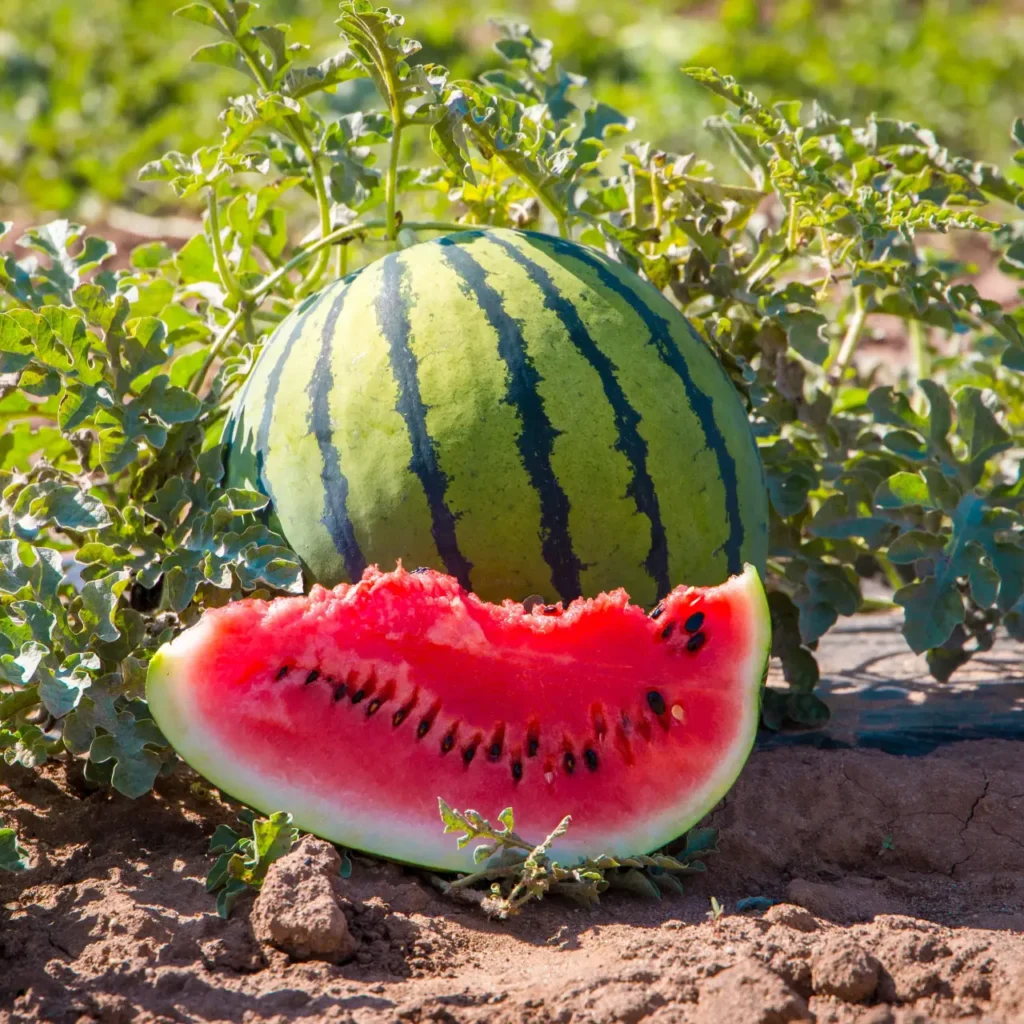
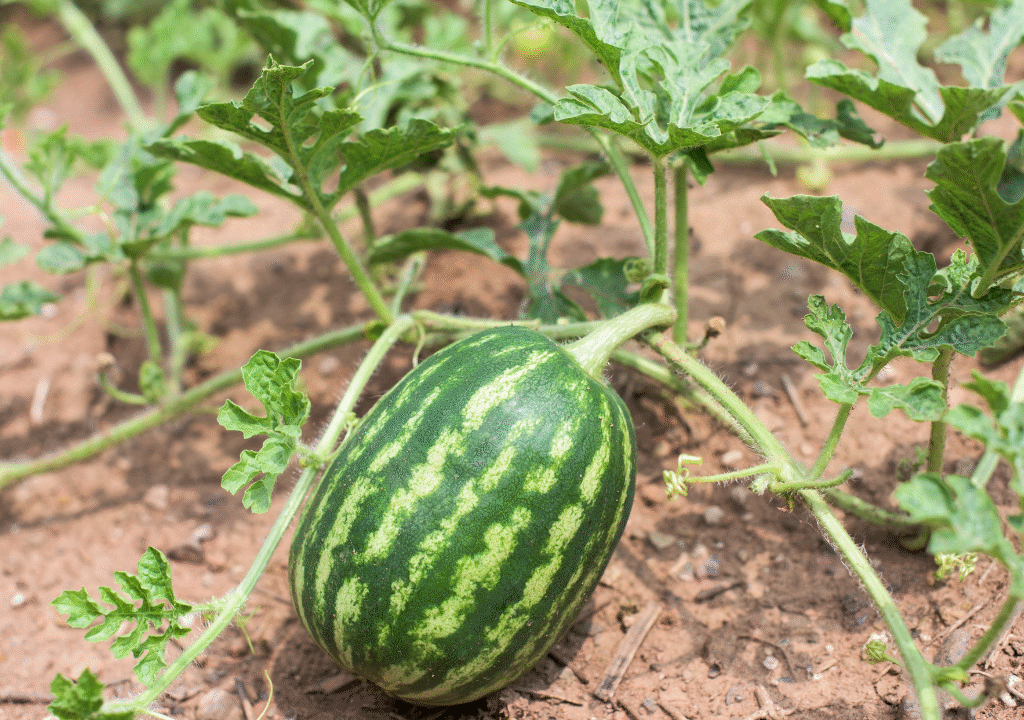
Step 8: Harvesting Watermelons
Patience is key—watermelons take time to ripen, usually 70–100 days after planting. Picking too early will result in bland fruit, while overripe melons may split or lose sweetness.
Signs of Ripeness:
- The underside (where the melon rests on the ground) turns from white to creamy yellow.
- The tendril nearest the fruit stem dries and turns brown.
- The skin becomes hard and resists scratching.
- A ripe watermelon sounds hollow when tapped.
Use garden shears or a sharp knife to cut the fruit from the vine, leaving a few inches of stem attached.
Step 9: Storing and Enjoying Your Harvest
Freshly harvested watermelons can be stored at room temperature for about a week. For longer storage, keep them in a cool, dry place. Once cut, wrap the pieces in plastic wrap and refrigerate for up to 4–5 days.

Ideas for Enjoying Watermelon:
- Fresh slices or cubes as a snack.
- Watermelon juice, smoothies, or lemonade.
- Watermelon salad with mint and feta cheese.
- Frozen watermelon popsicles for summer treats.
Additional Tips for Success
- Choose a sunny location—watermelons need at least 8–10 hours of direct sunlight daily.
- Give plenty of space for vines to sprawl; crowding reduces yield.
- Patience is essential—don’t rush harvest. Sweetness comes with full ripening.
- Experiment with different varieties to find your favorite flavor and size.
Conclusion
Growing watermelons from seed is a rewarding gardening adventure that allows you to enjoy fresh, juicy fruit from your own backyard. By choosing the right variety, preparing nutrient-rich soil, providing proper watering and pollination, and watching carefully for pests and ripening signs, you can enjoy a sweet, homegrown harvest.
Whether you grow small “Sugar Baby” melons in containers or sprawling “Crimson Sweet” varieties in the garden, the joy of harvesting your own watermelon makes the effort worthwhile. With this step-by-step guide, even beginners can confidently plant, grow, and harvest watermelons for a delicious taste of summer.