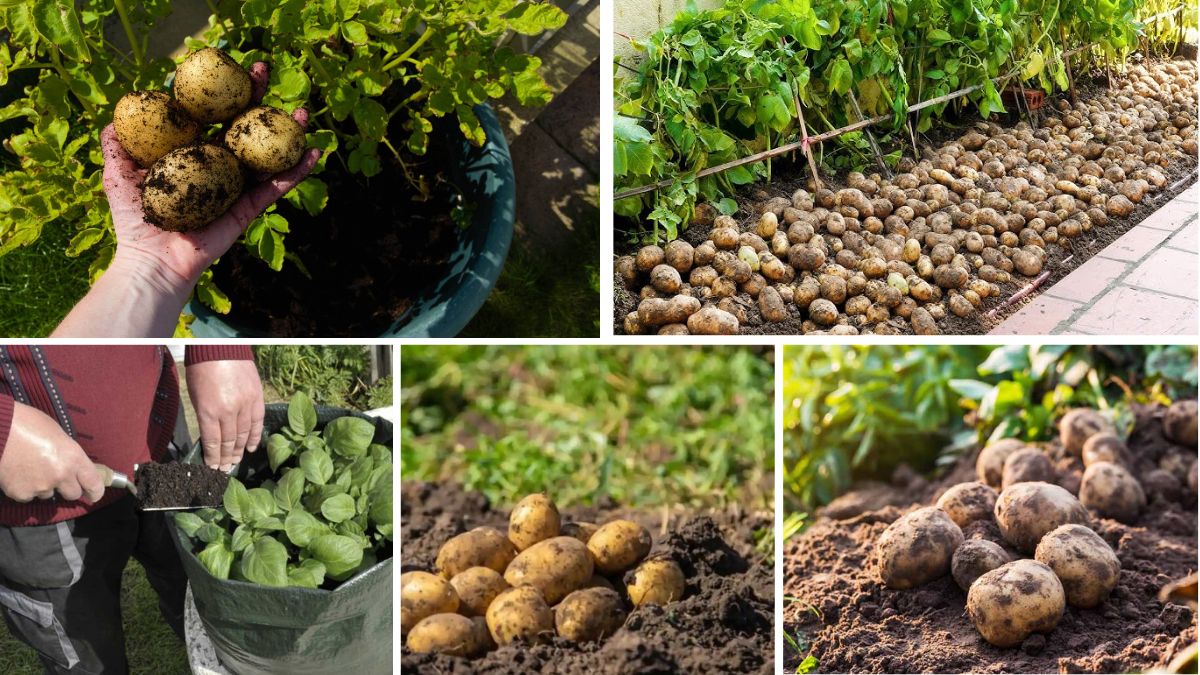
Potatoes are one of the world’s most versatile and beloved foods, finding their way into countless dishes—from crispy fries to creamy mashed potatoes. The good news is, you don’t need to own a large farm to grow them. Potatoes are surprisingly easy to cultivate at home, whether you have a backyard garden, raised bed, or even just containers on your balcony. With the right methods, you can enjoy a fresh, homegrown harvest year-round.
This beginner’s guide will walk you through everything you need to know about growing potatoes at home—from choosing the right varieties to planting, care, and harvesting.
1. Why Grow Potatoes at Home?

Growing your own potatoes comes with several benefits:
- Freshness and Flavor: Homegrown potatoes often taste better because they’re harvested at peak maturity and cooked fresh.
- Cost-Effective: A few seed potatoes can yield a surprisingly large crop.
- Variety Selection: Supermarkets usually offer limited varieties, but at home, you can grow unique types like Purple Majesty, Yukon Gold, or fingerlings.
- Pesticide-Free: You control what goes into your soil and onto your plants, ensuring healthier produce.
2. Choosing the Right Potato Variety
Potatoes are categorized into three main types based on maturity time:
- Early Varieties: Mature in 60–90 days (e.g., Red Norland, Yukon Gold). Ideal for quick harvests and small spaces.
- Midseason Varieties: Ready in 90–110 days (e.g., Kennebec, Chieftain). Good balance between yield and growing time.
- Late Varieties: Take 110–135 days (e.g., Russet Burbank, Katahdin). Best for storage and winter use.
Tip: Choose early varieties if you’re a beginner or working with limited space. They grow quickly and are less susceptible to diseases.

3. Preparing Seed Potatoes
Unlike seeds from packets, potatoes are grown from seed potatoes—small tubers or pieces of tuber with at least one “eye” (bud).
Steps to prepare seed potatoes:
- Buy Certified Disease-Free Seed Potatoes: Avoid supermarket potatoes, as they may carry diseases or be treated to prevent sprouting.
- Cut (if needed): If the seed potato is large (bigger than an egg), cut it into pieces, each with at least 1–2 eyes.
- Cure Before Planting: Let cut pieces sit in a cool, dry place for 2–3 days to form a protective skin, reducing the risk of rotting.
4. Choosing the Planting Method
Potatoes can be grown in multiple ways:
a) Traditional In-Ground Planting
- Best if you have a garden with loose, well-draining soil.
- Requires digging trenches 4–6 inches deep, spacing seed potatoes 12 inches apart.
b) Raised Beds
- Ideal for improved soil drainage and easier harvesting.
- Allows you to control soil quality better.
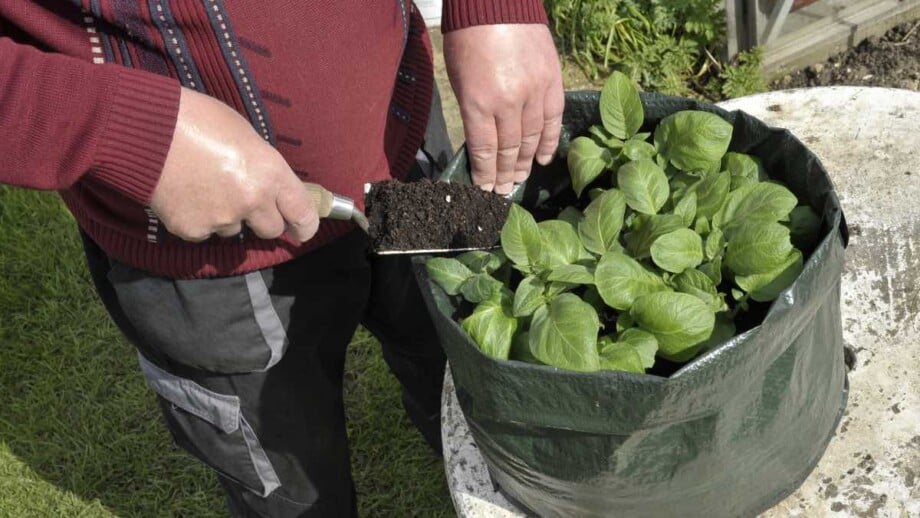
c) Containers or Grow Bags
- Perfect for small spaces, balconies, or patios.
- Use a 10–15 gallon container with drainage holes.
5. Soil Preparation
Potatoes thrive in loose, well-drained soil with a pH between 5.0 and 6.5.
Tips for ideal soil:
- Add compost or well-rotted manure for nutrient-rich conditions.
- Avoid overly rich nitrogen levels—too much nitrogen leads to leafy plants but small tubers.
- Remove stones and clumps that could hinder tuber development.
6. Planting Your Potatoes
When to plant:
- In cooler climates, plant 2–4 weeks before the last expected frost.
- In warmer climates, plant in early spring or even late fall for a winter crop.
Steps:
- Place seed potatoes (cut side down, eyes up) in the trench or container.
- Cover with 3–4 inches of soil.
- Water lightly after planting.
7. The Hilling Process

Hilling is the secret to a bigger potato harvest.
What is hilling?
It’s the process of adding soil or mulch around the base of potato plants as they grow. This encourages more tubers to form and prevents sunlight from turning them green (which makes them toxic).
How to do it:
- When plants reach 6–8 inches tall, mound soil around the base until only the top leaves are visible.
- Repeat every 2–3 weeks until flowering begins.
8. Watering and Feeding
Potatoes need consistent moisture but dislike soggy soil.
Watering tips:
- Provide 1–2 inches of water per week.
- Water deeply, not just on the surface.
- Reduce watering when plants start to yellow before harvest.
Fertilizing tips:
- Use a balanced fertilizer at planting time.
- Side-dress with potassium-rich fertilizer during growth for healthier tubers.
9. Pest and Disease Management
Common potato pests include:
- Colorado Potato Beetles: Handpick or use neem oil sprays.
- Aphids: Wash off with water or introduce ladybugs.
Diseases to watch for:

- Blight: Prevent by spacing plants for airflow and avoiding overhead watering.
- Scab: Keep soil slightly acidic and avoid over-liming.
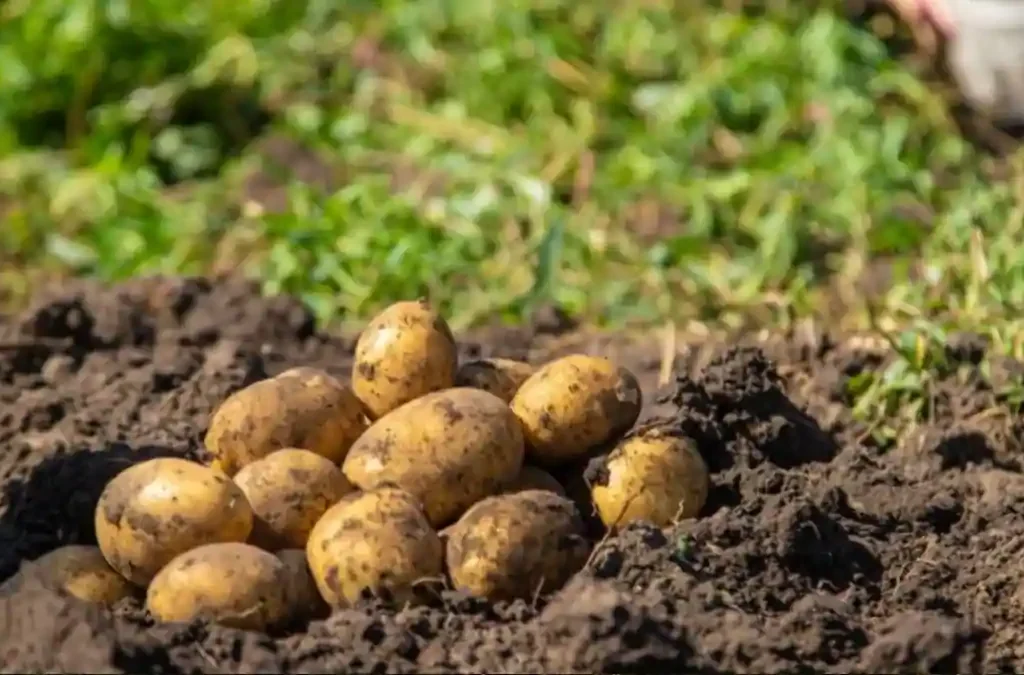
10. Harvesting Your Potatoes
The right harvesting time depends on the variety:
- New Potatoes: Harvest 2–3 weeks after plants finish flowering. These are small, tender, and best eaten fresh.
- Main Crop: Wait until the foliage turns yellow and dies back. This ensures tubers are fully matured.
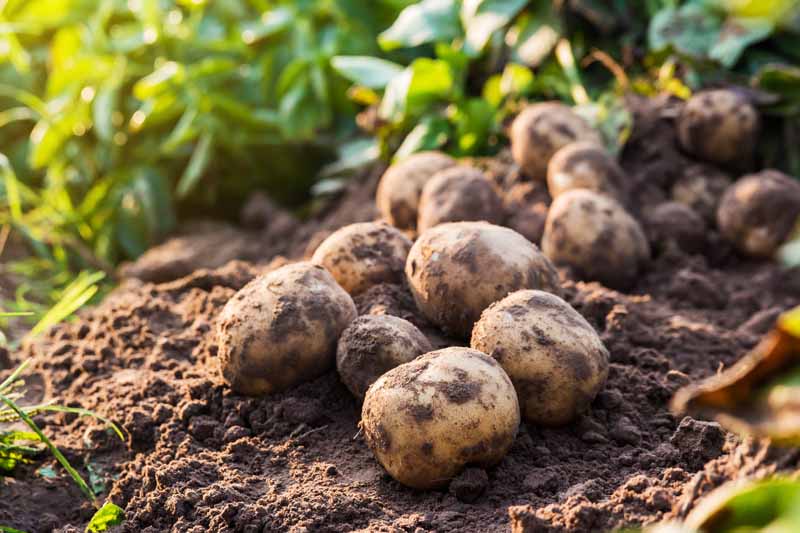
How to harvest:
- For in-ground planting: Use a garden fork to gently lift the soil.
- For containers: Simply dump out the soil and collect your potatoes.
11. Storing Your Potatoes
- Cure potatoes in a dark, cool area (45–60°F) for 1–2 weeks to toughen their skins.
- Store in a dark, dry place with good ventilation.
- Avoid storing in the fridge, as cold temperatures turn starches into sugar.
12. Bonus Tips for Maximum Potato Success
- Rotate potato planting areas each year to reduce soil-borne diseases.
- Try growing unusual varieties for fun and flavor.
- Keep an eye out for volunteer plants from missed tubers in previous seasons—they can harbor pests.
Final Thoughts
Growing potatoes at home is a rewarding gardening project that delivers both satisfaction and delicious results. Whether you choose to grow them in the ground, raised beds, or containers, the process is simple enough for beginners and adaptable for any space. With the right variety, proper care, and a little patience, you’ll enjoy a bountiful harvest of fresh, flavorful potatoes that can’t be matched by store-bought options.
So, grab a few seed potatoes, prepare your planting space, and start your journey toward homegrown potato goodness—you might never want to buy them from the store again!