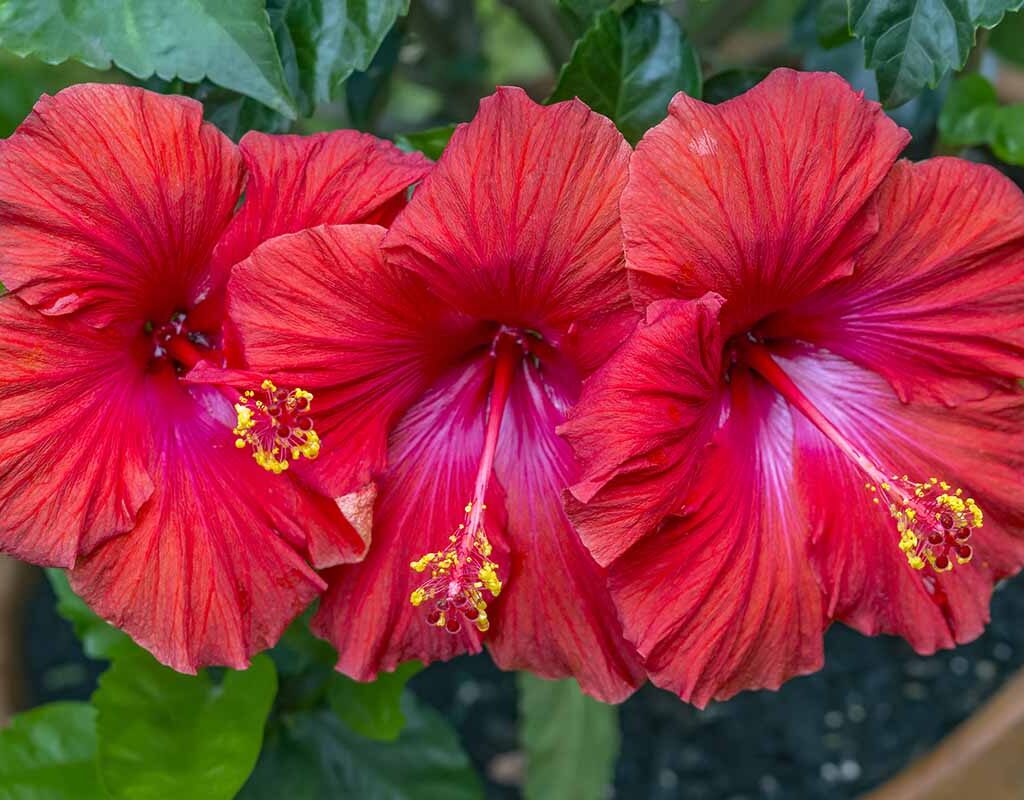
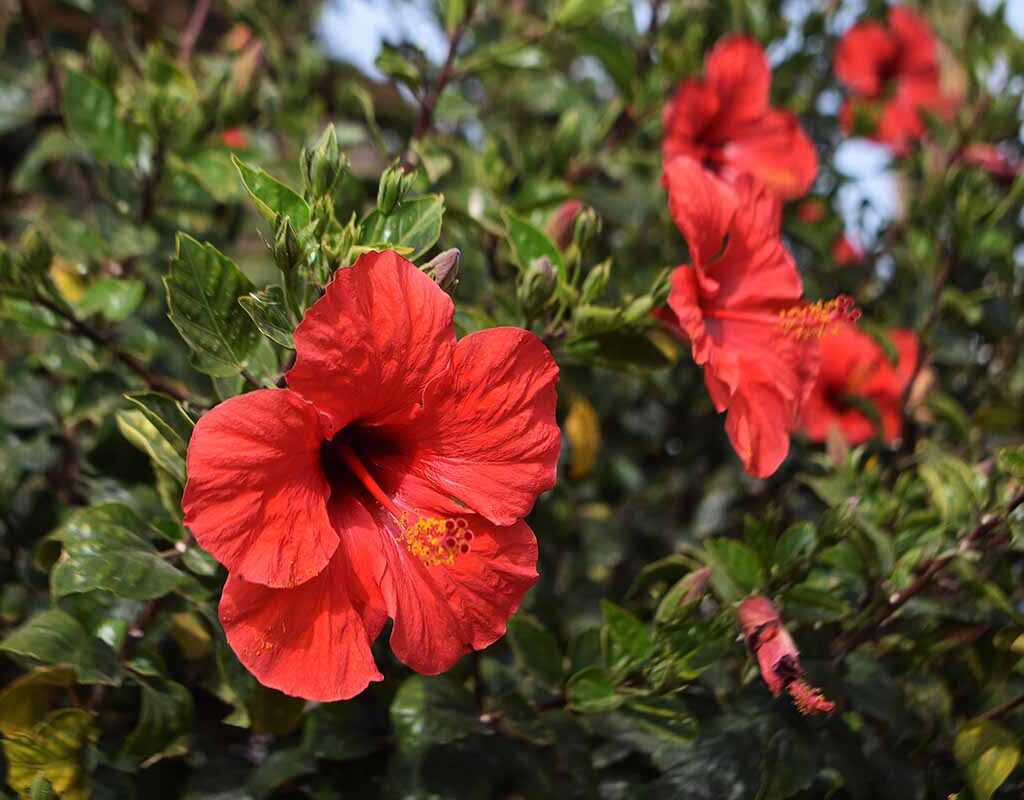
Hibiscus is a showstopper in any garden, known for its large, vibrant flowers that can instantly give your space a tropical vibe. Whether you grow them in your garden, on a balcony, or indoors in containers, hibiscus plants can become the centerpiece of your home’s floral display. With a little care, you can enjoy these bold blooms year-round in warm climates—or during the warmer months in cooler regions.
In this detailed guide, we’ll explore everything you need to know about growing hibiscus at home—from choosing the right variety to ensuring healthy growth and abundant flowers.
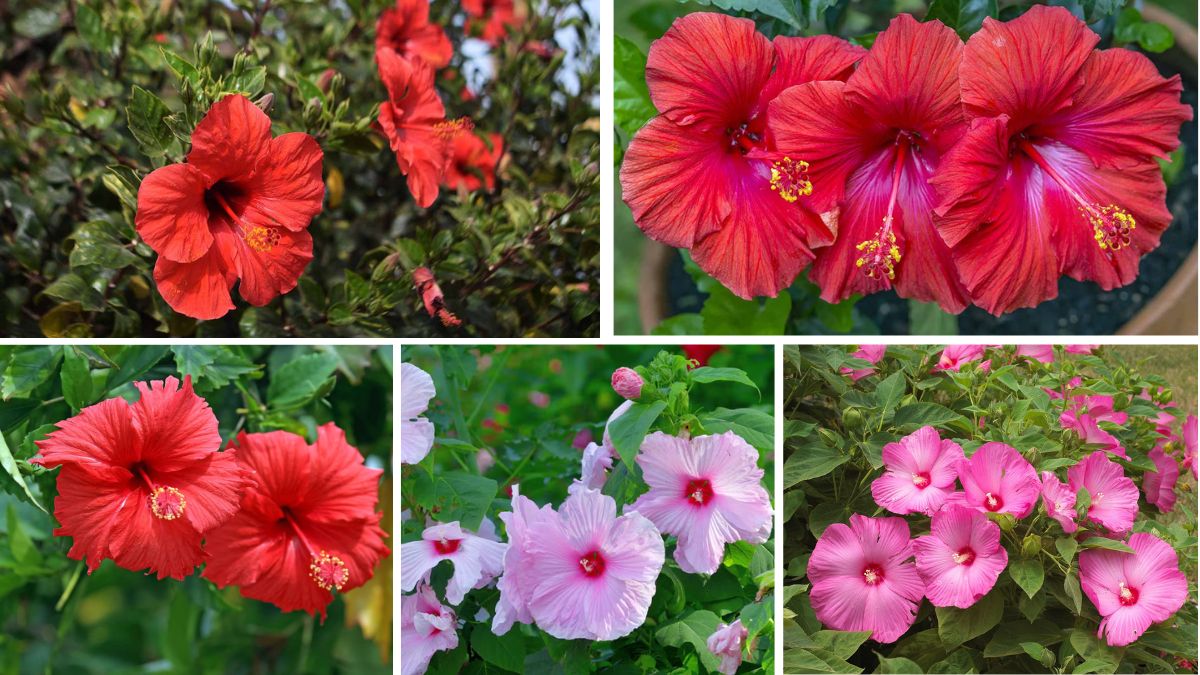
1. Understanding Hibiscus Varieties
Before planting, it’s important to know the types of hibiscus you can grow:
- Tropical Hibiscus (Hibiscus rosa-sinensis)
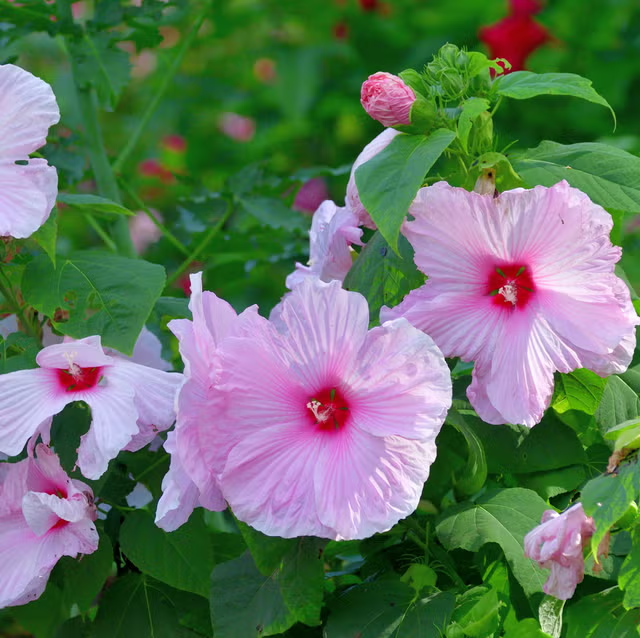
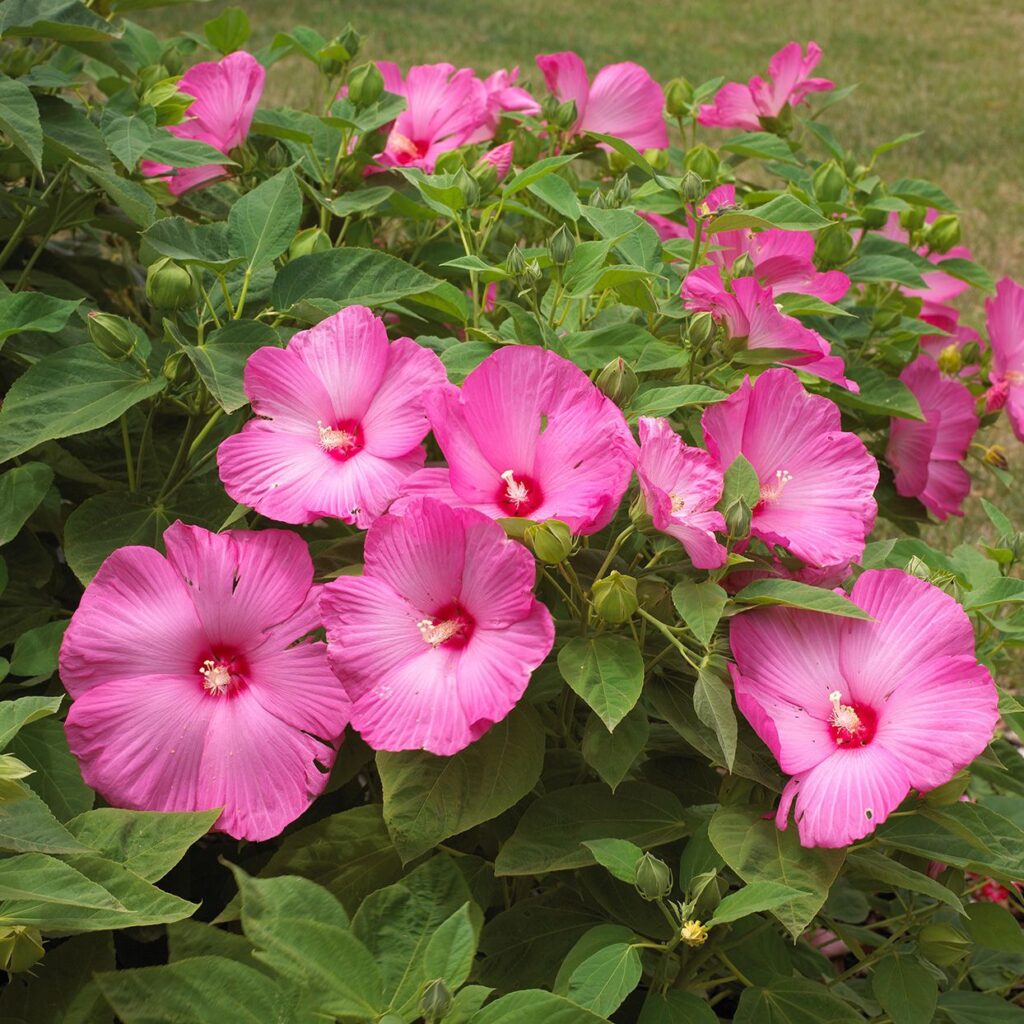
Known for their glossy leaves and vibrant blooms in shades of red, orange, pink, yellow, and multicolor. They thrive in warm climates and are sensitive to frost. - Hardy Hibiscus (Hibiscus moscheutos)
These can withstand colder climates and produce enormous dinner-plate-sized blooms. - Perennial Hibiscus
Comes back year after year in suitable climates, usually in shades of pink, white, and red.
When buying hibiscus, choose a variety that suits your local climate and the look you want to achieve.
2. Choosing the Right Location
Hibiscus plants love sunlight—at least 6 to 8 hours of direct sun daily is ideal for maximum bloom production. If you live in a very hot climate, providing light afternoon shade can prevent leaf scorch.
- For outdoor planting: Select a spot with well-draining soil and good air circulation.
- For container planting: Use large pots (12–16 inches wide) with drainage holes to prevent root rot.
3. Soil Preparation
Hibiscus thrives in slightly acidic to neutral soil (pH 6.0 to 7.0) that is rich in organic matter.
- Soil mix for ground planting:
Mix garden soil with compost, peat moss, and perlite for better drainage. - Potting mix for containers:
Use high-quality potting soil with slow-release fertilizer mixed in.
Tip: Poorly drained soil can cause root rot, so avoid heavy clay unless amended with sand or compost.
4. Planting Hibiscus
- Timing:
Plant hibiscus in spring or early summer when temperatures remain consistently warm. - Spacing:
Space outdoor plants at least 3–4 feet apart to allow for air circulation and healthy growth. - Method:
- Dig a hole twice the width of the root ball.
- Place the plant so that the top of the root ball is level with the soil surface.
- Fill with soil, pressing gently to remove air pockets.
- Water thoroughly after planting.
5. Watering Needs
Hibiscus plants are moisture-loving but don’t like “wet feet.”
- Outdoor plants: Water deeply 3–4 times a week during hot weather.
- Indoor/container plants: Check soil moisture daily; water when the top inch feels dry.
Tip: Use rainwater or filtered water if possible, as hibiscus can be sensitive to chlorine in tap water.
6. Feeding for Bold Blooms

Fertilizing hibiscus regularly is key to getting large, colorful flowers.
- Use a high-potassium, low-phosphorus fertilizer (e.g., 10-20-30 or 12-8-16 NPK ratio).
- Fertilize every 2–3 weeks during active growth (spring through fall).
- In winter, reduce feeding to once a month or stop entirely if the plant is dormant.
Tip: Epsom salts (magnesium sulfate) once a month can encourage greener leaves and more blooms.
7. Pruning and Shaping
Pruning hibiscus encourages bushier growth and more flowers.
- Light pruning: Throughout the growing season to remove dead flowers and leaves.
- Hard pruning: Late winter or early spring before new growth starts. Cut back stems by up to one-third.
- Pinching tips: For young plants, pinch growing tips to encourage branching.
8. Pest and Disease Control
Hibiscus can attract a few common pests:
- Aphids – Cause curling leaves; treat with neem oil or insecticidal soap.
- Spider mites – Appear in dry conditions; spray with water or horticultural oil.
- Whiteflies – Remove with yellow sticky traps or neem oil spray.
Common diseases include:
- Root rot – Prevent with proper drainage.
- Leaf spot – Remove infected leaves and improve airflow.
9. Overwintering in Cold Climates
If you live in an area with frost, tropical hibiscus needs protection:
- Bring container plants indoors before the first frost.
- Place in a sunny window or under grow lights.
- Reduce watering during winter dormancy but don’t let the soil dry out completely.
Hardy hibiscus can survive winter outdoors but benefit from a thick layer of mulch around the base to protect roots.
10. Encouraging Year-Round Blooms
For constant flowers:
- Keep temperatures between 60°F and 85°F.
- Maintain consistent watering and feeding.
- Deadhead spent blooms regularly to encourage new flower production.
- Rotate potted plants so all sides receive equal sunlight.
11. Growing Hibiscus Indoors
Indoor hibiscus can thrive if you provide:
- Bright, direct sunlight (south-facing windows are best).
- A humidity level of at least 50% (use a humidifier if needed).
- Regular feeding during the growing season.
Rotate the plant every few weeks so all sides get sunlight, preventing uneven growth.
12. Benefits of Growing Hibiscus at Home
Aside from their beauty, hibiscus plants offer several benefits:

- Pollinator attraction – Bees, butterflies, and hummingbirds love hibiscus blooms.
- Herbal uses – Hibiscus flowers can be used to make tea, rich in vitamin C and antioxidants.
- Tropical aesthetic – Instantly elevates the look of any garden or balcony.
Final Thoughts
Growing hibiscus at home is a rewarding experience that brings vibrant tropical charm to your space. With the right care—ample sunlight, rich soil, regular feeding, and attentive watering—you can enjoy bold, colorful blooms for many months of the year. Whether you choose the delicate beauty of tropical varieties or the resilience of hardy hibiscus, these plants will reward you with stunning flowers that turn your home into a tropical paradise.