Ginger (Zingiber officinale) is one of the most versatile and widely used spices in the world. From adding a zesty kick to dishes and teas to offering medicinal benefits for digestion, immunity, and inflammation, ginger has long been prized in kitchens and natural medicine cabinets alike. While most people are used to buying ginger roots at the market, many don’t realize that fresh ginger is surprisingly easy to grow at home.
Whether you have a spacious garden or just a small kitchen corner, you can successfully cultivate ginger and enjoy a steady supply of this flavorful root. In this guide, we’ll explore step-by-step methods for growing fresh ginger, covering everything from selecting seed rhizomes to harvesting and storing them.
Introduction to Ginger
Ginger is a tropical plant native to Southeast Asia, where it has been cultivated for thousands of years. It thrives in warm, humid conditions and grows from rhizomes—the knobby underground stems we use in cooking. Unlike many plants, ginger is not grown from seeds but from pieces of rhizome.
When grown indoors or in cooler climates, ginger can be cultivated in containers, making it highly adaptable for home gardeners. With the right care and patience (as ginger takes 8–10 months to mature), you can harvest fresh, organic ginger right from your home.
Step 1: Choosing the Right Ginger Rhizomes
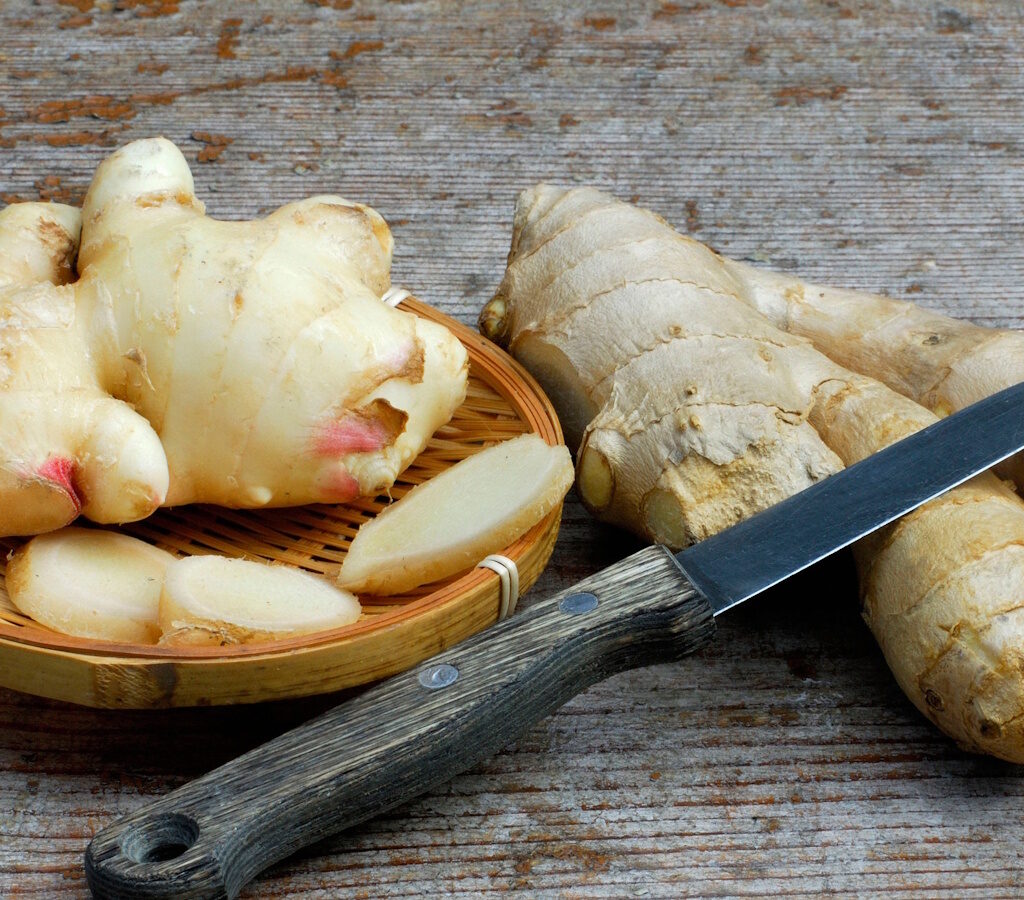
The first step in growing ginger is selecting healthy rhizomes.
- Source – Buy fresh ginger from a local nursery or garden center. Grocery store ginger may be treated with growth inhibitors to prevent sprouting, so organic ginger is the best choice.
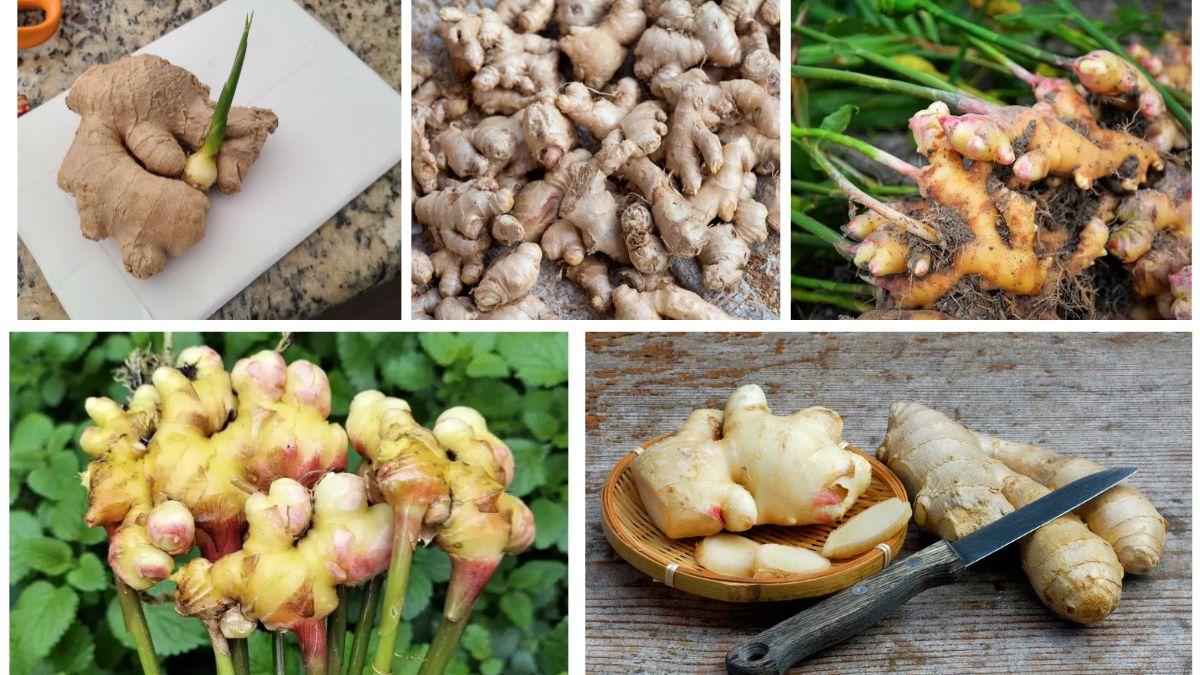
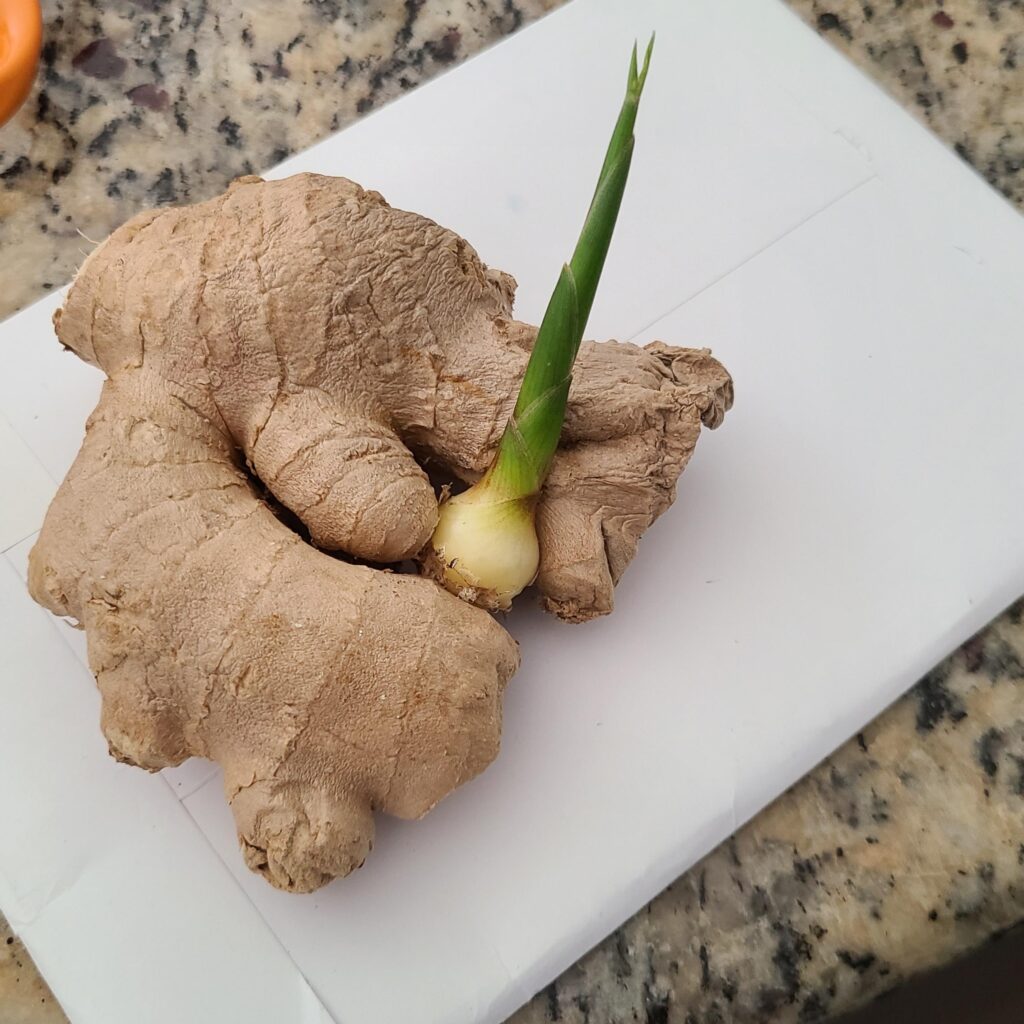
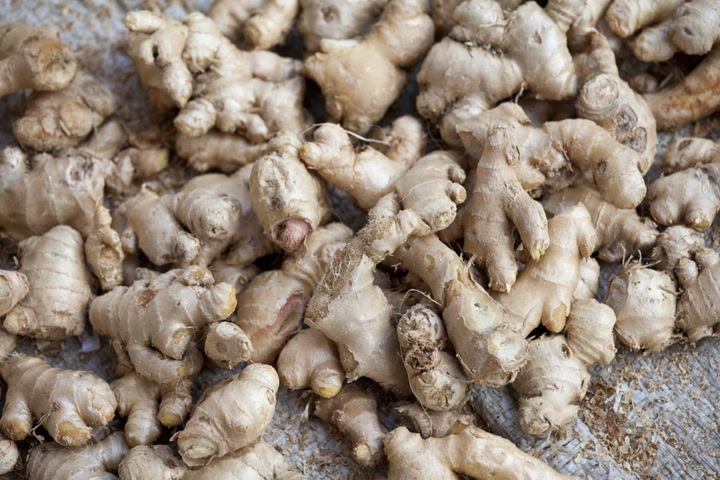
- Look for Buds (Eyes) – Select plump, firm rhizomes with small bumps or nodes—these are growth buds from which new shoots will sprout.
- Size Matters – Larger rhizome pieces produce stronger plants. Aim for pieces that are 2–3 inches long with at least 2–3 buds.
Tip: If using store-bought ginger, soak it in water overnight to remove any possible chemicals before planting.

Step 2: Preparing Rhizomes for Planting
Before planting, it’s best to prepare the rhizomes properly:
- Cut large rhizomes into smaller pieces, each with at least 1–2 buds.
- Allow the cut surfaces to dry for 24–48 hours. This helps form a protective callus and prevents rotting in the soil.
- Keep the rhizomes in a warm, shady spot until you’re ready to plant.
Step 3: Choosing the Growing Location
Ginger loves warmth, humidity, and filtered sunlight. Depending on your available space, you can grow ginger either in your garden or in containers indoors/outdoors.
- Garden Planting – Choose a spot with partial shade, as too much direct sunlight can scorch leaves. Ensure the soil is rich, loose, and well-draining.
- Container Planting – Use a wide, shallow container at least 12 inches deep. Ginger grows horizontally, so width is more important than depth. Containers should have drainage holes.
Step 4: Planting Ginger
Soil Preparation
Ginger thrives in fertile, well-draining soil with a slightly acidic to neutral pH (5.5–6.5). Improve soil by mixing:
- 2 parts garden soil
- 1 part compost or well-rotted manure
- 1 part sand or perlite for drainage
Planting Method
- Plant rhizome pieces 2–3 inches deep with buds facing upward.
- Space them 8 inches apart in the garden or 2–3 pieces per large pot.
- Cover with soil and water lightly.
Step 5: Caring for Ginger Plants
1. Watering
- Keep the soil consistently moist but not soggy.
- Avoid waterlogging, which can cause rhizomes to rot.
- During dry months, mist the leaves to maintain humidity.
2. Light Requirements
- Ginger prefers filtered light or partial shade (about 2–5 hours of indirect sun daily).
- Indoors, place near a bright window but protect from harsh afternoon sun.
3. Temperature & Humidity
- Ideal range: 70–90°F (21–32°C).
- Protect plants from frost and cold drafts.
- In dry climates, increase humidity by grouping plants or using a pebble tray.
4. Fertilization
- Feed plants every 4–6 weeks with a balanced liquid fertilizer.
- Add compost tea or organic matter to enrich soil naturally.
- Higher potassium fertilizers encourage strong rhizome development.
5. Mulching
- Apply organic mulch (straw, leaves, or compost) to retain soil moisture and suppress weeds.
Step 6: Managing Growth and Common Problems
Pests & Diseases
- Aphids & Spider Mites – Spray with neem oil or insecticidal soap.
- Fungal Issues (Rhizome Rot, Leaf Blight) – Ensure proper drainage and avoid overwatering.
- Yellow Leaves – Could indicate nutrient deficiency or excess sun exposure.
Pruning
- Remove dry or yellow leaves to encourage new growth.
- For container plants, trim tall shoots to control size.
Step 7: Harvesting Fresh Ginger
Ginger typically takes 8–10 months to mature fully, but you can also enjoy “baby ginger” earlier.
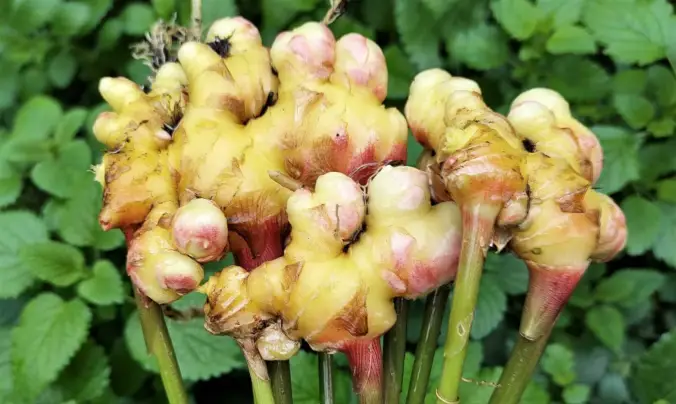
- Baby Ginger – Harvest after 4–6 months for tender, milder-tasting ginger.
- Mature Ginger – Harvest when leaves turn yellow and start to dry out (around 8–10 months).
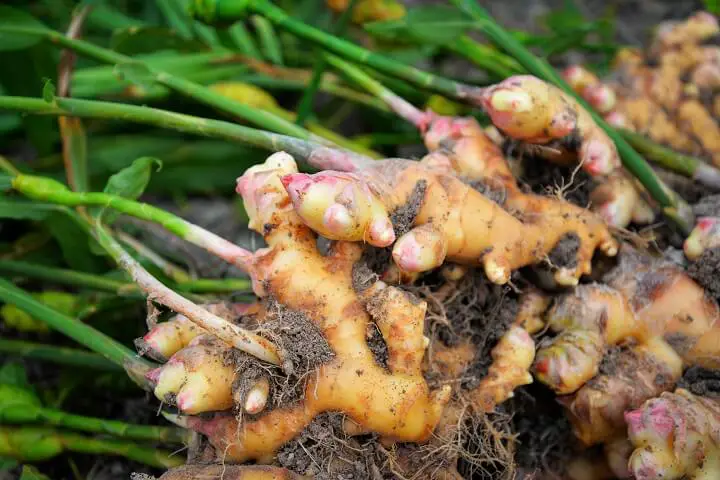
To harvest:
- Gently dig around the plant with a garden fork or your hands.
- Break off rhizomes as needed, leaving some in the soil for continuous growth.
- Wash thoroughly and allow to dry before storing.
Step 8: Storing Ginger
Freshly harvested ginger can be stored in several ways:

- Refrigeration – Keeps fresh for up to 3 weeks.
- Freezing – Peel, chop, or grate ginger before freezing for long-term storage.
- Drying – Slice thinly and dry for powdered ginger.
- Preserving – Make ginger paste, pickles, or candied ginger for extended use.
Step 9: Growing Ginger Indoors in Kitchens
For those with limited space, growing ginger in a kitchen or small balcony is a practical option:
- Choose a wide container and keep it in a spot with filtered sunlight.
- Mist regularly to maintain humidity indoors.
- Harvest small pieces of ginger as needed without uprooting the entire plant.
This way, you’ll always have fresh ginger at your fingertips for cooking and tea.
Benefits of Growing Ginger at Home
- Health Benefits – Fresh ginger is rich in antioxidants, aids digestion, reduces nausea, and boosts immunity.
- Culinary Uses – Adds flavor to curries, teas, soups, marinades, and baked goods.
- Cost-Effective – A single rhizome can produce multiple plants, giving you an endless supply.
- Eco-Friendly – Reduces reliance on store-bought, possibly chemically treated ginger.
- Aesthetic Appeal – The plant’s lush, tropical foliage adds greenery indoors or outdoors.
Tips for Successful Ginger Growing
- Always use fresh, healthy rhizomes with visible buds.
- Keep soil moist but never soggy.
- Protect plants from frost—move containers indoors during winter.
- Harvest gradually to extend the plant’s lifespan.
- Replant leftover rhizomes for continuous ginger production.
Conclusion
Growing fresh ginger in your garden or kitchen is both rewarding and practical. With just a few rhizomes, the right soil, and consistent care, you can enjoy an endless supply of this flavorful and medicinal root. From planting and caring for your ginger to harvesting and storing it, the process is simple enough for beginners yet fulfilling for experienced gardeners.

Whether you grow ginger outdoors in warm climates or indoors in a pot near your kitchen window, the results are the same: fresh, chemical-free ginger at your fingertips. Not only will you enhance your cooking and health, but you’ll also experience the joy of cultivating a tropical plant right at home.
By following these steps, you’ll master the art of growing ginger and discover why it’s one of the most beloved homegrown plants worldwide.