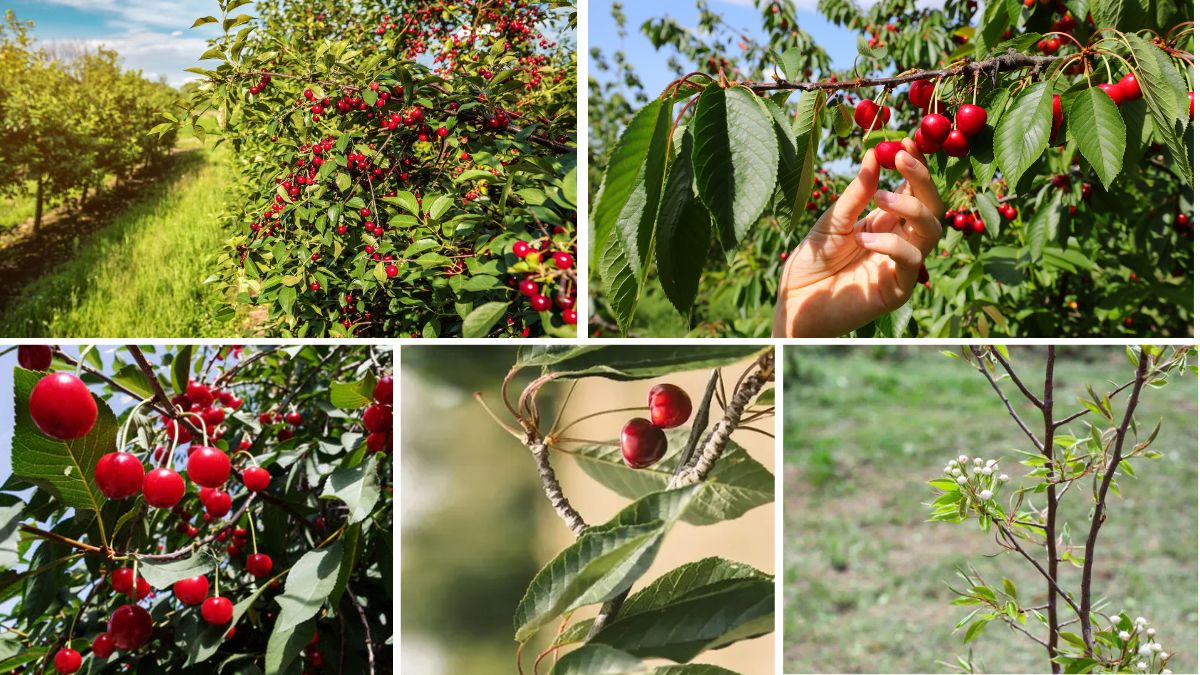
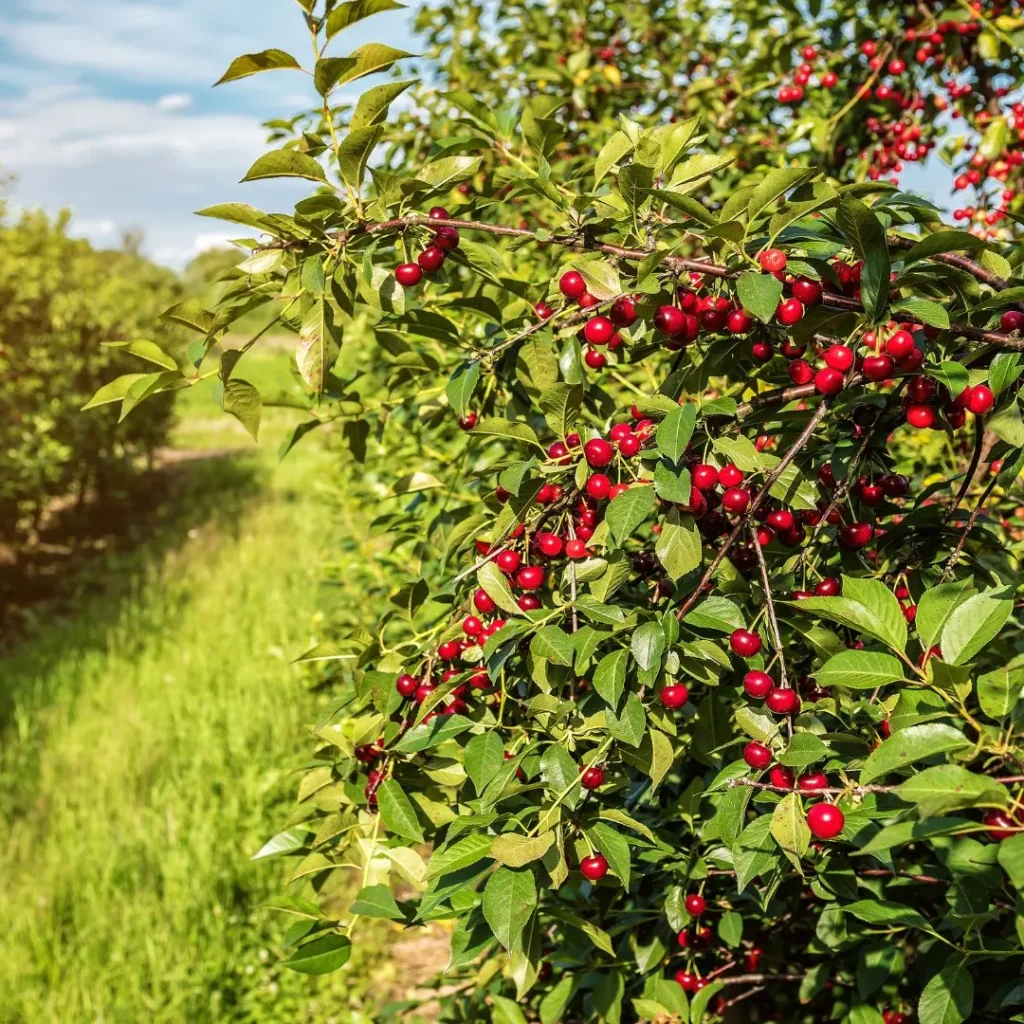
Cherry trees are beloved worldwide for their sweet, juicy fruits and stunning spring blossoms. While purchasing saplings from nurseries is common, growing cherry trees from seeds can be a rewarding and educational experience. Cultivating cherries from seeds allows gardeners to observe the complete growth process, develop strong root systems, and enjoy the satisfaction of nurturing a tree from the very beginning. This guide provides step-by-step instructions, expert tips, and detailed insights on how to grow cherry trees from seeds, ensuring healthy growth and the potential for future fruit production.
Introduction to Growing Cherry Trees From Seeds
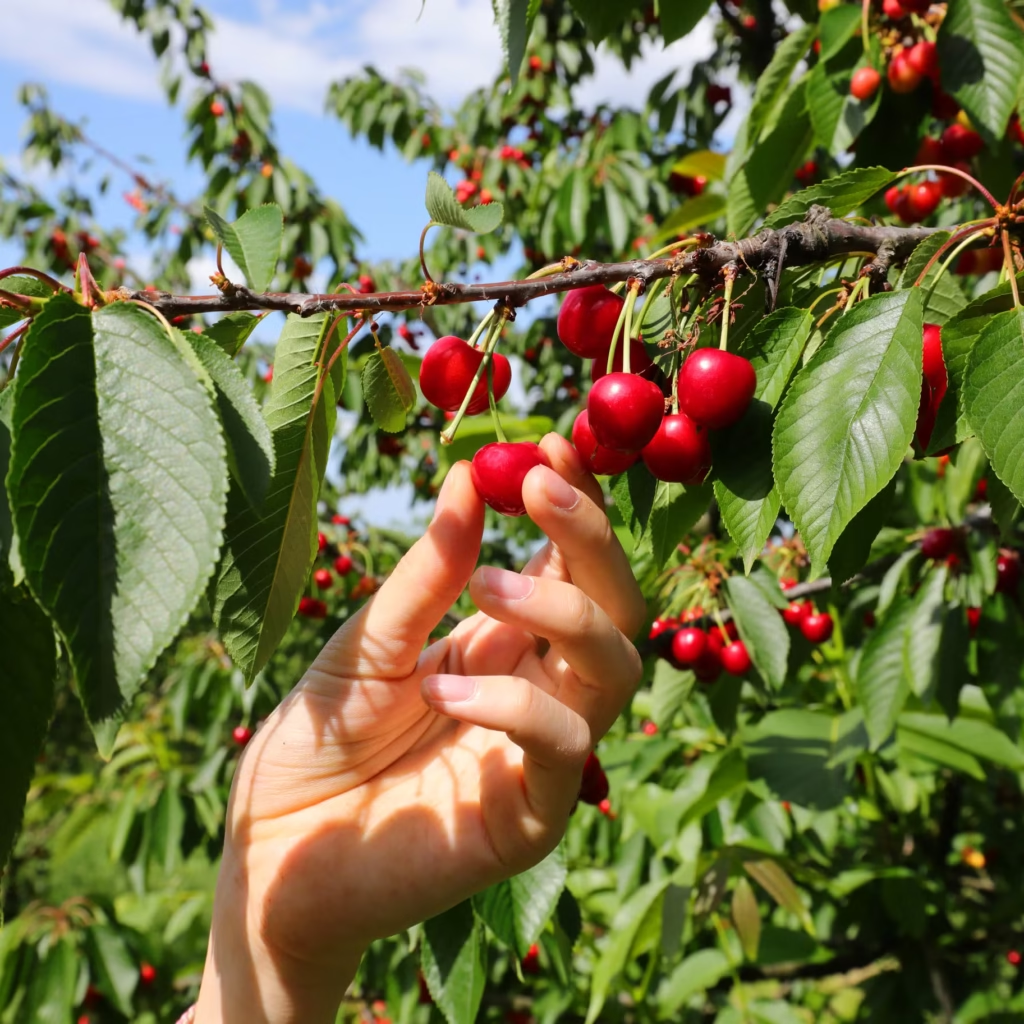
Growing cherry trees from seeds is a process known as sexual propagation, which produces trees genetically unique from their parent. While it requires patience — as cherry trees can take 4–7 years to bear fruit — the experience offers invaluable learning opportunities and enhances garden biodiversity.
Benefits of Seed Propagation:
- Cost-effective compared to buying saplings.
- Provides a hands-on learning experience in horticulture.
- Encourages observation of germination, root development, and seedling growth.
- Enables selection of strong, resilient plants for long-term cultivation.
1. Selecting High-Quality Cherry Seeds
The first step in successful cherry tree growth is choosing healthy seeds.
Tips for Selecting Seeds:
- Use seeds from fully ripened cherries to ensure viability.
- Prefer large, firm seeds, as they tend to germinate more reliably.
- Avoid seeds that are cracked, shriveled, or discolored.
- For sweet cherries, consider seeds from varieties suited to your climate.
Importance: High-quality seeds increase germination rates and ensure strong seedling development.
2. Preparing the Cherry Seeds
Cherry seeds require proper preparation to encourage germination. Most cherry seeds need cold stratification to break dormancy.
Steps:
- Clean the seeds thoroughly to remove any fruit residue.
- Soak the seeds in water for 24 hours to soften the hard seed coat.
- Place the seeds in a damp paper towel or sand inside a sealed plastic bag.
- Refrigerate for 8–12 weeks at 34–40°F (1–4°C).
Tips:
- Check periodically to ensure the medium remains moist but not soggy.
- Cold stratification simulates natural winter conditions, which are essential for germination.
Importance: Proper preparation significantly increases the likelihood of successful sprouting.

3. Choosing the Right Container for Germination
Once stratified, seeds need a suitable environment to sprout.
Container Options:
- Seed trays or small pots with drainage holes.
- Plastic containers with clear lids to maintain humidity.
- Avoid deep containers that may hinder root development.
Tips:
- Fill containers with well-draining potting soil mixed with sand or perlite.
- Ensure containers are clean to prevent fungal or bacterial growth.
Benefit: Proper containers support root expansion and healthy seedling growth.
4. Planting Cherry Seeds
Planting seeds correctly ensures optimal germination.
Steps:
- Sow the stratified seeds about ½ inch deep in the soil.
- Cover lightly with soil, leaving a small portion of the soil loose to allow easy sprout emergence.
- Water gently to moisten the soil without causing waterlogging.
Tips:
- Label each seed if planting multiple varieties.
- Avoid overcrowding, which can lead to weak seedlings.
Importance: Correct planting depth and spacing promote healthy root and shoot development.
5. Providing Adequate Light
Light is crucial for seedling growth after germination.
Tips:

- Place pots near a sunny window or under grow lights providing 12–16 hours of light per day.
- Avoid direct intense sunlight initially, which may scorch tender seedlings.
- Rotate pots regularly to ensure even growth.
Benefit: Adequate light encourages strong stems, healthy leaves, and robust seedling development.
6. Maintaining Optimal Soil Moisture
Water management is critical for young cherry seedlings.
Tips:
- Keep soil consistently moist but not waterlogged.
- Water gently using a spray bottle to avoid disturbing the soil.
- Reduce watering slightly as seedlings establish stronger roots.
Importance: Balanced moisture prevents root rot while supporting rapid growth.
7. Transplanting Seedlings
Once seedlings develop 2–4 true leaves, they can be transplanted into larger pots to encourage growth.
Steps:
- Choose pots at least 6–8 inches deep with drainage holes.
- Use a mix of potting soil, compost, and perlite for rich, well-draining soil.
- Transplant carefully to avoid damaging delicate roots.
- Water immediately after transplanting.
Tips:
- Gradually acclimate seedlings to outdoor conditions if planning to plant them in the garden.
- Avoid transplanting in extreme heat or cold.
Benefit: Adequate space allows roots to grow, supporting larger, healthier trees.
8. Fertilizing Cherry Seedlings
Young cherry trees require nutrients for strong growth.
Tips:
- Apply a balanced liquid fertilizer diluted to half strength every 4–6 weeks.
- Incorporate organic compost to enrich the soil naturally.
- Avoid over-fertilizing, which can cause excessive leaf growth at the expense of root development.
Importance: Proper fertilization promotes healthy foliage, strong stems, and future fruit potential.
9. Managing Pests and Diseases
Cherry seedlings are susceptible to pests such as aphids, spider mites, and fungal diseases.
Tips:
- Inspect seedlings regularly for signs of infestation.
- Use natural pest control methods such as neem oil or insecticidal soap.
- Ensure good air circulation to prevent fungal infections.
- Remove damaged leaves promptly to reduce disease spread.
Benefit: Healthy seedlings are more likely to grow into strong, productive cherry trees.
10. Pruning and Training Young Trees
Proper pruning ensures a balanced structure and encourages long-term growth.
Tips:
- Pinch the tips of young seedlings to promote bushy growth.
- Remove weak or crossing branches to maintain a healthy shape.
- Gradually introduce outdoor exposure to strengthen stems before permanent planting.
Importance: Pruning early supports structural integrity and prepares the tree for eventual fruiting.
11. Transplanting to the Garden or Larger Pots
After 1–2 years, seedlings may be ready for permanent planting.
Steps:
- Choose a sunny location with well-draining soil.
- Dig a hole twice as wide as the root ball and deep enough to cover roots comfortably.
- Place the seedling carefully, backfill with soil, and water thoroughly.
- Apply mulch around the base to retain moisture and suppress weeds.
Tips:
- Protect young trees from frost, strong winds, and heavy rainfall initially.
- Space multiple cherry trees at least 15–20 feet apart to allow canopy growth.
Benefit: Proper planting ensures healthy root development and long-term growth potential.
12. Patience and Long-Term Care
Cherry trees grown from seeds require patience, as fruiting may take several years.
Tips:
- Focus on healthy foliage and stem growth in the first few years.
- Apply fertilizer annually and maintain consistent watering.
- Prune regularly to develop strong branches and maintain an open canopy.
- Protect trees from extreme temperatures and wildlife damage.
Importance: Long-term care determines the eventual yield and health of cherry trees.
13. Propagation Tips for Expanding Your Cherry Garden
Once your tree matures, you can propagate new plants using seeds or cuttings for a larger orchard.
Steps:
- Collect seeds from fully ripened cherries for new seedlings.
- Take softwood cuttings in late spring and root them in water or soil.
- Ensure new plants receive similar care for optimal growth.
Benefit: Propagation ensures a continuous supply of cherry trees for home gardens or gifting.
14. Troubleshooting Common Problems
Seed-grown cherry trees can face growth challenges.
Common Issues & Solutions:
- Slow Germination: Check stratification duration and water quality.
- Yellow Leaves: Could indicate nutrient deficiency or overwatering.
- Leggy Seedlings: Provide more light or use grow lights.
- Root Rot: Ensure soil and container drainage are adequate.
Tip: Monitoring seedlings regularly allows for early problem detection and correction.

Conclusion
Growing cherry trees from seeds is a rewarding and educational gardening project. While it requires patience and consistent care, the process provides an opportunity to observe plant development from seed to sapling and eventually fruit-bearing tree. By selecting high-quality seeds, following proper stratification and planting techniques, providing adequate light and nutrients, and maintaining careful watering and pruning practices, gardeners can successfully grow healthy cherry trees at home.
In summary:
- Choose healthy seeds and perform cold stratification.
- Plant in well-draining soil and provide sufficient light.
- Water consistently and fertilize for strong growth.
- Transplant carefully and prune to maintain structure.
- Be patient — fruit production may take several years but rewards long-term dedication.
Seed-grown cherry trees offer beauty, fresh fruit, and a sense of accomplishment, making them a valuable addition to home gardens, balconies, or indoor growing spaces.