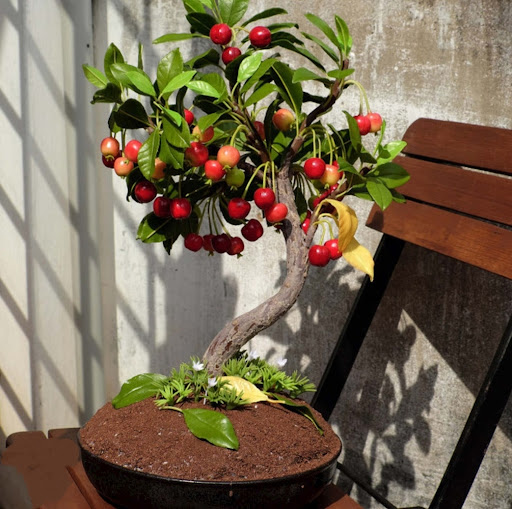
Growing cherry trees from seeds at home is a rewarding and educational experience that allows you to witness the entire life cycle of a tree—from a tiny seed to a fruit-bearing beauty. While most commercial orchards grow cherries from grafted saplings to guarantee fruit quality, home gardeners can still enjoy the challenge and joy of raising cherry trees from seeds. Not only is this process cost-effective, but it also gives you the chance to create unique trees with natural variations. With patience and the right care, you can grow your very own cherry trees that eventually provide shade, beauty, and delicious fruit.
This step-by-step guide will walk you through everything you need to know about growing cherry trees from seeds at home, from seed selection and preparation to planting and long-term care.
Step 1: Understanding Cherry Tree Types
Before planting, it’s important to know that cherry trees generally fall into two categories:
- Sweet Cherries (Prunus avium):
- Popular for eating fresh.
- Common varieties: Bing, Rainier, Stella.
- Best suited for warmer climates with long growing seasons.
- Sour Cherries (Prunus cerasus):
- Often used for baking, jams, and preserves.
- Common varieties: Montmorency, North Star.
- Tolerant of colder climates and easier for beginners.
Tip: If you live in a colder region, sour cherries may perform better. Warmer regions are more suitable for sweet cherries.

Step 2: Collecting and Preparing Seeds
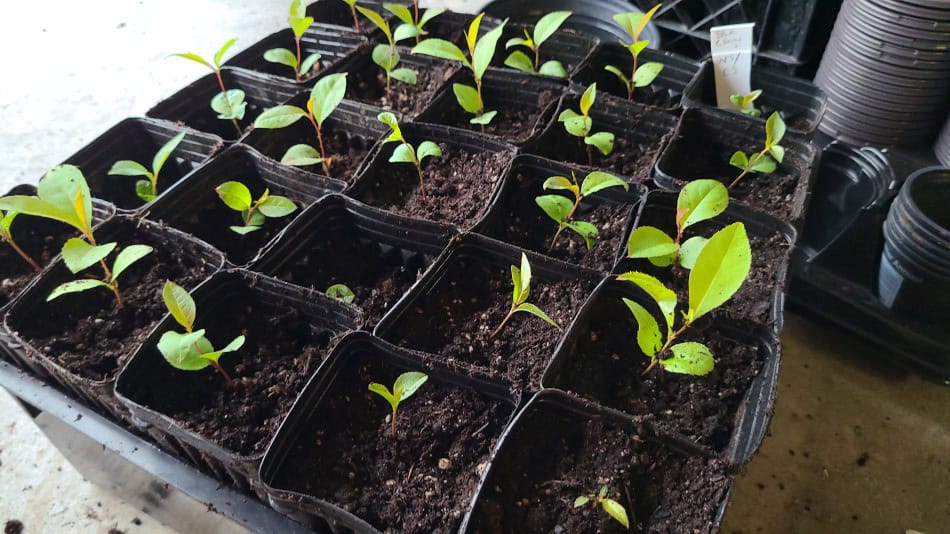
Collecting Seeds
You can collect seeds from cherries you purchase at a farmer’s market or store. Choose organic cherries, since non-organic ones may have been chemically treated, affecting seed viability.
- Eat the fruit and remove the pits.
- Wash pits under warm water to remove all pulp.
- Place pits on a paper towel to dry for 3–5 days.
Cracking the Shell
Cherry pits are hard and need help to sprout. Gently crack the hard outer shell with a nutcracker or hammer to expose the inner seed without crushing it. This step speeds up germination.
Step 3: Cold Stratification
Cherry seeds naturally germinate after experiencing winter conditions. To mimic this process indoors, use cold stratification:
- Place cleaned seeds in a damp paper towel.
- Seal them in a plastic bag.
- Store the bag in the refrigerator (not freezer) at 1–5°C (34–40°F).
- Keep seeds chilled for 10–12 weeks.
- Check periodically to ensure the towel stays damp and mold-free.
By the end of stratification, some seeds may already begin to sprout tiny roots.

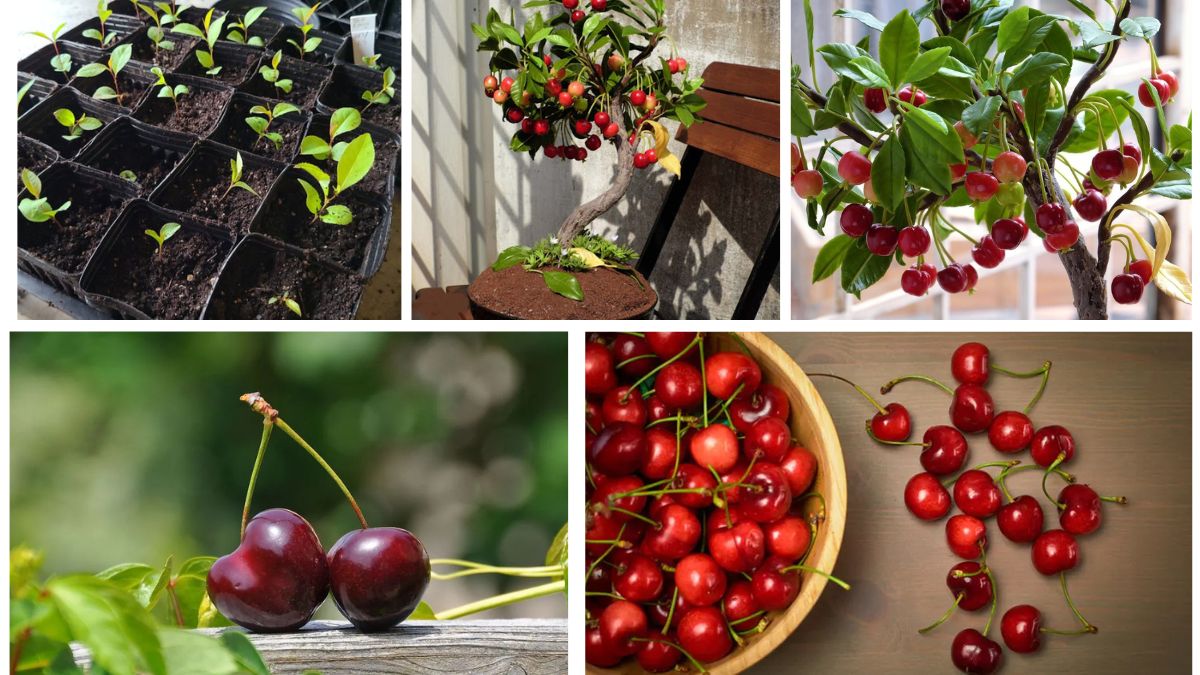
Step 4: Planting Cherry Seeds
Once stratification is complete, it’s time to plant the seeds indoors.
Materials Needed:
- Small pots with drainage holes
- Potting mix (loamy, well-draining soil with compost)
- Spray bottle for watering
Planting Process:
- Fill pots with moistened potting mix.
- Plant each seed about 1–2 inches deep.
- Place pots in a sunny windowsill or under grow lights.
- Maintain soil moisture, but avoid waterlogging.
Cherry seedlings usually sprout within 2–4 weeks after planting.
Step 5: Transplanting Outdoors
When seedlings are strong enough (6–12 inches tall) and your local climate conditions are suitable, transplant them outdoors.
Choosing the Right Spot:
- Sunlight: Cherry trees require at least 6–8 hours of direct sunlight daily.
- Soil: Loamy, fertile, and well-drained soil is ideal.
- Spacing: Plant trees 20–25 feet apart for sweet cherries, and 15–20 feet apart for sour cherries.
Transplanting Steps:
- Dig a hole twice as wide and deep as the seedling’s root ball.
- Place the seedling in the hole at the same depth it was growing indoors.
- Backfill with soil, gently pressing to eliminate air pockets.
- Water thoroughly after planting.
Step 6: Caring for Young Cherry Trees
Proper care ensures that your cherry tree grows healthy and strong.
Watering
- Keep the soil consistently moist during the first year.
- Water deeply once a week, more frequently during hot or dry weather.
Fertilizing
- Avoid over-fertilizing young trees.
- In the second year, use a balanced, slow-release fertilizer in early spring.
Mulching
- Apply organic mulch (wood chips or straw) around the base to retain moisture.
- Keep mulch 2–3 inches away from the trunk to prevent rot.
Pruning
- Begin pruning in the second or third year.
- Remove dead, weak, or crossing branches.
- Train the tree into a central leader shape to encourage strong structure.
Step 7: Protecting Cherry Trees from Pests and Diseases
Cherry trees are vulnerable to several pests and diseases. Taking preventive measures is essential:
- Birds: Birds love cherries! Use netting to protect ripening fruits.
- Aphids and Caterpillars: Spray neem oil or introduce beneficial insects like ladybugs.
- Powdery Mildew and Leaf Spot: Provide good air circulation by pruning and avoid overhead watering.
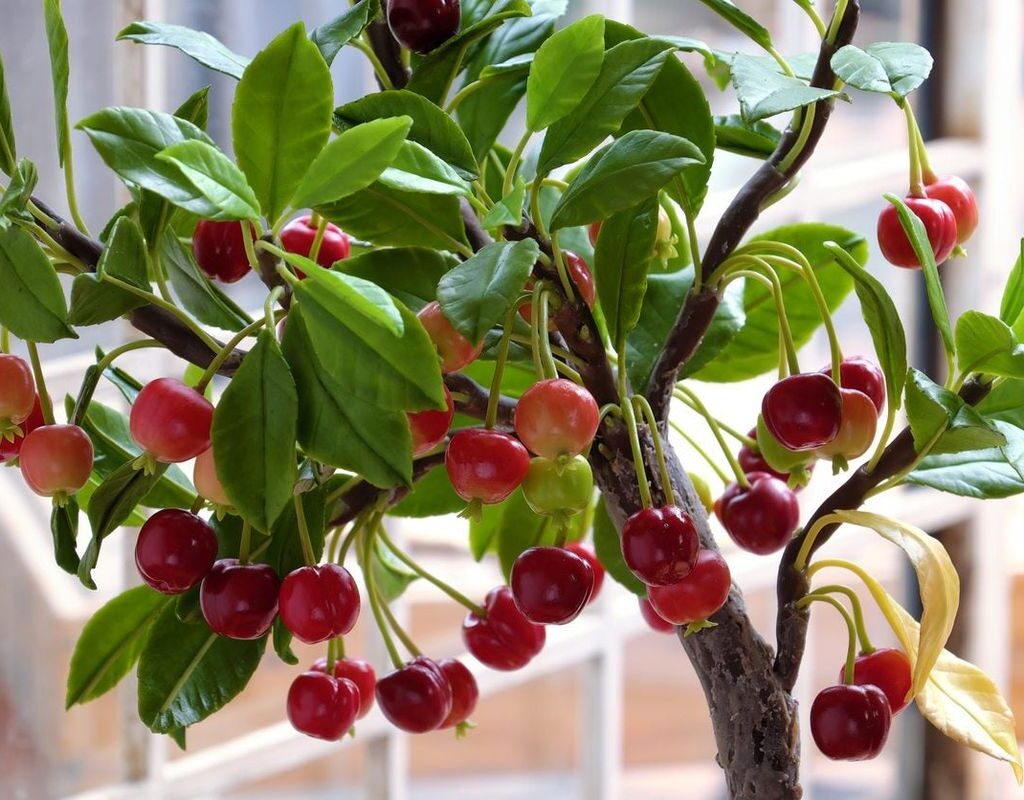
Step 8: When Will Your Cherry Tree Fruit?
Patience is key when growing cherry trees from seeds. Unlike grafted saplings that fruit in 3–5 years, seed-grown cherry trees may take 7–10 years to produce fruit. Additionally, the fruit quality may differ from the parent tree.
However, the journey is part of the reward—watching your tree grow, flower, and eventually produce cherries is a truly satisfying experience.
Step 9: Tips for Success
- Plant Several Seeds: Since germination can be unpredictable, plant multiple seeds to increase your chances.
- Be Patient: Growing a cherry tree from seed takes time, but the process is educational and fulfilling.
- Consider Grafting: If your seed-grown tree doesn’t produce good fruit, you can graft a desirable cherry variety onto it later.
- Winter Protection: Young trees may need wrapping or mulching during harsh winters to protect roots.
Benefits of Growing Cherry Trees from Seeds
- Cost-Effective: A few seeds can become beautiful trees.
- Sustainability: Promotes biodiversity and eco-friendly gardening.
- Aesthetic Appeal: Cherry blossoms are stunning and add charm to gardens.
- Edible Harvest: With patience, you’ll enjoy fresh cherries for eating or baking.
Conclusion
Growing cherry trees from seeds at home is a long-term project that requires dedication, patience, and care. From selecting the right seeds and stratifying them to planting, transplanting, and nurturing young trees, the process is both educational and deeply rewarding. Although seed-grown cherry trees take longer to bear fruit and may vary in quality, the beauty of the journey lies in cultivating life from a single pit.

With time, your cherry tree will reward you with fragrant blossoms in spring, shade in summer, and—if you’re patient enough—delicious cherries to enjoy fresh or in your favorite desserts. Whether you’re a gardening enthusiast or simply love the idea of growing your own fruit trees, learning how to grow cherries from seeds at home is a beautiful and worthwhile experience.