In today’s modern homes, outdoor wiring is essential for powering everything from landscape lighting and water features to security cameras and outdoor kitchens. But just like indoor wiring, outdoor electrical systems require regular inspections to stay safe, efficient, and code-compliant.
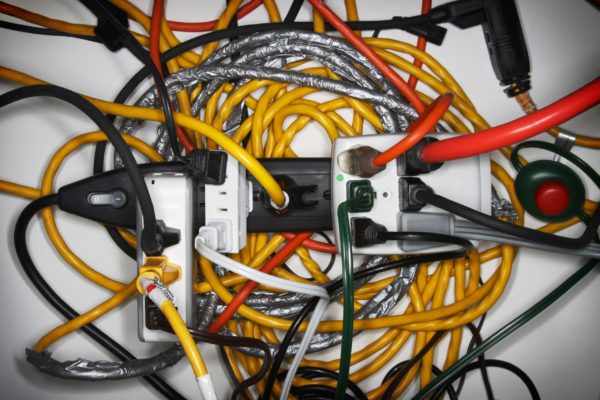
Outdoor wiring is constantly exposed to harsh environmental factors—rain, wind, sun, soil shifts, rodents, and even foot traffic—that can damage insulation, corrode connectors, and lead to dangerous electrical faults. So, how often should you inspect your outdoor wiring?
We asked experienced electricians, and their answer is clear: at least once a year, but in some cases, more frequently depending on usage, age, and exposure. This article explores why regular outdoor wiring inspections are critical, how to perform them safely, what signs of trouble to look for, and when to call a professional.
Why Outdoor Wiring Needs Special Attention
Unlike indoor wiring, outdoor circuits must endure constant exposure to moisture, temperature extremes, UV radiation, pests, and mechanical stress. Over time, even the best-installed systems can degrade.
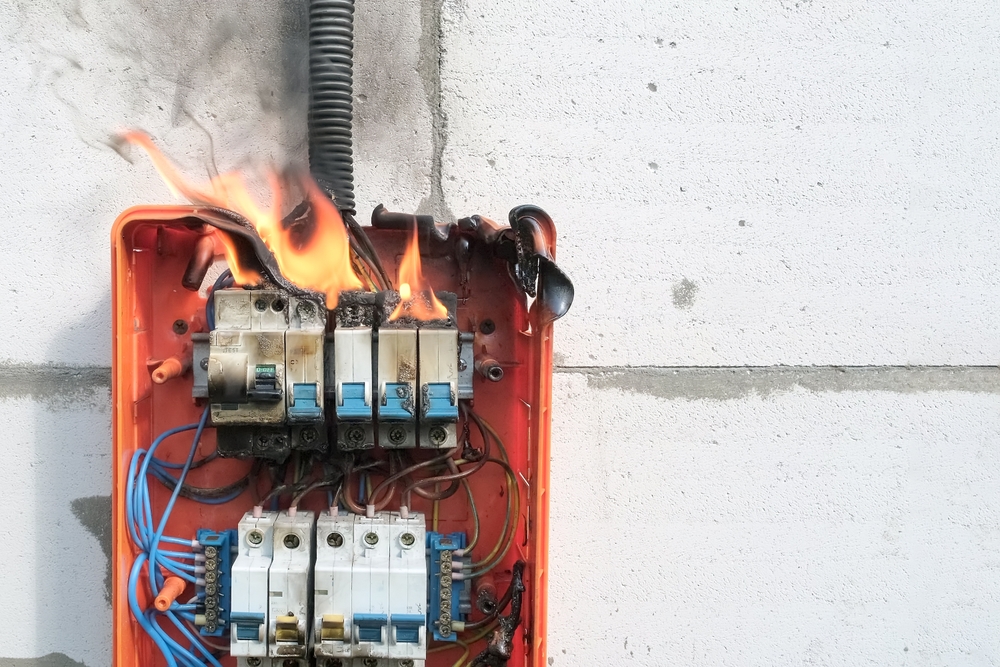
According to licensed electricians, neglecting outdoor wiring can lead to:
- Electrical fires from damaged insulation
- Electric shock hazards due to exposed conductors
- Frequent breaker trips or power failure
- Corrosion and water intrusion into outlets and junction boxes
- Failure of landscape lights, pumps, or outdoor appliances
An outdoor inspection isn’t just about preventing inconvenience—it’s about preventing disaster.
How Often Should You Inspect Outdoor Wiring?
Electricians recommend the following inspection schedule:

Basic Visual Inspection: Every 3–6 Months
Homeowners can do a quick walkthrough to check for obvious issues like:
- Exposed wires
- Damaged outlets or covers
- Burn marks or buzzing sounds
- Moisture near fixtures
- Flickering lights
Comprehensive Inspection: Annually
This should include testing GFCI outlets, checking connections, inspecting buried wires, verifying weatherproof seals, and ensuring load capacity is still adequate. Ideally, this is done by a licensed electrician.
After Major Weather Events
Storms, floods, and extreme heatwaves can damage outdoor wiring. Always do a post-storm inspection—especially if your system includes lighting, irrigation controls, or outdoor entertainment systems.
What Should Be Checked During an Outdoor Wiring Inspection?
Electricians follow a detailed checklist to inspect and evaluate the health of your outdoor wiring system. Here’s what it includes:
1. Condition of Wiring and Cables
Check for:
- Cracks in insulation
- Exposed copper
- Rodent damage
- Discoloration from UV exposure
2. Conduits and Cable Protection
Wiring should be:
- Enclosed in rigid PVC or metal conduit when above ground
- Buried 12–24 inches deep based on voltage and local code
- Protected at entry/exit points from weather and physical damage
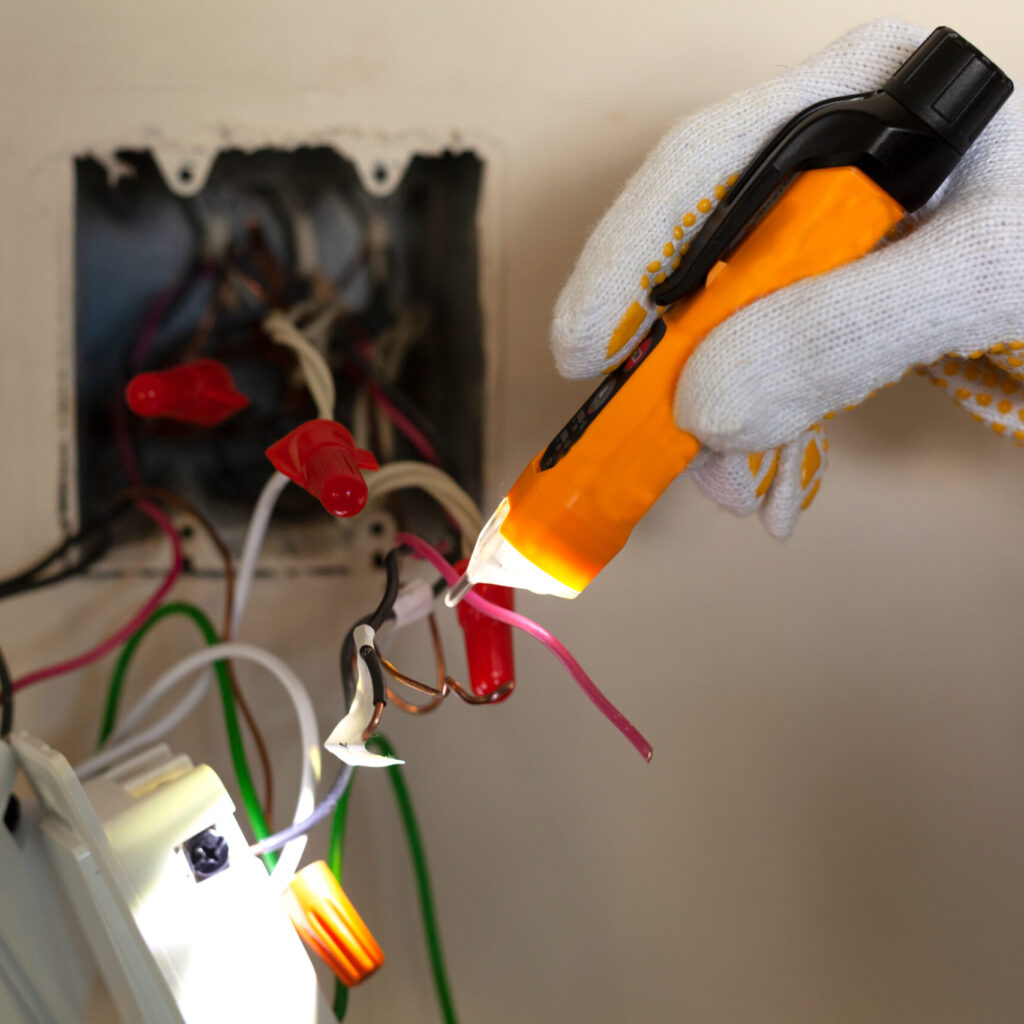
3. GFCI Outlet Functionality
All outdoor outlets must be Ground Fault Circuit Interrupter (GFCI) protected. Electricians test them using:

- The test/reset buttons on the outlet
- GFCI testers to simulate faults
Pro tip: If your GFCI outlet doesn’t trip during testing, it must be replaced immediately.
4. Weatherproof Fixtures and Covers
Verify that all fixtures:
- Are rated for outdoor use (wet or damp locations)
- Have intact gaskets and bubble-style in-use covers
- Are properly sealed to prevent water intrusion
5. Lighting Systems and Transformers
Check:
- Function of low-voltage transformers
- Timer and photocell performance
- Even brightness across all fixtures
- Secure mounting of light posts and garden lights
6. Grounding and Bonding
Ensure all outdoor wiring is:
- Properly grounded to prevent shock
- Bonded where metal conduit or outdoor equipment is used
7. Electrical Load and Circuit Capacity
Electricians often calculate the amp load on outdoor circuits, especially if you’ve added new equipment. If the load exceeds 80% of the circuit’s capacity, it’s time to add a dedicated circuit.
Signs You Need an Immediate Inspection
Don’t wait for your annual inspection if you notice any of the following warning signs:
- Lights flicker or go dim unexpectedly
- Breakers trip repeatedly
- Outlets feel warm or make buzzing sounds
- You see exposed or chewed wires
- There’s a burning smell or smoke near a fixture
- GFCI outlets don’t trip when tested
- Lights stop working after a rainstorm
These are all red flags that require immediate attention from a licensed electrician.

Common Outdoor Wiring Issues Electricians Discover
During inspections, electricians often uncover the following problems:
1. Aging or DIY Wiring
Old homes may still have outdated or DIY-installed wiring that no longer meets current safety codes.
2. Incorrect Cable Depth
Improper burial depth puts wires at risk of accidental cuts from shovels or roots.
3. Improper Junction Boxes
Loose, corroded, or open junction boxes allow water and pests to enter, causing corrosion and shorts.
4. Overloaded Circuits
Adding outdoor heaters, string lights, and fountains without considering load limits can cause overheating and failure.
5. Rodent and Insect Damage
Mice, rats, and ants are notorious for chewing through insulation and nesting in electrical boxes.
DIY vs. Professional Inspection: What You Can Do Safely
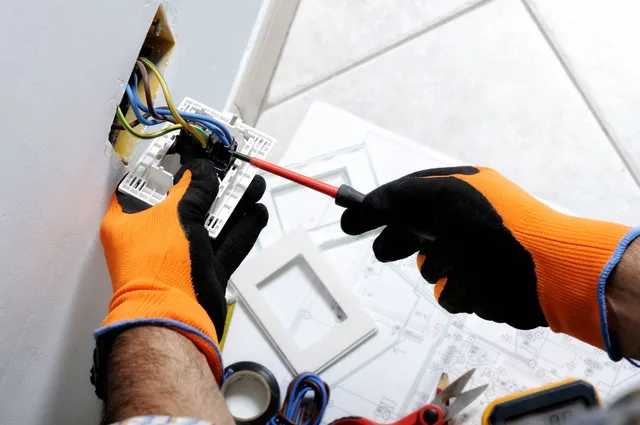
While only a licensed electrician should perform in-depth electrical work, you can safely inspect for obvious issues:

- Visual walkaround: Look for damaged wires or broken fixtures.
- Test GFCI outlets: Use the test/reset buttons monthly.
- Listen for buzzing or humming: It can indicate arcing or overload.
- Check lighting: Are bulbs flickering, dim, or out completely?
If you spot anything unusual, don’t attempt to fix it yourself—call a professional.
How Electricians Conduct a Full Outdoor Wiring Audit
When you hire a licensed electrician, here’s what you can expect:
- Load analysis using tools to measure current draw
- Megger testing to check insulation resistance
- Continuity testing to detect open circuits
- Voltage drop tests to ensure even distribution in low-voltage systems
- Thermal imaging to detect hot spots or hidden faults
- Code compliance check to verify all components meet local regulations
Electricians will also recommend upgrades like:
- Installing new weatherproof enclosures
- Upgrading to tamper-resistant outlets
- Adding smart controllers or surge protection
- Replacing aging wires with safer, more durable options
When Should You Rewire or Upgrade Outdoor Systems?
After several inspections or years of exposure, you may need to rewire or upgrade your outdoor system. Signs it’s time:
- Wiring is over 15–20 years old
- You’re upgrading with new lighting or power-hungry devices
- You’re experiencing frequent outages or breaker trips
- Components show rust, cracking, or exposed copper
- You’re planning a landscape renovation or patio extension
A licensed electrician can modernize your outdoor wiring with energy-efficient, code-compliant, and smart-enabled solutions.
Conclusion: Prevention Is the Key to Safety
Outdoor wiring is not something you install and forget. Like any other part of your home’s infrastructure, it needs regular attention, testing, and professional care. Neglecting it can lead to major hazards—but maintaining it ensures peace of mind, property value, and uninterrupted enjoyment of your outdoor spaces.
Electricians agree: Inspect outdoor wiring at least once a year, more often if you live in a high-moisture area or have complex electrical setups. Partner with a licensed professional to conduct thorough inspections and follow up on repairs or upgrades promptly.

A well-maintained outdoor electrical system is not just safer—it’s smarter, longer-lasting, and perfectly tailored to the way you live and enjoy your home.