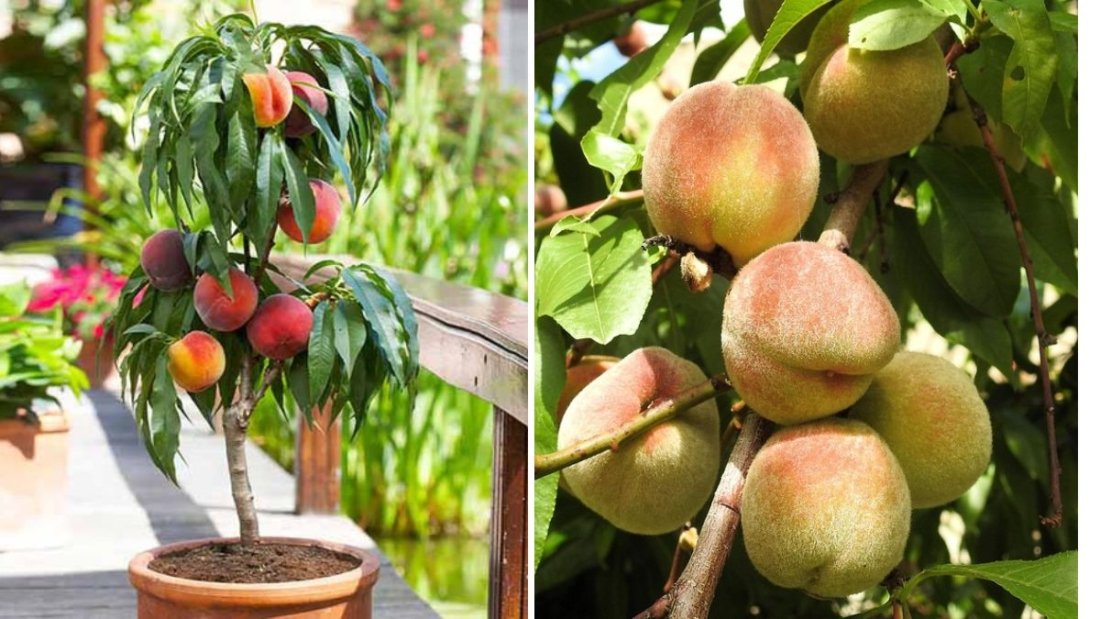
If you’ve ever grown apricots — especially the rich, sweet Moorpark variety — you know the excitement that builds as the fruit starts to ripen under the summer sun. But if you live in an area with large parrot populations, you’ve probably also experienced the heartbreak of finding half-eaten fruit scattered on the ground before you’ve had a chance to harvest a single one.
Parrots are clever, persistent, and notoriously fond of soft, sugary fruits like apricots, peaches, and plums. Once they discover your orchard, they can quickly strip your trees bare. But don’t worry — with the right combination of deterrents, timing, and smart gardening practices, you can protect your Moorpark apricots and still enjoy a bountiful harvest.
This comprehensive guide explains how to control parrots naturally and effectively, without harming the birds or your trees. Let’s dive into how you can outsmart these intelligent fruit thieves and preserve your delicious crop.
The Appeal of Moorpark Apricots: A Parrot’s Favorite Treat
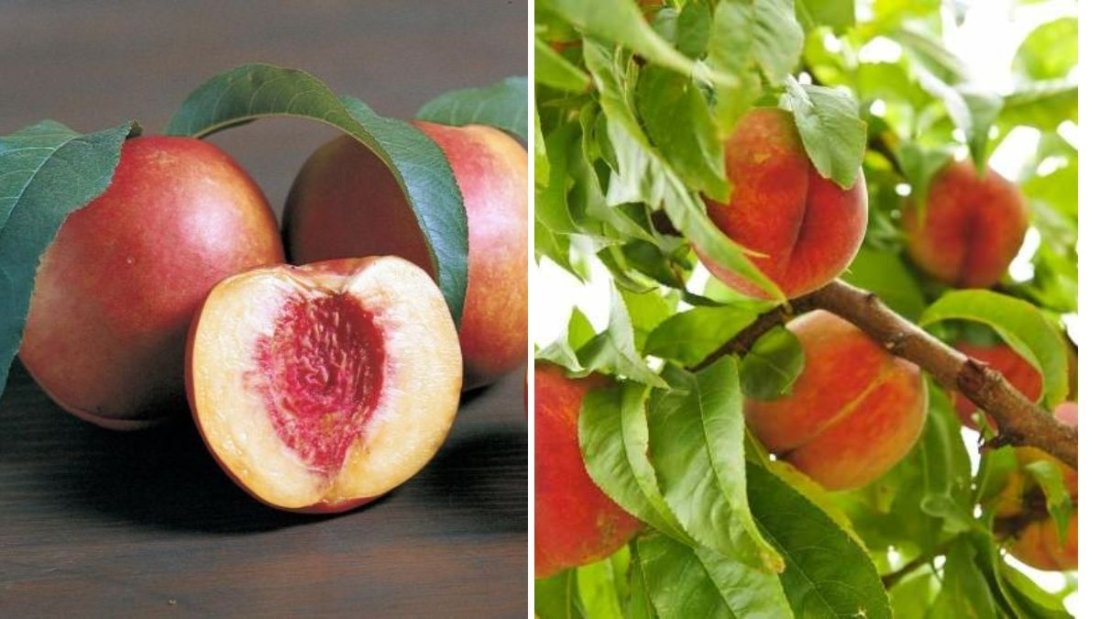
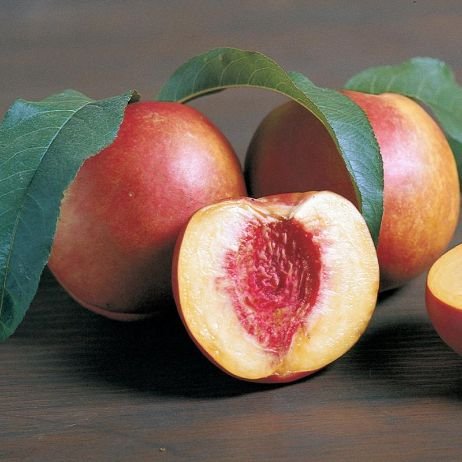
Before we tackle the parrot problem, it’s worth understanding why Moorpark apricots (Prunus armeniaca ‘Moorpark’) are such a prized target for wildlife.
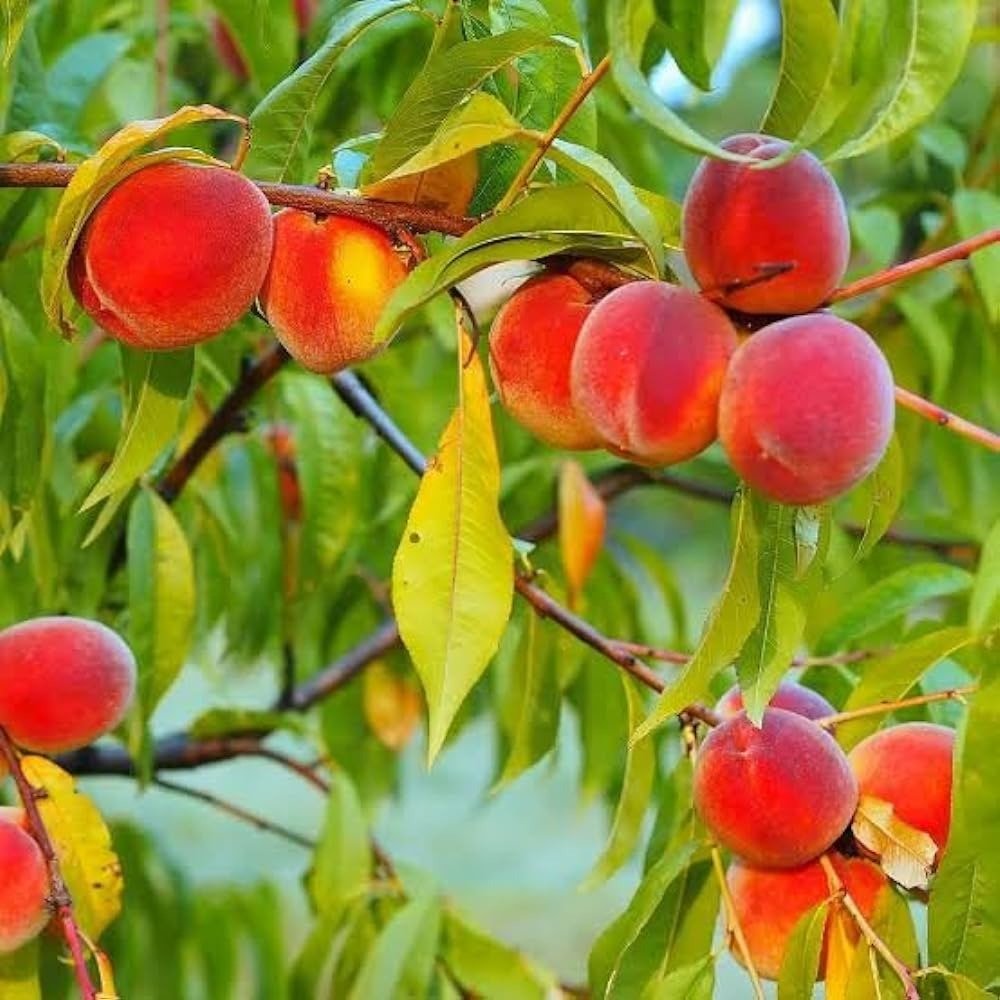
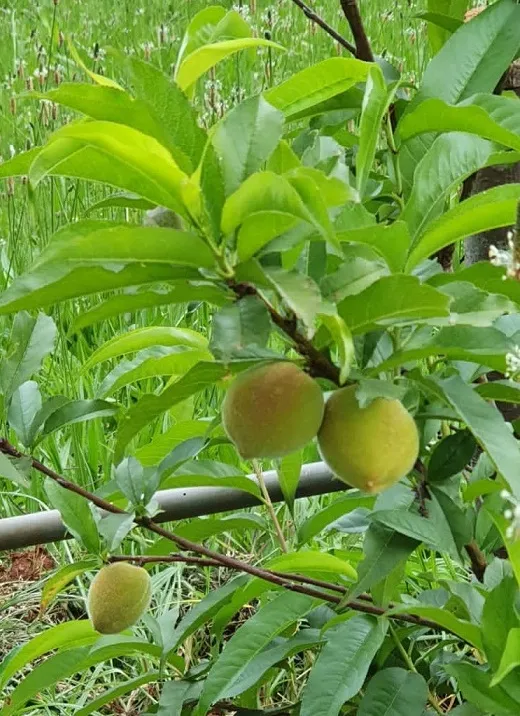
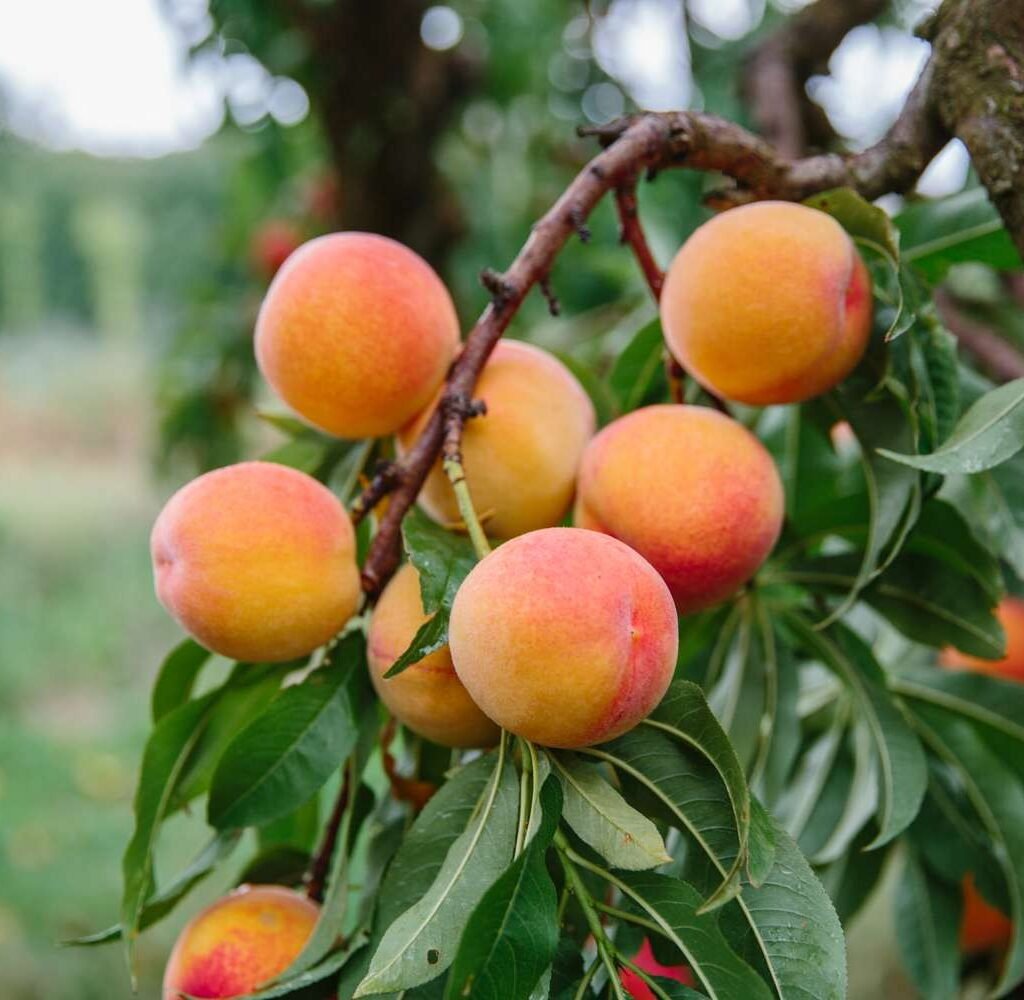
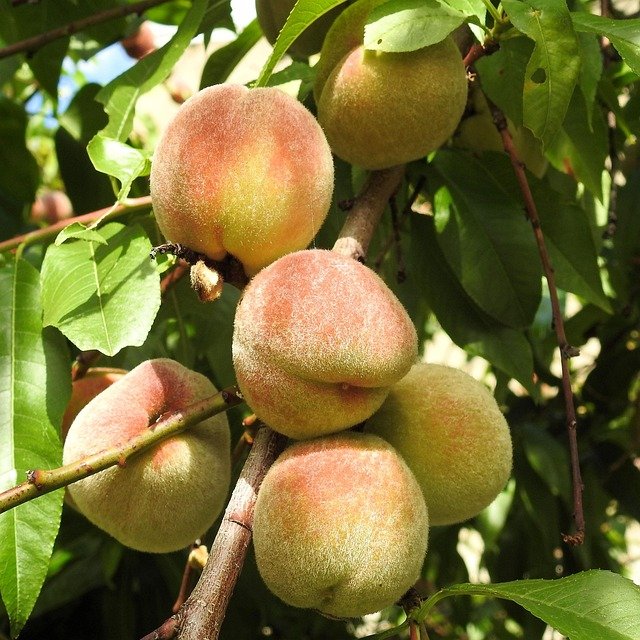
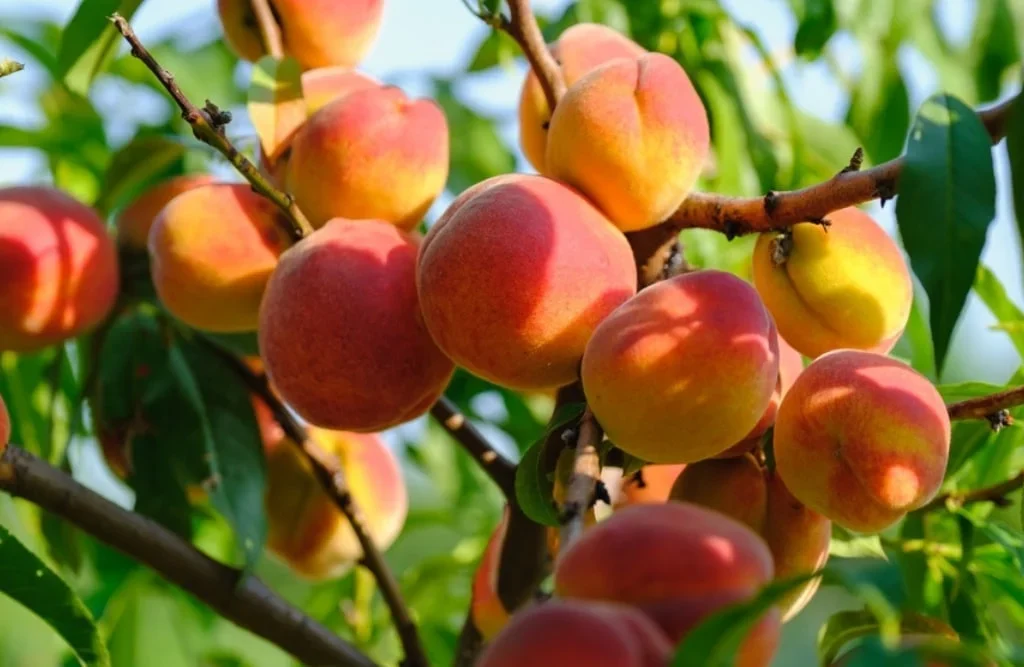
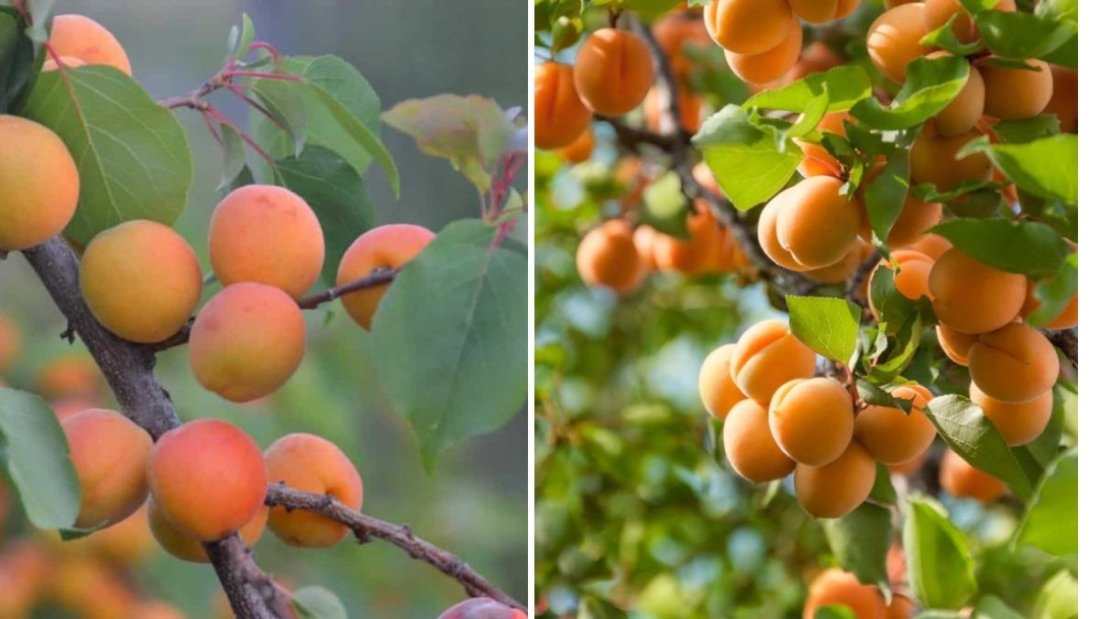
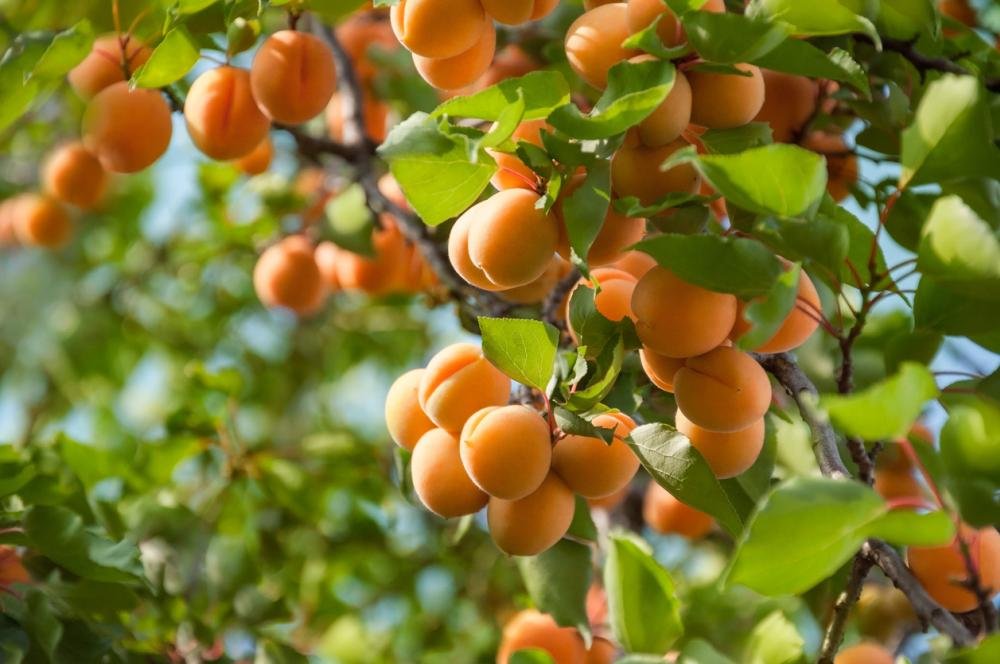
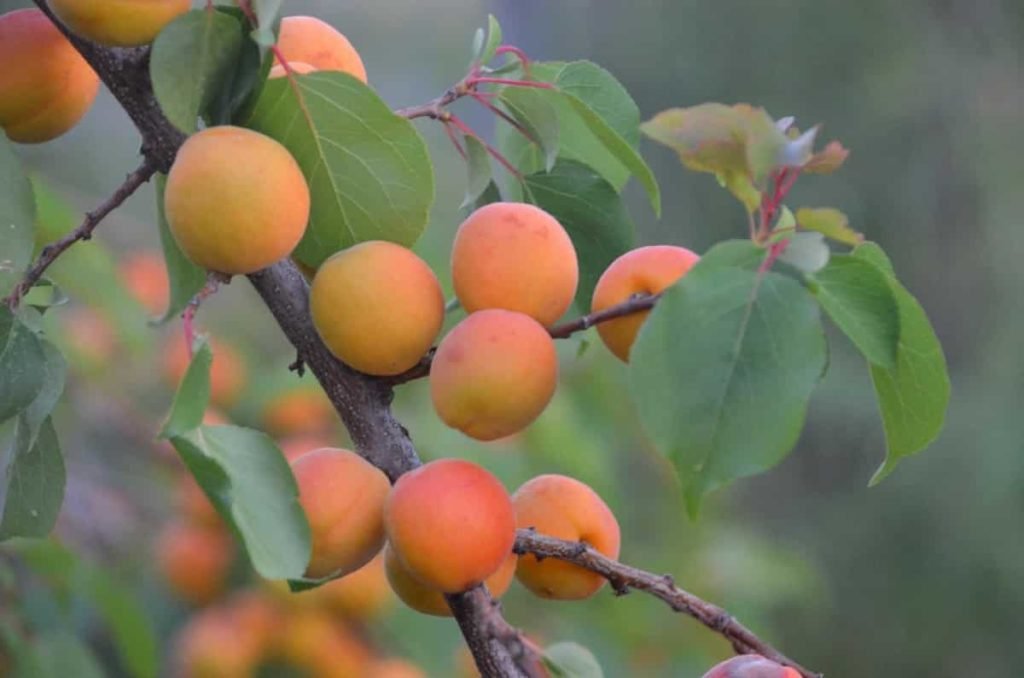
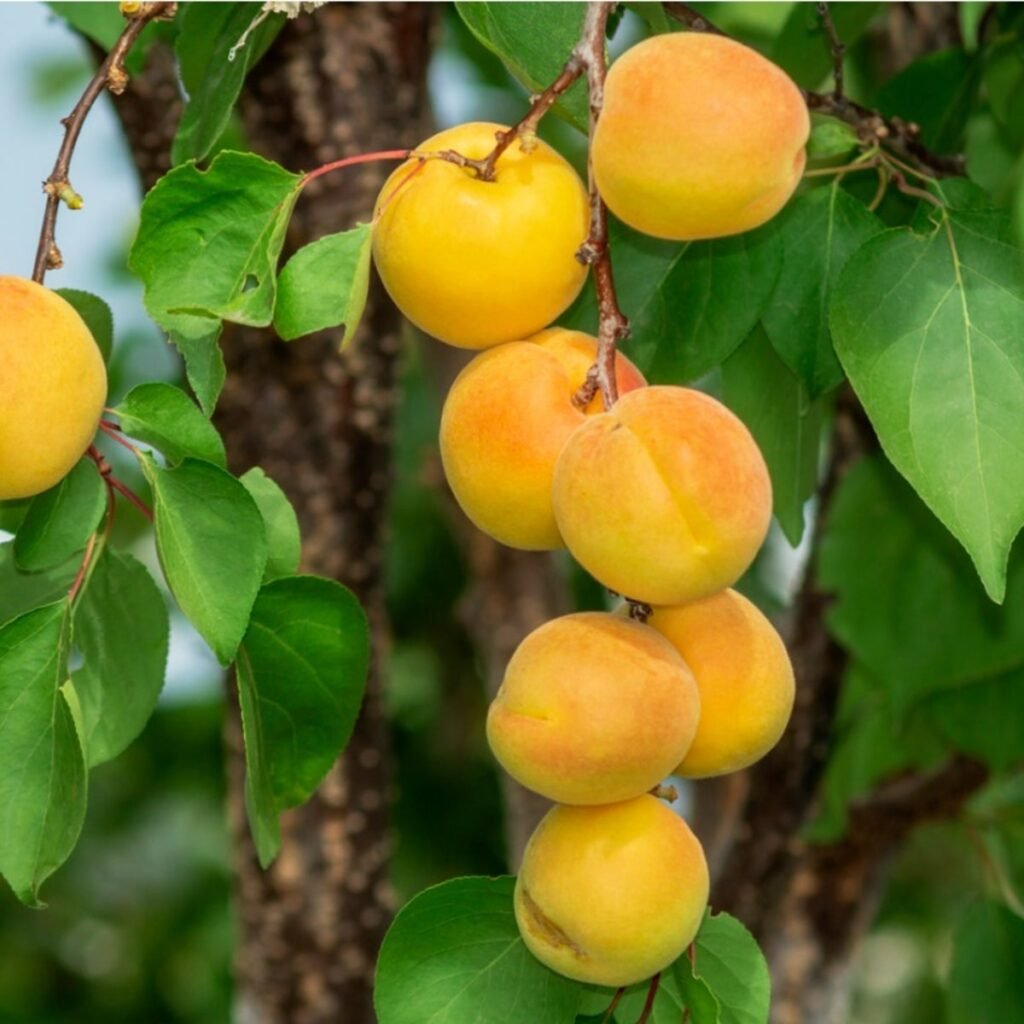
Moorpark apricots are an heirloom variety known for their large, golden-orange fruit, intense sweetness, and rich aroma. They ripen later in the season than many other apricots, giving them more time to develop sugars and flavor complexity. The flesh is juicy, tender, and perfect for eating fresh, canning, or baking.
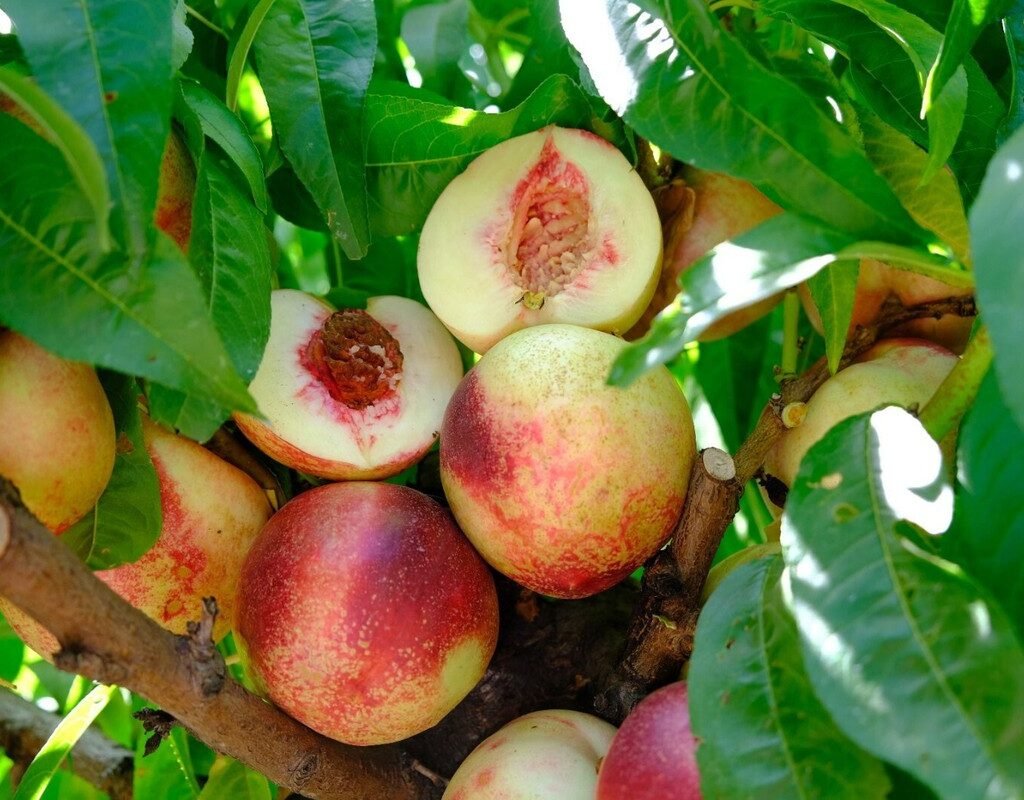
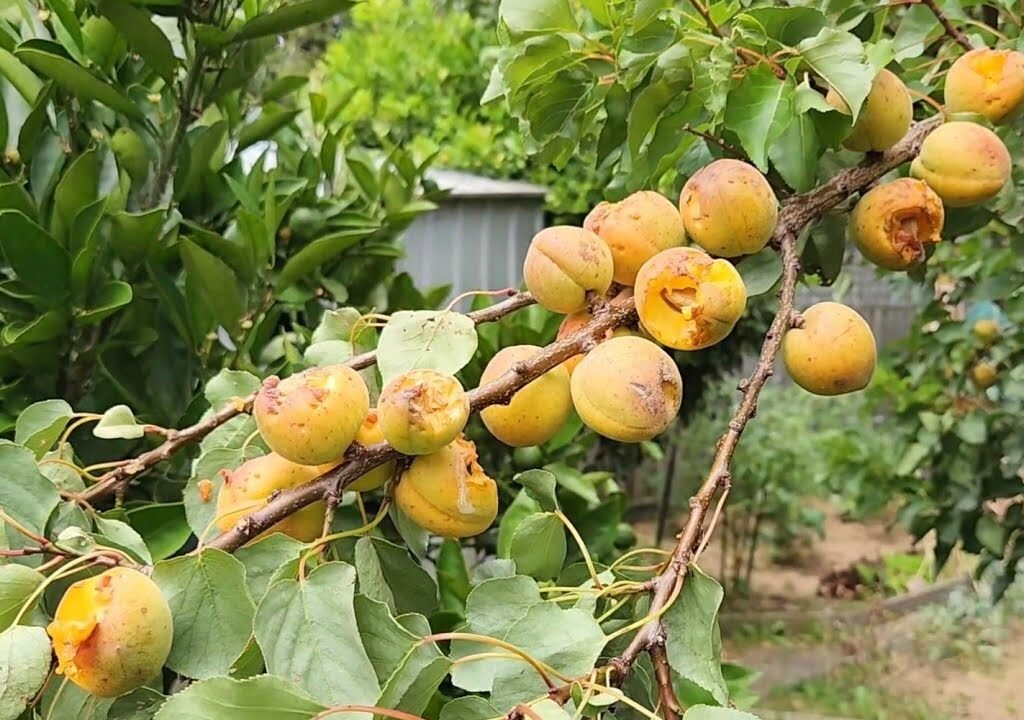
Unfortunately, what makes them irresistible to humans also makes them irresistible to parrots. The bright color signals ripeness, the soft flesh is easy to pierce, and the sugar content provides a high-energy meal for birds — especially during breeding season when they’re feeding young.
Understanding Parrot Behavior in the Orchard
Parrots are among the most intelligent bird species. They have excellent vision, strong beaks, and the ability to learn and adapt to deterrents. Knowing how they behave helps in designing effective control strategies.
- Seasonal feeding: Parrots often appear during the fruiting season when nectar, seeds, and other food sources are scarce.
- Social behavior: They feed in flocks, meaning damage happens quickly and in groups.
- Taste testing: Parrots tend to take a few bites from multiple fruits instead of eating one whole fruit — causing widespread spoilage.
- Routine and memory: Once they find a reliable food source, they’ll return year after year, often at the same time of season.
To effectively protect your Moorpark apricots, your goal is to break their pattern — make your orchard an unpredictable, unpleasant place to feed.
1. Netting: The Most Reliable Protection Method

If you’re serious about saving your apricots, bird netting is hands-down the most effective physical barrier.
How to Use Netting Properly:
- Choose fine, UV-stabilized mesh with holes smaller than 15mm to prevent parrots from getting their beaks through.
- Drape the net completely over the tree, ensuring it touches the ground on all sides. Secure it tightly with stakes or garden clips.
- For larger trees, use a frame structure (such as PVC or bamboo poles) to hold the net above the canopy, preventing the birds from perching and pecking through.
- Always check for trapped birds or wildlife daily — use wildlife-safe netting designed to minimize entanglement.
Though netting requires some effort to install, it offers long-term, chemical-free protection that can be reused every season.
2. Visual Deterrents: Confuse and Scare the Invaders
Parrots are alert and cautious by nature. Sudden movements or reflections can make them wary of approaching your trees.
Effective visual deterrents include:
- Reflective tape: Tie strips of holographic bird scare tape to branches. The flashing light and noise in the wind confuse parrots.
- Hanging CDs or mirrors: A simple DIY solution that reflects sunlight unpredictably.
- Inflatable predator balloons: These mimic the eyes of predatory birds like hawks or owls. Move them around every few days so parrots don’t become accustomed to them.
- Garden flags or wind spinners: Add motion and sound to your orchard, deterring curious flocks.
Remember, parrots are smart — so rotate and combine multiple visual deterrents regularly to keep them guessing.
3. Sound Deterrents: Keep Parrots on Edge
Sound-based deterrents can work well when used alongside visual ones. Parrots quickly adapt to repetitive noises, so the trick is to vary the sounds and timing.
Options include:
- Ultrasonic bird repellers: These emit high-frequency sounds that irritate birds but are inaudible to humans.
- Predator calls: Devices that mimic hawks or falcons can scare parrots away when activated at irregular intervals.
- Wind chimes: The unpredictable sounds can deter smaller flocks, especially when combined with visual deterrents.
Avoid constant noise pollution — it’s best to use timers or motion-activated sound devices to prevent habituation.
4. Decoys and Fake Predators
Visual decoys such as plastic owls or hawks can work surprisingly well in small gardens — at least temporarily. Parrots are wary of raptors, but once they realize your decoy doesn’t move, they’ll ignore it.
To make it more believable:
- Move the decoy every 2–3 days to a new location.
- Occasionally attach lightweight streamers to simulate movement.
- Combine with reflective materials for added realism.
A more advanced option is mechanical predator decoys that swivel or flap wings periodically. These can be highly effective in deterring larger flocks for extended periods.
5. Protective Bagging for Individual Fruits
If you have only a few trees or limited fruit to protect, consider bagging individual fruits.
Use fine mesh fruit bags or paper sleeves that cover the apricot completely. This method is eco-friendly, protects against birds and insects, and even prevents sunburn on the fruit.
Simply slip the bag over the young fruit once it’s about marble-sized and secure it around the stem. Remove the bags a few days before harvest to let the fruit color naturally.
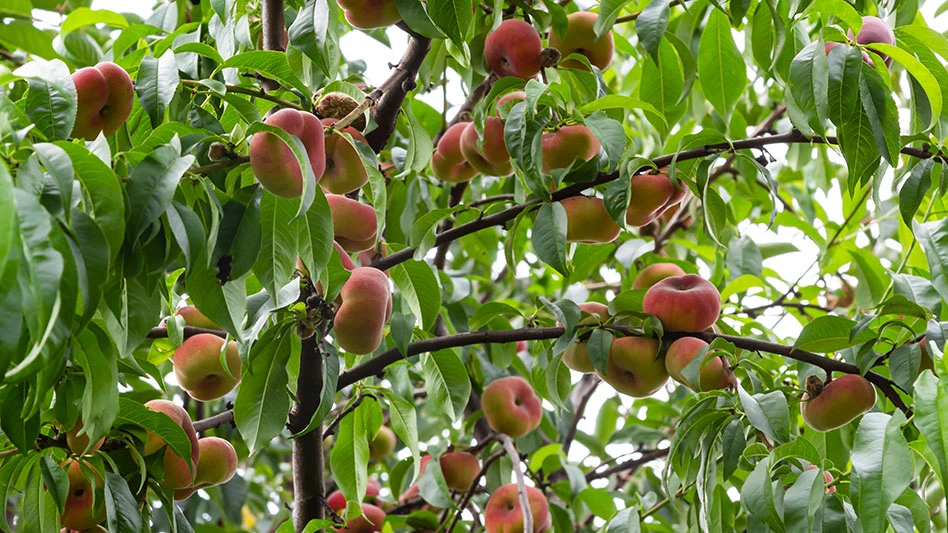
6. Pruning and Training to Aid Protection
A well-pruned apricot tree is easier to protect. Keeping your tree’s shape compact and open helps with netting, monitoring, and harvesting.
Prune annually in late winter or early spring to:
- Maintain a manageable height (2–3 meters ideal).
- Remove overcrowded branches for better air circulation.
- Encourage evenly distributed fruiting wood.
This not only improves tree health but also makes bird-proofing far more practical.
7. Harvest Early and Frequently
One of the simplest yet most effective ways to reduce parrot damage is to harvest apricots as soon as they ripen.
Parrots tend to target fruit at its peak sweetness — so don’t wait too long to pick. Check your trees daily once the fruit starts to color. Slightly underripe apricots can finish ripening indoors safely, away from hungry beaks.
8. Providing Alternative Food Sources (Optional)
In some situations, gardeners find that offering alternative food sources helps reduce bird damage. You can place a feeder with seeds or unsalted nuts at the edge of your property — away from your orchard — to distract the flock.
While this approach doesn’t work for everyone, it can sometimes help when used with other deterrents.
9. Consistency and Change: The Key to Long-Term Success
No single deterrent will work forever. Parrots are incredibly adaptive, so your success depends on variation and persistence.
- Rotate visual and sound deterrents weekly.
- Inspect your netting regularly for holes.
- Adjust strategies based on fruit ripening stages.
By keeping your defense system dynamic, you’ll make it much harder for parrots to predict your next move.
10. The Reward: A Parrot-Free Apricot Harvest
Few things are as satisfying as harvesting your first basket of Moorpark apricots untouched by birds. Their velvety texture, honey-sweet flavor, and deep orange flesh make every ounce of effort worthwhile.
With consistent protection measures, you’ll not only save your fruit but also preserve the health and longevity of your trees.
And the best part? You don’t need harmful chemicals or aggressive tactics — just smart, humane, and environmentally friendly methods that keep both your harvest and your garden’s ecosystem in balance.
Final Thoughts
Protecting your Moorpark apricots from parrots might seem like a never-ending battle, but with the right approach, you can absolutely win it. The key lies in understanding their behavior, using a mix of deterrents, and staying flexible as the season progresses.
Your goal isn’t to harm or eliminate parrots — it’s to teach them that your garden is no longer an easy meal. Once they move on to other areas, you’ll enjoy the peace of a thriving orchard filled with ripe, golden apricots — all yours to savor.