Pineapples are one of the most fascinating tropical fruits you can grow at home — a symbol of warmth, hospitality, and sweet success in gardening. At Queen Annie’s Place, the art of growing pineapples is not just about cultivating fruit; it’s about nurturing patience, creating beauty, and connecting with nature in a truly rewarding way. In this comprehensive guide, inspired by the YouTube video “Growing Pineapple at Queen Annie’s Place!”, we’ll explore how to grow your own pineapple plants step by step, from crowns to harvest, and how to create the ideal environment for them to thrive.
1. The Charm of Pineapple Growing
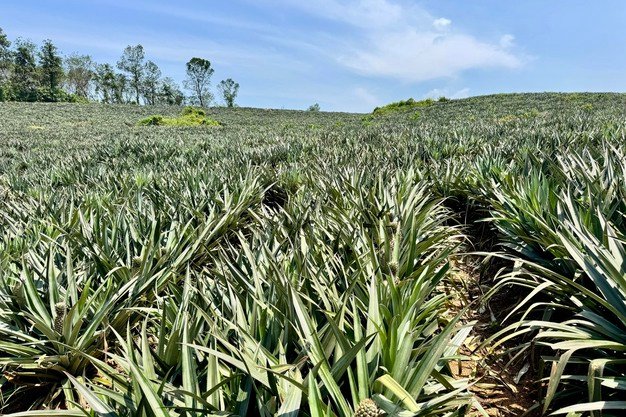
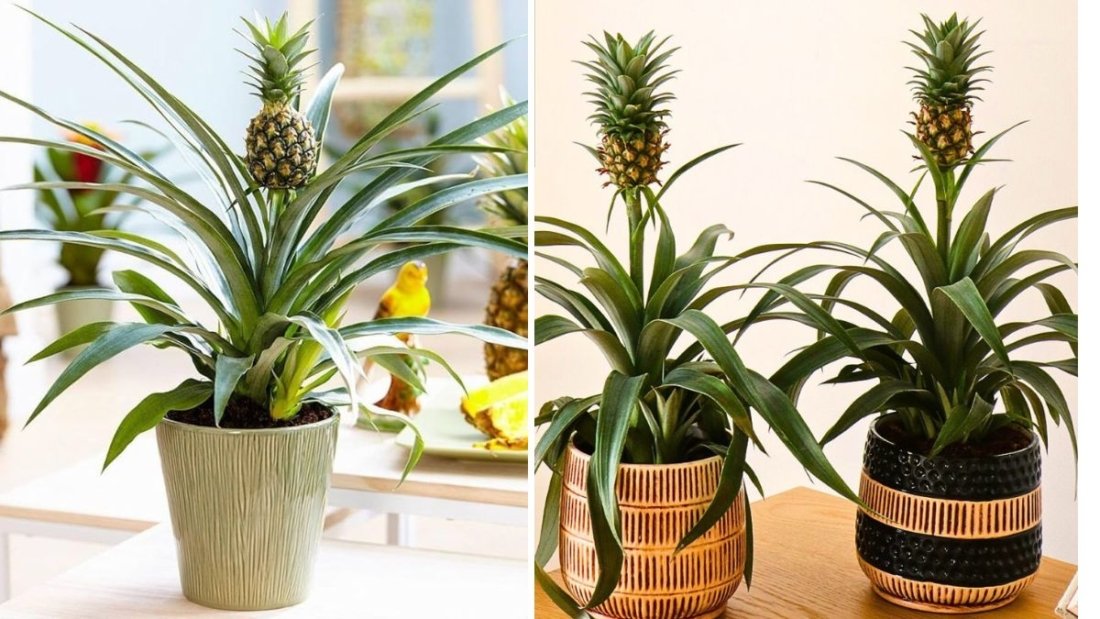
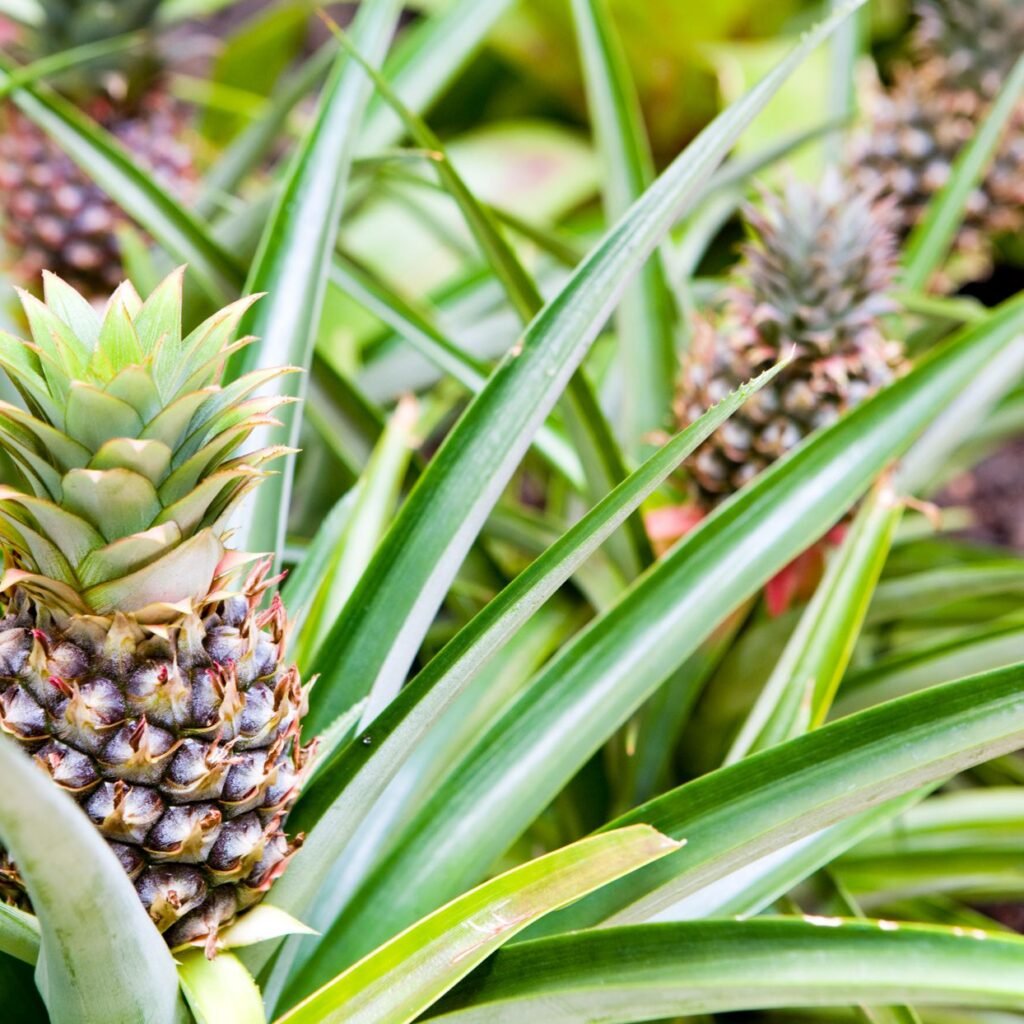
Pineapples (Ananas comosus) belong to the bromeliad family and are native to South America, but their tropical flair makes them popular worldwide. They can be grown successfully in pots, gardens, or greenhouses — perfect for gardeners who love exotic fruit and want to enjoy a taste of the tropics at home.
At Queen Annie’s Place, growing pineapples isn’t just a gardening project — it’s a journey of discovery. Watching a pineapple plant grow from a simple leafy crown into a fruit-bearing plant is deeply satisfying. It’s slow-paced gardening at its finest, and the results are well worth the wait.
2. Starting with the Pineapple Crown
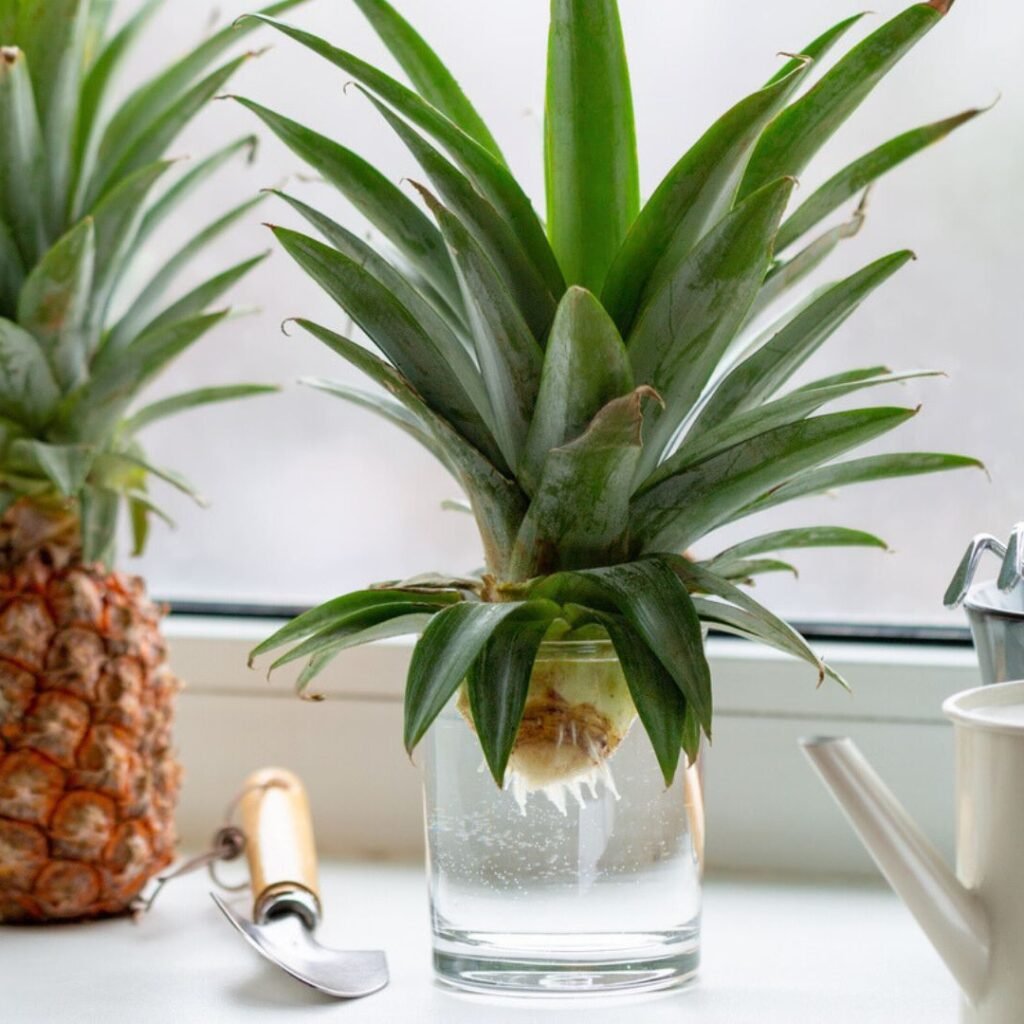
The easiest and most rewarding way to start growing pineapple is by using the crown from a store-bought or homegrown fruit. Here’s how it’s done at Queen Annie’s Place:
- Choose a healthy pineapple with firm green leaves and no signs of rot or pests.
- Twist or cut off the leafy top (crown) about an inch below the leaves. Remove a few of the lower leaves to expose the small root buds around the base.
- Allow the crown to dry for two to three days in a shaded, airy place. This helps prevent rot when it’s planted.
- Optional step – root in water: Some gardeners like to place the crown in a glass of water until roots begin to form. Others, like at Queen Annie’s Place, plant directly into soil for a more natural start.
Whether you root in water or soil, patience is key. Within a few weeks, you’ll see roots developing and new leaves emerging from the center — a sure sign your pineapple plant is settling in.
3. Choosing the Right Soil and Pot
Pineapples love well-draining, slightly acidic soil. A good mix to use is:
- 1 part garden soil
- 1 part coarse sand or perlite
- 1 part organic compost
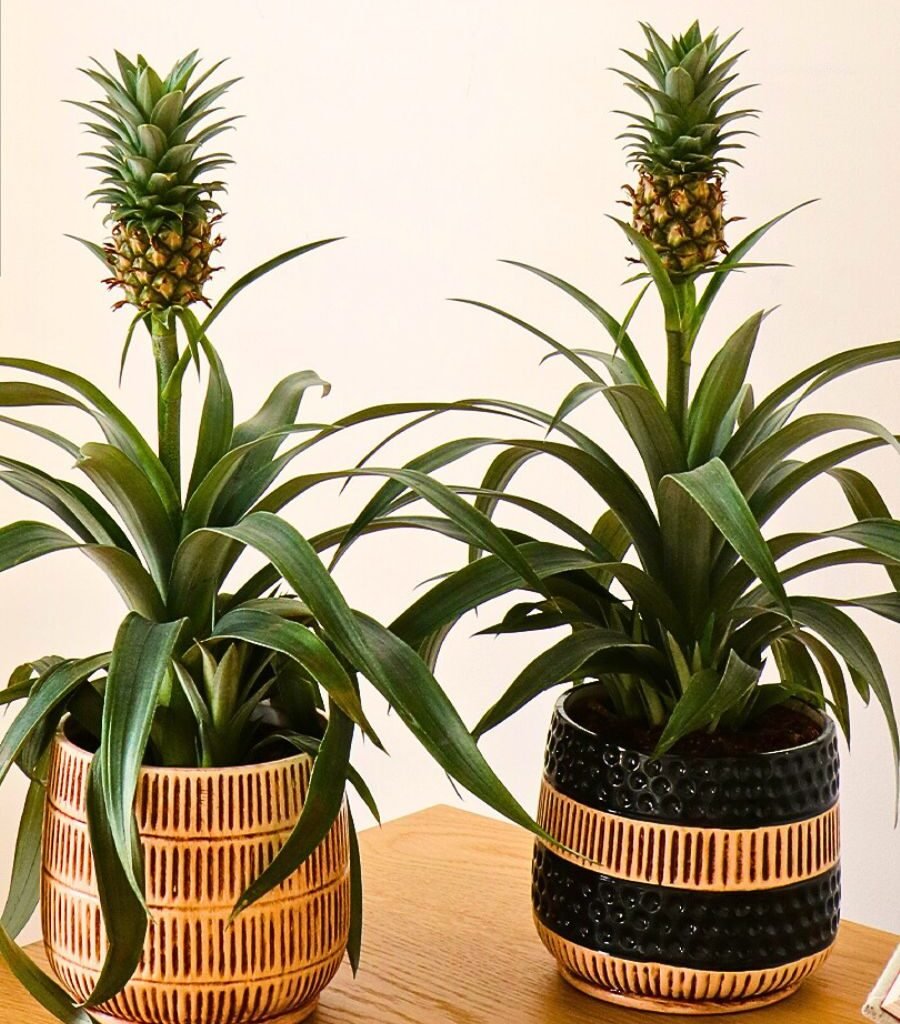
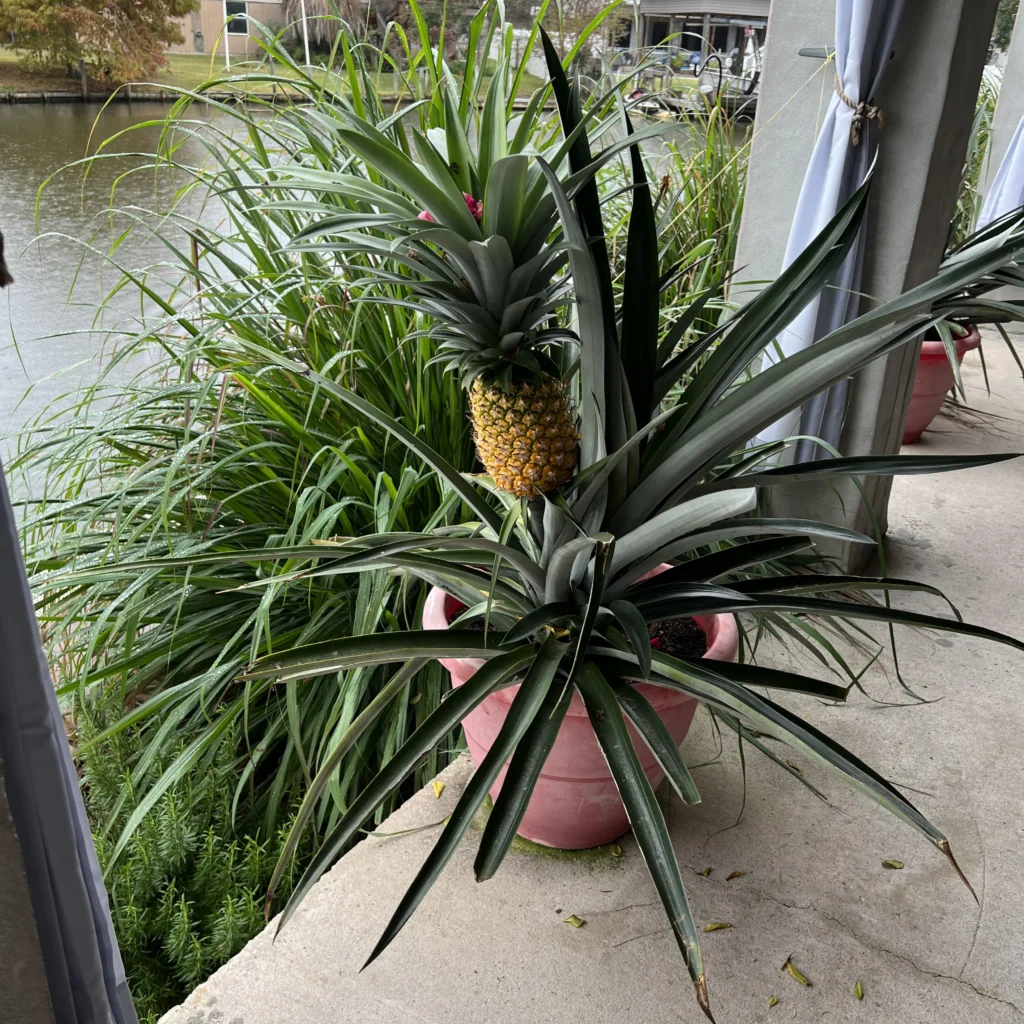
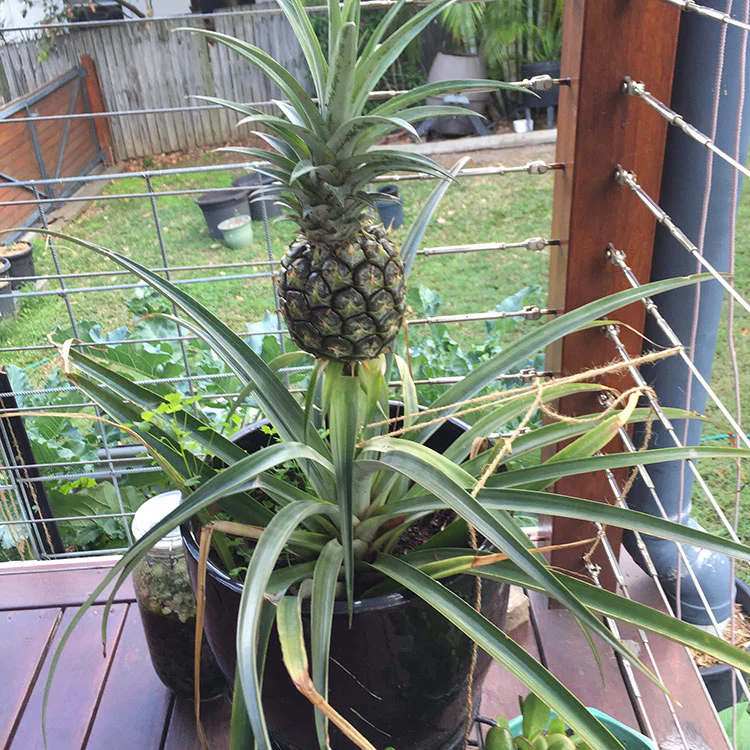
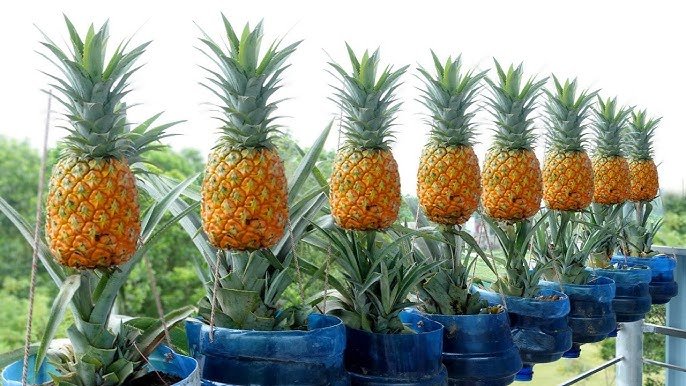
At Queen Annie’s Place, pineapples are often planted in medium to large containers with good drainage holes. Container growing has several advantages — you can move the plants to catch more sunlight, protect them from frost, and control the watering better.
For outdoor planting, make sure the area has plenty of sunlight (at least six hours a day) and good airflow. Pineapples can tolerate partial shade but grow and fruit best in bright, warm conditions.
4. Watering and Feeding Pineapples
Pineapple plants are drought-tolerant, but that doesn’t mean they like being neglected. The goal is consistent but moderate watering.
- Water when the top inch of soil feels dry.
- Avoid waterlogging — soggy soil leads to root rot.
- During dry or hot weather, mist the leaves occasionally to increase humidity.
Pineapples also appreciate light feeding. At Queen Annie’s Place, they use organic fertilizers or compost tea every few weeks during the growing season. A balanced fertilizer (10-10-10 or 14-14-14) works well, but you can also use a slow-release type to make feeding easier.
5. Light, Temperature, and Care
Pineapples thrive in warm, sunny environments. Ideal temperatures range from 65°F to 95°F (18°C to 35°C). If you live in a cooler area, you can still grow pineapples indoors near a sunny window or in a greenhouse.
At Queen Annie’s Place, the pineapples receive abundant sunlight throughout the day, helping them develop strong leaves and vibrant colors. If you’re growing indoors, consider using a grow light to supplement natural light during winter months.
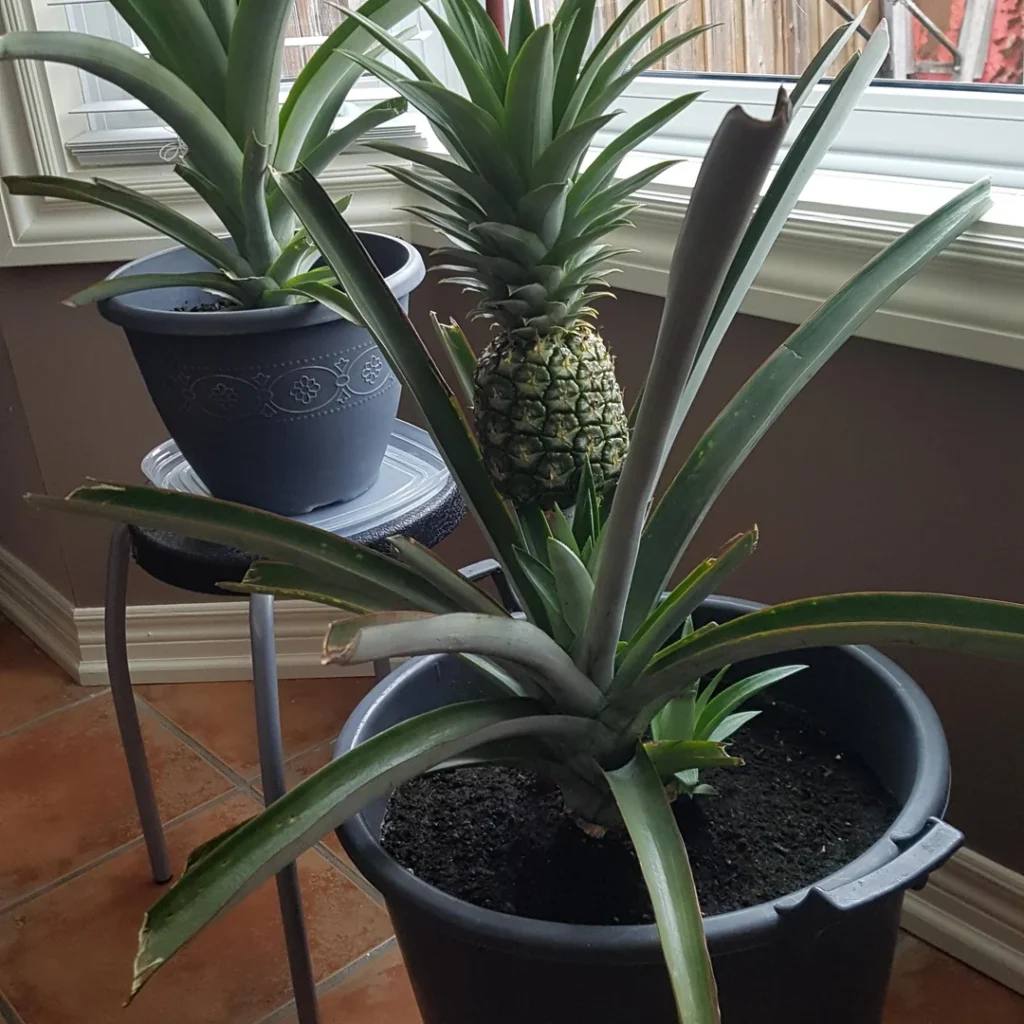
6. Growth Stages and Patience
Pineapple plants grow slowly — and that’s part of their charm. It usually takes 18 to 24 months for a plant to produce fruit. Here’s what to expect:
- Months 1–6: Rooting and leaf growth.
- Months 6–12: Leaf rosette expands, and the plant develops a sturdy base.
- Months 12–18: The plant matures and may start showing signs of flowering.
- Months 18–24: The flower transforms into a beautiful pineapple fruit.
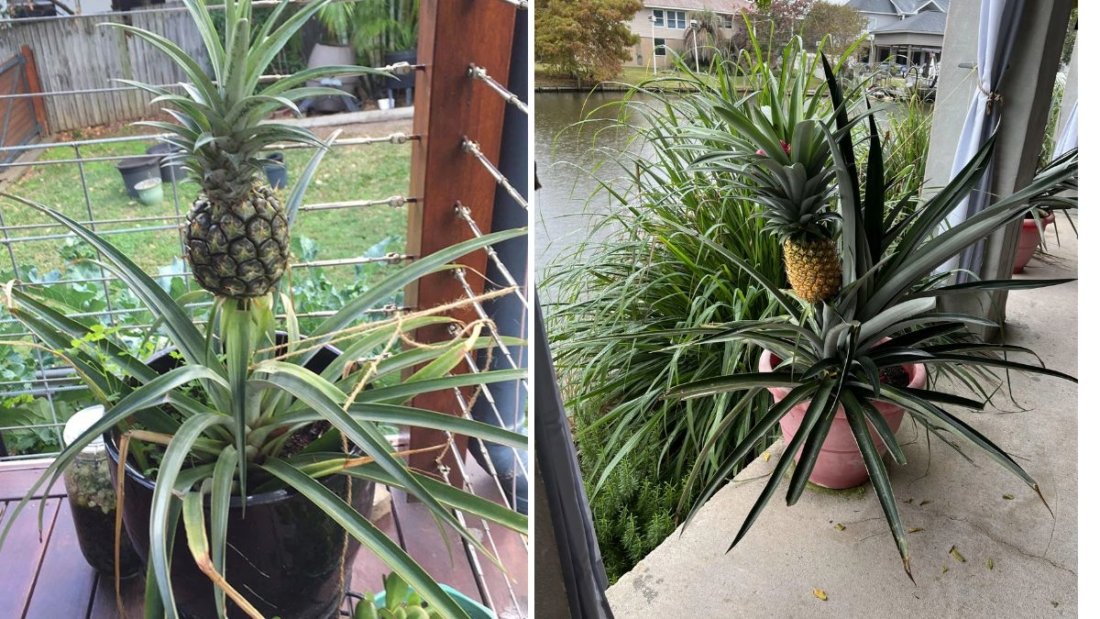
At Queen Annie’s Place, each stage of growth is celebrated — from the first root sprout to the stunning bloom that precedes fruiting. The flower itself is a sight to behold, with shades of pink and purple gradually turning into the familiar golden fruit we all love.
7. Encouraging Flowering and Fruiting
If your pineapple plant seems mature but hasn’t started flowering, you can give it a gentle nudge. Gardeners at Queen Annie’s Place often use natural methods to encourage blooming. One popular technique is the ethylene trick:
- Place a ripe apple next to the pineapple plant and cover both with a plastic bag for about a week.
- The apple releases ethylene gas, which signals the pineapple that it’s time to flower.
Within two months, you may see the central stalk emerge with a cluster of tiny purple-blue flowers. These flowers later fuse together to form the pineapple fruit — one of nature’s most fascinating transformations.
8. Harvesting the Pineapple
Harvesting is the most exciting part of growing pineapples. The fruit is ready to pick when:
- The skin turns golden-yellow.
- The fruit gives off a sweet, tropical aroma.
- The leaves on top are still green but easy to tug slightly.
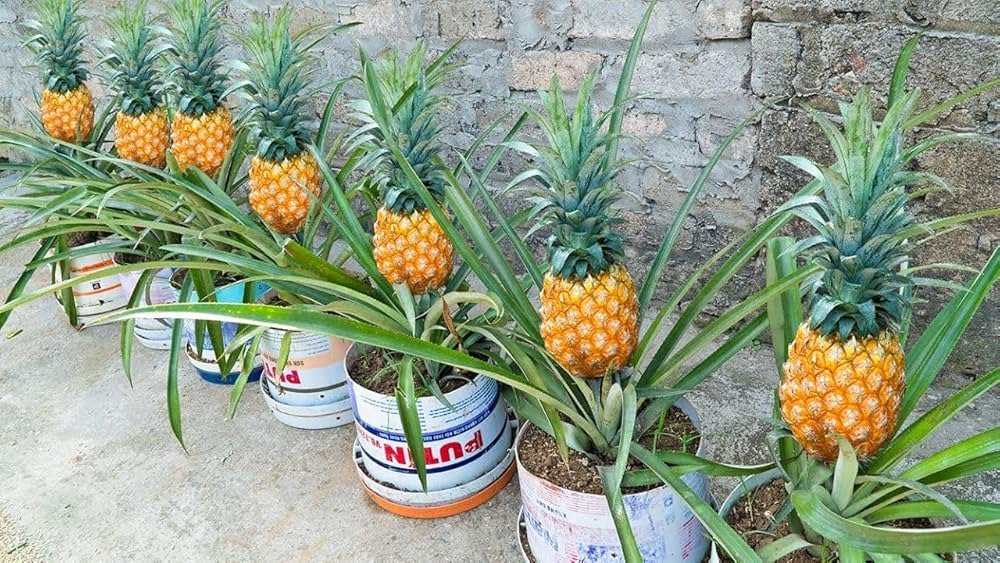
At Queen Annie’s Place, pineapples are harvested carefully by twisting the fruit from the stalk or cutting it with a sharp knife. It’s best to enjoy them fresh — nothing beats the juicy sweetness of a homegrown pineapple straight from your garden.
9. Propagating New Pineapple Plants
Once you’ve grown one pineapple, it’s easy to grow more. Each mature plant produces several suckers or slips (baby plants) around the base or under the fruit. These can be removed and replanted to grow new pineapples.
At Queen Annie’s Place, this is how their pineapple garden keeps expanding — from one crown to many thriving plants over time. It’s a sustainable and enjoyable cycle of growth that rewards patient gardeners with a continuous supply of fruit and beauty.
10. Common Problems and How to Fix Them
Even though pineapples are hardy, they can face a few challenges:
- Root Rot: Caused by overwatering. Always ensure good drainage.
- Pest Issues: Mealybugs and scale insects sometimes appear. Use neem oil or insecticidal soap to manage them naturally.
- Slow Growth: Can result from low light or poor soil. Move the plant to a sunnier spot and feed it regularly.
At Queen Annie’s Place, the focus is always on organic care — avoiding chemical sprays and encouraging natural solutions to keep the plants healthy and the environment safe.
11. The Beauty of Pineapple Gardening
Growing pineapples is not only about producing fruit — it’s about embracing a tropical lifestyle. Their spiky leaves and exotic form make them stunning ornamental plants for patios, balconies, and garden borders.
At Queen Annie’s Place, pineapples are often featured as part of a tropical-themed garden alongside bananas, papayas, and herbs. Their golden fruits gleam like gems among the greenery, adding a magical touch to the landscape.
12. Final Thoughts
The journey of growing pineapples at Queen Annie’s Place beautifully demonstrates that great rewards come with patience and care. From a humble crown to a full, golden fruit, the process is a celebration of life, growth, and connection to nature.
Whether you have a sprawling garden or just a sunny balcony, you too can grow pineapples with a little effort and a lot of love. With their resilience, beauty, and sweetness, pineapples truly are one of the most satisfying fruits to grow at home.
So, take inspiration from Queen Annie’s Place — start with a single crown, nurture it with sunlight and patience, and before long, you’ll be harvesting your own delicious tropical treasure.