Have you ever finished eating a juicy pineapple and wondered if you could plant the top and grow your own at home? The answer is a resounding yes! Pineapple tops, also known as crowns, are not just scraps to toss away—they hold the potential to grow into a full, fruit-bearing plant with a little care and patience.
In this comprehensive guide, we’ll walk you through everything you need to know about planting a pineapple top—from preparation to harvesting—so you can enjoy a sustainable and rewarding gardening experience.
Why Grow Pineapple from the Top?
Growing a pineapple from the crown is one of the easiest and most cost-effective propagation methods. Instead of purchasing new seeds or seedlings, you can simply use the leftover top from a store-bought fruit. It’s a great way to recycle kitchen waste and embrace home gardening, even for beginners.
Key Benefits:
- Eco-friendly: Reduce food waste.
- Cost-saving: No need to buy new plants.
- Educational: Great project for kids and families.
- Satisfying: Grow your own tropical fruit indoors or outdoors.
Step 1: Choose the Right Pineapple
Success starts with choosing a healthy, ripe pineapple. When shopping, look for the following signs:

- Green, healthy leaves on the crown—avoid tops that are dry or brown.
- Firm and plump fruit—not mushy or moldy.
- No sign of pests or rot.
Once you’ve selected your pineapple, cut it open and enjoy the delicious fruit. But don’t throw away the top—your pineapple growing journey begins there!
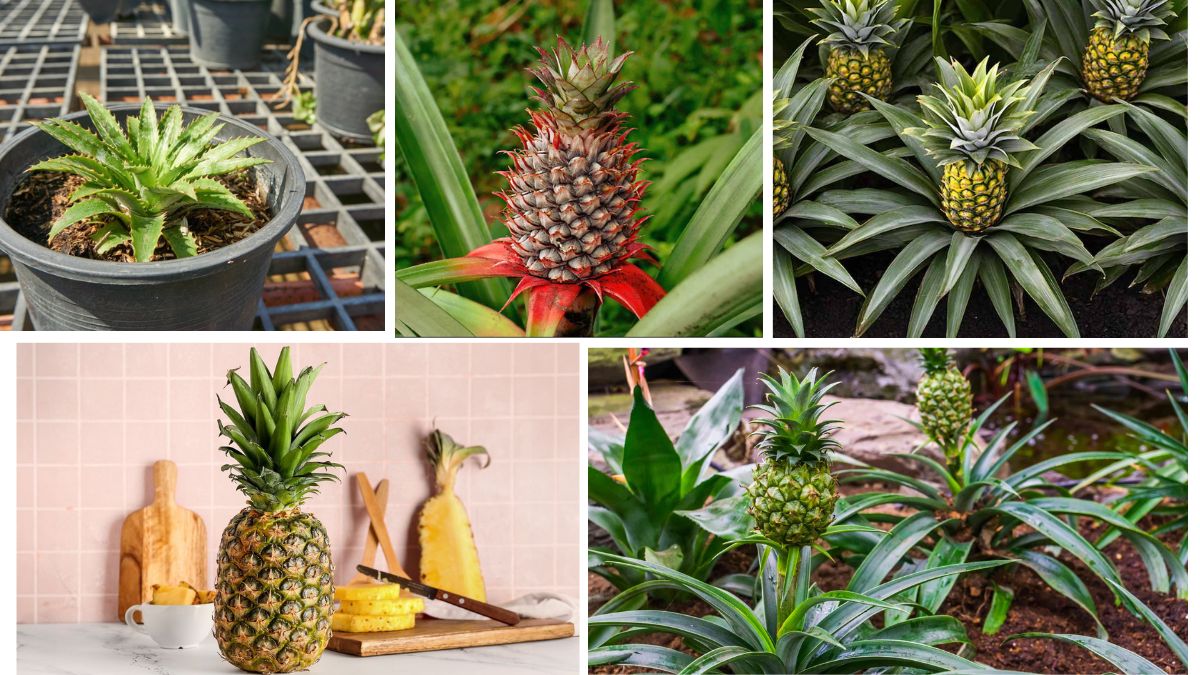
Step 2: Prepare the Pineapple Crown
Proper preparation is crucial to ensure that your pineapple top develops roots and grows successfully.
How to Remove the Crown:
- Grip the leaves and twist firmly to separate the crown from the fruit. Alternatively, you can slice off the top of the pineapple about 1 inch below the leaves.
- Peel away the lower leaves (about 1 inch from the base) to expose the small root buds. These look like tiny brown bumps around the stem.
- Allow the crown to dry for 2–3 days in a warm, shaded place. This helps the base callous over and reduces the risk of rot when planted.
Step 3: Root the Pineapple Top
You can root the crown in water or soil, though water propagation allows you to monitor root development.
Option 1: Water Propagation
- Fill a glass or jar with water.
- Place the crown so that just the base (not the leaves) is submerged.
- Set the jar in a sunny windowsill.
- Change the water every 2–3 days.
Roots typically appear within 1–2 weeks. Once they reach 2–3 inches in length, it’s time to transplant into soil.

Option 2: Direct Soil Planting
- Use a pot with drainage holes.
- Fill it with well-draining soil (cactus or succulent mix is ideal).
- Plant the dried crown about an inch deep and pat the soil gently.
- Water lightly and place it in indirect sunlight.
Step 4: Transplanting and Growing Your Pineapple
Whether rooted in water or soil, once your crown is established with healthy roots, it’s time to plant it in a larger container or directly in your garden.
Soil Requirements:
- Well-draining sandy soil
- pH between 4.5 to 6.5
- Add compost or organic matter for better nutrition
Pot Requirements (for container growing):
- At least 12 inches deep and wide
- Drainage holes at the bottom
- Use a mix of potting soil, sand, and perlite
Light and Temperature:
- Pineapples love full sunlight, ideally 6-8 hours per day.
- Ideal temperatures range between 65°F to 95°F (18°C–35°C).
- If growing indoors, use a sunny windowsill or grow light.
Step 5: Watering and Feeding
Pineapples are drought-tolerant but still need consistent moisture during active growth.
Watering Tips:
- Water deeply once the top 1–2 inches of soil feel dry.
- Do not let water sit in the crown—it can cause rot.
- In winter, reduce watering frequency.
Fertilizing:
Feed your pineapple every 4–6 weeks during the growing season with:
- Balanced organic fertilizer (10-10-10)
- Compost tea or diluted fish emulsion
- Avoid high-nitrogen fertilizers, which encourage leaf growth over fruiting
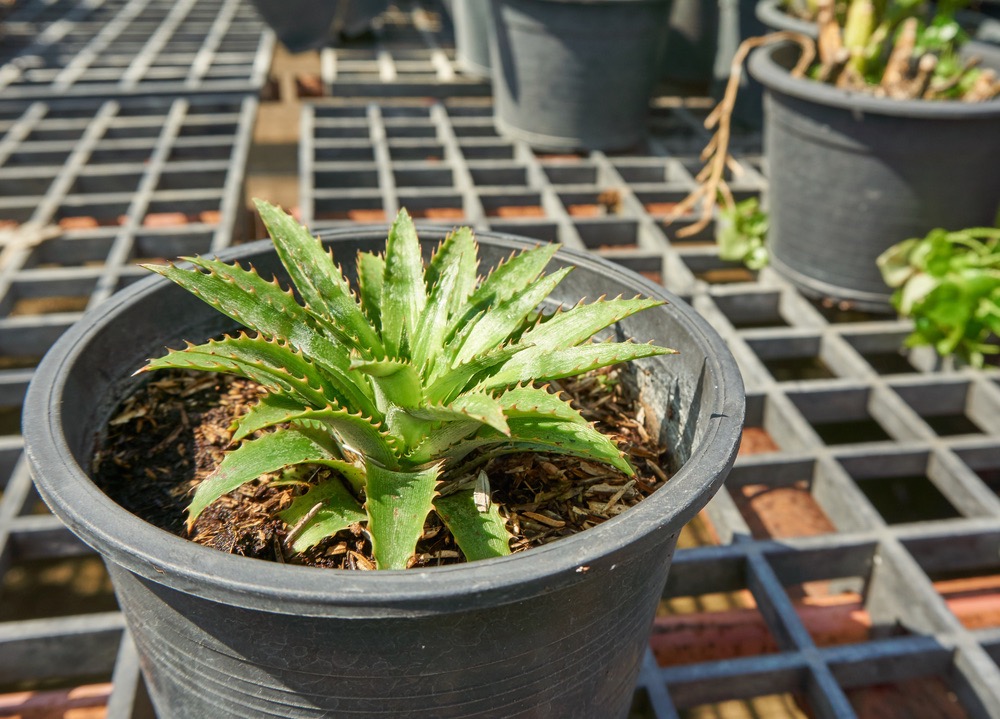
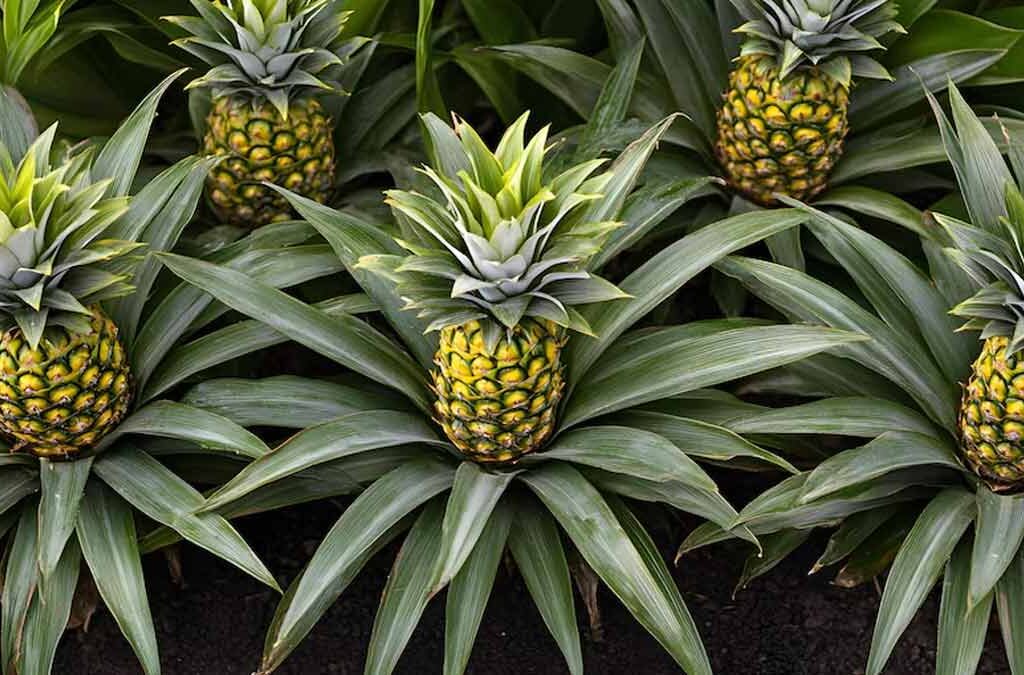
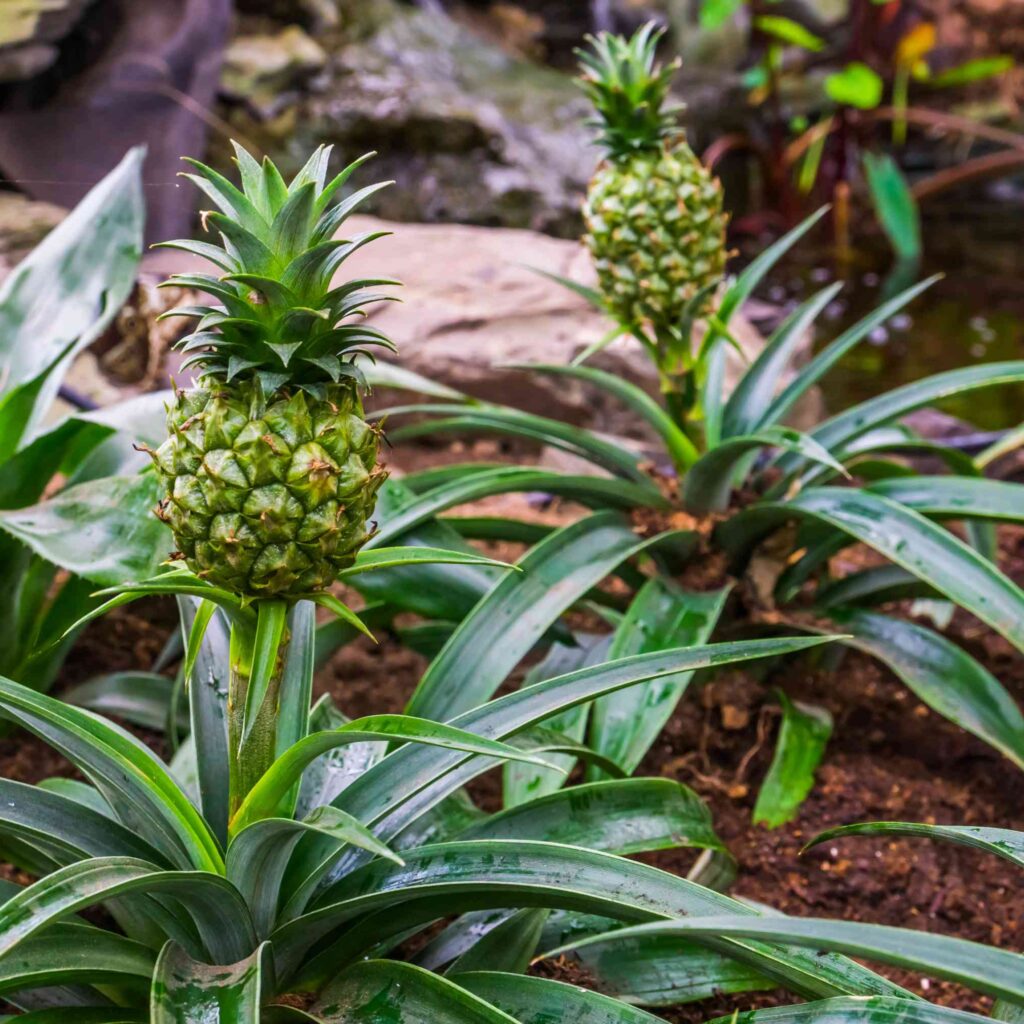
Step 6: Growth Timeline and Flowering
Pineapples are slow-growing plants, and patience is key.

Growth Timeline:
- First 6 months: Establishing roots and leaves
- 6–12 months: Growing a robust leafy top (rosette)
- 12–24 months: Flower initiation and fruit development
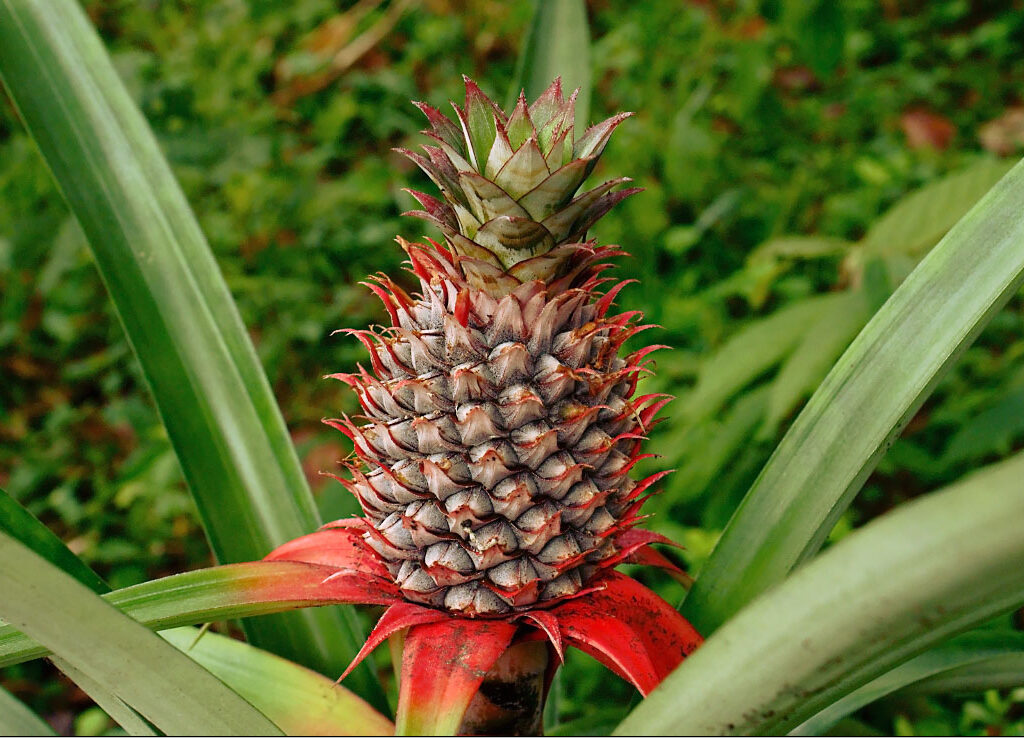
To encourage flowering, you can try:
- Ethylene gas exposure: Place a ripe apple or banana in a bag with the plant for a few days.
- Stressing: Slightly reducing watering can sometimes trigger blooming.
Once flowering begins, the pineapple fruit forms in the center and takes around 5–7 months to mature.
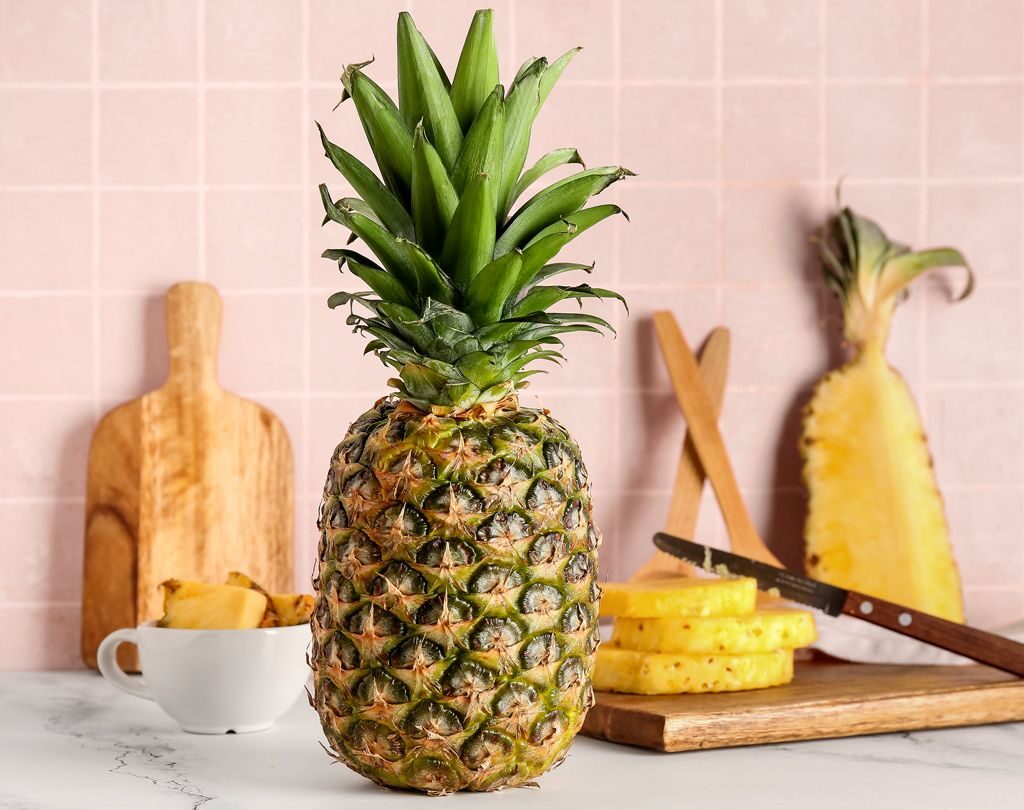
Step 7: Harvesting Your Pineapple
When the fruit turns golden yellow, it’s ready to harvest! Use a sharp knife to cut the fruit off at the base.
Tips for best flavor:

- Wait until the fruit is fully ripe.
- Do not refrigerate before harvesting—it affects sugar content.
And just like that—you’ve grown your own homegrown pineapple from a top!
Troubleshooting Common Issues
Even with best efforts, issues can arise. Here are common problems and how to address them:
| Problem | Solution |
|---|---|
| Crown rots before rooting | Allow the base to dry before planting; use well-draining soil |
| Leaves turning yellow | Overwatering or poor light—adjust accordingly |
| No root development | Try water propagation; ensure base is fresh and not rotted |
| Slow growth | Ensure adequate sunlight and fertilization |
Final Thoughts
Growing a pineapple from its top is a fun, rewarding process that turns kitchen scraps into a thriving tropical plant. With just a bit of care and attention, you can enjoy the satisfaction of nurturing a pineapple from crown to fruit—right at home.
So, next time you slice into a pineapple, save that top and give it a second life in your garden or windowsill. Who knows? A delicious homegrown pineapple might be in your future!