
Growing your own cherry tree from seed is a rewarding experience that adds beauty to your garden and offers the satisfaction of nurturing life from a tiny pit. While many cherry trees sold at nurseries are propagated through grafting, growing one from seed is a delightful DIY project for gardeners, hobbyists, or anyone curious about nature’s miracles.
If you’re wondering when and how to plant cherry seeds for the best chance of success, this complete guide will walk you through every essential detail — from seed preparation and stratification to planting and long-term care.
Why Grow Cherry Trees from Seeds?
Planting cherry trees from seeds (also called pits) may take longer than using nursery-bought saplings, but it offers several unique benefits:
- Budget-friendly — It costs almost nothing.
- Environmentally friendly — Reuse leftover cherry pits.
- An educational, family-friendly project.
- Adds beautiful spring blossoms to your garden.
Do note: trees grown from seed may not produce fruit identical to the parent tree, especially if the original cherry was a hybrid. Nonetheless, the tree will still be a gorgeous addition to your yard.
Best Time to Plant Cherry Seeds
The ideal time to plant cherry seeds depends on whether you’re starting them indoors or directly in the ground.

For Indoor Seed Starting (in pots)
- Late winter to early spring is best if your seeds have already undergone cold stratification (a chilling period needed for germination).
For Outdoor Direct Sowing
- Fall is ideal.
This allows seeds to naturally stratify outdoors through winter, breaking dormancy in time for spring germination.
In both cases, cold stratification is crucial for cherry seed germination, as it mimics the natural winter conditions that trigger the seed to sprout when warmer weather arrives.
Step-by-Step: How to Plant Cherry Seeds
Let’s walk through a complete, step-by-step process for preparing and planting cherry seeds for the best chance of success.
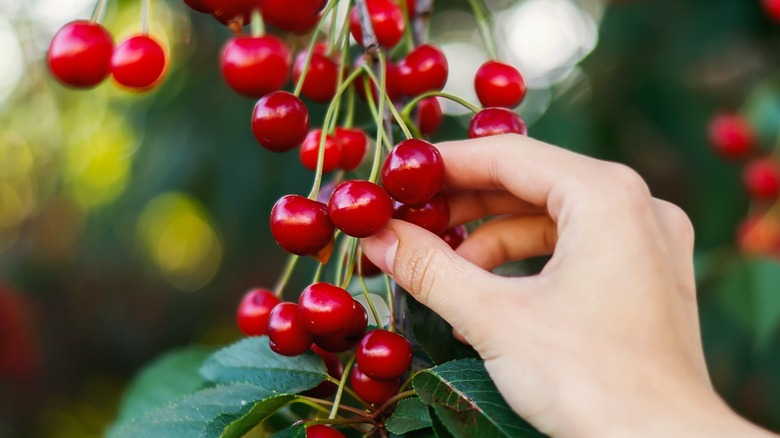
Step 1: Select Fresh, Organic Cherries
Start with fresh, preferably organic cherries. Cherries from grocery stores are often treated with chemicals that inhibit seed germination. If possible, opt for cherries from a local orchard or farmers’ market.
Step 2: Clean and Dry the Pits
After enjoying your cherries, save the pits:
- Rinse thoroughly under lukewarm water.
- Scrub off any fruit residue using a soft brush or cloth.
- Let the cleaned pits dry on a paper towel for 3-5 days.
Step 3: Cold Stratify the Cherry Seeds
Cherry seeds require a cold, moist period to break dormancy before germination. This is called cold stratification.

Indoor Stratification Method:
- Place dried seeds in a ziplock bag with damp (not soaking wet) peat moss, vermiculite, or a paper towel.
- Seal the bag and store it in the refrigerator at 34°F to 40°F (1°C to 4°C).
- Keep the seeds in the fridge for 8 to 12 weeks.
- Check every couple of weeks to ensure the medium remains moist and free from mold.
Alternative:
If you’re planting seeds outdoors in fall, nature will handle stratification for you as the seeds naturally endure winter’s chill.
Step 4: Prepare the Planting Pots or Garden Bed
For Indoor Planting:
- Use small pots with drainage holes.
- Fill with a light, well-draining potting mix.
For Outdoor Planting:
- Choose a sunny, well-drained location.
- Loosen the soil and amend with compost for added nutrients.
Step 5: Plant the Seeds
Once the stratification period is over (or in fall for outdoor sowing), you’re ready to plant the seeds.
How Deep to Plant:
- Plant seeds about 1 to 2 inches deep in soil.
- Space outdoor seeds at least 6 inches apart.
Watering:
- Water the soil thoroughly after planting.
- Keep the soil consistently moist (but not soggy) as the seeds germinate.
Step 6: Provide the Right Growing Conditions
Whether indoors or outdoors, cherry seeds need optimal conditions for healthy growth.
Light:
- Indoors: Place pots on a sunny windowsill or under a grow light for at least 6-8 hours of light daily.
- Outdoors: Choose a site with full sun exposure.
Temperature:
- Keep indoor seedlings at 65°F to 75°F (18°C to 24°C).
- Outdoor seeds will germinate naturally as spring soil temperatures warm.
Step 7: Seedling Care
Seedlings usually emerge within 4 to 8 weeks after planting (longer outdoors depending on climate).
Watering:
- Keep soil evenly moist for young seedlings.
- Avoid overwatering, which can cause root rot.
Fertilizing:
- Once the seedlings have two sets of true leaves, you can feed them with a diluted balanced liquid fertilizer every 4-6 weeks.
Pruning:
- When seedlings are a few inches tall, pinch off the weaker ones, leaving the healthiest.
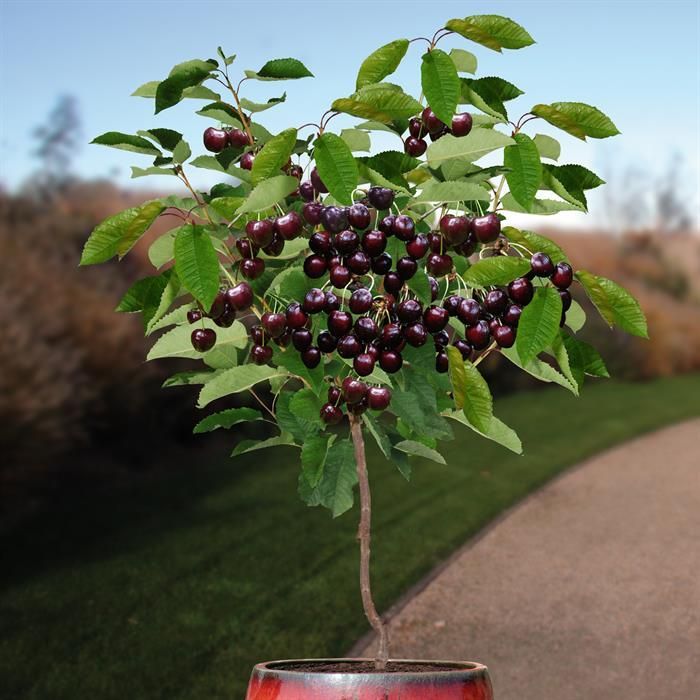
Step 8: Transplanting to the Garden
After growing indoors for one year or when seedlings are 8-12 inches tall, you can transplant them into your garden.

When to Transplant:
- Early spring or fall is best, when temperatures are mild and soil conditions are ideal.
How to Transplant:
- Dig a hole twice as wide and deep as the root ball.
- Remove the seedling from its pot gently.
- Set the seedling in the hole and backfill with soil.
- Water thoroughly after planting.
How Long Until a Cherry Tree Bears Fruit?
Growing a cherry tree from seed requires patience. On average, expect:
- 5 to 10 years for sweet cherries
- 3 to 5 years for sour cherries
Note: Trees grown from seed may differ from the parent tree in fruit size, flavor, or even the ability to bear fruit, especially if the seed came from a hybrid variety.
Common Cherry Seed Planting Mistakes to Avoid
| Mistake | Problem | Solution |
|---|---|---|
| Skipping stratification | Seeds won’t germinate | Always cold-stratify cherry seeds before planting. |
| Overwatering | Causes seed/seedling rot | Keep soil moist, not soggy. |
| Using non-organic cherries | Treated seeds may be sterile | Use organic, untreated cherries. |
| Planting in poor-draining soil | Leads to root rot | Use well-draining, compost-rich soil. |
Final Thoughts
Now you know exactly when and how to plant cherry seeds — whether indoors or directly in your garden. With patience and proper care, you can grow your very own cherry tree from a humble pit, adding shade, springtime blossoms, and maybe even fruit to your yard in the years to come.
Though it may take several years before you see cherries on your tree, the process itself is deeply rewarding. Watching your seedlings sprout, thrive, and eventually mature into a beautiful tree is an accomplishment any home gardener can be proud of.