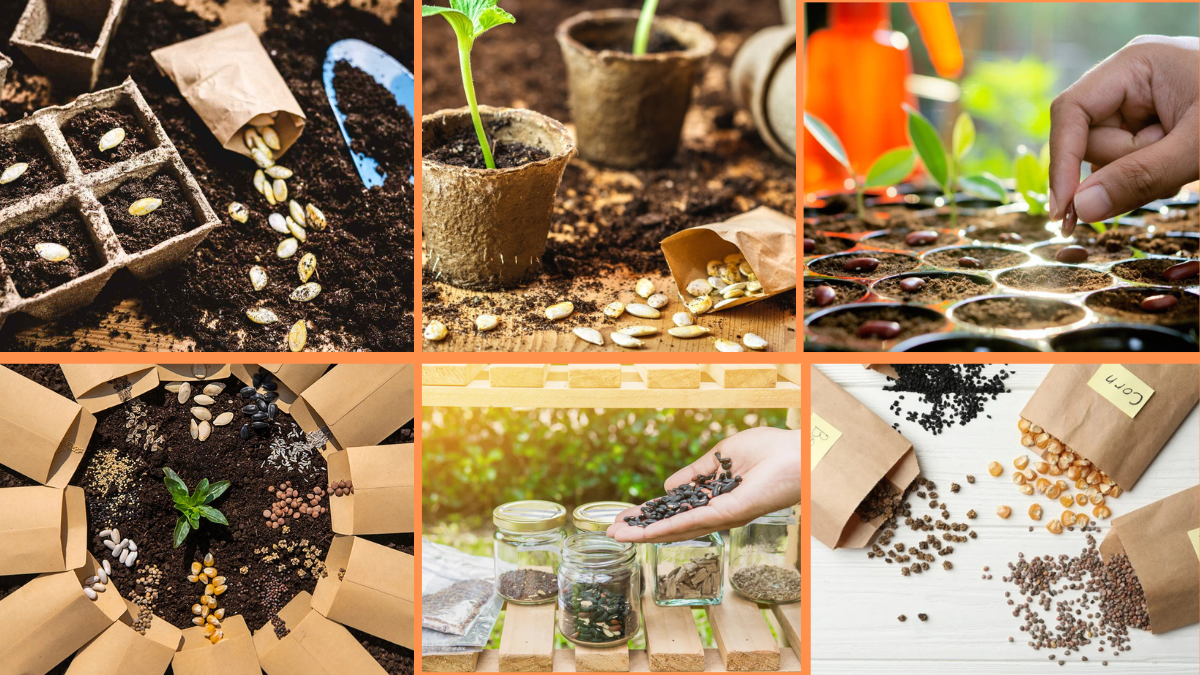
Imagine growing a thriving flower bed or bountiful vegetable patch — and then being able to recreate that magic year after year, for free. That’s the beauty of saving seeds from your favorite plants. It’s one of the most rewarding, sustainable, and economical practices any gardener can adopt. Not only does it help preserve beloved plant varieties, but it also allows you to cultivate plants uniquely adapted to your garden’s environment.
In this detailed guide, we’ll walk you through the importance of saving seeds, how to harvest them correctly, and essential tips for storing them so they stay viable for future planting seasons. Whether you’re saving heirloom tomatoes, cheerful zinnias, or fragrant basil, this guide has you covered.

Why Save Seeds?
Saving seeds is more than just a frugal gardening habit — it’s a way to preserve plant heritage, maintain biodiversity, and deepen your connection with nature.
Benefits of saving seeds:
- Cost-effective gardening: Reduce your annual seed expenses.
- Preserve heirloom or rare varieties you love and can’t find in stores.
- Grow plants that are better adapted to your soil and climate over time.
- Share seeds with friends, family, or local gardening communities.
- Promote seed sovereignty by reducing dependence on commercial seed companies.
Plus, there’s a satisfying sense of accomplishment in closing the full circle of plant life — from sowing to harvesting and saving for the next cycle.
Understanding Plant Types: Open-Pollinated vs. Hybrid
Before saving seeds, it’s crucial to understand the difference between open-pollinated and hybrid plants.
- Open-pollinated plants: These are pollinated naturally by wind, insects, or birds. Seeds from these plants will grow into plants with traits very similar to the parent, making them ideal for seed saving.
Examples: Tomatoes, peppers, lettuce, beans, zinnias. - Hybrid plants (F1): These are intentionally crossbred between two different varieties to produce specific traits. Seeds from hybrids often produce unpredictable or weaker offspring, and might not resemble the original plant.
Pro tip: When seed saving for consistency, focus on open-pollinated or heirloom varieties.
10 Tips to Save Seeds from Your Favorite Plants
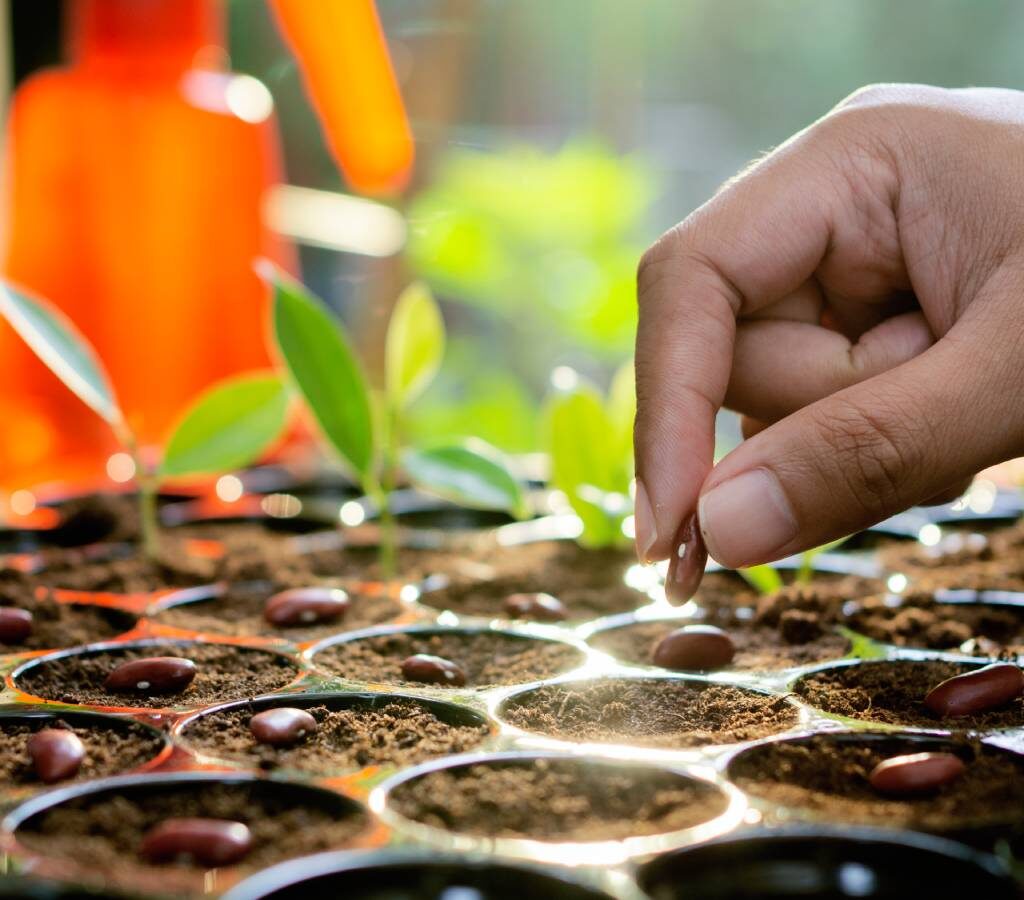
1. Choose the Healthiest, Strongest Plants
The genetic traits of your saved seeds come directly from their parent plants. Always select vigorous, disease-free plants with desirable characteristics such as early blooming, high yield, or vivid colors.
Why it matters:
Good seeds come from good stock. Saving seeds from weak or diseased plants can pass those problems on to future generations.
2. Allow Seeds to Fully Mature
Seeds need to fully ripen and mature on the plant before harvesting to ensure good germination rates.
Examples:
- Beans and peas: Let pods dry on the plant until they turn brown.
- Tomatoes and cucumbers: Wait until fruits are overripe.
- Zinnias and marigolds: Wait for seed heads to turn brown and dry.
If you harvest too early, seeds may not be viable.

3. Harvest Seeds on a Dry, Sunny Day
Moisture can lead to mold or premature sprouting in stored seeds. Harvest your seeds during dry weather when plants and seed heads are completely dry.
Pro tip: Morning or late afternoon is ideal after any dew has evaporated.
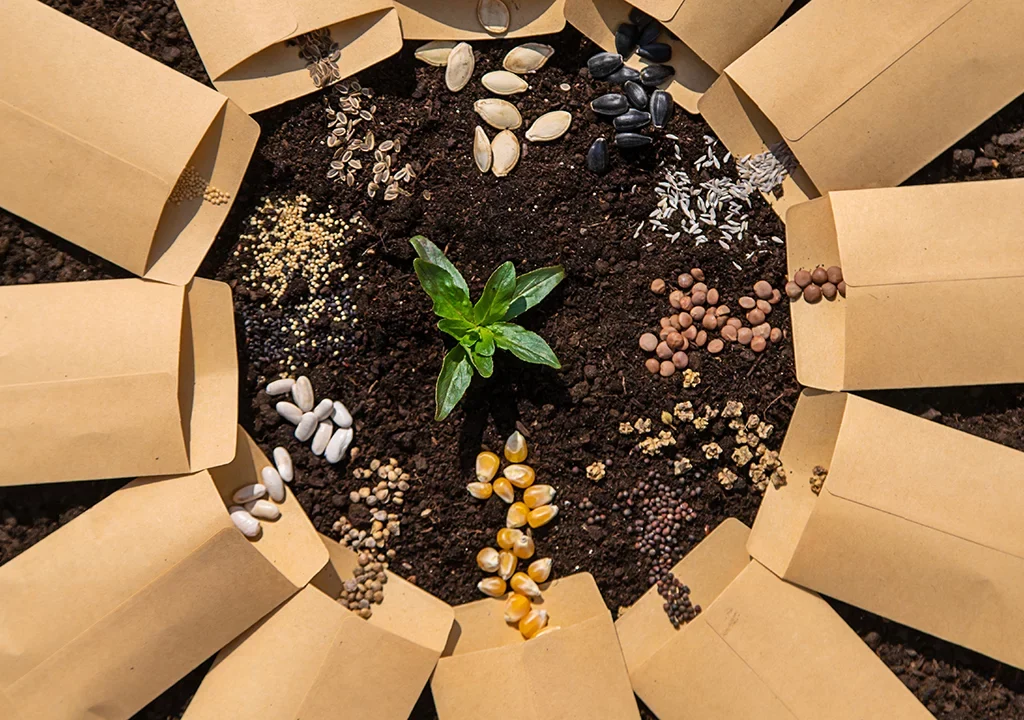
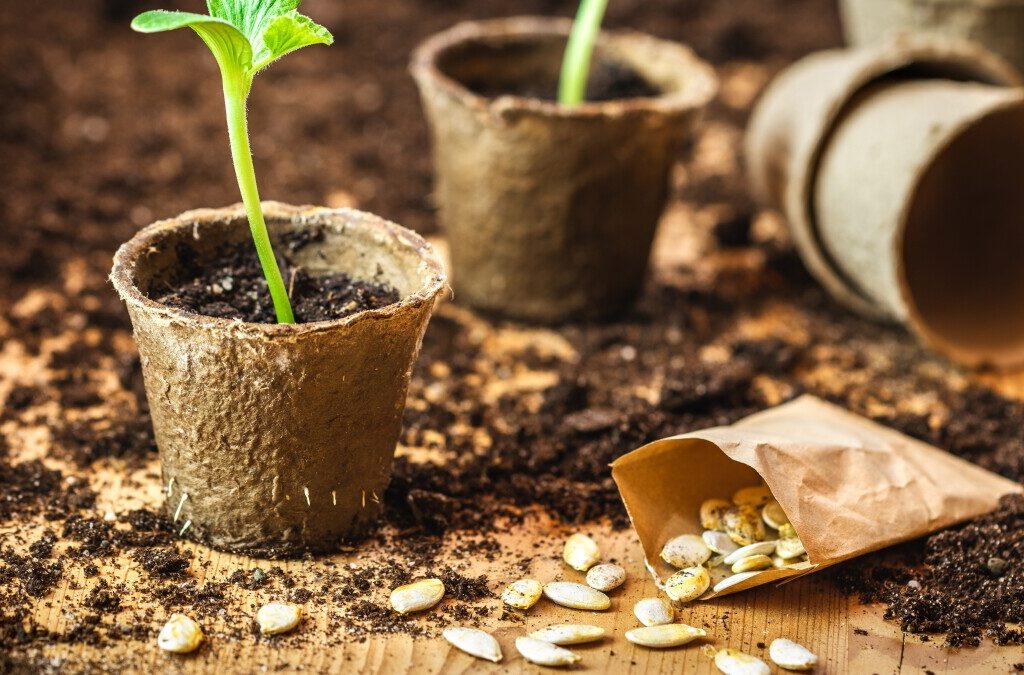
4. Use the Right Harvesting Tools
To avoid damaging delicate seeds:
- Use small scissors or garden snips for cutting seed heads.
- Carry a paper bag, envelope, or breathable container to collect seeds.
- Avoid plastic bags during harvest as they can trap moisture.
5. Clean and Separate Seeds Thoroughly
Before storing, remove any plant debris, seed husks, or pulp that might promote mold or decay.
Cleaning methods:
- Dry seeds (flowers, beans, peas): Rub seeds gently between your fingers or against a screen to separate chaff.
- Wet seeds (tomatoes, squash, cucumbers): Ferment seeds in water for a few days to remove the gelatinous coating, then rinse and dry.
6. Dry Seeds Completely Before Storing
Proper drying is crucial to prevent rot and mold in storage.
Drying tips:
- Spread seeds in a single layer on a paper towel, plate, or screen in a cool, dry, and shaded location.
- Stir seeds daily for even drying.
- Most seeds require 7-10 days of drying.
Test for dryness:
If a seed breaks cleanly instead of bending, it’s ready for storage.
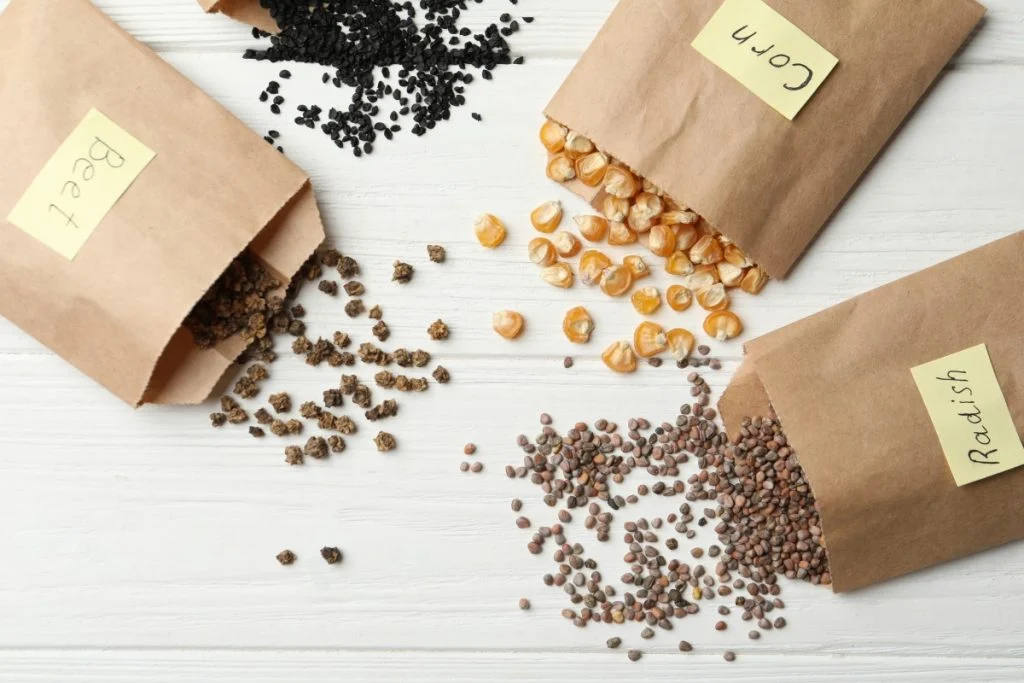
7. Label Your Seeds Clearly
Once seeds are dry, place them in labeled envelopes, paper packets, or glass jars. Include:
- Plant name and variety
- Harvest date
- Special notes (like bloom color or growth habits)
You’ll thank yourself next planting season!
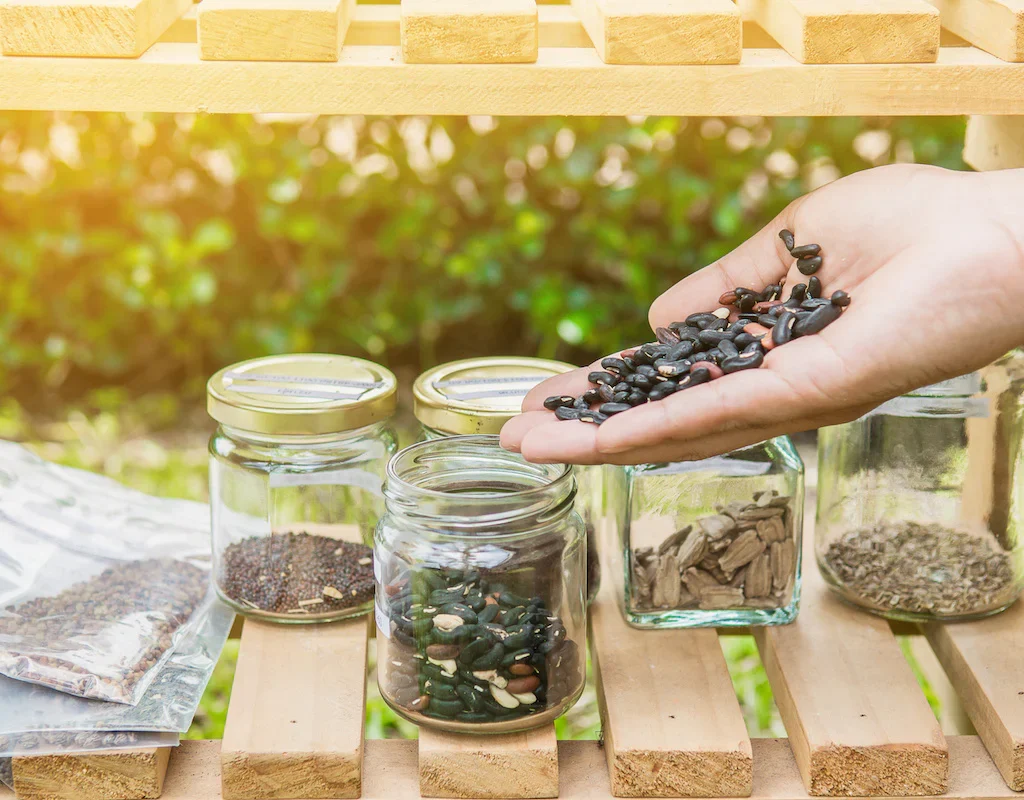
8. Store Seeds in a Cool, Dry, Dark Place
Seeds remain viable longest when stored in cool, dark, and low-humidity conditions.
Ideal storage locations:

- A sealed jar in a pantry or cupboard.
- A paper envelope inside an airtight container.
- A refrigerator for particularly sensitive seeds (keep dry with silica gel packs).
Avoid garages or sheds where temperature and humidity fluctuate.
9. Track Seed Viability
Even well-stored seeds lose viability over time. Most seeds remain viable for 1-5 years depending on the plant type.
General lifespan guide:
- 1 year: Parsnips, onions
- 2-3 years: Peas, beans, corn
- 3-5 years: Tomatoes, peppers, cucumbers, zinnias
Pro tip: Perform a germination test each season by sprouting a few seeds on a damp paper towel to check viability.
10. Join a Seed Swap or Local Seed Library
Sharing your saved seeds is a fantastic way to exchange plant varieties, preserve local biodiversity, and connect with other gardeners.
Find seed swaps through:

- Local garden clubs or botanical gardens.
- Online gardening communities.
- Community seed libraries at public libraries.
Final Thoughts: Keep the Garden Growing Year After Year
Saving seeds from your favorite plants isn’t just practical — it’s deeply satisfying. Watching plants thrive from seeds you’ve personally harvested, cleaned, and stored creates a special connection to your garden and to nature’s ongoing cycles.
Quick Recap of the Tips:
- Select healthy, vigorous parent plants.
- Let seeds mature fully on the plant.
- Harvest on dry, sunny days.
- Use clean, gentle harvesting tools.
- Clean and separate seeds from debris.
- Dry seeds thoroughly before storing.
- Label seeds carefully with details.
- Store seeds in a cool, dry, dark place.
- Track seed viability over time.
- Share or swap seeds with fellow gardeners.
With a little attention and care, you can fill your garden with plants you love — season after season, year after year.