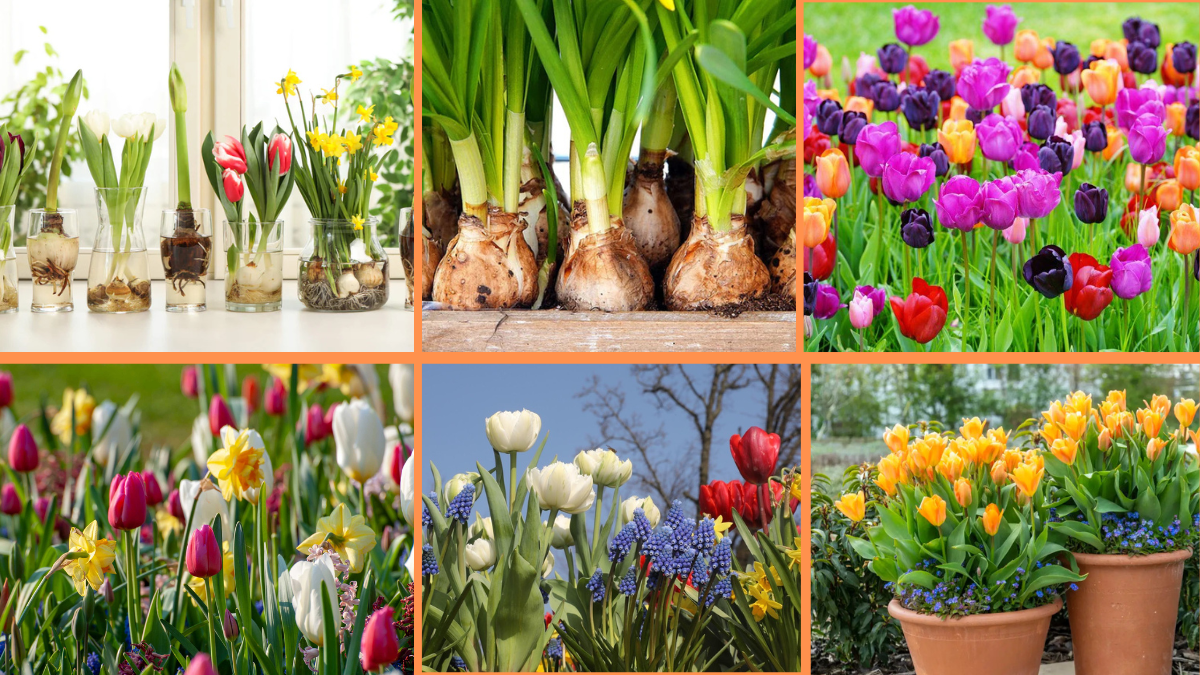
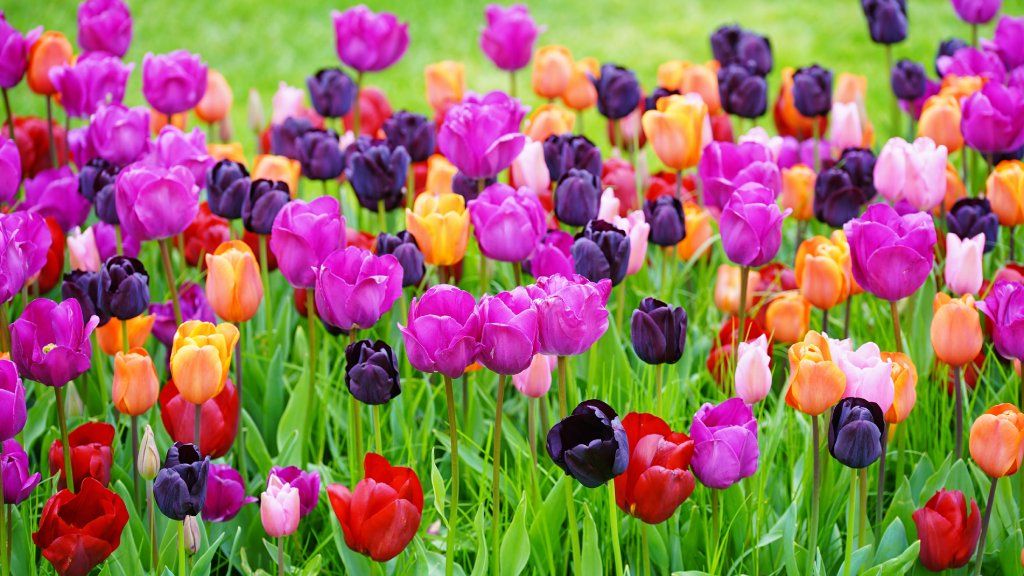
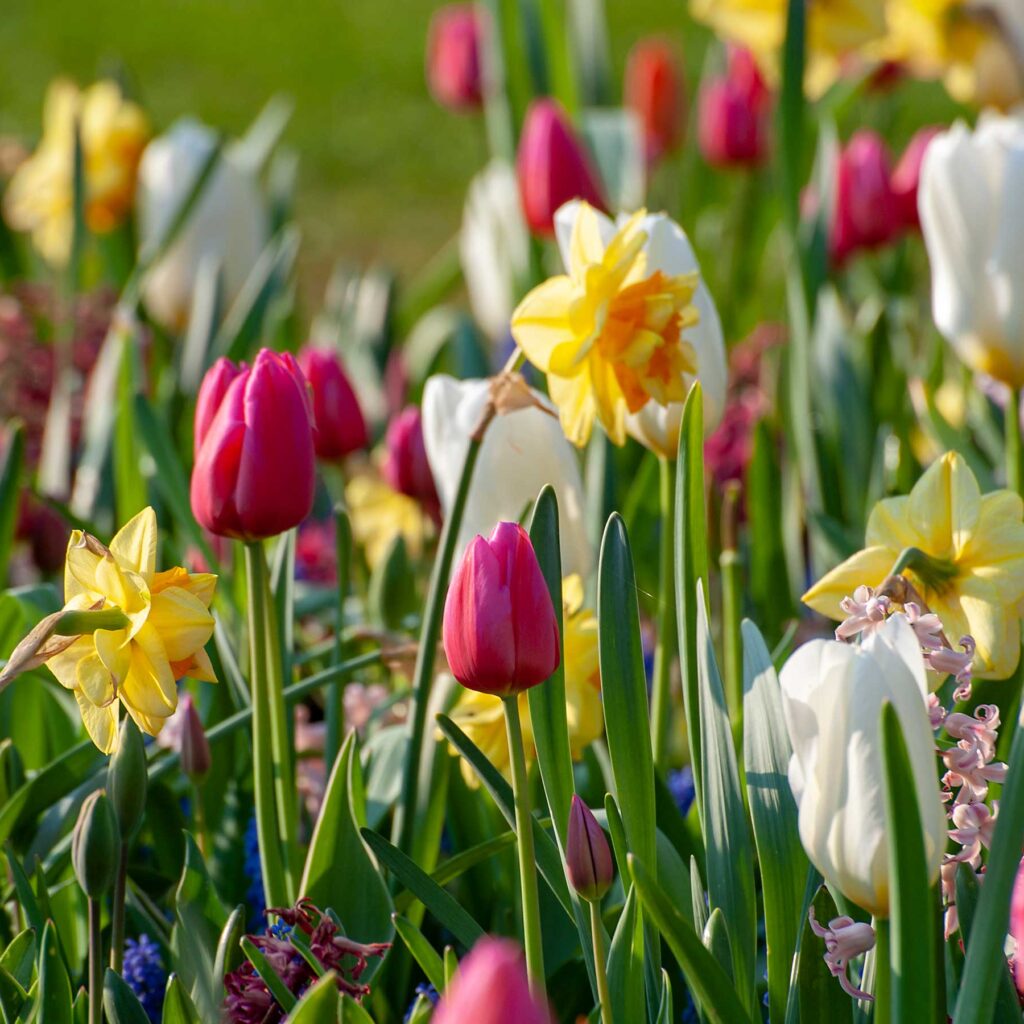
Tulips are one of the most beloved spring-blooming flowers, celebrated for their vibrant colors, elegant shapes, and timeless beauty. Growing tulip bulbs in your garden can bring an explosion of color after the cold winter months, creating a stunning floral display that brightens any outdoor space. But like all bulb flowers, tulips require some care and attention to thrive.
If you want to cultivate healthy tulip bulbs and enjoy a spectacular bloom season year after year, these 10 expert tips to grow bulb flowers like tulips will guide you step-by-step through the process.
1. Choose High-Quality Bulbs
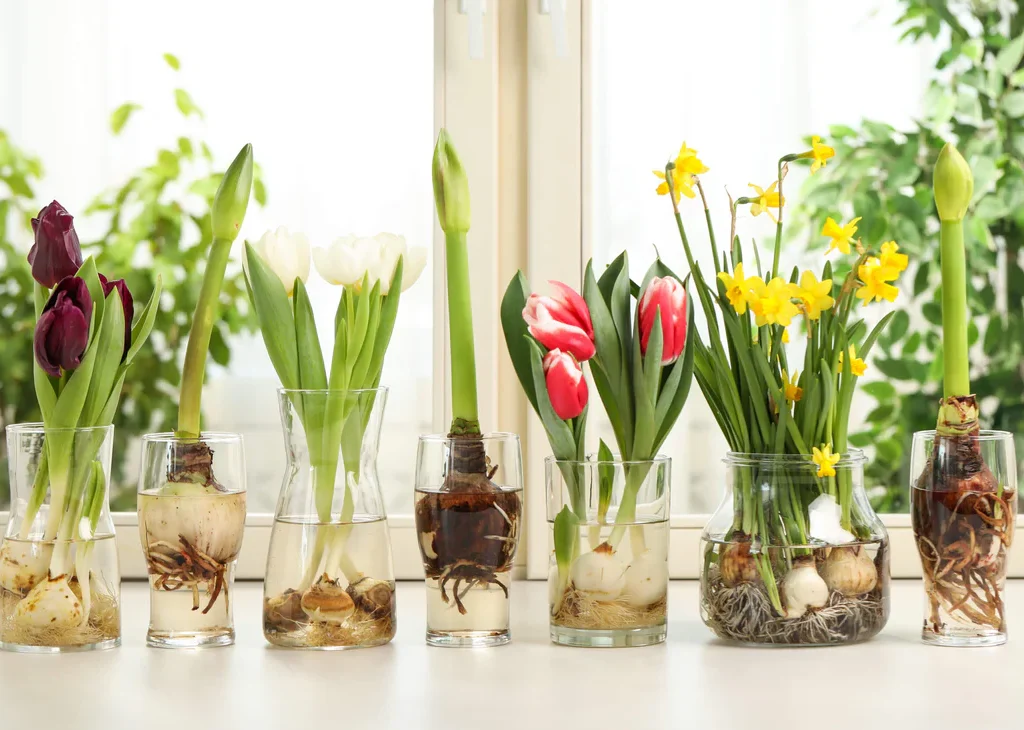
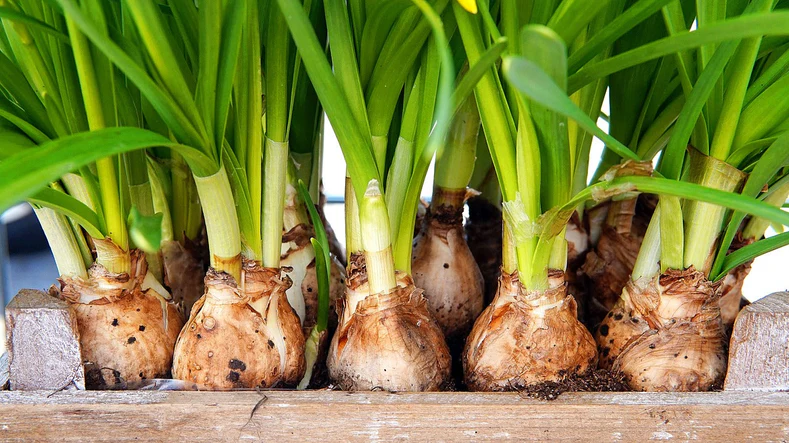
The foundation of successful tulip growing is starting with high-quality bulbs. Healthy bulbs are firm, free from mold, cuts, or soft spots. When purchasing, choose bulbs that are large and plump because bigger bulbs generally produce bigger flowers.
Tips for selecting bulbs:
- Buy from reputable nurseries or garden centers.
- Opt for species or hybrid varieties suited to your climate zone.
- Avoid bulbs that feel lightweight or shriveled.
Investing in quality bulbs is key to vigorous growth and vibrant blooms.
2. Plant at the Right Time
Timing is crucial when planting tulip bulbs. Tulips require a period of cold dormancy, so they should be planted in the fall before the first frost but after the soil temperature cools down to around 55°F (13°C).
Ideal planting window:

- In most temperate climates, plant bulbs between late September and early November.
- Planting too early can cause premature sprouting; planting too late might not give roots enough time to develop.
If you live in warmer regions without cold winters, consider chilling bulbs in the refrigerator for 6-8 weeks before planting.
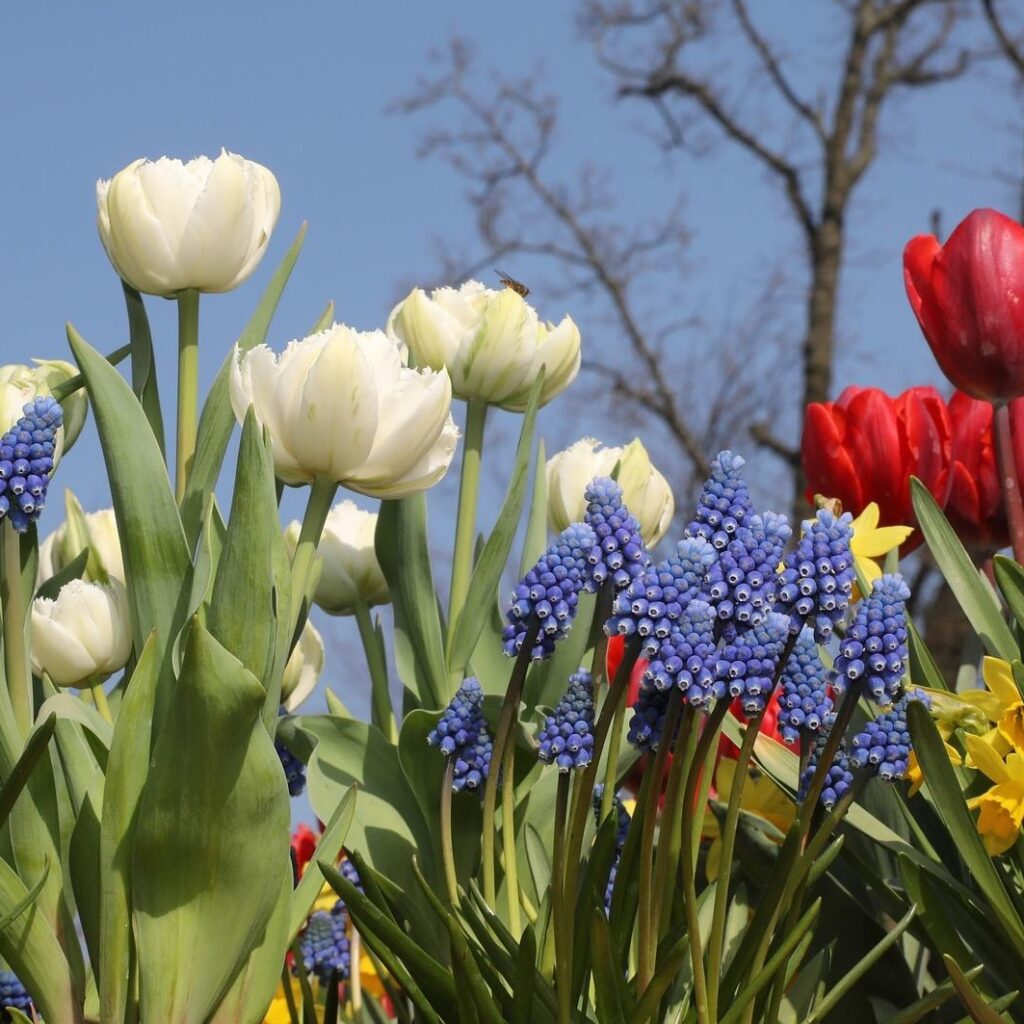
3. Select the Perfect Location
Tulips thrive best in full sun, which means at least 6 hours of direct sunlight daily. A sunny location encourages strong stem growth and bright flower colors.
Additional location tips:
- Ensure the spot has well-draining soil because tulip bulbs are prone to rot in soggy conditions.
- Avoid heavy clay soils or areas where water pools after rain.
- If your garden soil is heavy, consider raised beds or amending the soil with sand or organic matter to improve drainage.
A sunny, well-drained site will set your tulips up for success.
4. Prepare the Soil Properly
Tulips prefer fertile, loose, and well-draining soil. Preparing the soil before planting helps bulbs establish healthy roots and absorb nutrients.
Soil preparation steps:
- Loosen soil to a depth of about 12 inches (30 cm).
- Work in plenty of compost or well-rotted manure to boost fertility.
- Mix in some sand or grit if the soil is heavy or clayey to improve drainage.
Good soil preparation reduces the risk of bulb diseases and encourages strong growth.
5. Plant at the Correct Depth and Spacing
Planting bulbs at the right depth and spacing is critical for their development and bloom quality.
Guidelines:
- Plant tulip bulbs about 6 to 8 inches (15–20 cm) deep. A good rule of thumb is to plant bulbs three times as deep as their height.
- Space bulbs about 4 to 6 inches (10–15 cm) apart to allow room for growth and air circulation.
Planting too shallow can expose bulbs to frost damage, while overcrowding may reduce airflow and increase disease risk.

6. Water Wisely After Planting
After planting, water the bulbs well to help them settle in the soil and start root growth. However, tulips don’t like soggy conditions, so watering should be balanced.
Watering tips:
- Water immediately after planting to moisten the soil evenly.
- During the growing season, water moderately when the topsoil feels dry but avoid overwatering.
- Once tulips bloom and the foliage starts to yellow, reduce watering to let the bulbs enter dormancy.
Proper watering supports root development while preventing rot.
7. Mulch to Protect and Nourish
Applying mulch over the planted bulbs provides multiple benefits. Mulch insulates the soil against extreme temperature changes, conserves moisture, and suppresses weeds.

Best mulch options:
- Use shredded leaves, straw, bark chips, or pine needles.
- Apply a 2 to 3-inch (5–7.5 cm) layer of mulch after planting in the fall.
Mulching also enriches the soil as organic material breaks down over time.
8. Feed Your Tulips for Vibrant Blooms
Tulips benefit from feeding to replenish nutrients in the soil and promote healthy flower development.
Fertilizing tips:
- Apply a balanced, slow-release bulb fertilizer at planting time or early spring as growth begins.
- Alternatively, use organic fertilizers such as bone meal or compost.
- Avoid high-nitrogen fertilizers, which encourage leafy growth but reduce flowering.
Regular feeding ensures your tulips bloom with rich color and sturdy stems.
9. Manage Tulip Foliage Properly After Blooming
Once tulips finish flowering, the leaves will begin to yellow and die back. It’s important to let the foliage remain until it naturally fades away.
Why keep the foliage?
- The leaves photosynthesize and send energy back to the bulb for next year’s growth.
- Cutting leaves too early weakens the bulb and reduces future blooms.
Only remove the foliage once it turns completely yellow or brown.
10. Protect Against Pests and Diseases
Tulips can be vulnerable to pests such as aphids, slugs, and rodents, as well as diseases like tulip fire (a fungal infection) and bulb rot.
Protection tips:
- Use natural deterrents like diatomaceous earth or copper tape to keep slugs and snails away.
- Inspect bulbs before planting and discard any that show signs of disease.
- Use bird netting or wire mesh to protect bulbs from rodents.
- Remove infected plants immediately to prevent disease spread.
Keeping your tulips healthy requires vigilance but is well worth it for stunning blooms.
Bonus Tip: Consider Lifting and Storing Bulbs
In warmer climates where summer soil moisture is high, tulip bulbs may rot if left in the ground. Lifting and storing bulbs after the foliage dies back can prolong bulb life.
How to lift bulbs:
- Dig up bulbs carefully after leaves die back.
- Brush off soil and allow bulbs to dry in a cool, shaded area.
- Store bulbs in a breathable container (like a mesh bag) in a cool, dry place until fall planting.
This practice mimics natural dormancy cycles and helps bulbs thrive year after year.

Conclusion
Growing tulip bulbs is a rewarding way to brighten your garden with vibrant colors each spring. By choosing quality bulbs, planting at the right time and depth, ensuring proper soil conditions, watering wisely, and protecting your tulips from pests and diseases, you can enjoy a spectacular and long-lasting floral display.
With patience and care, these 10 tips will help you master the art of growing tulip bulbs and other bulb flowers with confidence. Whether you’re planting a small container or a large flower bed, tulips will reward you with elegance and charm, making every spring unforgettable.