Garlic is one of the oldest cultivated crops in the world, cherished not only for its bold flavor in cooking but also for its medicinal properties. Known as the “stinking rose,” garlic is surprisingly easy to grow, making it a perfect choice for beginner gardeners. Whether you have a sprawling backyard or just a few pots on a balcony, garlic can thrive with minimal fuss—if you know the right techniques.
This beginner-friendly garlic planting guide will walk you through everything: from choosing the right garlic variety to preparing soil, planting, caring for your crop, and harvesting. By the end, you’ll have the confidence to grow your own garlic at home and enjoy the unbeatable taste of fresh, homegrown bulbs.
Why Grow Garlic at Home?
Before diving into the how-to, it’s worth noting why garlic makes a great choice for beginner gardeners:
- Easy to grow – Garlic requires little maintenance once planted.
- Space efficient – Can be grown in small beds, raised gardens, or containers.
- Nutritious – Packed with vitamins, antioxidants, and natural compounds that boost immunity.
- Long shelf life – Properly cured garlic can last 6–9 months after harvest.
- Culinary uses – From stir-fries to soups, garlic enhances nearly every cuisine.
Step 1: Choosing the Right Garlic Variety
Garlic comes in two main types: hardneck and softneck. Choosing the right one depends on your climate and preferences.
Hardneck Garlic
- Best for cold climates.
- Produces fewer but larger cloves.
- Has a strong, complex flavor.
- Develops a flower stalk called a “scape,” which is edible.
- Shorter storage life (3–5 months).
Softneck Garlic
- Thrives in milder climates.
- Produces more cloves per bulb.
- Milder flavor, common in grocery stores.
- Stores longer (6–9 months).
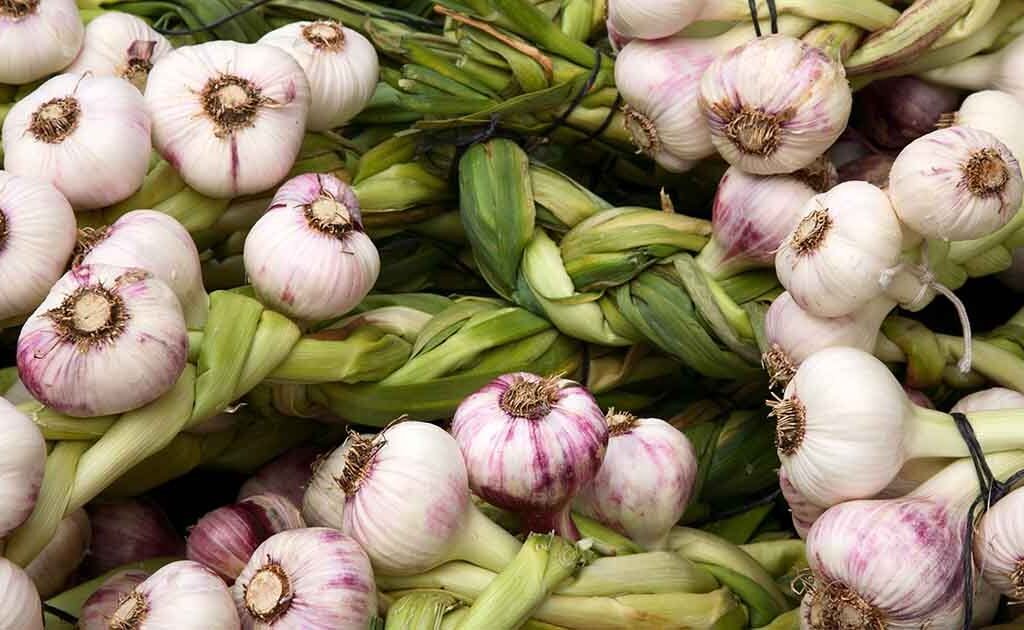
- Flexible stalks can be braided for storage.
Beginner tip: If you live in a colder region, start with hardneck garlic. If your winters are mild, softneck will perform better.
Step 2: Preparing the Planting Site
Garlic thrives in full sun and well-drained soil.
- Sunlight: At least 6–8 hours of direct sunlight daily.
- Soil: Loose, loamy soil enriched with organic matter. Garlic doesn’t like heavy clay or waterlogged areas.
- pH range: Slightly acidic to neutral (6.0–7.0).
Soil Preparation Steps:
- Loosen soil to about 8–10 inches deep.
- Mix in compost or aged manure to improve fertility.
- Ensure good drainage—add sand or perlite if soil is heavy.
Beginner tip: Garlic prefers fertile soil but dislikes too much nitrogen. Too much nitrogen encourages leafy growth at the expense of bulbs.
Step 3: Choosing Planting Material
- Always use seed garlic from a nursery or garden center—not grocery store garlic, which may be treated with chemicals to prevent sprouting.
- Select large, healthy bulbs. The bigger the clove you plant, the bigger the bulb you’ll harvest.
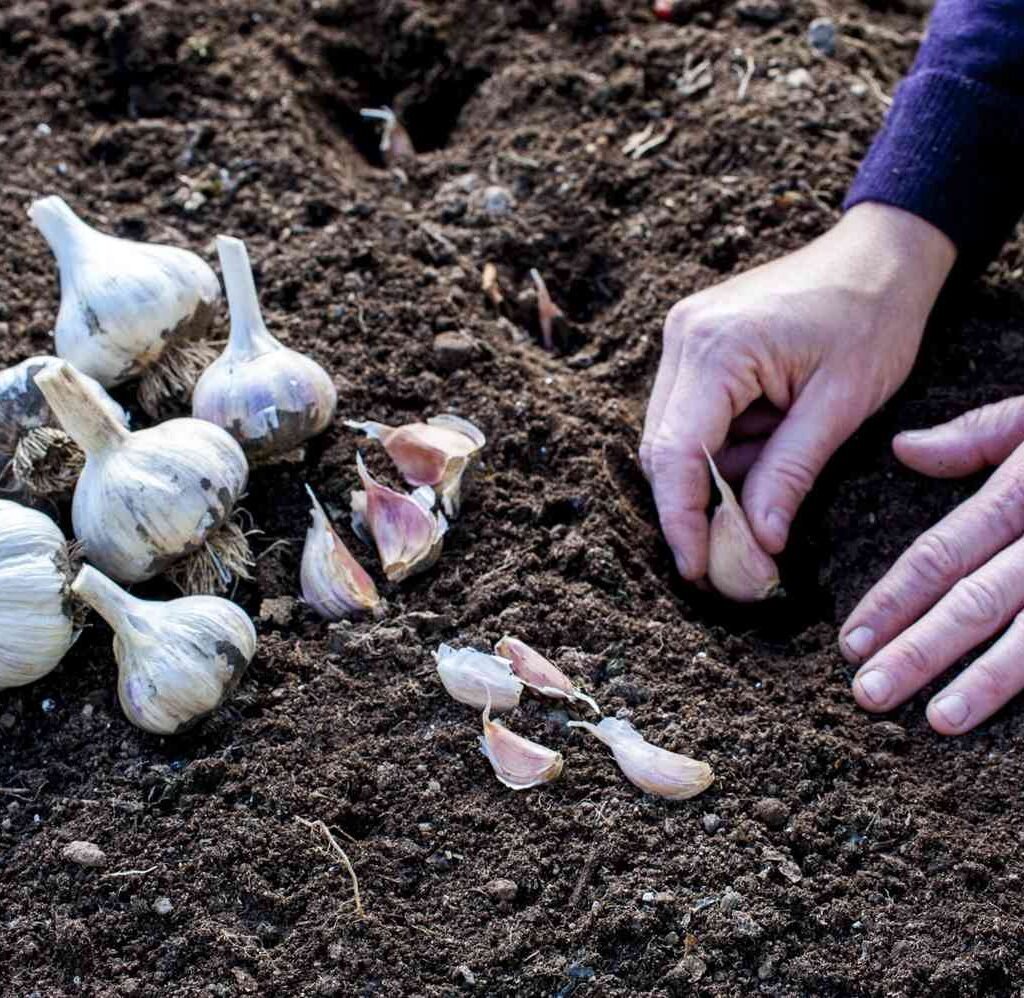
- Separate bulbs into individual cloves just before planting, keeping the papery skin intact.
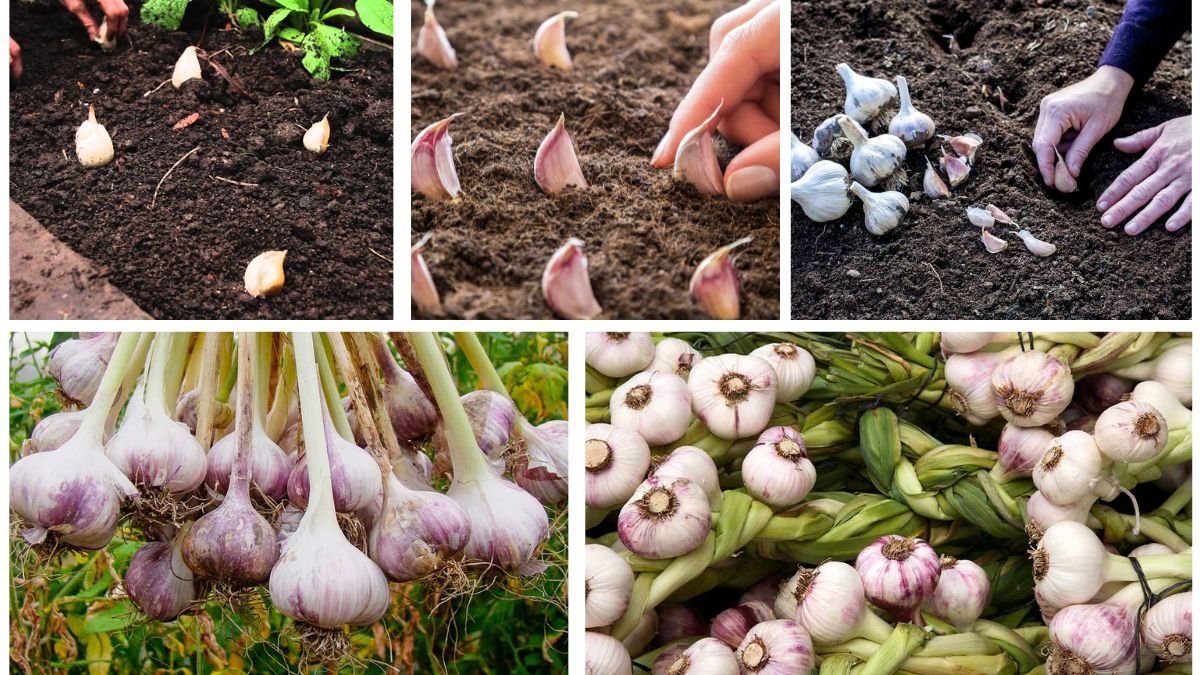
Step 4: Planting Garlic
The best time to plant garlic depends on your climate:
- Cold climates: Plant in fall (September–November), about 4–6 weeks before the ground freezes. This allows roots to develop before winter dormancy.
- Mild climates: Garlic can be planted in late fall or early spring.
How to Plant:
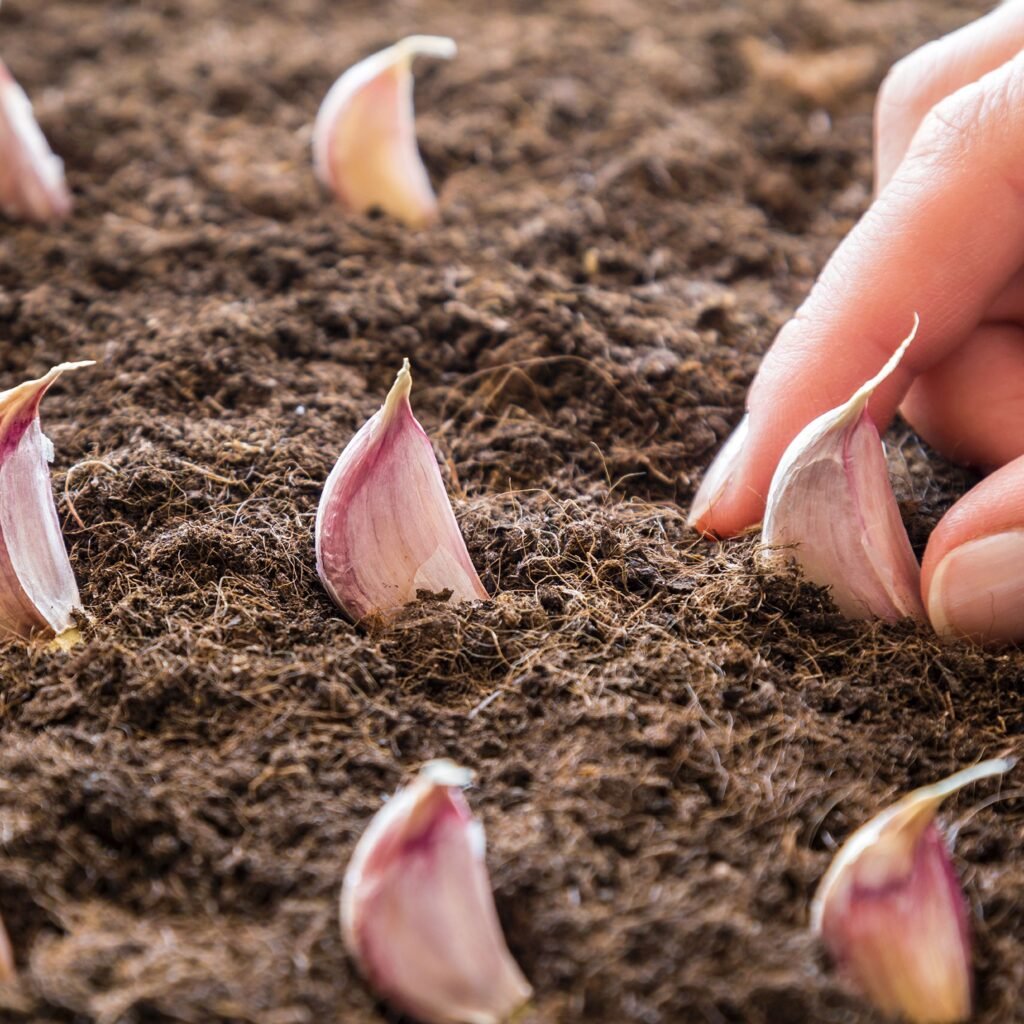
- Dig holes or furrows about 2 inches deep.
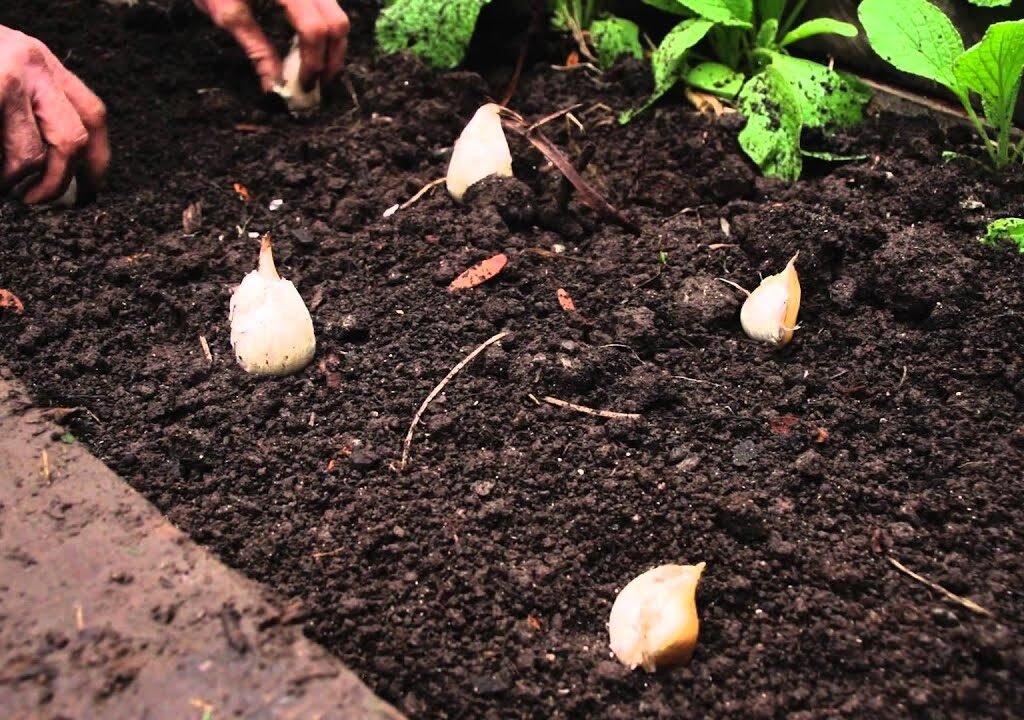
- Place cloves pointed side up.
- Space cloves 4–6 inches apart, with rows 12 inches apart.
- Cover with soil and gently pat down.
- Add a 2–3 inch layer of mulch (straw, leaves, or compost) to protect cloves and retain moisture.
Beginner tip: Mulching also prevents weeds, which compete with garlic for nutrients.
Step 5: Watering and Care
Garlic needs consistent moisture, but never soggy conditions.
- Watering: 1 inch of water per week during the growing season. Reduce watering as harvest approaches to prevent bulb rot.
- Weeding: Keep the area weed-free. Garlic has shallow roots and struggles against competition.
- Fertilizing:
- Apply compost tea or a balanced fertilizer in early spring.
- Stop fertilizing once bulbs begin to swell (around late spring).
Beginner tip: Watch for yellowing leaves—that’s a sign of nutrient deficiency or overwatering.
Step 6: Managing Pests and Diseases
Garlic is generally resistant to many pests, but problems can still occur.

- Common pests: Onion maggots, thrips, and nematodes.
- Prevention: Rotate crops yearly, avoid planting garlic where onions or leeks grew recently.
- Fungal issues: White rot and rust can affect bulbs. Ensure good drainage and avoid overwatering.
Natural remedies like neem oil or insecticidal soap can help manage minor infestations.
Step 7: Scape Removal (Hardneck Varieties)
If growing hardneck garlic, you’ll notice flower stalks called scapes emerging in late spring.
- Remove scapes once they curl. This redirects the plant’s energy toward bulb growth rather than flowers.
- Bonus: Scapes are edible and delicious! Use them in stir-fries, pestos, or soups.
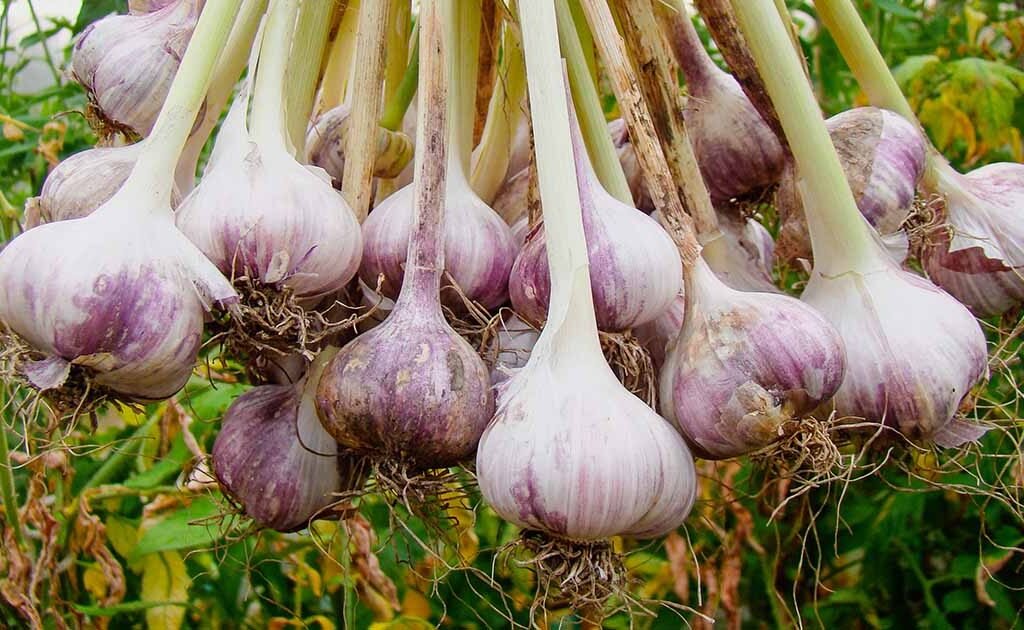
Step 8: Harvesting Garlic
Timing is key. Garlic is ready to harvest in mid to late summer (usually July–August), depending on planting time.
- Signs garlic is ready:
- Lower leaves turn yellow and dry, while upper leaves remain green.
- Bulbs are full and covered with papery skins.
Harvesting Steps:
- Loosen soil around bulbs with a garden fork—avoid pulling by hand.
- Gently lift bulbs out of the soil.
- Shake off excess soil (do not wash).
Beginner tip: Harvest too early, and bulbs will be small. Wait too long, and bulbs may split or rot.
Step 9: Curing and Storing Garlic
To extend shelf life, garlic must be properly cured.
Curing Process:
- Place harvested bulbs in a dry, well-ventilated area out of direct sunlight.
- Hang in bundles or spread on mesh racks.
- Allow to cure for 3–4 weeks until skins are papery and roots are dry.
Storing Garlic:
- Store cured garlic in a cool, dark place (not in the refrigerator).
- Softneck varieties store longer (up to 9 months).
- Hardneck varieties last about 3–5 months.
Beginner tip: Save your largest bulbs to replant next season—this ensures a strong crop year after year.
Growing Garlic in Containers
If space is limited, garlic grows well in pots and containers.
- Container size: At least 8–10 inches deep.
- Soil: Same loose, well-draining mix as in the ground.
- Spacing: Plant cloves 3–4 inches apart.
- Care: Container garlic dries out faster, so monitor watering more frequently.
Quick Garlic Growing Calendar
- Fall: Plant cloves, mulch heavily.
- Winter: Garlic lies dormant. Minimal care needed.
- Spring: Fertilize lightly, remove mulch, watch for scapes.
- Summer: Harvest bulbs, cure, and store.
Conclusion
Garlic is one of the easiest and most rewarding crops for beginner gardeners. With just a little preparation and care, you can grow robust, flavorful bulbs at home—whether in your backyard or a small container garden. From choosing the right variety to harvesting and storing, each step builds toward a harvest that enhances your kitchen and supports healthy living.

By following this beginner’s garlic planting guide, you’ll not only enjoy fresh, homegrown garlic but also develop valuable gardening skills that can inspire you to grow even more crops.
So, grab a few cloves, prepare your soil, and start planting—your future garlic harvest is just a season away!