Watering plants is one of the most fundamental aspects of gardening, yet many beginners and even experienced growers struggle with techniques that truly support healthy, thriving plants. One method that is gaining popularity among home gardeners, indoor plant enthusiasts, and even professional growers is bottom-watering. This simple yet effective watering practice encourages plants to develop stronger root systems, reduces common watering issues, and helps create a more resilient and productive garden.
In this comprehensive guide, we will explore everything you need to know about bottom-watering plants—from its benefits and techniques to step-by-step instructions and common mistakes to avoid. By the end, you’ll have the confidence to implement bottom-watering in your plant care routine for better growth and healthier plants.
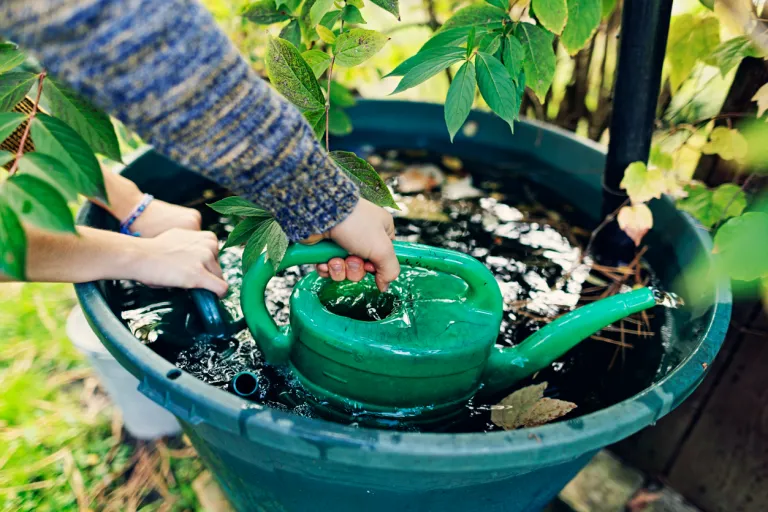
What is Bottom-Watering?
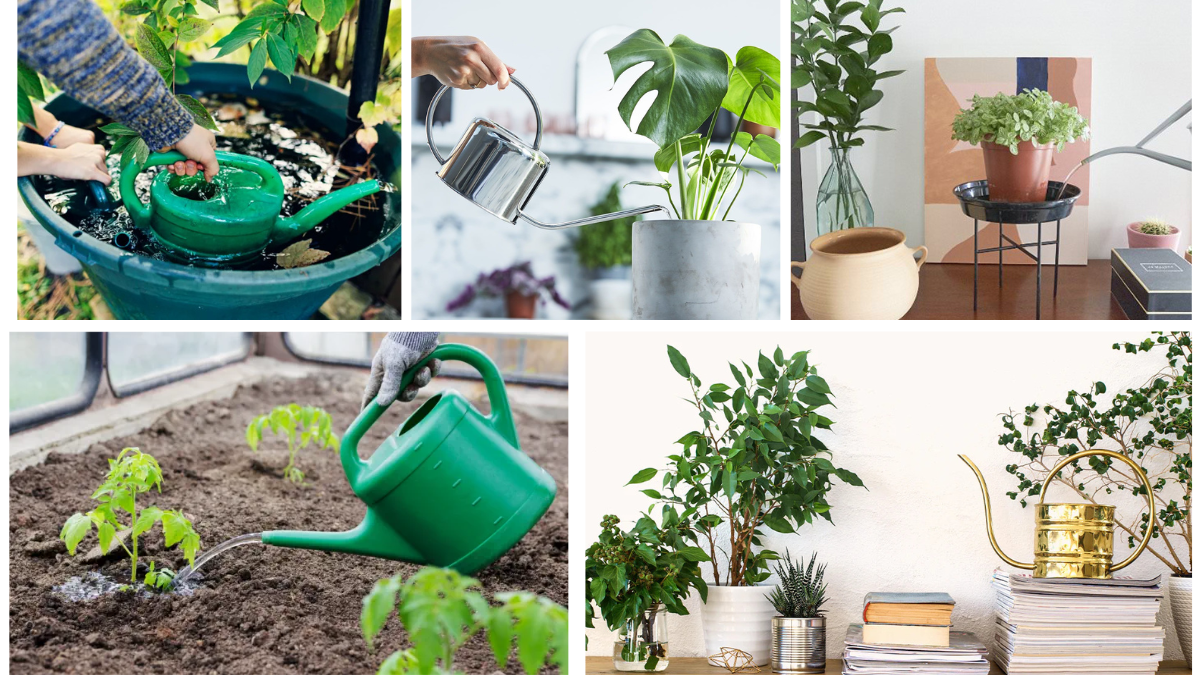
Bottom-watering is a plant hydration method where water is supplied from the bottom of the container instead of from the top. Instead of pouring water onto the soil surface, you place the plant pot in a tray, basin, or sink filled with water. Through capillary action, the plant’s soil absorbs moisture from below, evenly distributing water to the roots.
Unlike top-watering, where water can sometimes remain at the surface or run off unevenly, bottom-watering ensures that water penetrates the entire root zone thoroughly. This method is especially beneficial for indoor plants, seedlings, and container gardening, where precise watering is essential.
Benefits of Bottom-Watering Plants
Bottom-watering offers several advantages that directly impact plant health and garden success.
1. Encourages Strong Root Systems
When plants are watered from the bottom, roots grow downward toward the moisture source. This creates deeper, stronger, and healthier root systems, which are essential for plant stability and nutrient uptake.
2. Prevents Overwatering and Root Rot
One of the most common problems in gardening is overwatering, which can lead to soggy soil and root rot. Bottom-watering allows the plant to absorb only the amount of water it needs, reducing the risk of excess water sitting in the pot.
3. Ensures Even Moisture Distribution
Top-watering often results in dry pockets within the soil, especially if the soil is compacted. Bottom-watering helps the entire root zone receive adequate hydration, leading to more consistent growth.
4. Reduces Fungal Diseases and Pests
When you water from the top, moisture may remain on leaves and stems, encouraging fungal growth or attracting pests like gnats. Bottom-watering keeps the foliage dry, reducing the chances of disease.
5. Improves Nutrient Absorption
Evenly moist soil helps plants absorb nutrients more efficiently. Bottom-watering minimizes nutrient runoff, ensuring plants get maximum benefits from fertilizers.
When Should You Use Bottom-Watering?
Bottom-watering is suitable in many situations, but it’s especially useful for:
- Seedlings and young plants – Helps prevent disturbing delicate stems and roots.
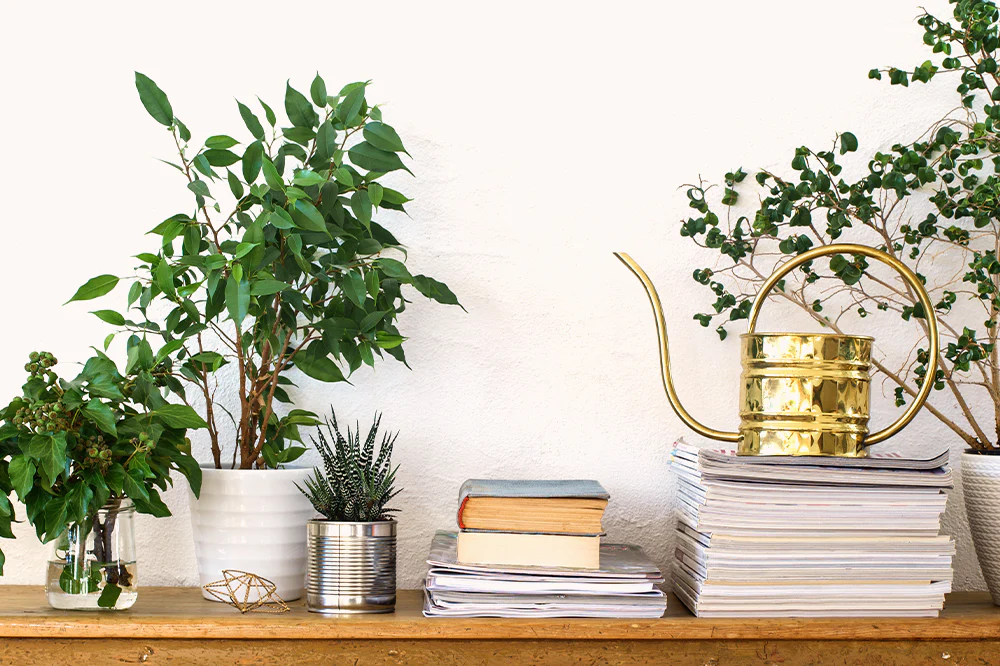
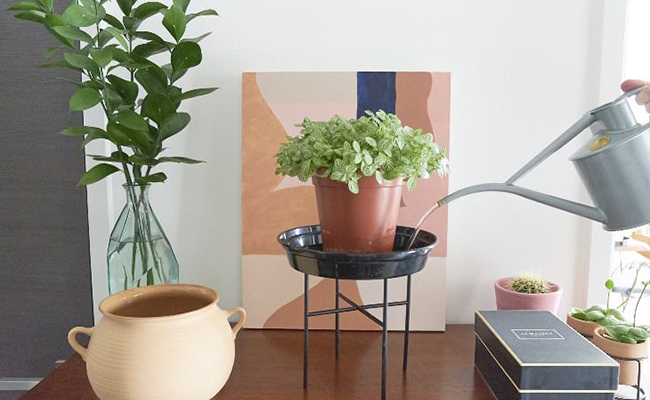
- Indoor houseplants – Ensures neat watering without mess and prevents gnats caused by soggy topsoil.
- Container gardening – Keeps soil evenly moist, which is critical in pots.
- Plants sensitive to wet foliage – Examples include African violets, succulents, and cacti.
- Busy gardeners – Allows hands-off watering, as several pots can be watered at once in a tray.
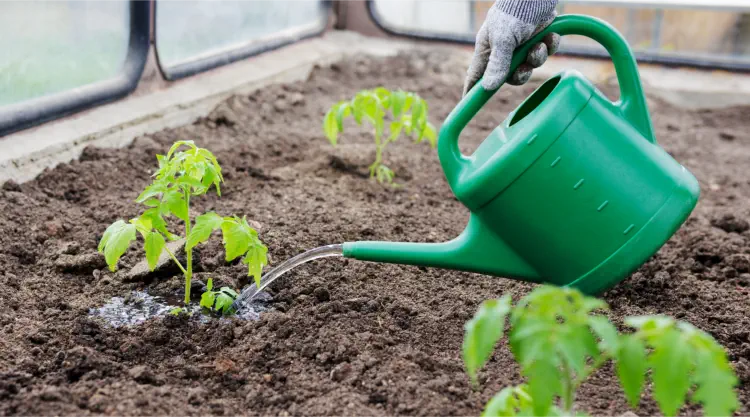
However, bottom-watering may not always be necessary for large outdoor plants or deep-rooted crops in the ground. In those cases, deep top-watering or drip irrigation might be more practical.
Step-by-Step Guide to Bottom-Watering Plants
Follow these simple steps to start bottom-watering your plants effectively:
Step 1: Prepare a Water Container
Choose a basin, sink, or tray large enough to hold your plant pot. Ensure it can hold water up to at least 1–3 inches deep.
Step 2: Fill with Water
Pour clean, room-temperature water into the container. If possible, let tap water sit for 24 hours to allow chlorine to dissipate, or use filtered/rainwater for sensitive plants.
Step 3: Place the Plant Pot in the Container
Set the plant pot into the water-filled container. Make sure the pot has drainage holes at the bottom—otherwise, bottom-watering won’t work.
Step 4: Allow Time for Absorption
Leave the pot in the water for about 10–30 minutes, depending on pot size and soil dryness. You’ll know it’s ready when the top layer of soil feels slightly damp.
Step 5: Remove Excess Water
Lift the pot out of the container and let any excess water drain away. This prevents waterlogging.
Step 6: Repeat as Needed
Generally, bottom-watering once a week works well, but the frequency depends on plant type, season, and soil conditions. Always check soil moisture before watering again.
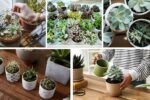
Best Plants for Bottom-Watering
While most container plants benefit from bottom-watering, some thrive particularly well with this method:

- Indoor Houseplants – Rubber plant, peace lily, pothos, snake plant, spider plant.
- Flowering Plants – African violets, begonias, orchids.
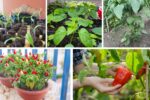
- Edible Plants – Tomatoes, peppers, herbs like basil and mint.
- Succulents & Cacti – Aloe vera, jade plant, echeveria (occasional bottom-watering works best).
- Seedlings & Starts – Delicate young plants that need even moisture without topsoil disturbance.
Common Mistakes to Avoid
While bottom-watering is simple, a few mistakes can reduce its effectiveness:
- Using Pots Without Drainage Holes
Without holes, water cannot seep into the soil. Always ensure containers allow proper drainage. - Leaving Plants in Water Too Long
Soaking pots for hours may lead to waterlogged roots and rot. Stick to the recommended 10–30 minutes. - Bottom-Watering Exclusively
Over time, mineral salts and fertilizer residues may build up in the soil. Occasionally top-water your plants to flush out these salts. - Ignoring Soil Type
Some soils, especially dense or compacted mixes, absorb water poorly from the bottom. Use well-draining potting soil for best results. - Not Checking Moisture Levels
Every plant has different water needs. Always test soil moisture before watering to avoid overhydration.
Additional Tips for Successful Bottom-Watering
- Add Liquid Fertilizer Occasionally – You can mix diluted fertilizer in the water tray to feed plants directly through root absorption.
- Group Plants Together – Save time by placing several pots in a large tray for simultaneous watering.
- Use Self-Watering Pots – These containers use built-in reservoirs that mimic bottom-watering, making maintenance easier.
- Monitor Humidity – For indoor plants, combine bottom-watering with good humidity levels to mimic natural growing conditions.
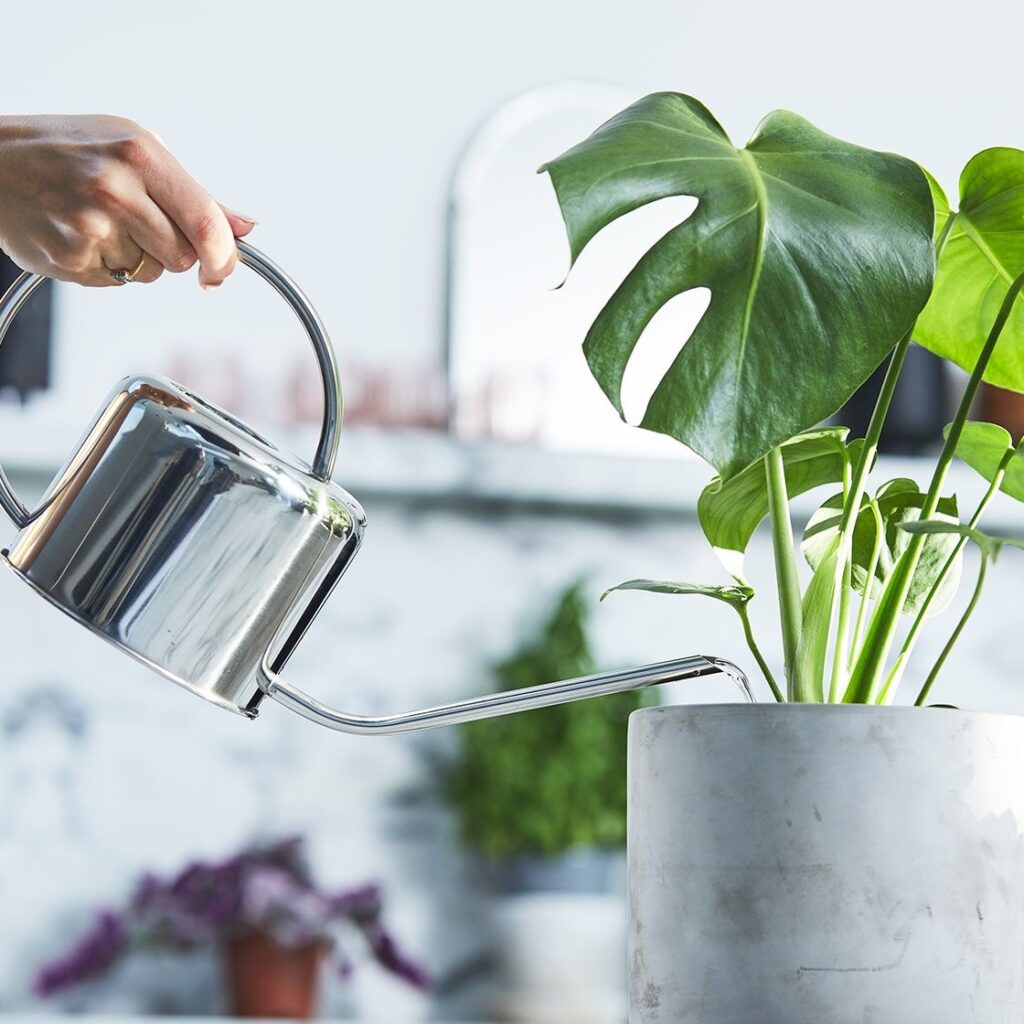
Bottom-Watering vs. Top-Watering: Which is Better?
Both methods have their place in plant care.
- Bottom-Watering is best for encouraging deep roots, preventing fungal issues, and ensuring even hydration.
- Top-Watering is useful for flushing out excess salts, hydrating outdoor plants, and when quick watering is needed.
A balanced approach often works best: primarily bottom-water for healthy growth, but top-water occasionally to refresh the soil.
Conclusion
Bottom-watering is a simple yet highly effective method for keeping your plants healthy and promoting strong root systems. By supplying water from below, this technique encourages roots to grow deeper, prevents overwatering, reduces diseases, and ensures even moisture distribution. Whether you’re nurturing delicate seedlings, caring for indoor houseplants, or growing vegetables in containers, bottom-watering can significantly improve your gardening success.
With the right balance of bottom and top-watering, you’ll enjoy lush, vibrant plants that thrive season after season. Implementing this technique takes just a little extra effort but delivers long-lasting benefits—making it a must-have strategy in every gardener’s toolkit.