Tomatoes are one of the most rewarding plants to grow at home. Whether you enjoy them fresh in salads, blended into sauces, or roasted for deep flavor, there’s nothing quite like harvesting ripe, juicy tomatoes straight from your garden. While most gardeners purchase seedlings from nurseries, starting tomatoes from fresh seeds is not only cost-effective but also gives you control over the entire growing process. It allows you to experiment with different varieties and ensures a more personal connection with your harvest.
This step-by-step guide will walk you through everything you need to know about growing tomatoes from fresh seeds — from preparing the seeds to nurturing healthy plants that produce a heavy harvest.
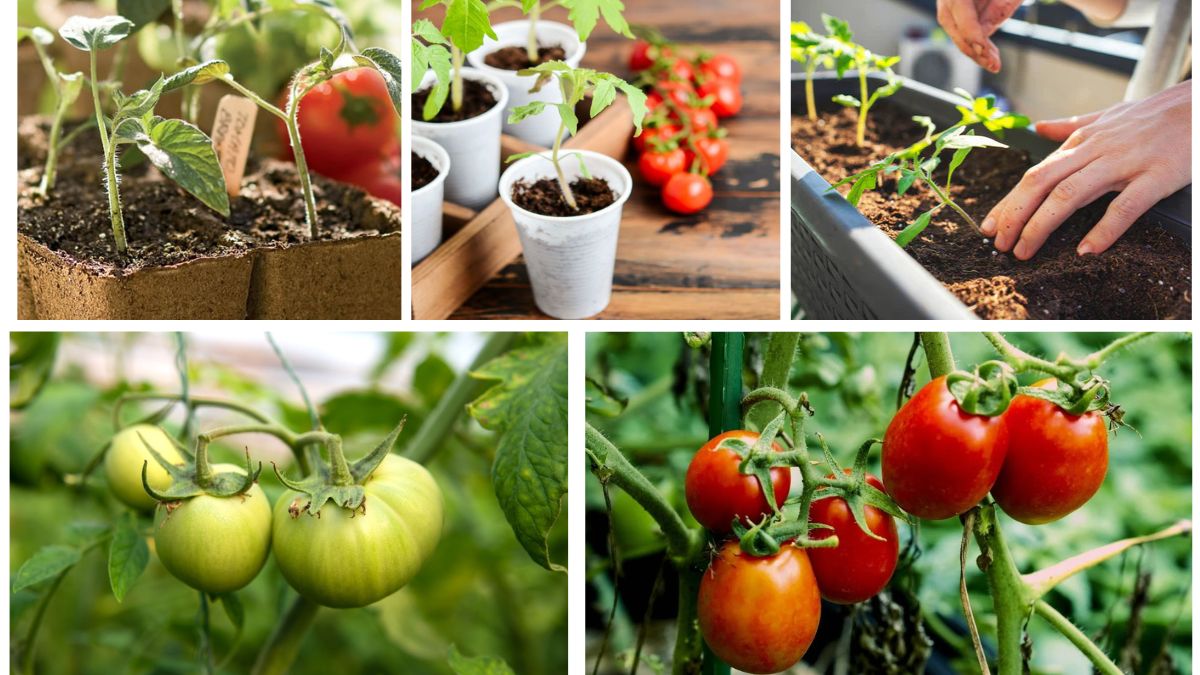
Step 1: Selecting and Preparing Fresh Seeds
If you want to grow tomatoes from fresh fruit, it’s important to choose the right type. Go for heirloom or open-pollinated varieties rather than hybrid ones, since hybrids may not produce true-to-type plants. Select a healthy, ripe tomato with no signs of disease or rot.
How to extract and prepare seeds:
- Cut the tomato open and scoop out the seeds along with the surrounding pulp.
- Place the seeds and pulp in a small jar with a little water.
- Let the mixture sit at room temperature for 2–3 days. This fermentation process removes the gelatinous coating around seeds that can prevent germination.
- Stir daily and check for a thin layer of mold forming on top—this is normal.
- After fermentation, rinse the seeds thoroughly in a fine strainer until they are clean.
- Spread them out on a paper towel or plate to dry completely for 5–7 days.
Now your seeds are ready for sowing.

Step 2: Preparing Soil and Containers
Tomato seeds need light, airy, and well-draining soil for healthy germination. Use a seed-starting mix rather than regular garden soil, which may be too heavy and prone to diseases.
Ideal soil mix includes:
- Peat moss or coco coir (for moisture retention)
- Perlite or vermiculite (for aeration)
- A small amount of compost (for nutrients)
For containers, you can use seed trays, small pots, or even recycled items like yogurt cups with drainage holes.
Step 3: Sowing the Seeds
- Fill your containers with the prepared soil mix.
- Moisten the soil lightly with water.
- Plant seeds about ¼ inch deep (shallow planting ensures faster sprouting).
- Space seeds at least 1 inch apart to avoid overcrowding.
- Cover gently with soil and mist with water.
After sowing, cover the container with plastic wrap or a humidity dome to retain moisture until the seeds germinate.
Step 4: Germination
Tomato seeds typically germinate in 5–10 days under the right conditions.
Optimal conditions for germination:
- Temperature: 70–80°F (21–27°C)
- Light: Place containers in a bright spot or under grow lights.
- Moisture: Keep soil consistently moist but not waterlogged.
Once the seedlings emerge, remove the cover and ensure they get 12–16 hours of light daily to prevent legginess.
Step 5: Caring for Seedlings
As the seedlings grow, they need proper care to develop into strong plants.
- Thinning: If multiple seedlings sprout in one spot, thin them out by snipping weaker ones at soil level.
- Watering: Keep soil evenly moist but avoid overwatering. Seedlings are sensitive to soggy soil.
- Air circulation: Place a small fan nearby to strengthen stems and reduce fungal risks.
- Feeding: After 2–3 weeks, when seedlings develop their first true leaves, start feeding them with a diluted liquid fertilizer (half strength).
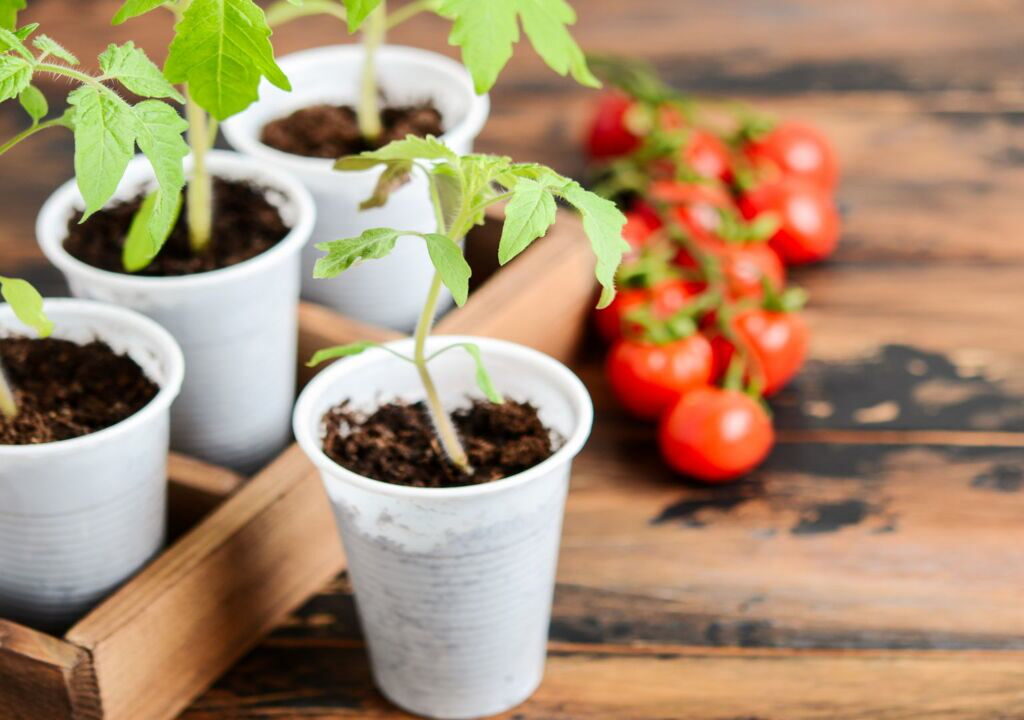
Step 6: Transplanting Seedlings into Larger Pots
When seedlings are 3–4 inches tall and have at least two sets of true leaves, they are ready to be transplanted into larger containers.
- Choose pots at least 4 inches deep.
- Bury the seedlings deeper than they were before, covering part of the stem. Tomatoes develop roots along their stems, so this encourages stronger root growth.
- Keep the transplanted seedlings in bright light and continue regular watering.
This stage helps prepare the plants for moving outdoors.
Step 7: Hardening Off Seedlings
Before planting outdoors, seedlings must be gradually acclimated to outdoor conditions — a process known as hardening off.
- Start 7–10 days before transplanting into the garden.
- Place seedlings outside in a shaded spot for a few hours each day, gradually increasing sun exposure and time outdoors.
- Protect them from strong winds and sudden temperature drops.
This step is crucial to prevent transplant shock.
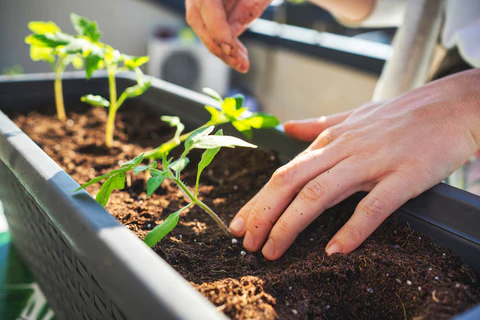
Step 8: Transplanting Outdoors

Tomatoes thrive in warm weather and should only be planted outdoors after the danger of frost has passed.
Choosing a site:
- Select a sunny location with at least 6–8 hours of direct sunlight daily.
- Ensure well-draining, fertile soil enriched with compost or organic matter.
Planting steps:
- Dig deep holes or trenches to accommodate the seedlings.
- Space plants 18–24 inches apart for determinate varieties and 24–36 inches apart for indeterminate types.
- Plant seedlings deeply, burying part of the stem to encourage root growth.
- Water thoroughly after planting.
Step 9: Caring for Tomato Plants
Once established, tomato plants require consistent care for maximum productivity.
- Watering: Provide deep watering 2–3 times a week, depending on weather. Keep soil evenly moist.
- Mulching: Apply organic mulch like straw or leaves around the base to retain moisture and suppress weeds.
- Staking/Caging: Support plants with stakes, trellises, or cages to keep fruit off the ground.
- Pruning: Remove suckers (small shoots between the main stem and branches) to improve air circulation and focus energy on fruit production.
- Fertilizing: Use a balanced organic fertilizer or compost tea every 3–4 weeks.
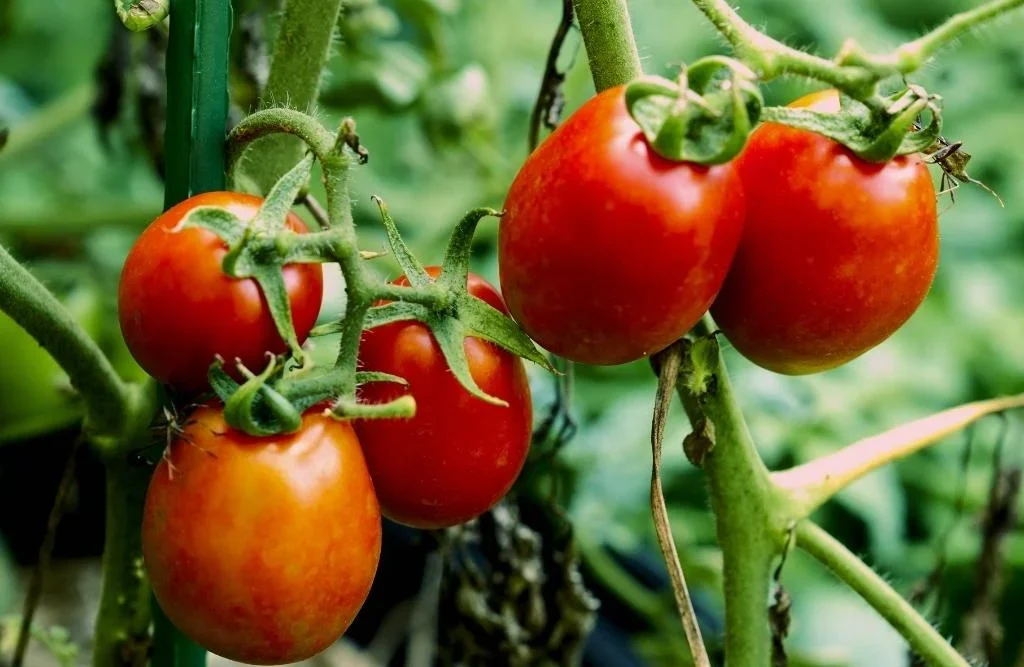
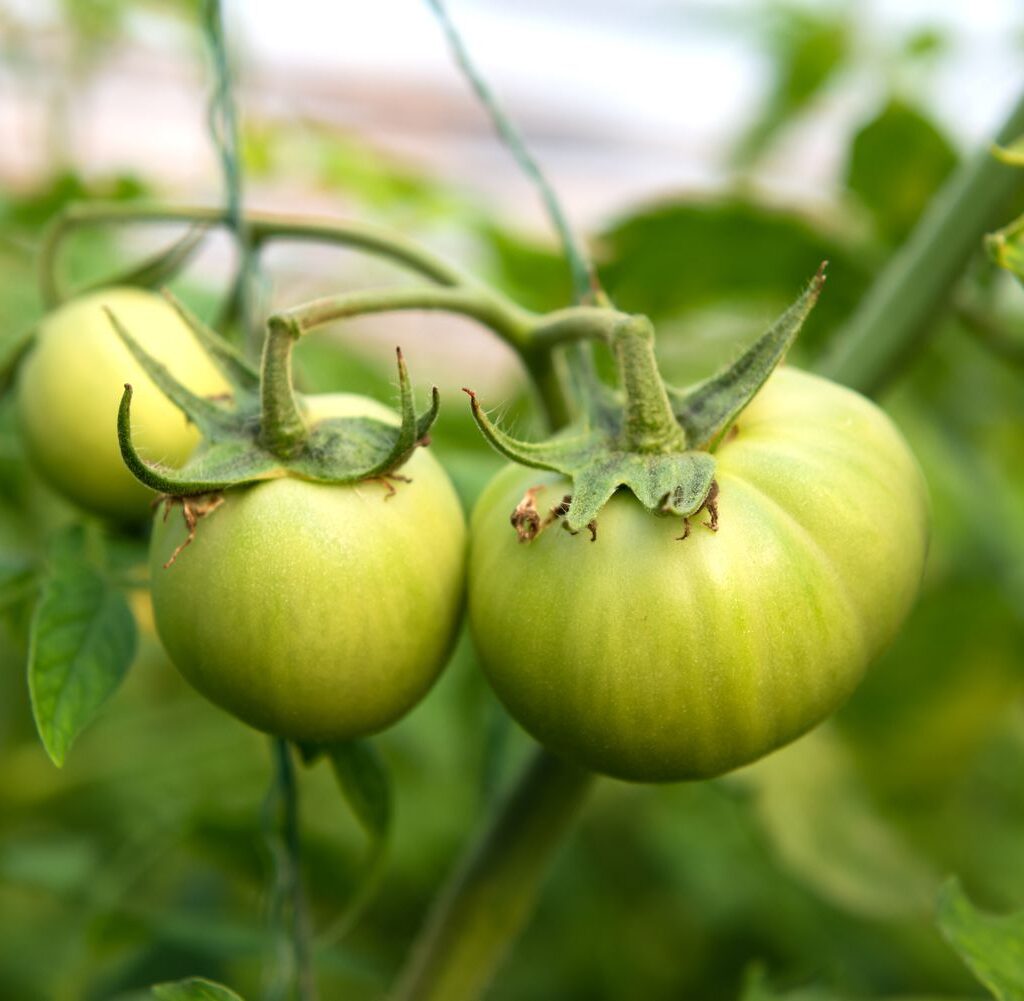
Step 10: Harvesting Your Tomatoes
Tomatoes are typically ready to harvest 60–85 days after transplanting, depending on the variety.
Signs of ripeness:
- Even, vibrant color (red, yellow, orange, or purple depending on variety)
- Slightly soft to the touch
- Easy to pull off the vine with a gentle twist
For continuous harvest, pick tomatoes regularly to encourage new fruiting.
Common Problems and Solutions
- Blossom End Rot: Caused by calcium deficiency and irregular watering. Solution: Keep soil evenly moist and add calcium-rich amendments.
- Pests (aphids, whiteflies, hornworms): Use neem oil, insecticidal soap, or introduce beneficial insects like ladybugs.
- Fungal diseases (early blight, powdery mildew): Improve air circulation, avoid overhead watering, and use organic fungicides if necessary.
Final Thoughts
Growing tomatoes from fresh seeds is a rewarding journey that combines patience, care, and a little bit of science. From selecting the perfect fruit and preparing seeds to nurturing seedlings and enjoying a bumper harvest, each step brings you closer to enjoying homegrown tomatoes full of flavor and nutrition.

Whether you have a large garden or just a small balcony, you can successfully grow tomatoes from fresh seeds with the right methods. Not only does this save money, but it also lets you explore unique tomato varieties that you won’t find in stores.
So, grab a ripe tomato, save its seeds, and start your gardening adventure — your future self will thank you when you’re savoring fresh, juicy tomatoes straight from your own plants.