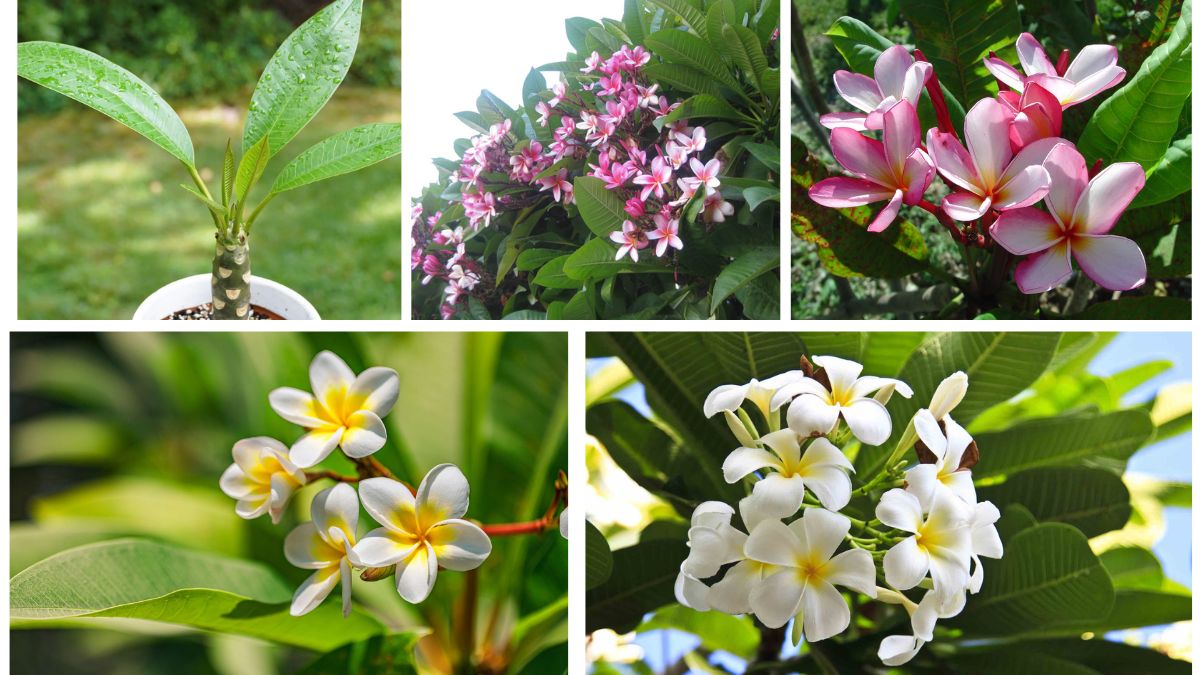
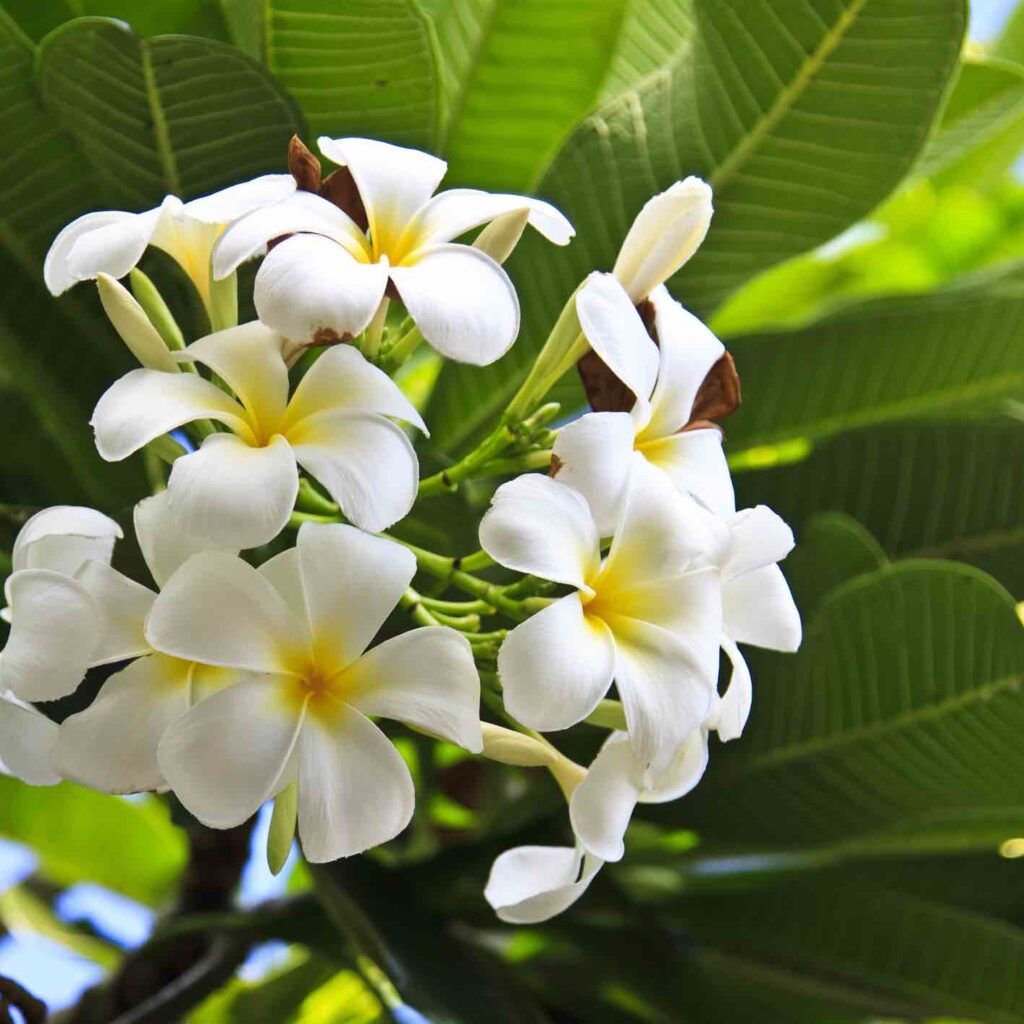
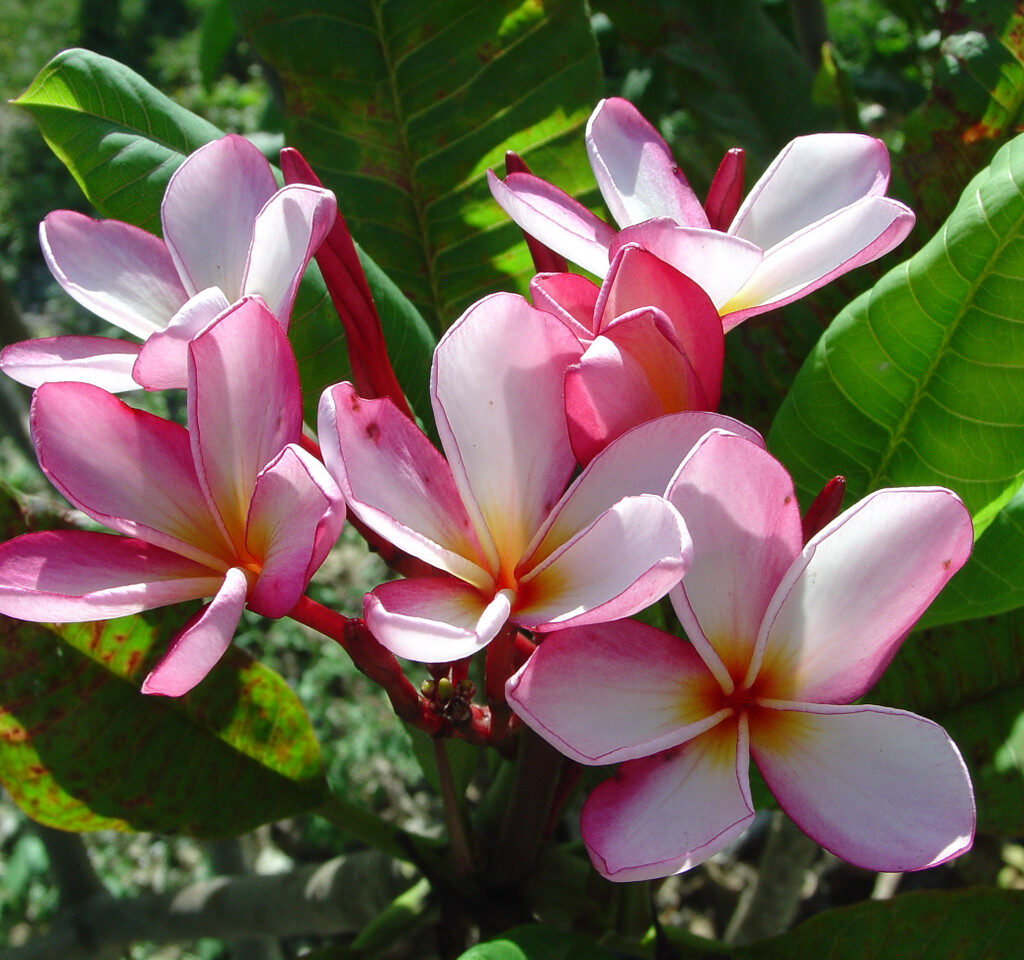
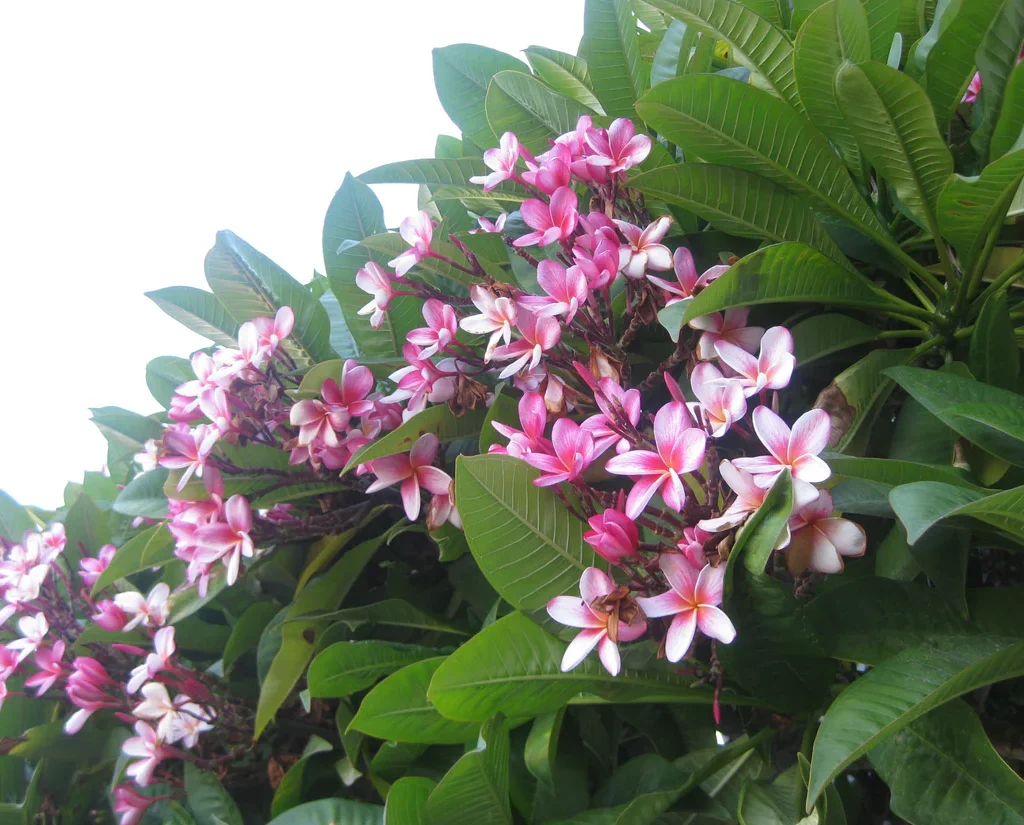
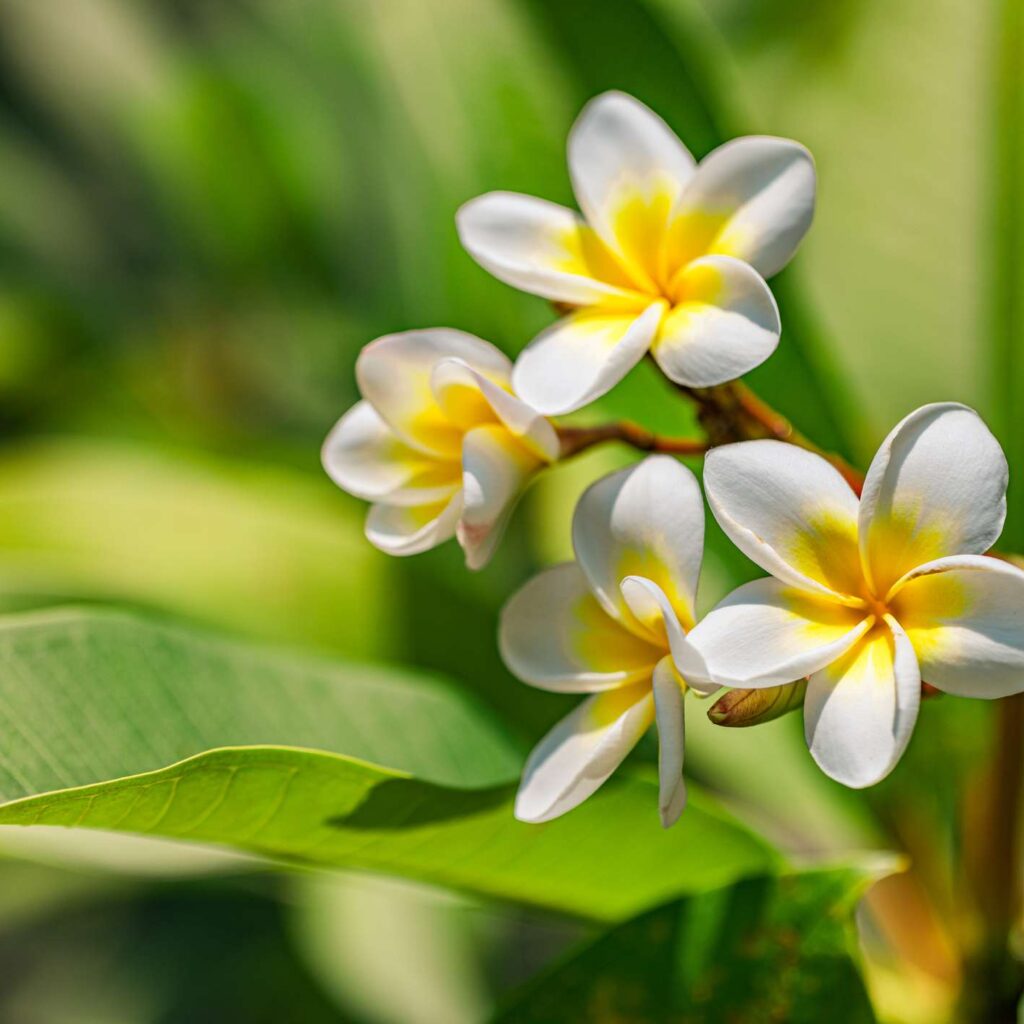
Plumeria, also known as frangipani, is a tropical plant cherished for its exotic, fragrant flowers and elegant growth. Native to Central America, the Caribbean, and tropical Asia, plumeria is widely grown across the world as an ornamental plant. Its colorful blooms—ranging from pure white and buttery yellow to vibrant pinks and reds—are a favorite in gardens, patios, and landscapes.
While plumeria can be grown from seeds, the most reliable and popular method is through cuttings. Planting plumeria cuttings allows gardeners to reproduce plants identical to the parent, ensuring the same flower color, fragrance, and growth pattern. More importantly, cuttings mature faster and bloom sooner than seedlings.
This article provides a step-by-step guide to planting plumeria cuttings, along with detailed care tips, common mistakes to avoid, and advice on ensuring exotic blooms.
Why Grow Plumeria from Cuttings?
Before diving into the planting process, let’s explore why cuttings are the preferred method:
- Faster Growth and Blooming – Cuttings mature in 1–2 years, while seedlings may take 3–5 years to flower.
- Guaranteed Flower Variety – Seeds often produce variable flower colors, but cuttings replicate the exact traits of the parent plant.
- Cost-Effective – Cuttings can be obtained from an existing plumeria tree, making it inexpensive.
- Easier to Grow – With proper care, cuttings root quickly and establish easily.
Ideal Growing Conditions for Plumeria
Plumeria thrives in warm, sunny environments and requires specific conditions for successful rooting and blooming.
- Climate: Prefers tropical and subtropical climates. In cooler regions, plumeria can be grown in pots and overwintered indoors.
- Temperature: Ideal range is 20°C–32°C (68°F–90°F). Below 10°C (50°F), plants enter dormancy.
- Sunlight: Needs 6–8 hours of direct sunlight daily for strong growth and abundant blooms.
- Soil: Well-drained, slightly sandy soil is best. Heavy clay soils must be amended with sand or perlite.
- Watering: Prefers moderate watering—moist but never waterlogged soil.
Step-by-Step Guide: Planting Plumeria Cuttings
Step 1: Choosing the Right Cutting
- Select a healthy, semi-hardwood cutting about 12–18 inches long.
- The cutting should be thick, free of disease, and taken from a branch that is not actively flowering.
- Fresh green stems are less reliable, while older woody stems root more effectively.
Step 2: Preparing the Cutting
- Trim the Cutting: Use a sharp, sterilized knife or pruning shears to make a clean cut.
- Remove Leaves: Strip all leaves except for a few at the tip. This prevents excessive water loss.
- Cure the Cutting: Allow the cutting to dry in a shaded, well-ventilated area for 5–7 days. This forms a callus at the cut end, which helps prevent rot.
- Optional Treatment: Dip the callused end in a rooting hormone to encourage faster root development.
Step 3: Preparing the Soil and Container
- Use a well-draining potting mix—a blend of coarse sand, perlite, and peat moss works well.
- Choose a pot with drainage holes to prevent waterlogging.
- For outdoor planting, select a sunny, raised garden bed with sandy soil.
Step 4: Planting the Cutting
- Insert the cutting 3–4 inches deep into the soil.
- Firmly press the soil around the base to hold it upright.
- Water lightly after planting, then allow the soil to dry slightly between waterings.
- Place the cutting in a warm, sunny spot, but avoid harsh midday sun for the first few weeks.
Step 5: Watering and Early Care
- During the rooting stage (first 4–6 weeks), water sparingly. Overwatering can cause stem rot.
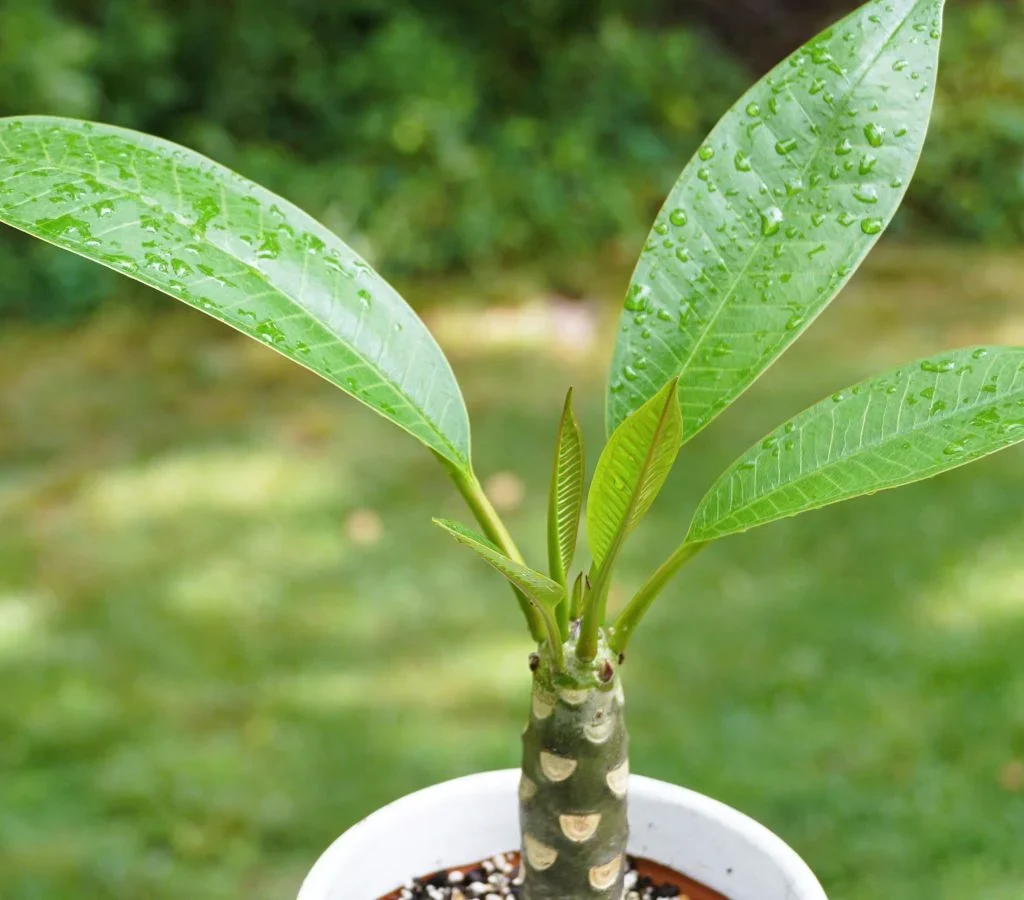
- Once new leaves appear, it’s a sign that roots have formed. At this stage, increase watering slightly.
- Always allow the topsoil to dry before the next watering.
Caring for Plumeria After Rooting
Once your cutting has successfully rooted, ongoing care is essential to ensure healthy growth and exotic blooms.
1. Sunlight
- Mature plumeria requires full sun for at least 6 hours daily. Insufficient light leads to weak growth and few blooms.
2. Watering
- Water deeply but infrequently. During summer, water once or twice a week depending on soil dryness.
- In winter, when plumeria goes dormant, reduce watering drastically or stop altogether.
3. Fertilizing
- Use a fertilizer high in phosphorus (middle number in NPK ratio) to promote flowering. For example, 10-30-10.
- Fertilize every 2–3 weeks during the growing season (spring to summer).
- Avoid excessive nitrogen as it encourages leafy growth but fewer flowers.
4. Pruning
- Prune in late winter or early spring to shape the plant and encourage branching.
- More branches lead to more flower clusters.
5. Pest and Disease Management
- Common pests include spider mites, mealybugs, and aphids. Spray with neem oil or insecticidal soap.
- Root rot may occur if soil remains too wet—ensure proper drainage.
Encouraging Exotic Blooms
One of the biggest goals of plumeria growers is achieving abundant, vibrant blooms. Here’s how to maximize flowering:
- Sunlight – More sunlight equals more flowers.
- Balanced Fertilization – High-phosphorus fertilizers enhance bloom size and color.
- Dormancy Period – Plumeria requires a winter rest period. Withhold water during dormancy to prepare it for strong spring growth.
- Proper Pruning – Encourage branching by trimming leggy stems. Each branch tip produces a flower cluster.
- Container Care – If grown in pots, repot every 2–3 years to refresh soil nutrients and encourage growth.
Common Mistakes to Avoid
- Overwatering – The most frequent mistake; it causes root rot and stem decay.
- Planting Uncured Cuttings – Without callusing, cuttings rot before rooting.
- Too Much Shade – Plumeria won’t bloom without enough sunlight.
- Over-Fertilizing with Nitrogen – Leads to leafy growth at the expense of flowers.
- Ignoring Dormancy – Continuous watering in winter disrupts the plant’s natural cycle and reduces blooming.
Growing Plumeria in Containers vs. Garden Beds
In Containers:
- Best for cold climates, as pots can be moved indoors during winter.
- Requires well-drained, lightweight soil.
- Container size should be at least 12–16 inches deep for healthy root development.
In Garden Beds:
- Ideal in tropical and subtropical regions.
- Provide ample spacing of 6–10 feet between plants.
- Soil should be sandy and well-drained to mimic natural tropical conditions.
Benefits of Growing Plumeria at Home
- Ornamental Value – Exotic flowers beautify gardens, balconies, and patios.
- Fragrance – Sweetly scented blooms are used in perfumes and leis.
- Low Maintenance – Once established, plumeria thrives with minimal care.
- Cultural Significance – In many cultures, plumeria symbolizes positivity, grace, and new beginnings.
Conclusion
Growing plumeria from cuttings is a simple yet rewarding way to enjoy the beauty of exotic, fragrant flowers in your own garden. By choosing healthy cuttings, preparing the soil properly, and providing adequate sunlight, water, and nutrients, you can ensure a thriving plumeria plant that will reward you with stunning blooms year after year.
Patience and proper care are key—cuttings may take a few months to root and another season to bloom, but the wait is worthwhile. With vibrant flowers and enchanting fragrance, plumeria adds tropical charm to any home garden.
So, whether you live in a tropical region or a cooler climate where plumeria can be grown in containers, planting plumeria cuttings is your gateway to enjoying one of the most exotic blooms nature has to offer.
