Okra (Abelmoschus esculentus), also known as lady’s finger or gumbo, is a warm-season vegetable prized for its tender green pods that add both nutrition and flavor to meals. Native to Africa and widely cultivated in tropical and subtropical regions, okra thrives in warm climates and requires minimal care, making it an excellent choice for home gardeners. With its high fiber content, vitamins, and antioxidants, growing okra at home ensures a steady supply of fresh, chemical-free vegetables that boost both health and taste.
This article provides a comprehensive guide to growing okra at home for healthy harvests, covering everything from planting to harvesting, common problems, and care tips for maximum yield.
Why Grow Okra at Home?
Before diving into the growing process, let’s explore why okra is worth adding to your home garden:

- Nutritional Value – Okra is rich in vitamin C, vitamin K, folate, and magnesium. Its high dietary fiber supports digestion, while antioxidants help fight inflammation.
- Culinary Versatility – Okra can be stir-fried, steamed, pickled, grilled, or added to soups and stews.
- High Productivity – A single plant can produce numerous pods throughout the growing season.
- Low Maintenance – Okra is resilient, drought-tolerant, and requires little beyond basic care.
- Freshness and Flavor – Homegrown okra tastes fresher, is more tender, and lacks harmful chemicals found in store-bought produce.
Ideal Growing Conditions for Okra
To achieve a healthy and productive harvest, okra requires the right environment:
1. Climate
- Okra thrives in warm weather with temperatures between 22°C and 35°C (72°F–95°F).
- It cannot tolerate frost and grows best during summer or late spring.
2. Soil Requirements
- Prefers well-drained sandy loam soil rich in organic matter.
- Ideal pH range: 6.0 – 6.8.
- Heavy clay soils should be amended with compost and sand to improve drainage.
3. Sunlight
- Requires 6–8 hours of direct sunlight daily.
- Plants grown in partial shade produce fewer pods.
4. Watering
- Needs consistent but moderate watering.
- Soil should remain moist but not waterlogged.
- Overwatering can lead to root rot and fungal infections.
Step-by-Step Guide to Growing Okra at Home
Step 1: Selecting Seeds
- Choose high-quality, disease-resistant seeds.
- Popular varieties for home gardens include Clemson Spineless, Annie Oakley II, Perkins Long Pod, and Emerald.
Step 2: Seed Preparation
- Okra seeds have a tough outer shell. To improve germination:
- Soak seeds in warm water for 12–24 hours before planting.
- Alternatively, lightly scarify seeds by rubbing them with sandpaper.
Step 3: Planting Okra
- Sowing Time: Plant seeds after the last frost when soil temperatures reach 18°C (65°F).
- Spacing: Sow seeds 1 inch deep, 12–18 inches apart in rows spaced 2–3 feet apart.
- Containers: If growing in pots, use containers at least 12–14 inches deep.
Step 4: Caring for Okra Plants

a. Watering
- Water regularly during the early growth stage.
- Once established, okra is drought-tolerant but yields better with consistent moisture.
b. Fertilization
- Incorporate well-rotted compost or manure before planting.
- Side-dress plants with nitrogen-rich fertilizer every 3–4 weeks to encourage pod production.
c. Mulching
- Apply organic mulch (straw, leaves, or grass clippings) to retain moisture and suppress weeds.
d. Weeding
- Keep the planting area weed-free, especially when plants are young.
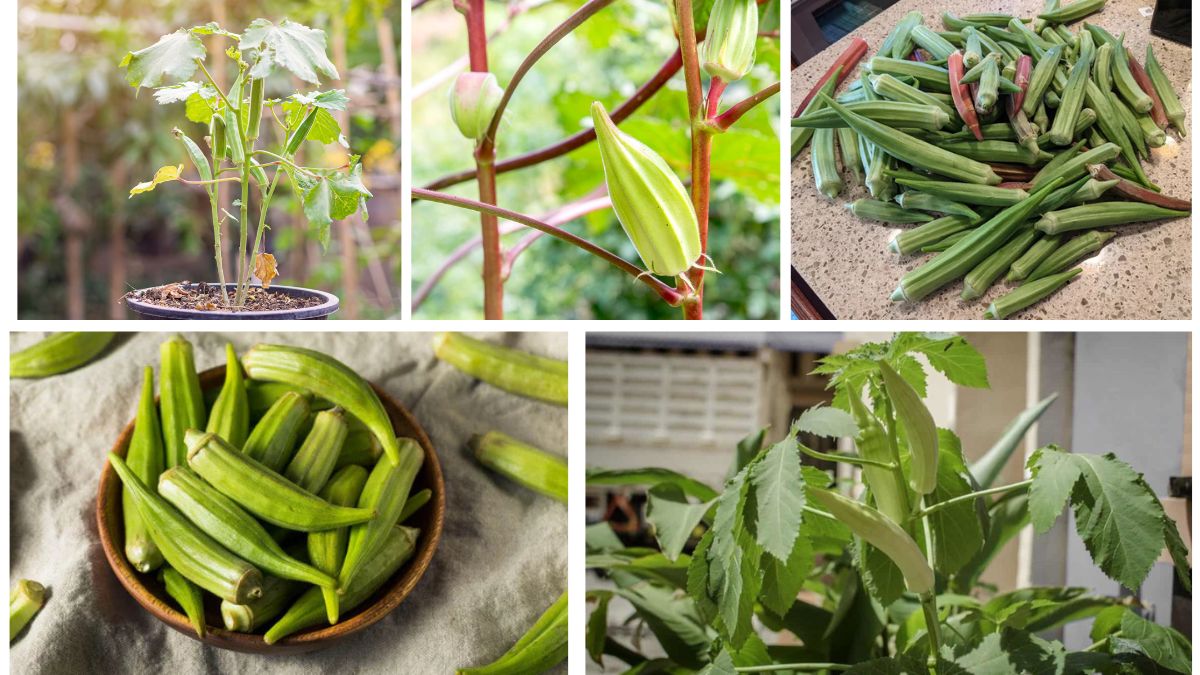
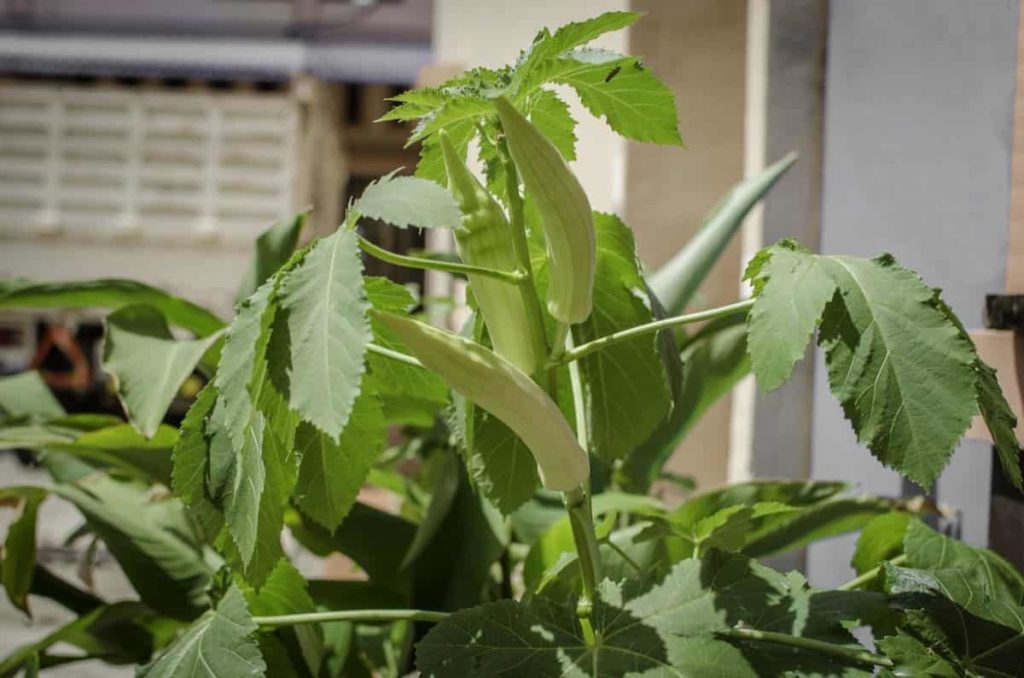
Step 5: Flowering and Pod Development
- Okra produces beautiful yellow flowers with a purple center, which soon develop into edible pods.
- Flowers bloom in the morning and last only one day before transforming into pods.
- Pods mature quickly, often ready for harvest within 5–7 days after flowering.
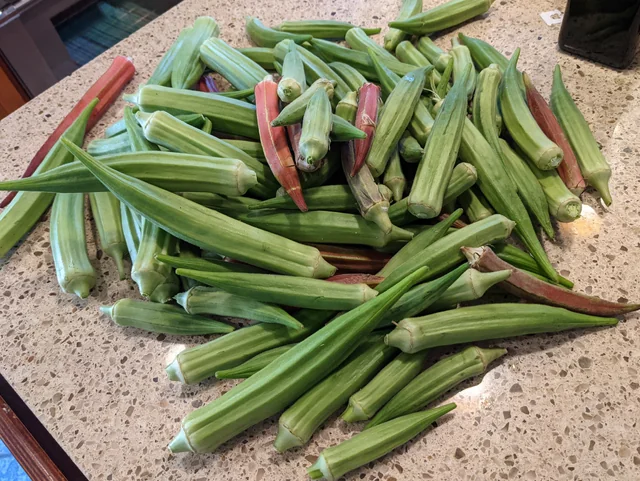
Harvesting Okra
When to Harvest
- Pods are best harvested when they are 3–5 inches long (about the size of your finger).
- Over-mature pods become fibrous and tough.
How to Harvest
- Use garden scissors or a sharp knife to cut pods from the stem.
- Harvest regularly (every 2–3 days) to encourage continuous pod production.
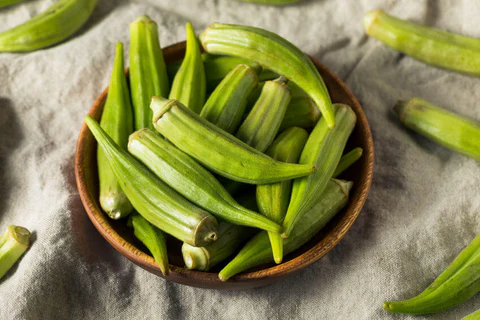
Post-Harvest Tips
- Store harvested okra in a paper bag or perforated plastic bag in the refrigerator.
- Use within 2–3 days for best taste and texture.
Common Problems in Growing Okra and Solutions
Even though okra is hardy, it can face some challenges:
1. Pests
- Aphids and Whiteflies – Cause curling leaves and transmit diseases.
- Solution: Spray neem oil or insecticidal soap.
- Corn Earworms and Stink Bugs – Damage pods.
- Solution: Handpick pests or use natural predators like ladybugs.
2. Diseases
- Powdery Mildew – White coating on leaves.
- Solution: Improve air circulation and spray with organic fungicides.
- Root Rot – Caused by overwatering.
- Solution: Ensure well-draining soil and avoid waterlogging.
3. Poor Pod Development
- Caused by insufficient sunlight or irregular watering.
- Solution: Provide full sun and consistent watering.
Tips for Continuous and Healthy Harvests
- Succession Planting – Sow seeds every 2–3 weeks for a prolonged harvest season.
- Pruning – Remove old or damaged leaves to improve airflow and plant health.
- Crop Rotation – Avoid planting okra in the same spot year after year to prevent soil-borne diseases.
- Pollinator Support – Encourage bees and pollinators by planting flowers nearby to improve pod formation.
- Regular Harvesting – Picking pods frequently promotes new growth.
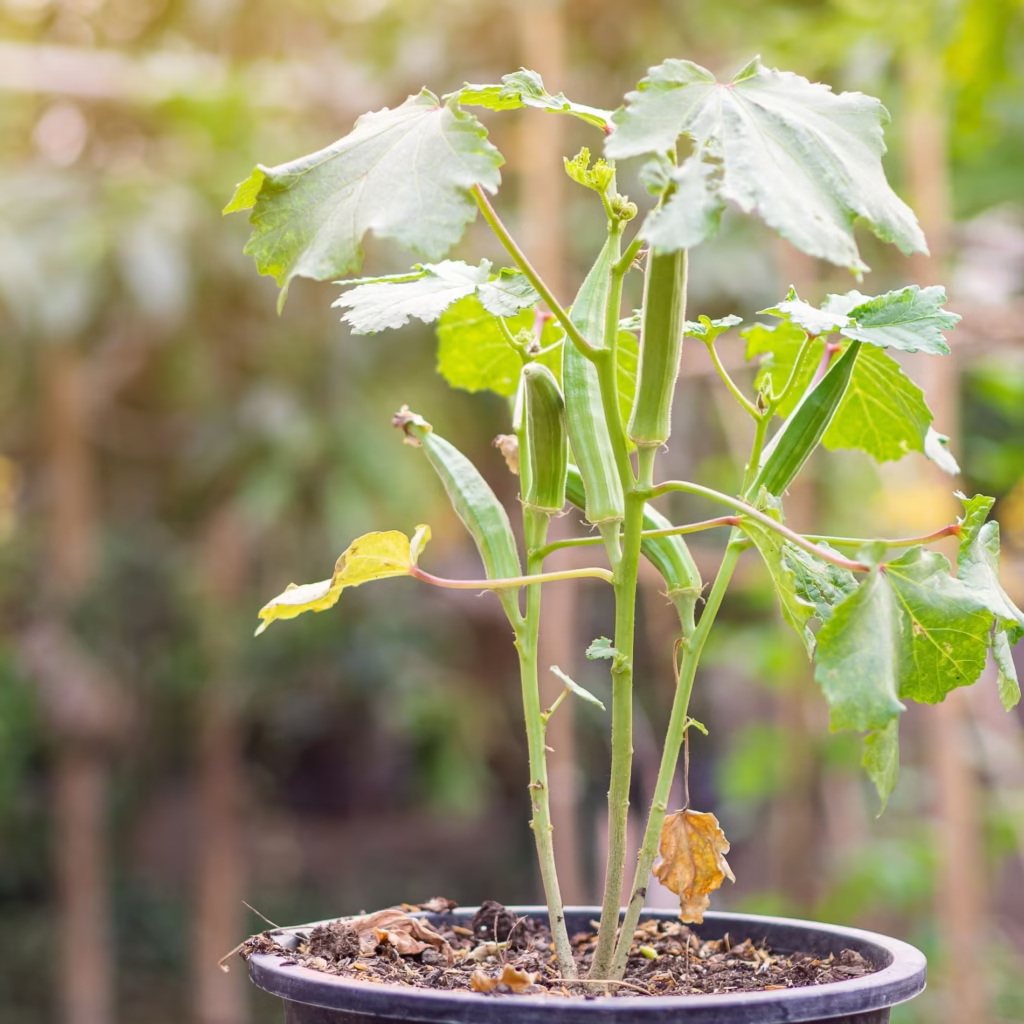
Growing Okra in Containers
If you don’t have a garden, okra can be grown in containers on balconies or patios.

- Container Size: Use pots at least 12–14 inches deep with drainage holes.
- Soil Mix: A combination of garden soil, compost, and sand works best.
- Care: Place pots in sunny spots and water consistently.
- Harvest: Container-grown okra yields slightly fewer pods but is equally nutritious.
Nutritional and Health Benefits of Okra
Okra is not just easy to grow; it is also a nutritional powerhouse:
- Rich in Fiber – Supports digestion and prevents constipation.
- Vitamin C & Antioxidants – Boost immunity and protect against oxidative stress.
- Folate – Important for pregnant women as it helps prevent neural tube defects.
- Magnesium & Calcium – Strengthen bones and support heart health.
- Low in Calories – Ideal for weight management.
Regular consumption of okra helps regulate blood sugar, lowers cholesterol, and supports overall wellness.
Culinary Uses of Okra
Okra’s unique texture and mild flavor make it a versatile ingredient:

- Fried Okra – Crispy and delicious snack.
- Okra Curry or Bhindi Masala – A staple dish in Indian kitchens.
- Okra Stew or Gumbo – Popular in Southern U.S. cuisine.
- Pickled Okra – A tangy, crunchy treat.
- Soups and Stir-Fries – Adds nutrition and thickness.
Conclusion
Growing okra at home is both rewarding and beneficial. With the right conditions—warm weather, well-drained soil, and plenty of sunlight—you can enjoy a steady supply of fresh, tender pods throughout the season. Whether grown in garden beds or containers, okra is resilient and requires only basic care to produce abundant harvests.
By following proper planting, watering, and harvesting techniques, and staying alert to pests and diseases, you can ensure healthy, chemical-free vegetables for your family. Beyond the joy of gardening, you’ll also reap the nutritional benefits that make okra a valuable addition to a balanced diet.
So, grab some seeds, prepare your soil, and start growing okra at home—it’s the perfect way to enjoy healthy harvests straight from your backyard or balcony.