
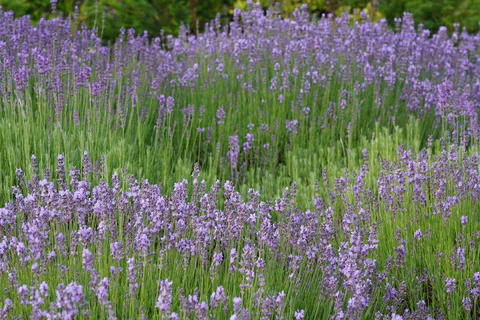
Lavender, with its delicate purple blooms and enchanting fragrance, has been cherished for centuries. It is not only prized for its ornamental charm but also for its medicinal, culinary, and aromatic uses. Whether you want to add beauty to your garden, enjoy its soothing scent, or harvest it for homemade products like oils, teas, and sachets, lavender is an incredibly rewarding plant to grow. Luckily, with the right techniques, you can cultivate lavender easily at home, even if you are a beginner gardener.
This step-by-step guide will walk you through everything you need to know about growing lavender—from choosing the right variety to planting, caring for, and harvesting it successfully.
Why Grow Lavender?
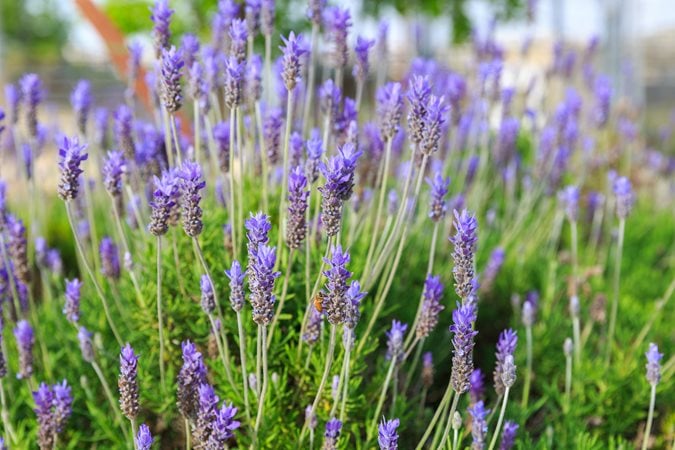
Lavender is more than just a pretty plant. It offers multiple benefits, making it a must-have in gardens and containers:
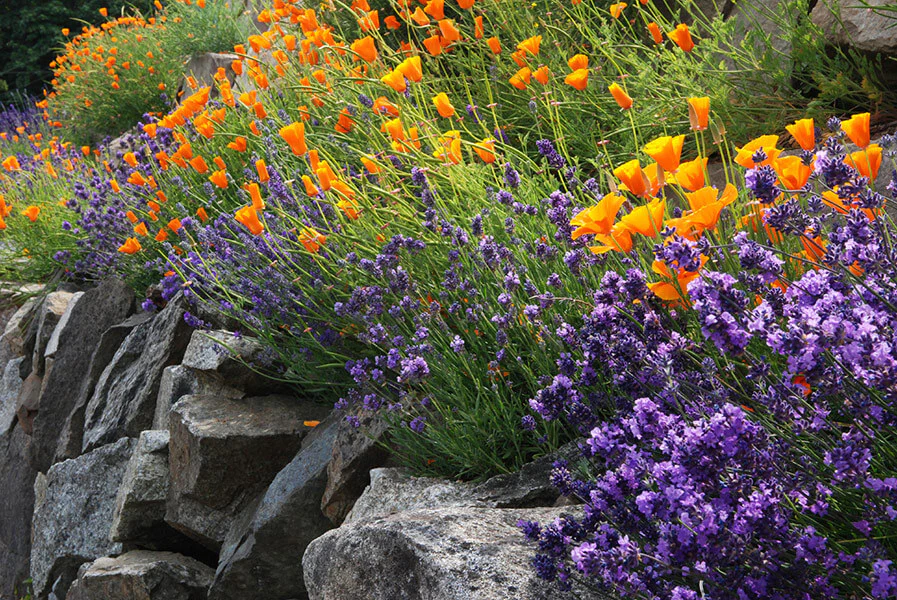
- Aesthetic appeal – Its purple blooms and silvery foliage provide beauty to flower beds, borders, and patios.
- Fragrance – The calming scent is perfect for relaxation and stress relief.
- Pollinator-friendly – Lavender attracts bees, butterflies, and other beneficial insects.
- Low-maintenance – Once established, lavender is drought-tolerant and thrives with minimal care.
- Versatile uses – From herbal teas and infused oils to sachets and home décor, lavender has countless applications.
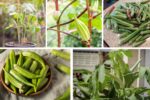
Step 1: Choosing the Right Lavender Variety
Not all lavender plants are the same. Before planting, select a variety that matches your climate and intended use:
- English Lavender (Lavandula angustifolia) – Best for cooler climates, culinary use, and essential oil production. Popular varieties include ‘Hidcote’ and ‘Munstead.’
- French Lavender (Lavandula dentata) – Thrives in warmer regions; has a strong fragrance but is less cold-hardy.
- Spanish Lavender (Lavandula stoechas) – Recognizable by its butterfly-like petals; more ornamental but less fragrant.
- Lavandin (Lavandula x intermedia) – A hybrid variety known for abundant blooms and strong scent, excellent for dried flowers and sachets.
Tip: If you live in a cold region, stick with hardy English lavender. In hot climates, French and Spanish types perform better.
Step 2: Preparing the Soil
Lavender thrives in soil that mimics its native Mediterranean habitat—dry, sandy, and well-draining.
- Soil type: Sandy or loamy soil is ideal.
- Drainage: Good drainage is essential. Heavy clay soils can suffocate lavender roots. If your soil is heavy, amend it with sand, gravel, or perlite.
- pH level: Lavender prefers slightly alkaline to neutral soil (pH 6.5–7.5). You can add garden lime if your soil is too acidic.
- Raised beds/containers: In poorly drained gardens, growing lavender in raised beds or pots is the best solution.
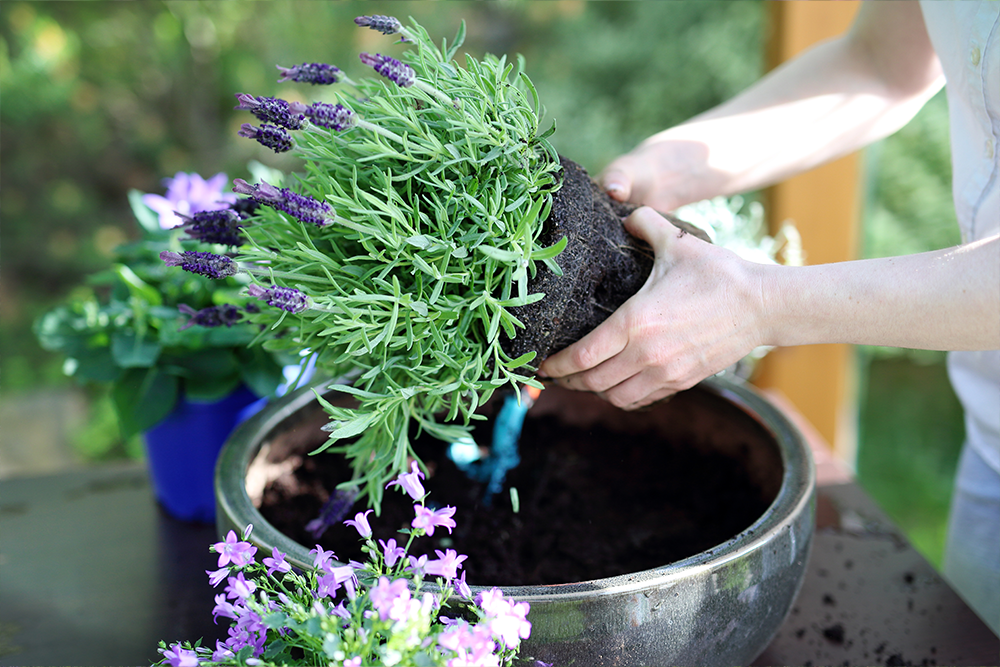
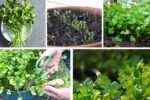
Step 3: Planting Lavender
Lavender can be grown from seeds, cuttings, or nursery plants, but young plants from a garden center are the easiest way to start.
When to Plant:
- Plant in spring or early summer when frost risk has passed.
- In warm regions, planting in early fall also works.
How to Plant:
- Dig a hole twice as wide as the root ball.
- Place gravel or small stones at the bottom for improved drainage.
- Position the plant so the crown sits slightly above soil level.
- Backfill with sandy, well-drained soil.
- Space plants 12–18 inches apart (for small varieties) or 24–36 inches apart (for larger varieties) to allow airflow.
Step 4: Watering Lavender
Overwatering is the most common mistake when growing lavender.
- New plants: Water once or twice a week until established.
- Mature plants: Water every 2–3 weeks during dry spells.
- Container plants: Require more frequent watering but ensure excess drains out.
Golden rule: Let the soil dry between watering. Lavender prefers slightly dry conditions over soggy soil.
Step 5: Providing Sunlight
Lavender is a sun-loving plant.
- Sunlight requirement: At least 6–8 hours of full sun daily.
- In regions with hot summers, light afternoon shade may help prevent scorching.
Without adequate sunlight, lavender will grow leggy and produce fewer flowers.
Step 6: Fertilizing Lavender
Lavender doesn’t need heavy feeding. In fact, too much fertilizer can reduce bloom production.
- Use a low-nitrogen, balanced fertilizer once in spring.
- Alternatively, mix in compost or bone meal during planting for slow-release nutrition.
- Avoid high-nitrogen fertilizers, which encourage foliage but fewer flowers.
Step 7: Pruning Lavender for Healthy Growth
Pruning is essential for keeping lavender compact and promoting more blooms.
- When to prune:
- Lightly prune in spring after new growth appears.
- Perform a heavier pruning in late summer or early fall after flowering.
- How to prune:
- Trim back one-third of the plant’s height, but avoid cutting into old woody stems.
- Shape into a rounded mound to prevent legginess.
Pruning not only maintains shape but also extends the plant’s lifespan.
Step 8: Pests and Disease Management
Lavender is generally resistant to pests, but a few issues can occur:
- Root rot – Caused by overwatering or poor drainage.
- Aphids – Can cluster on young shoots; spray with neem oil if needed.
- Spittlebugs – Leave foamy residue but cause minimal harm. Simply wash them off.
Good air circulation and well-draining soil prevent most problems.
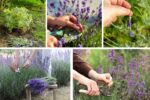
Step 9: Harvesting Lavender
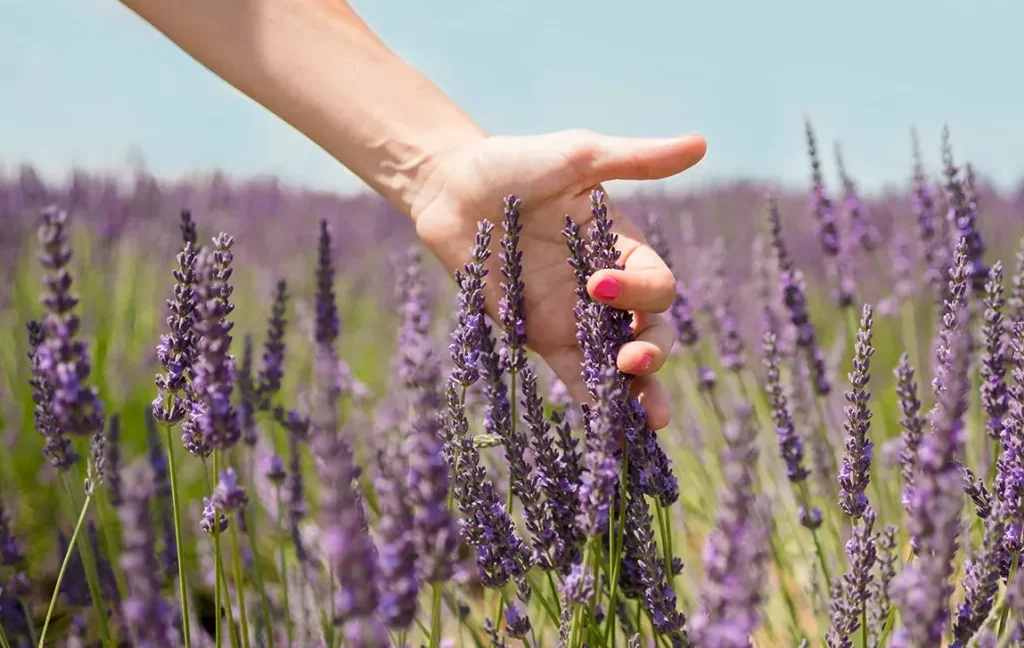
Harvesting at the right time ensures maximum fragrance and usefulness.
- When to harvest:
- For dried flowers: Harvest when buds are just opening.
- For essential oils: Harvest when about half the blooms have opened.
- How to harvest:
- Use sharp garden shears to cut flower stems just above the leaves.
- Gather in small bunches and tie with twine.
Dry the bunches upside down in a dark, well-ventilated area for 2–4 weeks.
Step 10: Using Lavender at Home
Once harvested, lavender can be used in numerous ways:
- Aromatherapy – Essential oil extraction for relaxation and sleep.
- Culinary uses – Infuse in teas, baked goods, and desserts.
- Home décor – Dried bouquets, wreaths, or potpourri.
- Skincare – Infuse oil for lotions, balms, and soaps.
Growing Lavender in Pots
For small spaces, lavender grows beautifully in containers.
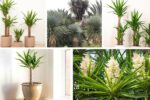
- Use terra cotta pots for better airflow and drainage.
- Choose dwarf varieties like ‘Munstead’ or ‘Little Lottie.’
- Ensure pots have drainage holes and use a gritty potting mix.
- Place containers in a sunny spot, and rotate occasionally for even growth.
Winter Care for Lavender
- In mild climates, lavender survives outdoors year-round.
- In colder areas (below -10°C/14°F), protect plants with mulch, burlap, or bring potted lavender indoors.
- Keep indoor lavender near a sunny window and water sparingly.
Final Thoughts
Growing lavender is a rewarding experience that combines beauty, fragrance, and utility in one plant. With minimal care, lavender offers years of soothing aroma, pollinator-friendly blooms, and versatile uses in your home. By choosing the right variety, ensuring proper soil and sunlight, and maintaining good pruning and watering habits, you can enjoy thriving lavender plants that enhance your garden and bring relaxation into your life.
Whether planted in garden beds or decorative pots, lavender will reward you with its timeless elegance and calming presence, making it a must-have for every gardener.