Mushrooms are fascinating organisms that not only add delicious flavors to your meals but also come packed with nutritional and medicinal benefits. Unlike most garden vegetables, mushrooms aren’t grown from seeds but from spores, and they don’t require sunlight to thrive. This makes them perfect candidates for indoor cultivation. With the right techniques, even beginners can enjoy a consistent harvest of fresh mushrooms right at home.
This step-by-step guide will walk you through everything you need to know about growing mushrooms indoors—from choosing the right variety and creating an ideal growing environment to harvesting and troubleshooting common issues.
Why Grow Mushrooms Indoors?
Growing mushrooms indoors has several advantages over outdoor cultivation:

- Controlled Environment – Indoors, you can easily manage temperature, humidity, and light, ensuring better yields.
- Space-Saving – Mushrooms don’t need large garden beds; a small closet, basement, or spare shelf is often enough.
- Year-Round Harvest – Indoor cultivation isn’t dependent on seasons, so you can harvest fresh mushrooms anytime.
- Nutritional Benefits – Mushrooms are rich in vitamins, minerals, and antioxidants while being low in calories and fat.
- Sustainable Hobby – Many mushroom-growing methods allow you to recycle organic waste such as coffee grounds or straw.
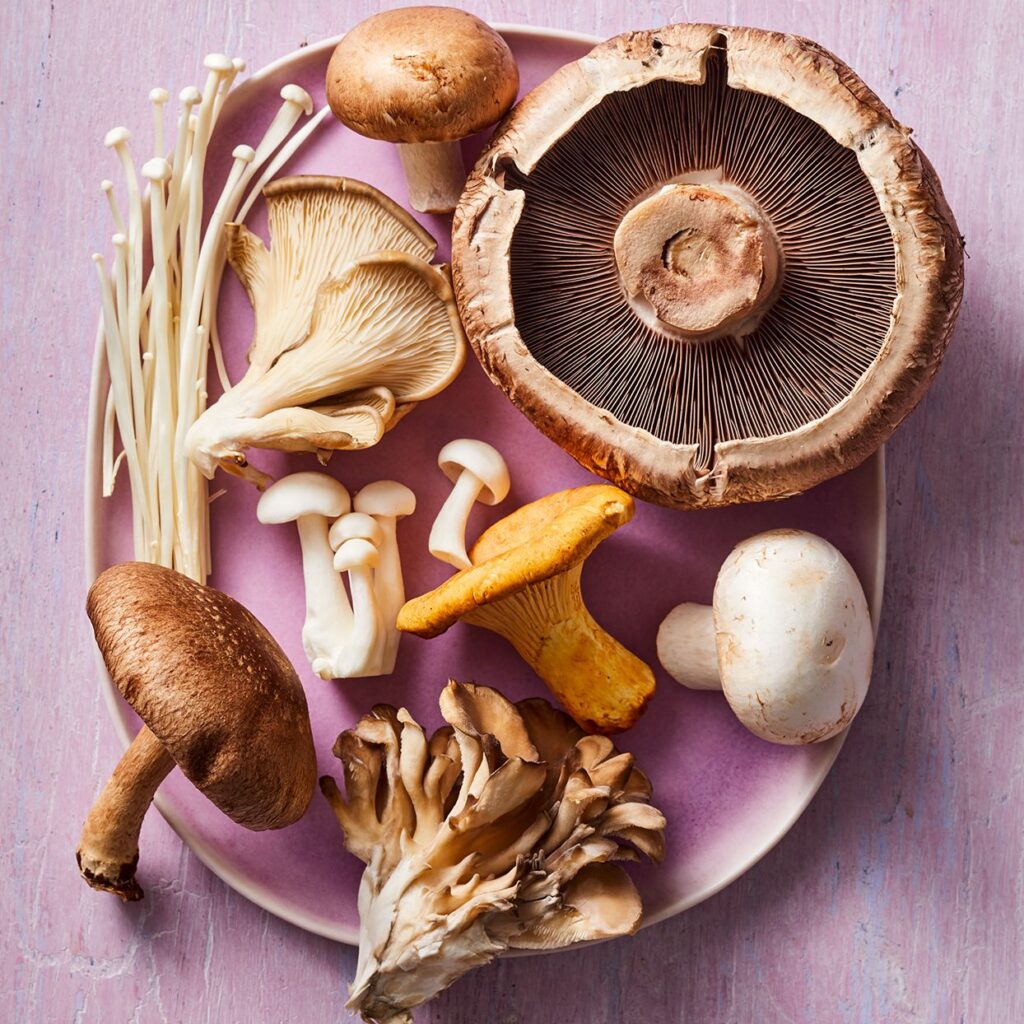
Step 1: Choosing the Right Mushroom Variety
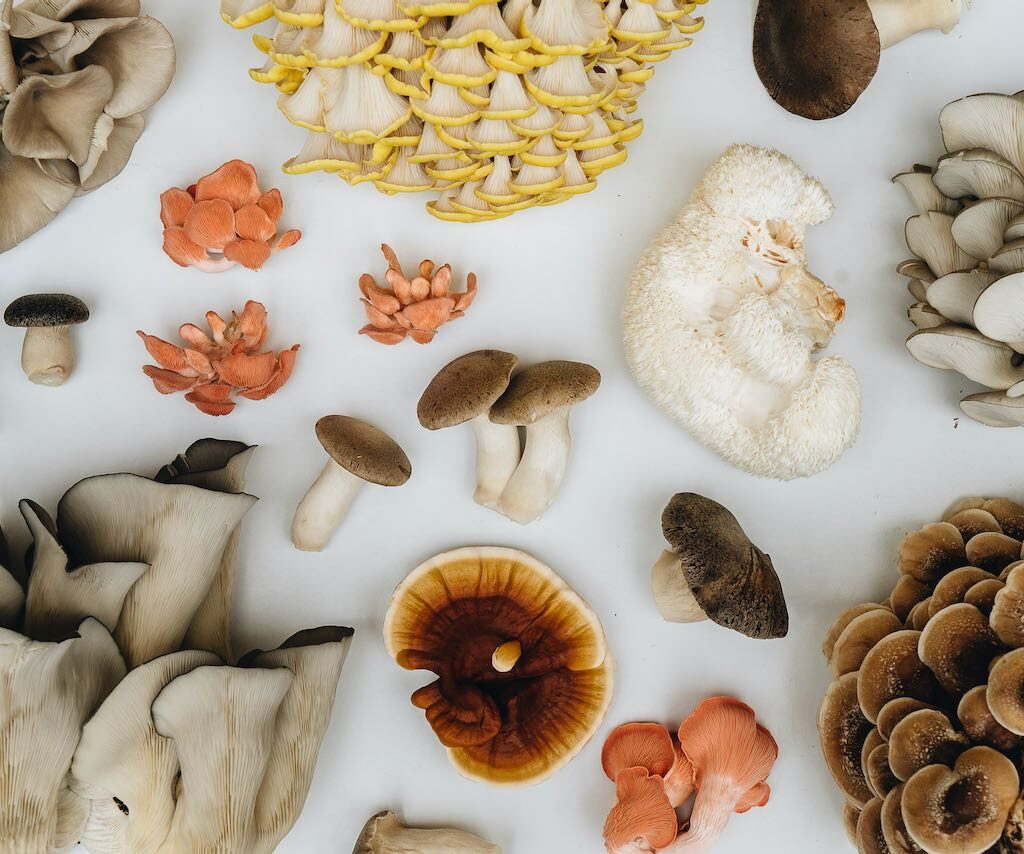
Not all mushrooms are suitable for beginners. Some require highly specific conditions, while others are easier to manage indoors. Here are the best options for new growers:
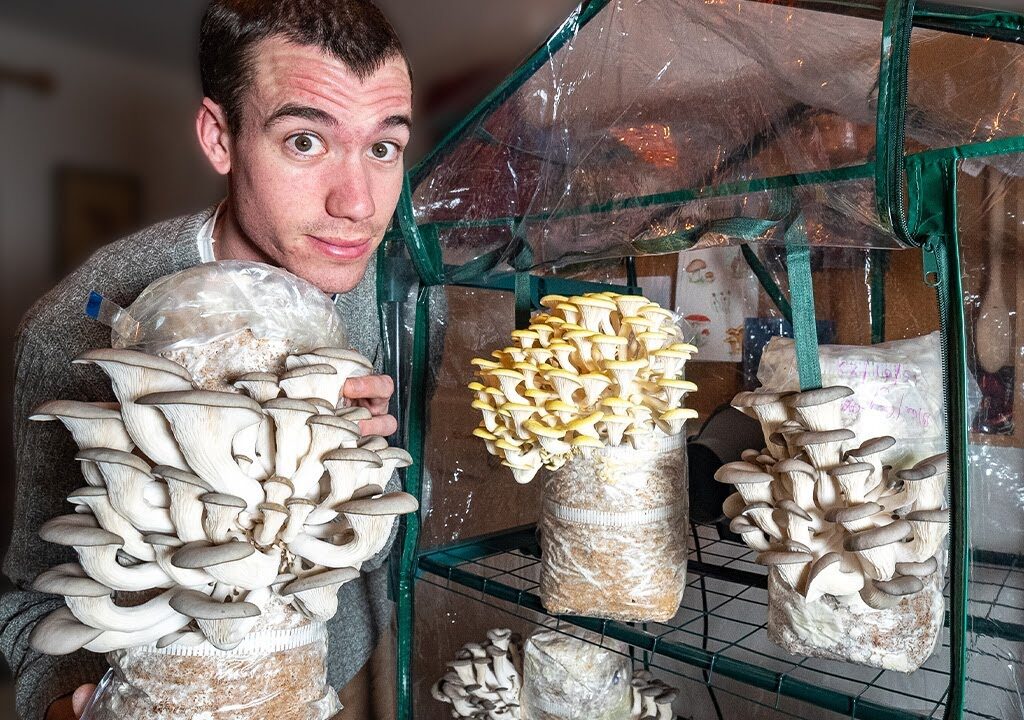
- Oyster Mushrooms – One of the easiest and fastest to grow; thrives on coffee grounds, straw, or sawdust.
- Button Mushrooms (White & Brown) – Popular and beginner-friendly; usually grown in composted manure.
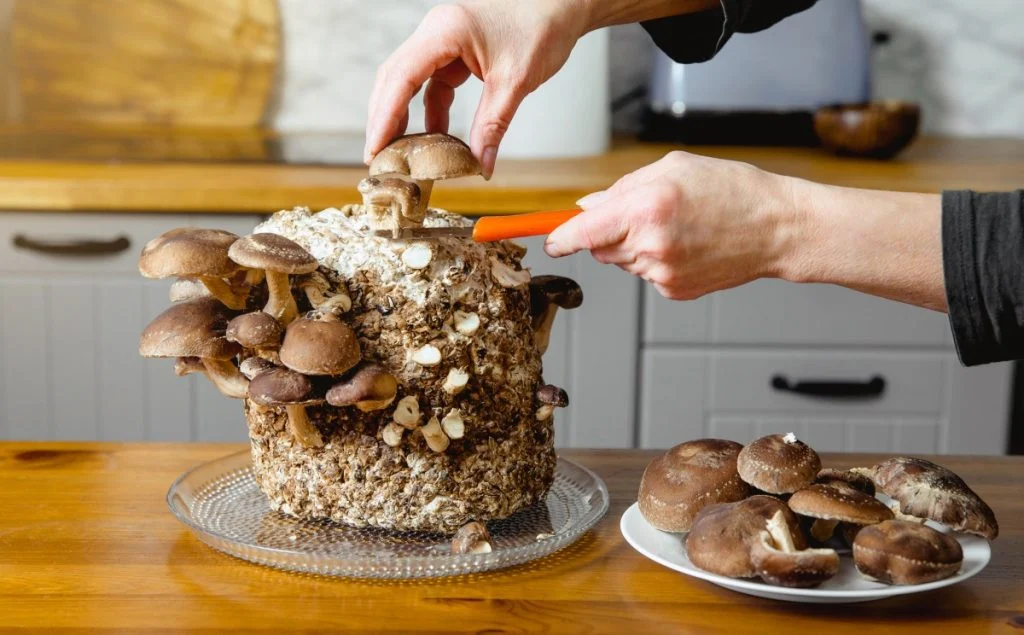
- Shiitake Mushrooms – Slightly more challenging but rewarding; commonly grown on hardwood logs or sawdust blocks.
- Lion’s Mane – Unique-looking with a seafood-like flavor; grows well indoors with a bit more care.
For your first attempt, oyster or button mushrooms are highly recommended due to their resilience and quick yields.
Step 2: Gathering Materials
Before you begin, collect the following essential materials:
- Mushroom Spawn – This is the mushroom equivalent of seeds. You can purchase spawn from trusted suppliers.
- Growing Medium (Substrate) – The “soil” for mushrooms. Options include:
- Straw (pasteurized)
- Hardwood sawdust
- Coffee grounds
- Composted manure
- Containers – Plastic tubs, buckets, or grow bags with small holes work well.
- Water Spray Bottle – For misting and maintaining humidity.
- Thermometer & Hygrometer – To monitor temperature and humidity levels.
- Gloves & Mask – To maintain hygiene and prevent contamination.
Step 3: Preparing the Substrate
The substrate is where mushrooms absorb nutrients. Preparing it properly is crucial for avoiding contamination.
- Pasteurization – Heat the substrate (straw, sawdust, etc.) at 160–170°F (70–77°C) for about an hour to kill competing organisms.
- Cooling – Allow the substrate to cool completely before adding mushroom spawn.
- Mixing Spawn – Break apart the spawn into small pieces and mix it evenly with the substrate in your container.
Step 4: Incubation Phase
After mixing the spawn and substrate, it’s time to let the mushrooms establish themselves.
- Conditions: Keep the container in a dark, warm place (65–75°F or 18–24°C).
- Duration: 2–4 weeks, depending on the mushroom type.
- What Happens: The spawn spreads through the substrate, creating a white web-like network called mycelium.
- Tips: Do not disturb the container during this phase. Maintain steady temperatures.
You’ll know the incubation is successful when the substrate turns mostly white with mycelium growth.
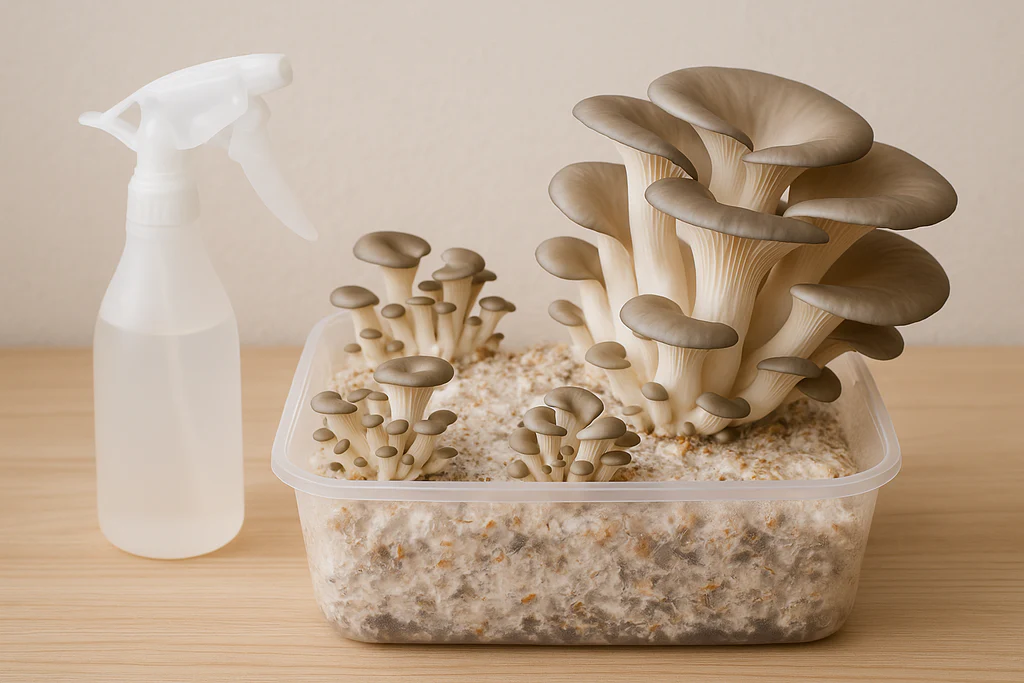
Step 5: Fruiting Stage
This is when your mushrooms finally start to grow.
- Move to Fruiting Conditions – Place the container in a cooler area (55–65°F or 12–18°C) with indirect light.
- Humidity – Mist the growing area regularly and cover it with a plastic tent if needed. Mushrooms require 80–90% humidity.
- Air Circulation – Provide gentle airflow to avoid mold buildup but prevent drafts that dry out the substrate.
- Triggering Fruiting – Some mushrooms require a slight shock, like lowering the temperature or introducing fresh air, to begin fruiting.
Within 7–14 days, small “pins” will emerge—these are baby mushrooms that will quickly grow to harvest size.
Step 6: Harvesting Mushrooms
Harvesting is one of the most exciting parts of the process.
- Timing: Pick mushrooms just before the cap fully opens (for button mushrooms) or when oyster mushrooms’ edges begin to flatten.
- Method: Gently twist and pull the mushrooms from the substrate, or cut at the base with a clean knife.
- Yield: Depending on the species, you can get multiple flushes (harvests) from the same substrate over several weeks.
Step 7: Post-Harvest Care
After harvesting, continue misting the substrate lightly to encourage additional flushes. Most mushroom varieties will produce 2–3 flushes before the substrate is exhausted. Once finished, the spent substrate can be composted or used as garden mulch.
Common Problems and Solutions
- Mold Contamination
- Cause: Poor sterilization or too much moisture.
- Solution: Use clean equipment, properly pasteurize substrates, and maintain airflow.
- Dry Substrate
- Cause: Low humidity.
- Solution: Mist regularly and use humidity tents or humidifiers.
- No Fruiting
- Cause: Wrong temperature, poor lighting, or lack of air exchange.
- Solution: Adjust growing conditions and ensure you’re following species-specific needs.
- Small Mushrooms
- Cause: Insufficient nutrients or overcrowding.
- Solution: Use a nutrient-rich substrate and thin out growth if needed.
Health and Safety Tips
- Always wear gloves and a mask when handling substrates to prevent contamination.
- Only grow edible, verified mushroom varieties. Never attempt to cultivate wild mushrooms indoors unless you are an expert in identification.
- Wash harvested mushrooms thoroughly before cooking.
Benefits of Growing Mushrooms Indoors
- Nutritional Value: Rich in B vitamins, vitamin D, potassium, and selenium.
- Immune Support: Certain mushrooms like shiitake and lion’s mane contain compounds that boost immunity.
- Mental Health: Gardening and indoor growing have proven stress-reducing benefits.
- Sustainability: Reusing waste products like coffee grounds reduces environmental impact.
Conclusion
Growing mushrooms indoors is a rewarding, sustainable, and surprisingly simple process once you understand the basics. With the right environment and a bit of patience, you can enjoy fresh, chemical-free mushrooms all year round. For beginners, starting with oyster or button mushrooms provides a smooth introduction to this fascinating hobby.
From preparing the substrate and maintaining ideal conditions to harvesting and troubleshooting, the process becomes easier with practice. Soon, you’ll not only enjoy the taste and nutrition of homegrown mushrooms but also the satisfaction of cultivating a unique crop right inside your home.

So why wait? Gather your supplies, choose your favorite mushroom variety, and start your indoor mushroom garden today!