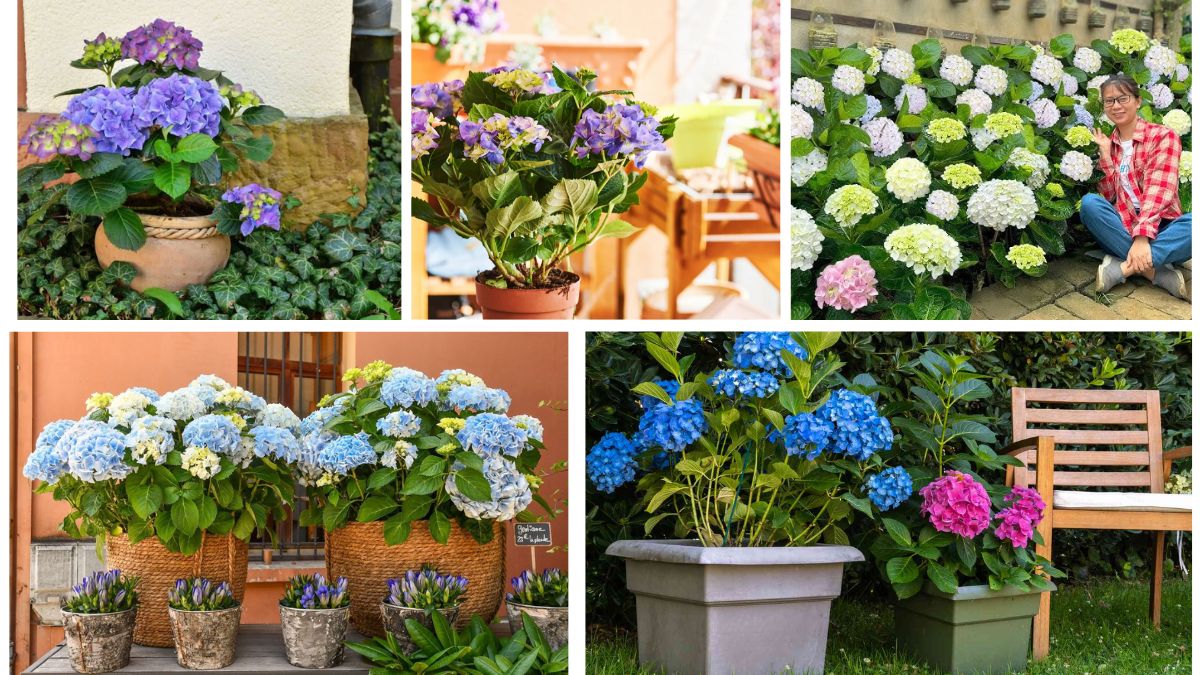
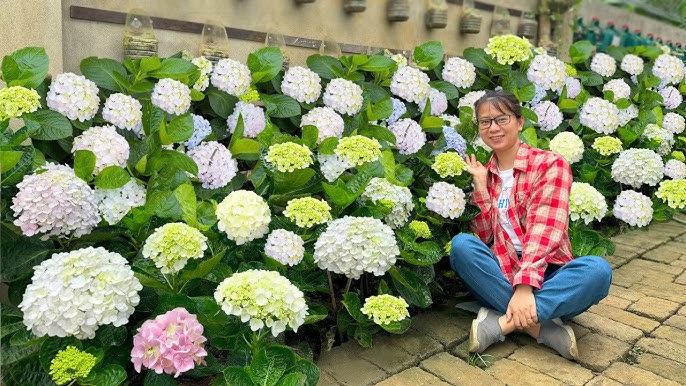
Hydrangeas are one of the most beloved flowering shrubs, admired for their lush foliage and magnificent blooms that brighten up any garden. Their large clusters of flowers, which can range from soft pastels to vibrant shades of pink, blue, purple, and white, make them a favorite among gardeners of all levels. Whether you have a small backyard, a front yard garden, or a patio with space for containers, hydrangeas can thrive and transform your home’s outdoor space into a colorful paradise.
This step-by-step guide will walk you through everything you need to know about planting hydrangeas at home—from choosing the right variety to soil preparation, planting, and care—so you can enjoy their stunning beauty for years to come.
Step 1: Choosing the Right Hydrangea Variety
Before you begin, it’s important to select the hydrangea variety that best suits your home garden. Different types of hydrangeas thrive in different environments and produce unique flower shapes. Here are some of the most popular ones:
- Bigleaf Hydrangea (Hydrangea macrophylla): Known for its large mophead or lacecap flowers, this variety is ideal for temperate climates. Its flower color can change depending on soil pH (blue in acidic soil, pink in alkaline soil).
- Panicle Hydrangea (Hydrangea paniculata): Produces cone-shaped flowers and is one of the hardiest types, tolerating full sun better than other varieties.
- Oakleaf Hydrangea (Hydrangea quercifolia): Has oak-shaped leaves with seasonal color changes, offering visual interest year-round.
- Smooth Hydrangea (Hydrangea arborescens): A reliable bloomer with white or greenish flowers, known for its resilience and adaptability.
When choosing, consider your climate, the amount of sunlight your garden receives, and whether you prefer bold colors or classic whites.
Step 2: Selecting the Best Location
Hydrangeas thrive when planted in the right location. Here’s what you should keep in mind:
- Sunlight: Most hydrangeas prefer morning sun and afternoon shade. Panicle varieties can tolerate more direct sun, while bigleaf hydrangeas need partial shade to prevent leaf scorch.
- Protection: Choose a sheltered spot protected from harsh winds, which can damage the delicate blooms.
- Accessibility: Since hydrangeas require regular watering and care, plant them in an easily accessible area where you can maintain them without difficulty.
If you live in a very hot climate, a spot with dappled sunlight is best to keep the plants from overheating.

Step 3: Preparing the Soil
Hydrangeas thrive in fertile, well-drained soil that retains enough moisture without becoming waterlogged. Preparing the soil properly before planting will ensure healthy growth.
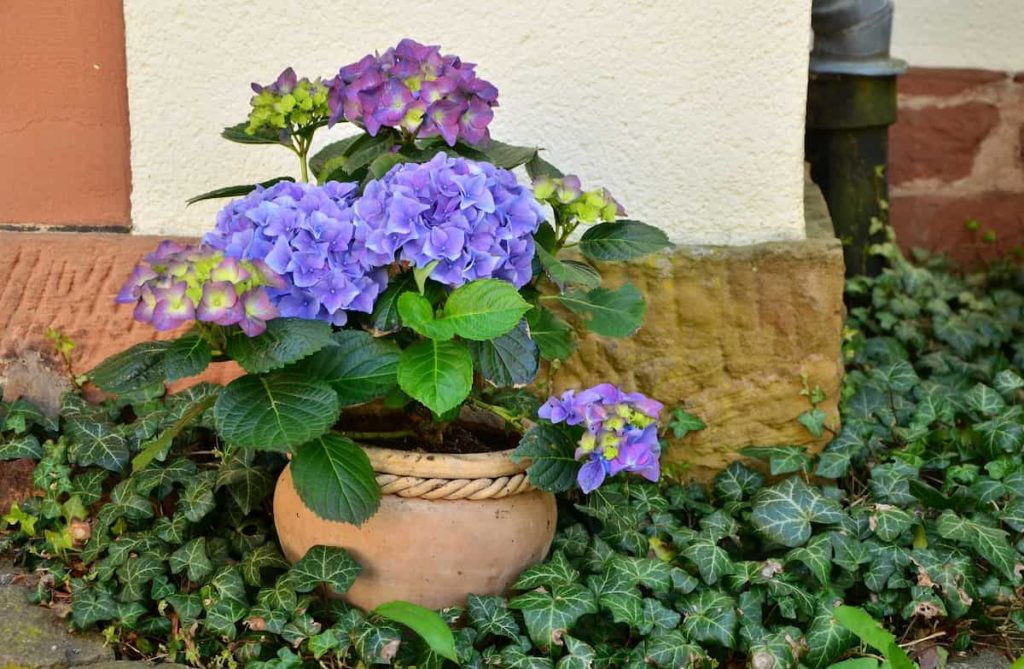
- Test Soil pH:
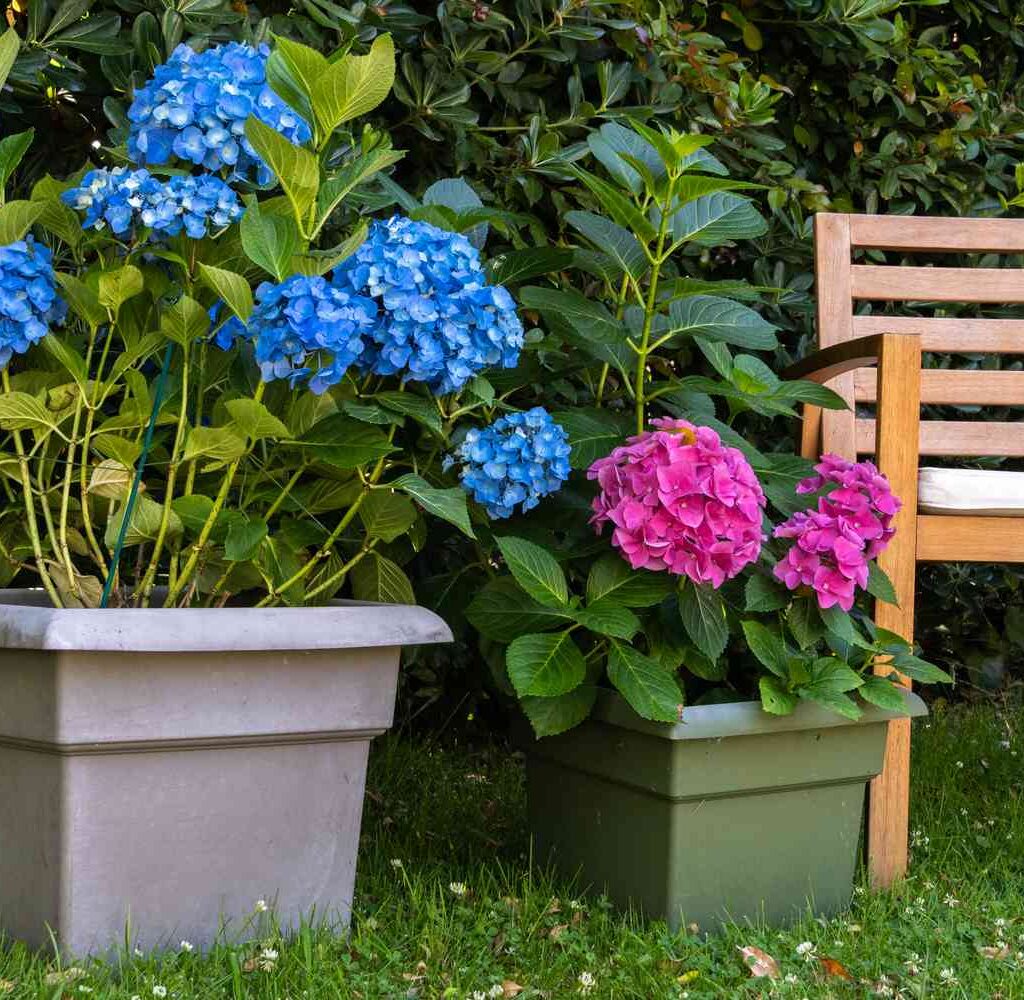
Hydrangeas are unique because the color of their flowers can change based on soil acidity.- Acidic soil (pH below 6) produces blue flowers.
- Neutral to alkaline soil (pH above 6.5) produces pink flowers.
- White hydrangeas typically remain white regardless of soil pH.
- Amend Soil for Drainage:
If your soil is clay-heavy, mix in compost, peat moss, or sand to improve aeration and drainage. - Fertilize Before Planting:
Incorporate organic matter such as compost or well-rotted manure into the soil to enrich it with nutrients.
Step 4: Planting Hydrangeas
Once your soil and location are ready, you can start planting your hydrangeas. Here’s a step-by-step process:
- Dig the Hole:
Dig a hole that is twice as wide as the root ball and just as deep. This gives the roots space to spread out. - Position the Plant:
Gently remove the hydrangea from its pot, loosening the roots if they appear compacted. Place it in the hole, making sure the crown of the plant (where the stem meets the roots) is level with the soil surface. - Backfill the Hole:
Fill in the hole with the amended soil, gently pressing down to remove air pockets. - Water Thoroughly:
Hydrangeas need consistent moisture. Water generously after planting to help the soil settle and support root establishment. - Mulch Around the Base:
Apply a 2–3 inch layer of mulch (such as pine bark, shredded leaves, or straw) around the base of the plant. Mulch helps retain soil moisture, suppress weeds, and regulate soil temperature.
Step 5: Watering Hydrangeas
Watering is one of the most important aspects of hydrangea care. These plants love moisture but dislike soggy conditions.

- Frequency: Water deeply 2–3 times per week during the first growing season. Once established, water at least once a week or more often during hot, dry spells.
- Time of Day: Morning watering is best, as it allows moisture to penetrate the soil without encouraging fungal growth.
- Signs of Stress: If leaves begin to wilt or droop, it’s a sign your hydrangea needs more water.
Step 6: Fertilizing for Healthy Growth
Hydrangeas benefit from regular feeding to encourage strong growth and abundant blooms.
- Spring Fertilizer: Apply a balanced slow-release fertilizer (such as 10-10-10) in early spring as new growth begins.
- Mid-Summer Fertilizer: Add another round of fertilizer just before blooming to enhance flower size and vibrancy.
- Avoid Over-Fertilization: Too much nitrogen can cause lush green foliage but reduce flowering.
Step 7: Pruning Hydrangeas
Proper pruning encourages healthier plants and more flowers. The method depends on the type of hydrangea you’re growing:
- Bigleaf and Oakleaf Hydrangeas: These bloom on old wood, meaning flower buds form on stems from the previous year. Prune them right after flowering, removing only dead or weak stems.
- Panicle and Smooth Hydrangeas: These bloom on new wood, so prune them in late winter or early spring before new growth appears. Cut stems back by about one-third to encourage strong, fresh growth.
Always use clean, sharp pruning shears to prevent damage and disease.
Step 8: Caring for Hydrangeas Year-Round
To keep hydrangeas looking beautiful every season, follow these year-round care tips:
- Winter Protection: In colder regions, cover the base of the plant with mulch or burlap to protect roots from frost.
- Pest and Disease Control: Watch for common problems such as aphids, spider mites, or powdery mildew. Use organic solutions like neem oil when needed.
- Deadheading: Remove faded flowers to keep the plant looking tidy and encourage more blooms.
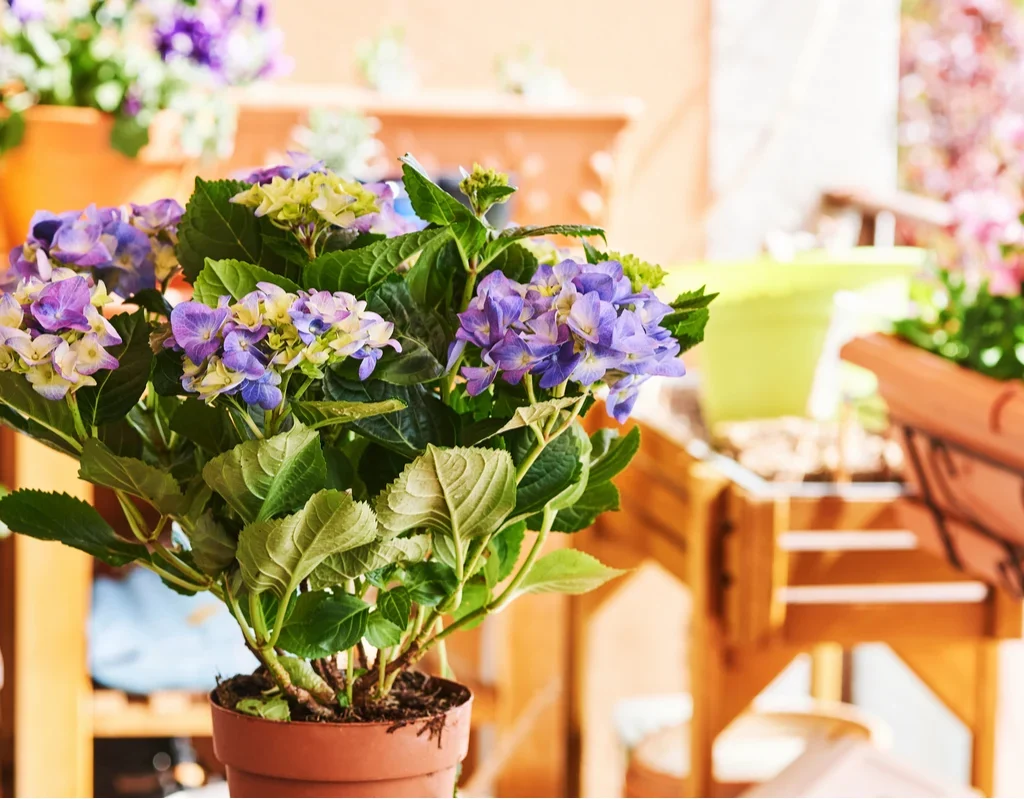
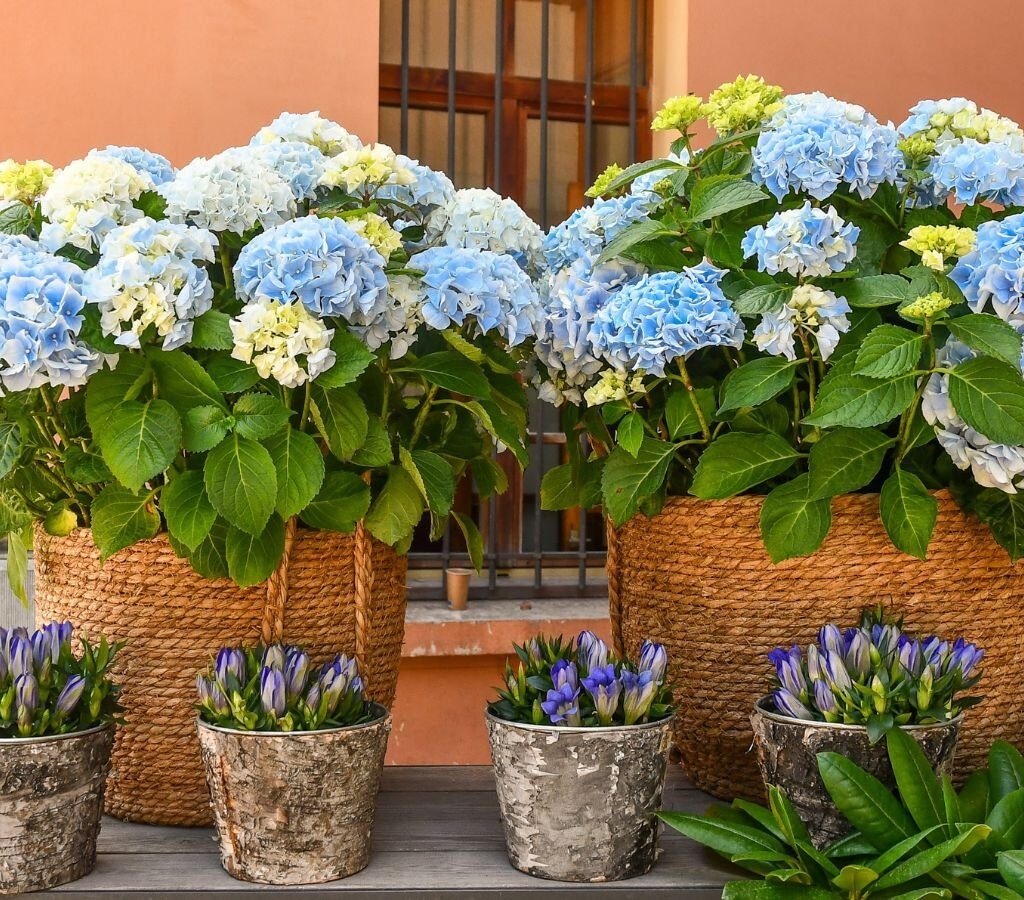
Step 9: Growing Hydrangeas in Containers
If you don’t have garden space, hydrangeas can also thrive in pots. Choose a large container with good drainage, fill it with quality potting soil, and follow the same watering and fertilizing guidelines. Container-grown hydrangeas may need more frequent watering, especially in summer.
Step 10: Enjoying Your Hydrangeas
With proper planting and care, hydrangeas can live for decades, rewarding you with stunning flowers year after year. Their versatility allows them to be used in garden beds, borders, hedges, or even as potted displays on patios. Hydrangea blooms also make excellent cut flowers for arrangements, bringing their beauty indoors.
Conclusion
Planting hydrangeas at home is a rewarding experience that adds timeless beauty to your garden. By choosing the right variety, preparing the soil, providing adequate water, and following simple care practices, you can enjoy their spectacular blooms season after season. Whether you’re a beginner gardener or someone looking to add more charm to your outdoor space, hydrangeas are an excellent choice that combines elegance with resilience.
With this step-by-step guide, you now have all the knowledge you need to plant and care for hydrangeas successfully. Start today, and soon you’ll be surrounded by vibrant blossoms that will brighten your home and garden.