Microgreens have taken the culinary and gardening worlds by storm. These tiny, nutrient-packed greens are harvested just after the cotyledon leaves have developed, offering a concentrated burst of flavor, color, and vitamins. Whether you’re a food lover seeking fresher ingredients, a health-conscious eater wanting more nutrition, or a beginner gardener with limited space, microgreens are the perfect crop to grow at home.
This guide will walk you through everything you need to know about growing tasty microgreens—from selecting seeds to harvesting your first batch.
1. Why Grow Microgreens at Home?
Growing microgreens at home offers several benefits:
- Nutrient-Dense: Microgreens often contain up to 40 times more vitamins and minerals than their mature plant counterparts.
- Quick Harvest: Most varieties are ready in just 7–21 days.
- Small Space Friendly: You can grow them on a windowsill, kitchen counter, or balcony.
- Low Cost: Minimal equipment and seeds are required.
- Flavor Variety: Each type has unique taste notes—spicy, sweet, earthy, or nutty.
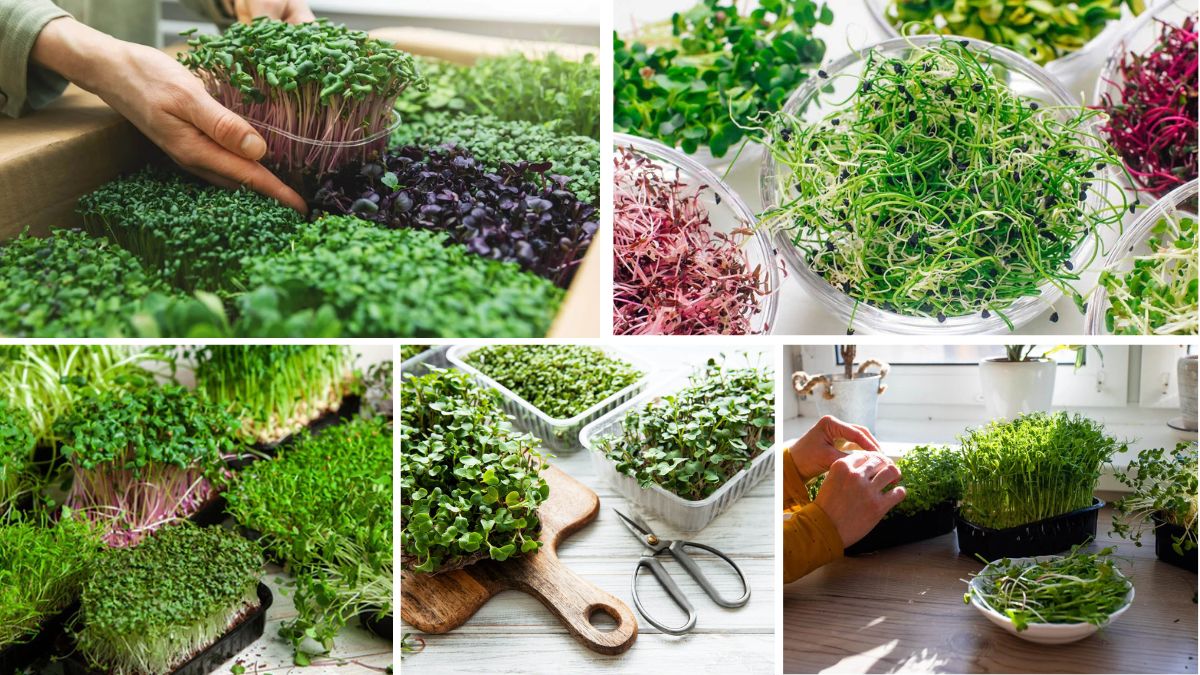
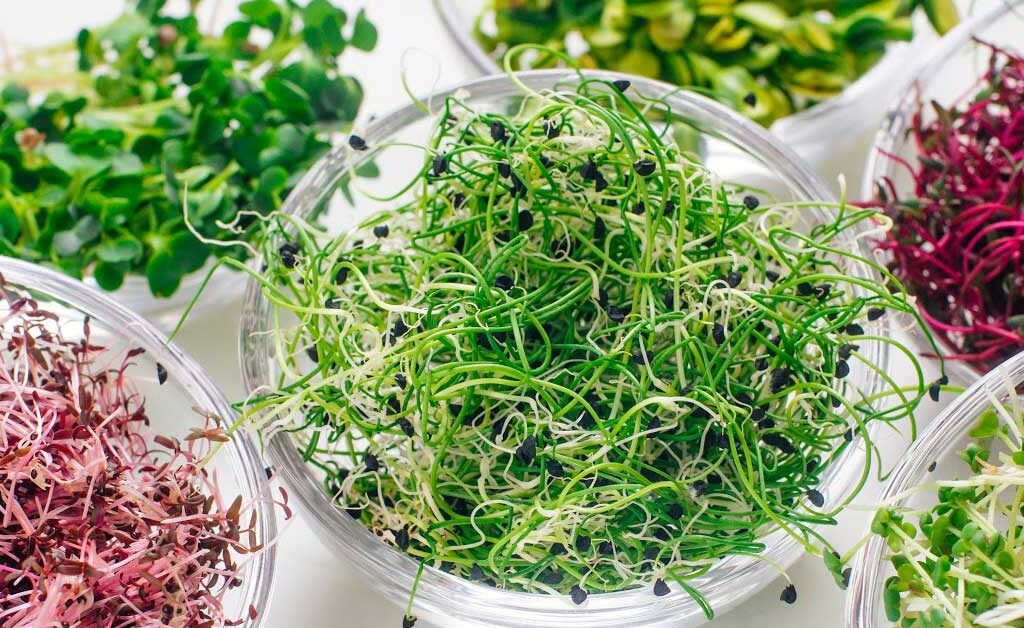
2. Choosing the Best Microgreens for Beginners
As a beginner, it’s best to start with varieties that germinate quickly and have consistent growth patterns. Some easy and delicious options include:

- Radish Microgreens: Peppery, crisp, and very quick-growing (7–10 days).
- Sunflower Microgreens: Crunchy texture with a nutty flavor.
- Broccoli Microgreens: Mild and nutrient-rich, packed with sulforaphane.
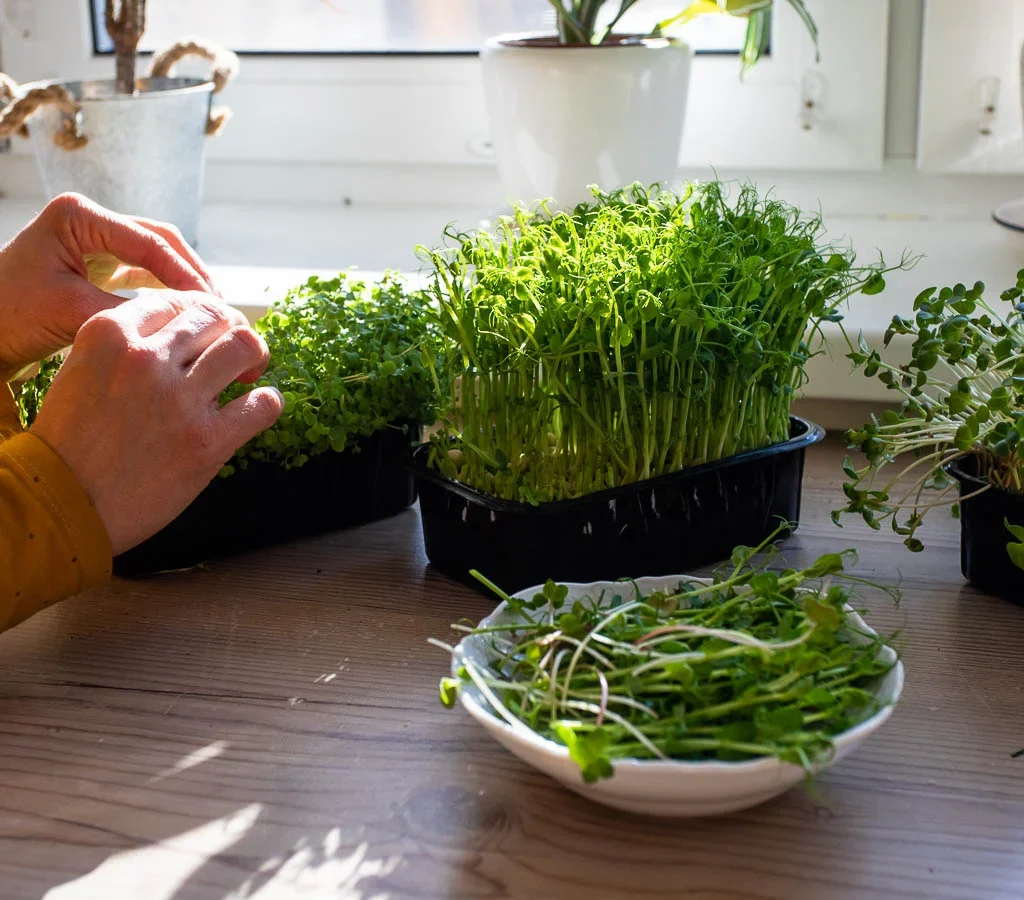
- Pea Shoots: Sweet, tender, and great in salads or stir-fries.
- Cabbage Microgreens: Mild taste with vibrant purple stems.
- Mustard Microgreens: Spicy and aromatic, perfect for sandwiches.
You can experiment with a mix of seeds for flavor diversity once you get comfortable.
3. Gathering Your Supplies
The great thing about microgreens is that they require very few tools. Here’s a basic list:
- Seeds: Buy seeds labeled specifically for microgreen production.
- Growing Trays: Shallow trays (1–2 inches deep) with drainage holes.
- Growing Medium: Use seed-starting soil, coconut coir, or hydroponic mats.
- Spray Bottle: For gentle watering.
- Light Source: A sunny windowsill or LED grow lights for consistent growth.
- Labels: To track planting dates and varieties.
4. Step-by-Step Guide to Growing Microgreens
Step 1: Prepare the Growing Tray
Fill your tray with about 1 inch of growing medium. Level the surface and moisten it evenly using a spray bottle. Avoid making it soggy—excess water can cause mold.
Step 2: Sow the Seeds
Scatter seeds evenly across the surface. Don’t overcrowd them, but remember microgreens are harvested young, so you can plant them closer together than mature plants.

Step 3: Press and Cover
Gently press seeds into the medium using your hand or a flat object. Cover the tray with a thin layer of soil or another empty tray to block light during germination.
Step 4: Germination Phase
Keep the tray covered for 2–4 days, checking daily for moisture. The seeds should sprout and push against the cover.
Step 5: Light and Growth
Once sprouts appear, remove the cover and place the tray in bright sunlight or under grow lights for 12–16 hours daily. Continue watering gently from the base or using a spray bottle.
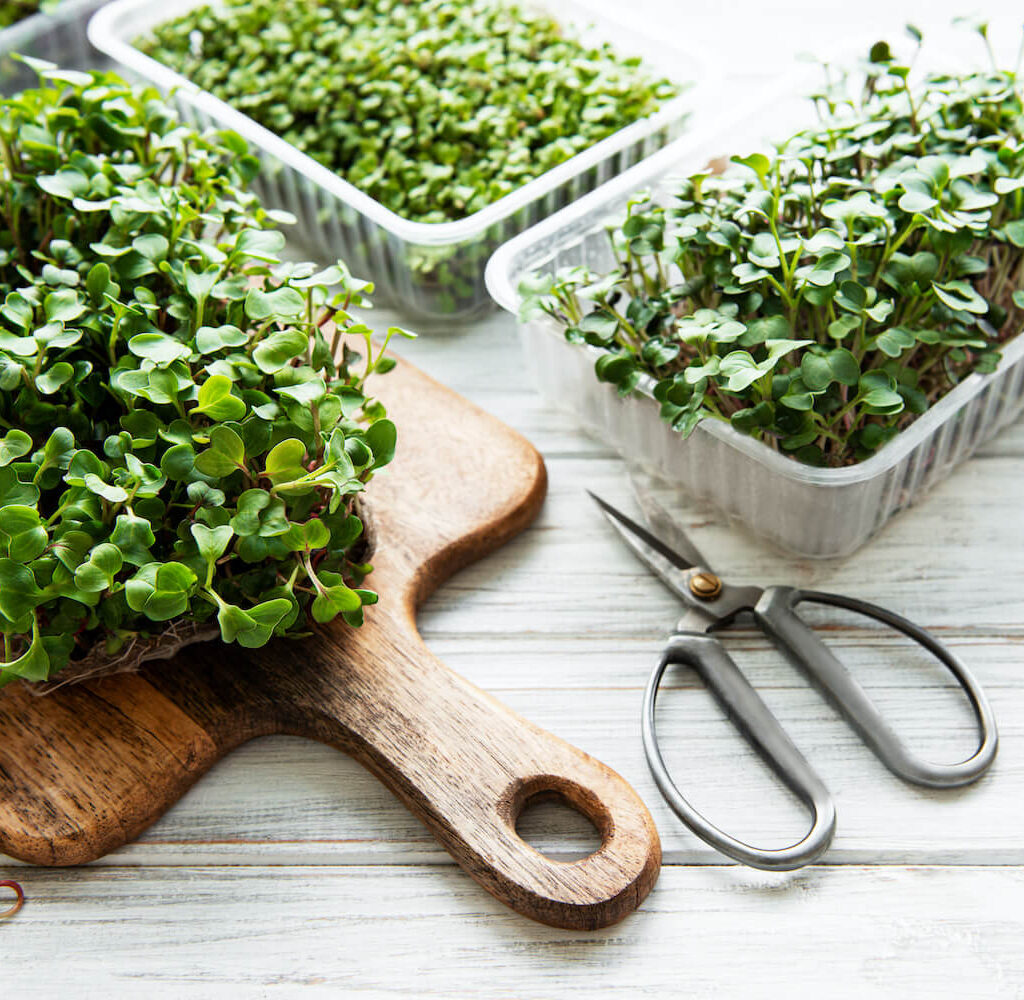
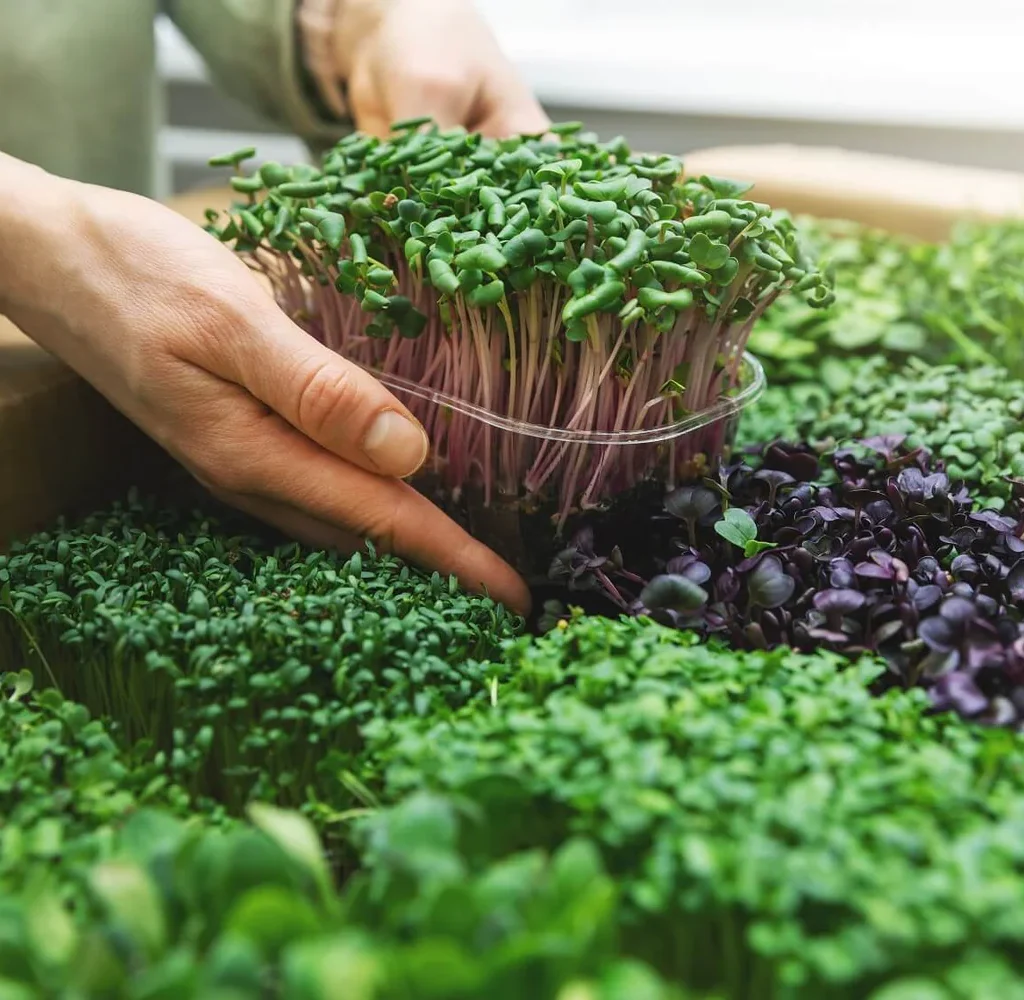
Step 6: Harvest
Most microgreens are ready to harvest when they reach 2–4 inches tall, typically 7–21 days after planting. Use clean scissors to snip them just above the soil line.

5. Watering and Care Tips
- Water from Below: Place your tray inside a larger tray with water to prevent over-wetting the leaves.
- Avoid Excess Moisture: Too much water encourages mold growth.
- Air Circulation: Keep the area well-ventilated to prevent fungal issues.
- Rotate Trays: Turn trays daily for even light exposure if sunlight comes from one direction.
6. Preventing Common Problems
- Mold Growth: Caused by poor airflow and overwatering—space trays apart and use a fan if needed.
- Leggy Growth: Happens when plants don’t get enough light. Use stronger light sources or place trays closer to windows.
- Uneven Germination: Can result from uneven seed distribution or dry patches in the soil—ensure even moisture.
7. Harvesting for Maximum Freshness
The best time to harvest microgreens is in the morning when they are crisp and hydrated. Cut them just above the growing medium and gently rinse if needed. Dry them on a paper towel before storing in an airtight container in the fridge. They can last 5–7 days when stored properly.
8. Creative Ways to Use Microgreens
Microgreens aren’t just for garnish—they can be the star of your dishes. Try:
- In Salads: Replace lettuce for a fresher, more vibrant bite.
- On Sandwiches & Wraps: Add crunch and flavor.
- In Smoothies: Blend nutrient-rich greens into your drinks.
- As Pizza Toppings: Sprinkle on fresh after baking.
- With Eggs: Fold into omelets or sprinkle over scrambled eggs.
- In Soups: Add just before serving for color and nutrition.
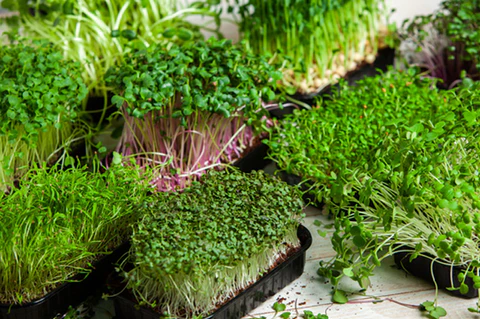
9. Scaling Up Your Microgreen Garden
Once you’ve mastered a tray or two, you can increase production by:
- Growing multiple varieties at once.
- Using vertical stacking shelves with grow lights.
- Scheduling staggered plantings so you have fresh harvests every week.
- Selling extras to local restaurants or markets.
10. Why Microgreens Are Perfect for Beginners
Microgreens are forgiving plants that grow fast, require minimal space, and produce rewarding results. Even if you’ve never gardened before, you can start with them and gain the confidence to try other indoor crops.

Final Thoughts
Growing microgreens at home is a simple yet rewarding hobby that can enhance your meals, improve your nutrition, and give you the satisfaction of harvesting your own fresh produce year-round. With just a little time and minimal investment, you can enjoy a continuous supply of vibrant greens right from your kitchen.