If you’ve always dreamed of growing fresh vegetables, herbs, and flowers year-round but thought greenhouses were too expensive, it’s time to think again. With some creativity, a few basic materials, and clever planning, you can create a mini greenhouse on a budget that will protect your plants, extend your growing season, and make gardening easier than ever.
Whether you have a small balcony, a backyard corner, or even just a sunny indoor space, a mini greenhouse can be adapted to your needs. In this guide, we’ll cover everything from choosing the right design and materials to step-by-step building instructions—without burning a hole in your pocket.
Why a Mini Greenhouse is a Game-Changer
Before we dive into the building process, let’s understand why a mini greenhouse is worth having.
- Extended Growing Season – You can start seeds earlier in spring and keep plants thriving longer into autumn or even winter.
- Protection from Weather – Your plants will be shielded from frost, wind, and heavy rain.
- Pest Control – A greenhouse acts as a barrier against insects and animals.
- Space Efficiency – Ideal for small urban gardens, balconies, or patios.
- Cost-Effective – A DIY mini greenhouse is far cheaper than buying a full-sized one.
Step 1: Decide on Your Greenhouse Design
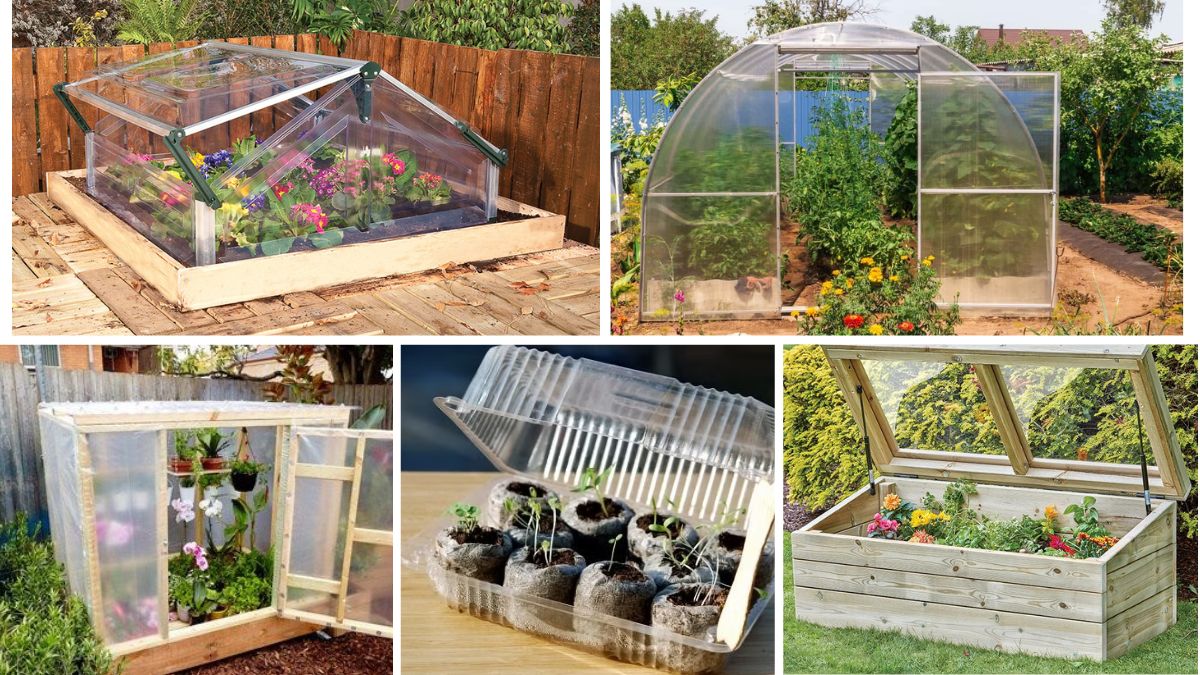
The design you choose depends on your available space, climate, and what you want to grow. Here are a few affordable options:
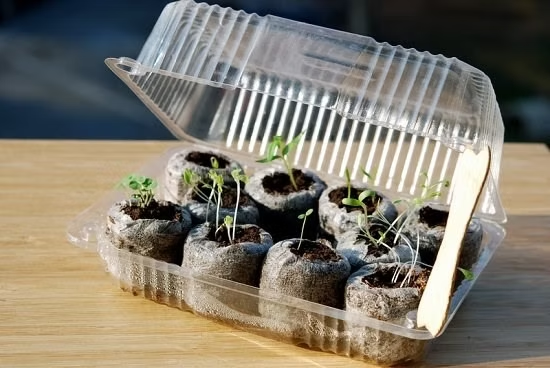
1. Plastic Storage Box Greenhouse
Perfect for beginners and indoor use. A large, transparent plastic storage container with a lid can act as a greenhouse for seed starting. Simply drill small ventilation holes.
Best for: Small plants, herbs, seedlings.
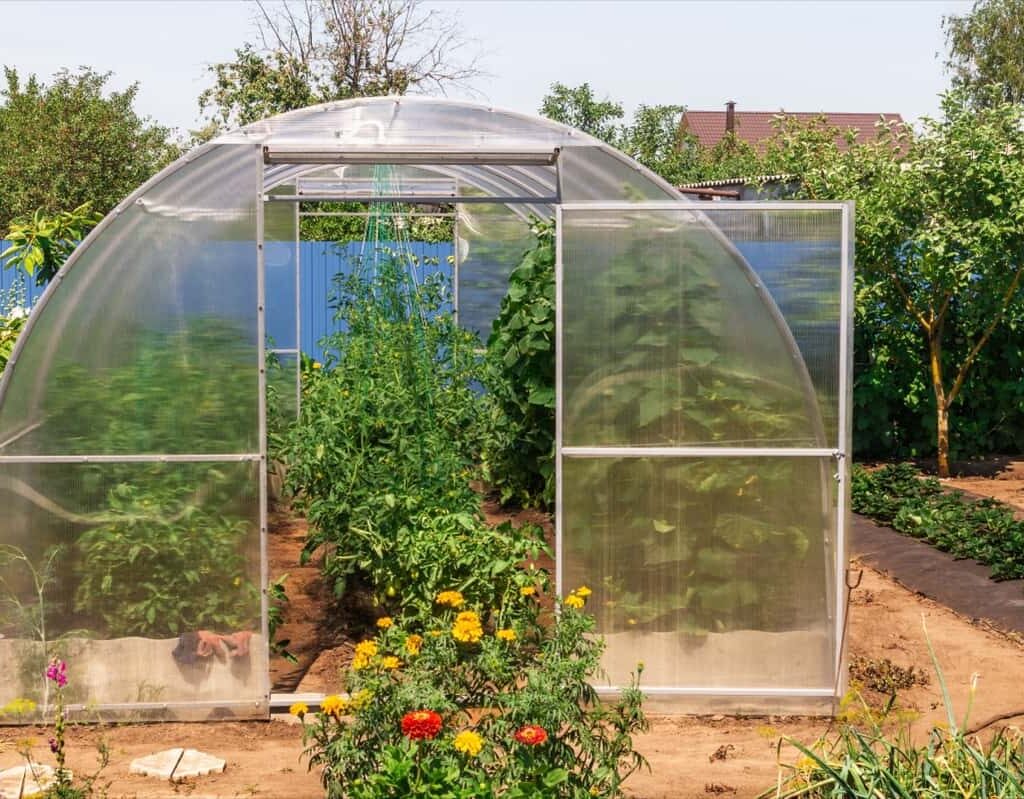
2. PVC Pipe Mini Tunnel
An easy, low-cost outdoor design using PVC pipes, plastic sheeting, and garden stakes. The frame can be bent into a hoop tunnel shape and covered with polyethylene plastic.
Best for: Outdoor vegetable beds.
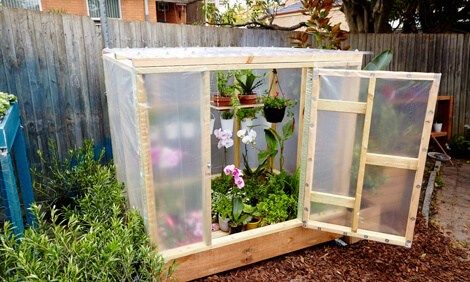
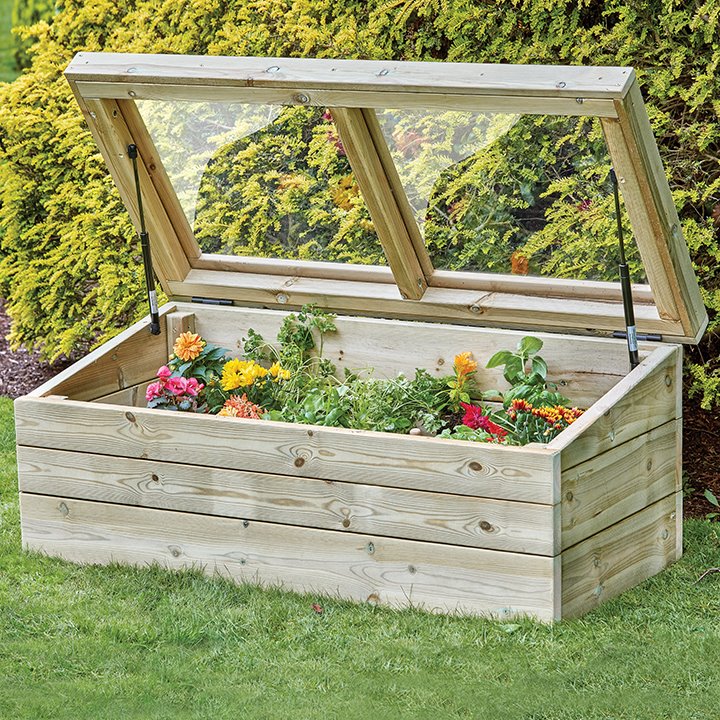
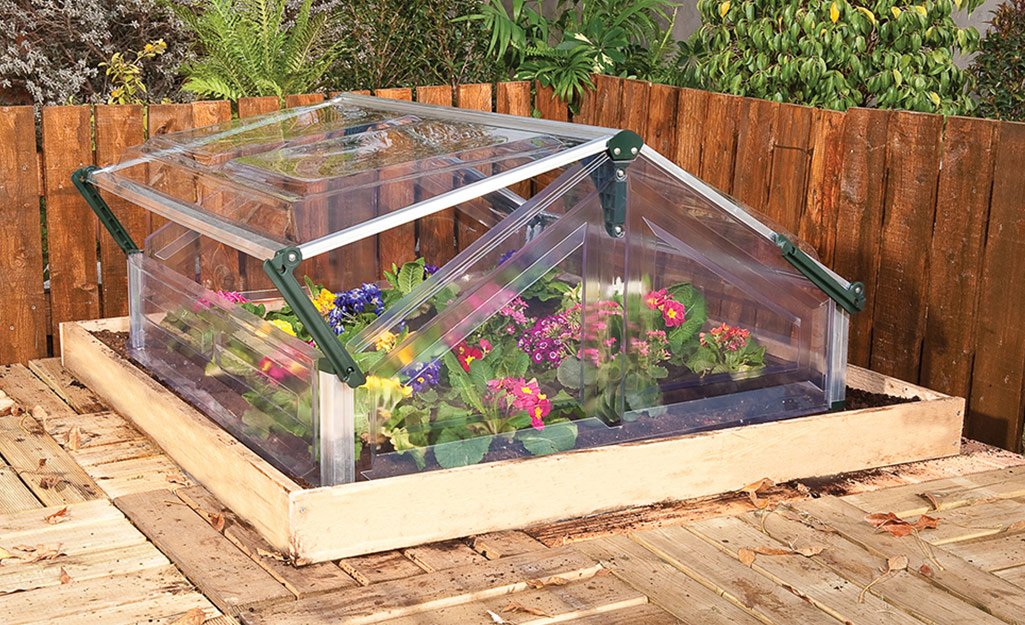
3. Upcycled Window Frame Greenhouse
If you can find old windows or glass doors, they make an attractive and functional greenhouse. The wood frames can be built into a box structure and topped with a hinged roof for ventilation.
Best for: Small patios and rustic gardens.
4. Plastic Bottle Greenhouse
Collect 1–2 liter plastic bottles, cut off the bottoms, and stack them onto a wooden frame to form greenhouse walls. This is a great way to recycle and save money.
Best for: Eco-conscious gardeners and schools.
Step 2: Gather Affordable Materials
You don’t need expensive materials—many can be found second-hand, salvaged, or repurposed.
- Frame Material: PVC pipes, bamboo, scrap wood, or old metal rods.
- Covering: Clear polyethylene plastic, old shower curtains, or recycled glass.
- Fasteners: Zip ties, screws, nails, or duct tape.
- Flooring (optional): Wooden pallets, gravel, or concrete pavers to keep the space clean.
- Ventilation Tools: Hinged windows, propped lids, or small fans for airflow.
Money-Saving Tip – Visit construction sites or recycling centers to find discarded building materials for free or at a very low cost.
Step 3: Choose the Perfect Location
Placement is key for a successful greenhouse:
- Sunlight – At least 6–8 hours of direct sunlight daily.
- Shelter – Avoid spots with strong wind gusts.
- Drainage – Choose a location where water doesn’t pool after rain.
- Accessibility – Keep it close to your water source for easy irrigation.
Step 4: Build Your Mini Greenhouse
Let’s look at a simple, budget-friendly PVC greenhouse build that costs less than $50:

Materials Needed:
- PVC pipes (1-inch diameter) – 6 to 8 pieces, each 6 feet long.
- PVC elbow joints – 6 pieces.
- Clear polyethylene plastic sheet (10×12 feet).
- Garden stakes or bricks to hold down the cover.
- Zip ties or duct tape.
Instructions:
- Create the Base
- Lay PVC pipes in a rectangular shape.
- Connect with elbow joints at the corners.
- Add the Hoops
- Bend PVC pipes over the base to form arches.
- Secure them to the base with more elbow joints or zip ties.
- Cover with Plastic
- Drape the polyethylene plastic sheet over the frame.
- Leave some extra plastic at the bottom to secure with bricks or stakes.
- Add Ventilation
- On warm days, lift the plastic on one side to allow airflow.
- Secure the Structure
- Use zip ties to keep everything tight and stable.
Step 5: Keep Costs Down While Maintaining Efficiency
- Reuse & Recycle – Old pallets can be turned into shelves.
- DIY Plant Shelves – Build vertical tiers from scrap wood to maximize space.
- Solar Heat Gain – Place water-filled bottles inside to absorb and release heat at night.
- DIY Drip Irrigation – Use old plastic bottles for slow watering.
Step 6: Choose the Right Plants
Mini greenhouses are perfect for:
- Herbs: Basil, parsley, cilantro.
- Leafy Greens: Spinach, lettuce, kale.
- Seedlings: Tomatoes, peppers, cucumbers.
- Flowers: Marigolds, petunias, pansies.
Pro Tip – Start with quick-growing, easy-care plants for the best success in your first season.
Step 7: Maintenance Tips for a Long-Lasting Mini Greenhouse
- Regular Ventilation – Prevent overheating by opening vents on sunny days.
- Clean the Covering – Dust and dirt can block sunlight.
- Check for Damage – Repair holes or tears in plastic immediately.
- Pest Watch – Inspect plants regularly to prevent infestations.
- Seasonal Adjustments – In summer, add shade cloth; in winter, insulate with bubble wrap.
Budget Breakdown Example
Here’s a sample cost estimate for a PVC hoop mini greenhouse:
| Item | Approximate Cost |
|---|---|
| PVC Pipes & Joints | $20 |
| Polyethylene Plastic Sheet | $15 |
| Zip Ties & Stakes | $5 |
| Bricks (for securing plastic) | Free (salvaged) |
| Total | $40 |
Extra Creative Ideas for Your Mini Greenhouse
- Hanging Planters – Add hooks to hang baskets inside for vertical growing.
- Solar-Powered Fan – Keep air moving without extra electricity bills.
- LED Grow Lights – Extend daylight hours during winter for better yields.
- Rainwater Collection – Install a small barrel next to your greenhouse for eco-friendly watering.
Final Thoughts
Creating a mini greenhouse on a budget is all about resourcefulness and smart design. You don’t need to spend hundreds or thousands—by using recycled materials, choosing a compact design, and focusing on functionality over fancy looks, you can build a productive plant sanctuary for under $50.

Not only will your greenhouse help you grow fresh produce and beautiful flowers year-round, but it will also give you the satisfaction of building something with your own hands—while saving money and helping the environment.
So gather your tools, collect some salvaged materials, and start building your dream mini greenhouse today. Your plants (and your wallet) will thank you!