Sweet potatoes are not only delicious and nutritious but also surprisingly easy to grow at home with just a bit of care and attention. Whether you have a spacious garden or are working with containers on a balcony, sweet potatoes can thrive and provide you with a healthy harvest. In this step-by-step guide, we’ll walk you through everything you need to know about planting, growing, and harvesting sweet potatoes for optimal yield and taste.
Why Grow Sweet Potatoes at Home?

Sweet potatoes are rich in fiber, beta-carotene, vitamins A and C, potassium, and antioxidants. They’re a powerhouse vegetable with many health benefits — they support digestion, improve immunity, and help regulate blood sugar. Growing them at home ensures a pesticide-free harvest and can save money in the long run.
Understanding the Basics
Before diving into planting, it’s important to understand the plant’s preferences:

- Botanical Name: Ipomoea batatas
- Climate: Warm, tropical to subtropical (USDA zones 8-11); can be grown as an annual in cooler areas.
- Growing Period: 90 to 170 days to mature.
- Plant Type: Vining root vegetable.
Step 1: Preparing Your Slips
Sweet potatoes are grown from “slips,” not seeds. A slip is a sprout from a mature sweet potato tuber.
How to Make Slips:
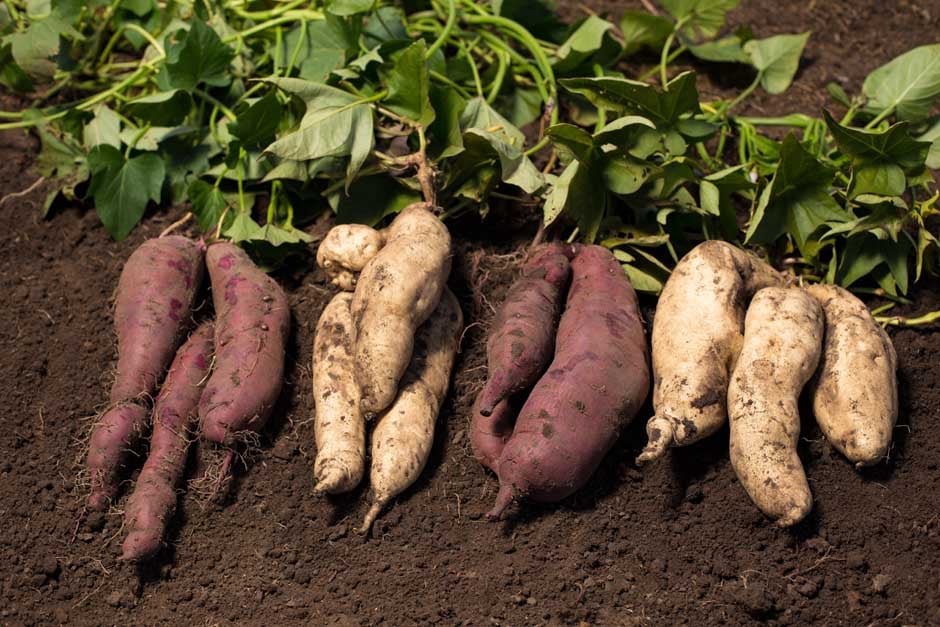
- Choose a Healthy Sweet Potato: Select an organic, unblemished tuber from a local store or previous harvest.
- Cut or Whole: Either leave the potato whole or cut it in half.
- Suspend in Water: Insert toothpicks and suspend the cut piece in a jar of water, cut side down.
- Sunlight and Warmth: Place the jar in a warm, sunny spot.
- Wait for Sprouts: In 2–4 weeks, green shoots will start to appear.
- Remove Slips: Once 4–6 inches long, gently twist off the slips.
- Rooting the Slips: Place slips in a new jar of water for another week to grow roots.
Step 2: Choosing the Right Planting Site
Sweet potatoes need warmth, sunlight, and loose, well-drained soil.
Ideal Conditions:
- Sunlight: Full sun (6–8 hours daily).
- Soil Type: Sandy or loamy soil with a slightly acidic to neutral pH (5.5 to 6.5).
- Drainage: Avoid heavy clay; raised beds or mounds work best.
- Space: Each plant needs about 12–18 inches of space.
Step 3: Planting Your Sweet Potatoes
After the last frost and when soil temperatures consistently stay above 60°F (16°C), you can plant.

How to Plant:
- Prepare the Soil: Loosen to a depth of 8–10 inches. Add compost or aged manure for richness.
- Form Mounds or Raised Beds: This improves drainage and root expansion.
- Plant the Slips: Dig holes 4 inches deep and 12 inches apart. Place each rooted slip gently and cover the base with soil.
- Water Well: After planting, water thoroughly to help the roots establish.
Step 4: Caring for Your Plants
Sweet potatoes are relatively low-maintenance but require consistency.
Watering:
- Frequency: Water deeply once or twice a week.
- Avoid Overwatering: Too much water can cause rot. Allow the top inch of soil to dry between watering.
Mulching:
- Add mulch (straw, grass clippings, or wood chips) to retain moisture, suppress weeds, and regulate temperature.
Fertilizing:
- Use a balanced organic fertilizer or compost.
- Avoid nitrogen-heavy fertilizers which cause excessive vine growth but fewer tubers.
Training the Vines:
- Let vines spread on the ground or guide them along trellises or garden borders to save space.
Step 5: Pest and Disease Control
Home-grown sweet potatoes are usually resilient, but some pests may appear.
Common Pests:
- Sweet Potato Weevils: Tiny beetles that attack vines and roots. Use neem oil or row covers.
- Wireworms and White Grubs: Often found in poor or uncultivated soils. Practice crop rotation.
Diseases:
- Fungal Rot: Ensure proper drainage and avoid overwatering.
- Black Rot: Remove infected plants immediately and disinfect tools.
Preventive strategies include companion planting with marigolds or beans and maintaining good air circulation.

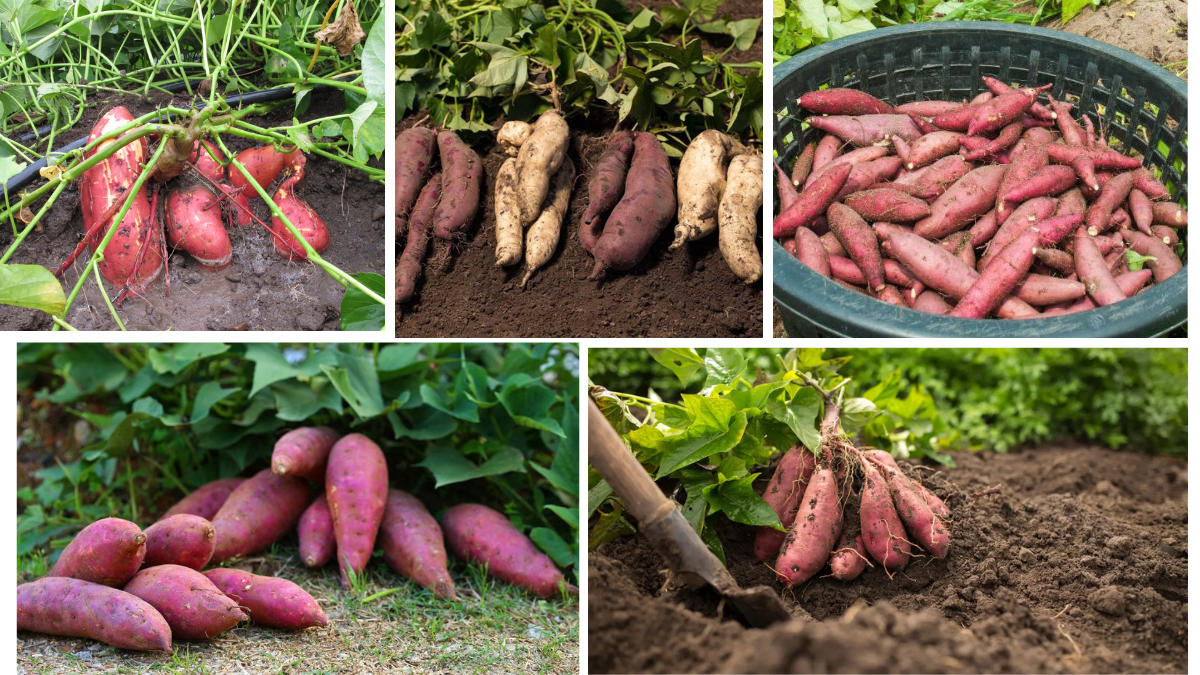
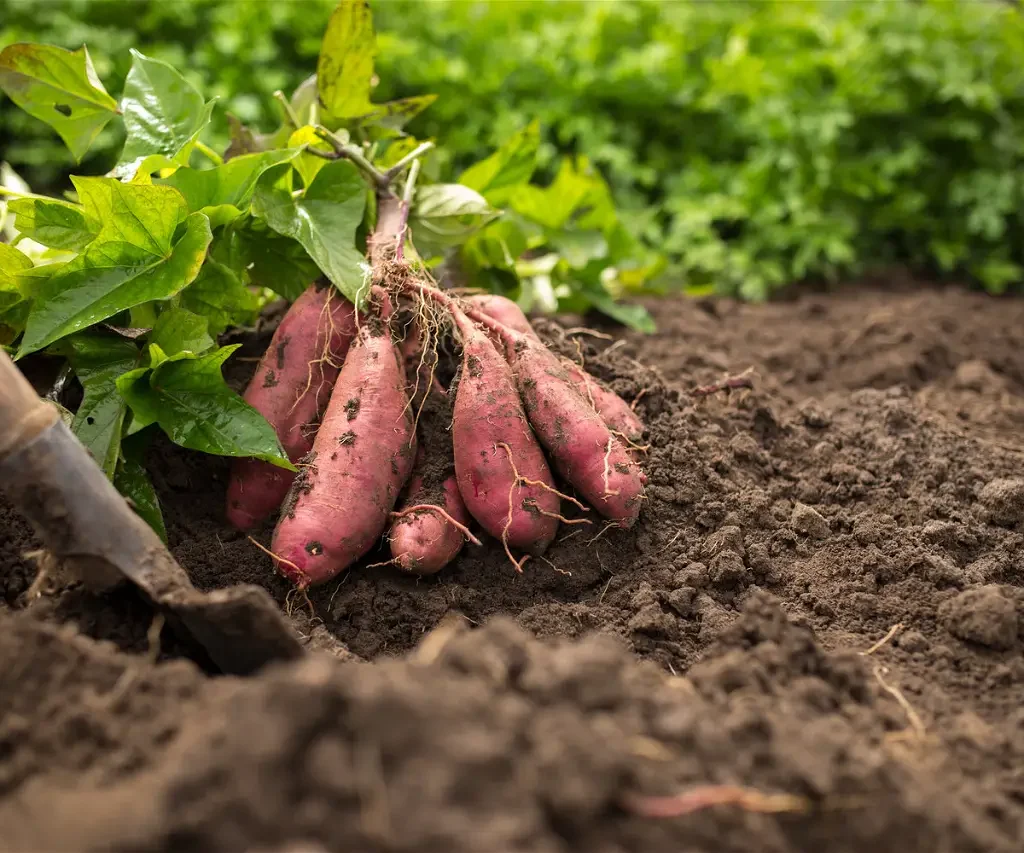
Step 6: Harvesting Your Sweet Potatoes
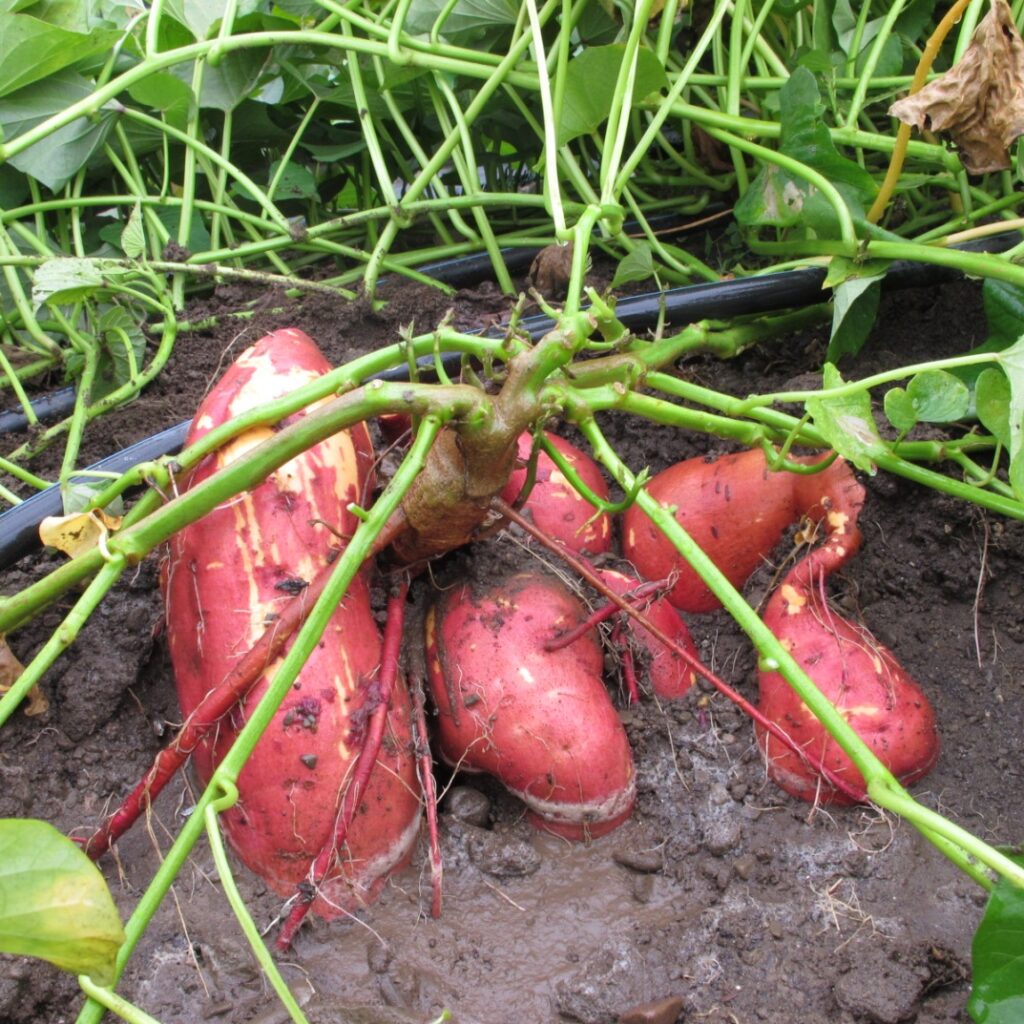
Sweet potatoes are ready to harvest when the leaves start turning yellow, typically 3–5 months after planting.
How to Harvest:
- Loosen the Soil: Use a garden fork or spade and be gentle to avoid damaging the tubers.
- Pull the Plant: Carefully lift the plant and shake off soil.
- Cure the Tubers: Place in a warm, humid spot (85°F and 85% humidity) for 5–10 days to toughen the skin and sweeten the flavor.
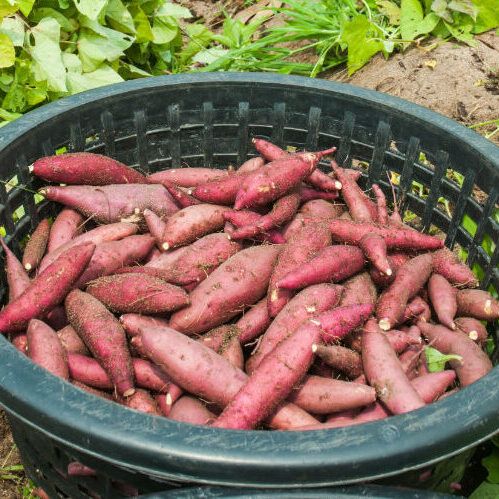
Step 7: Storing Your Sweet Potatoes
After curing, store the sweet potatoes in a cool (55–60°F), dark, and dry place.
- Avoid Refrigeration: Cold temperatures change their flavor and texture.
- Shelf Life: Properly stored, they can last 6 months or more.
Tips for a Successful Sweet Potato Harvest
- Don’t rush harvesting: Immature sweet potatoes are bland and watery.
- Rotate crops yearly: Helps prevent pest buildup and soil fatigue.
- Try containers or grow bags: Great for small spaces and urban gardening.
- Use slips from disease-free tubers: Avoid transmitting infections.
Health Benefits of Sweet Potatoes
- Rich in Antioxidants: Boost immune function and reduce inflammation.
- Supports Eye Health: High beta-carotene levels help protect vision.
- Regulates Blood Sugar: Despite being sweet, they have a low glycemic index.
- Promotes Gut Health: Fiber content supports digestion and gut bacteria.
Final Thoughts
Growing sweet potatoes at home is both rewarding and nutritious. With a little patience and proper care, you can enjoy your own fresh harvest from just a single slip. From sprouting in a jar to harvesting rich, golden tubers, the process is a wonderful gardening journey perfect for beginners and seasoned growers alike.

So grab a sweet potato, start your slips, and get ready to enjoy a healthy, homegrown harvest in just a few months!