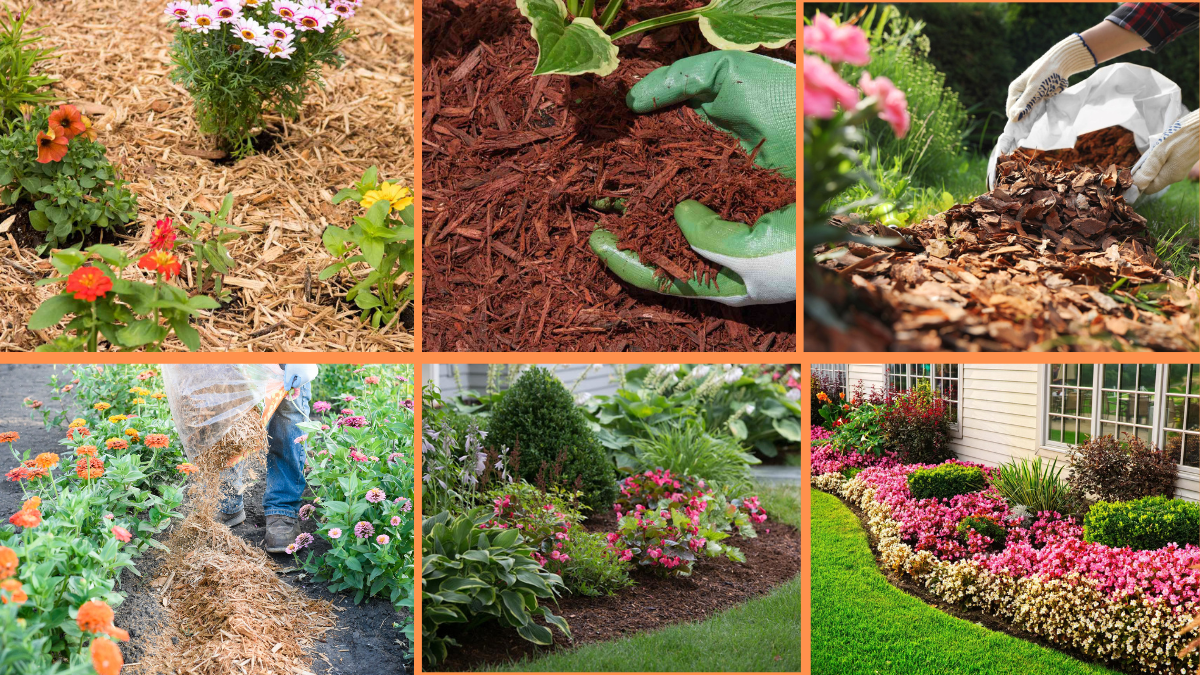
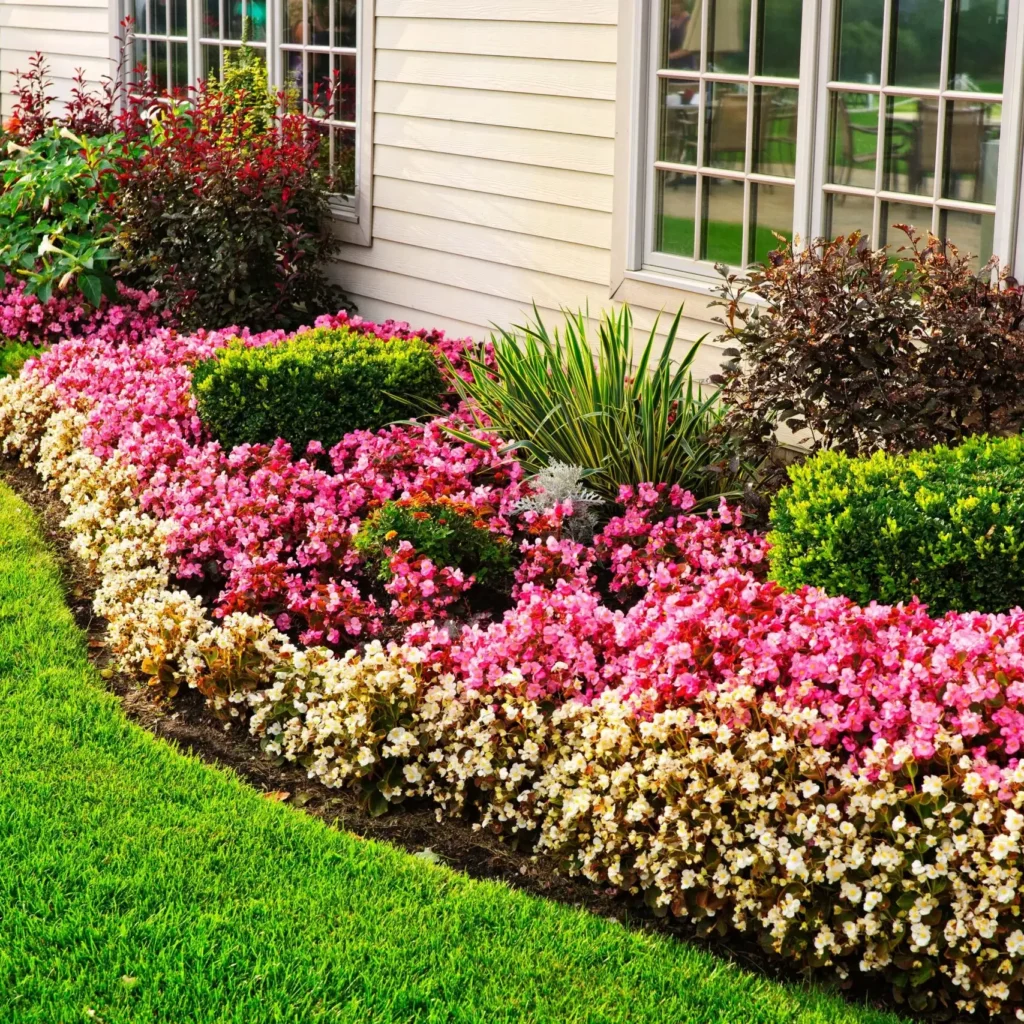
If you’ve ever admired a beautifully kept flower bed and wondered what makes it look so lush and healthy, chances are mulch played a big part in that success. Mulching is more than just a finishing touch for your garden; it’s a practical and essential step in protecting, feeding, and beautifying your flower beds.
When done correctly, mulching helps retain soil moisture, suppress weeds, regulate soil temperature, and even enrich the soil as it breaks down. But the trick is knowing how to mulch properly, especially around delicate flowering plants. In this article, we’ll cover the best tips to mulch around flowers effectively — so you can create a garden that’s not only stunning but healthy and thriving all season long.
What Is Mulch and Why Is It Important for Flowers?
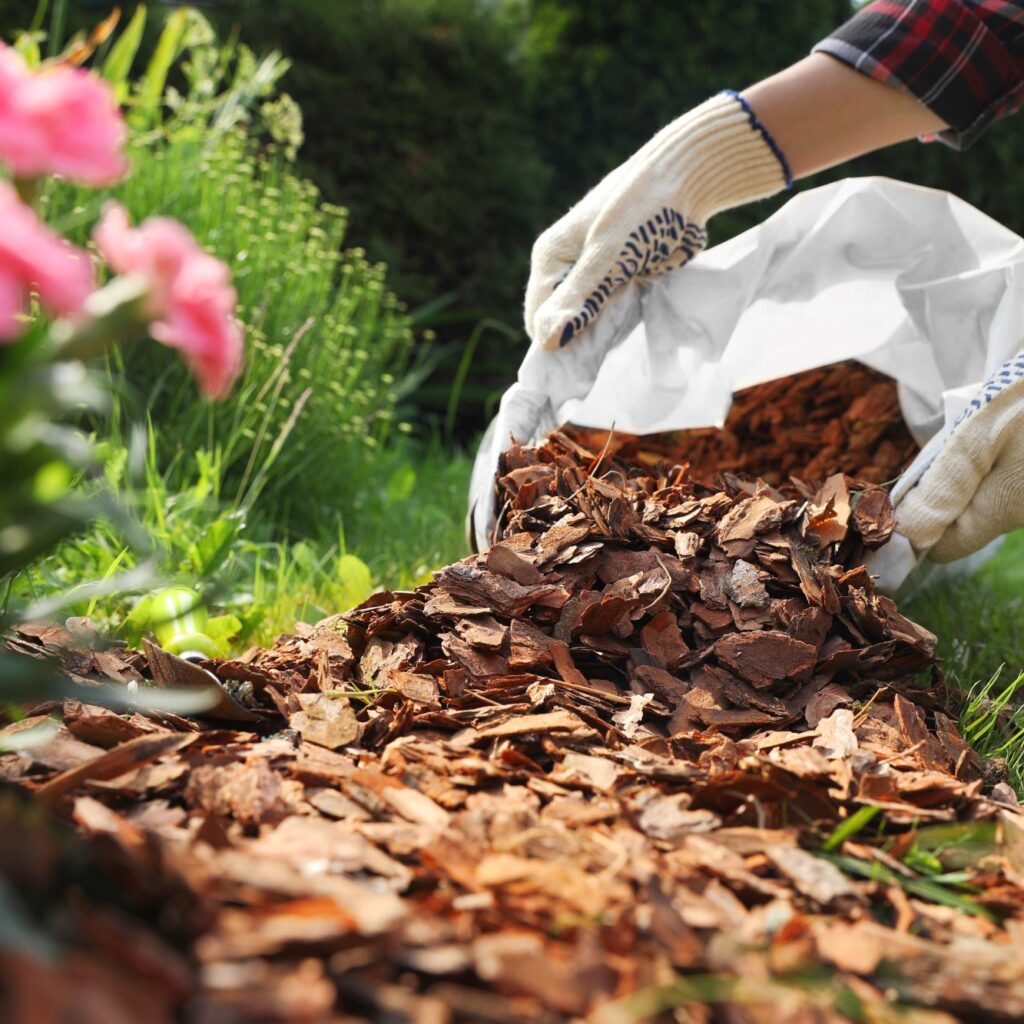
Mulch is a protective layer of material spread over the soil surface. It can be made from organic materials like bark, wood chips, straw, and compost, or inorganic materials like gravel and landscape fabric.
Benefits of Mulching Around Flowers:
- Retains moisture by reducing water evaporation.
- Suppresses weeds that compete for nutrients and water.
- Regulates soil temperature, keeping roots cool in summer and insulated in winter.
- Prevents soil erosion during heavy rains.
- Improves soil fertility (if organic mulch is used) as it breaks down.
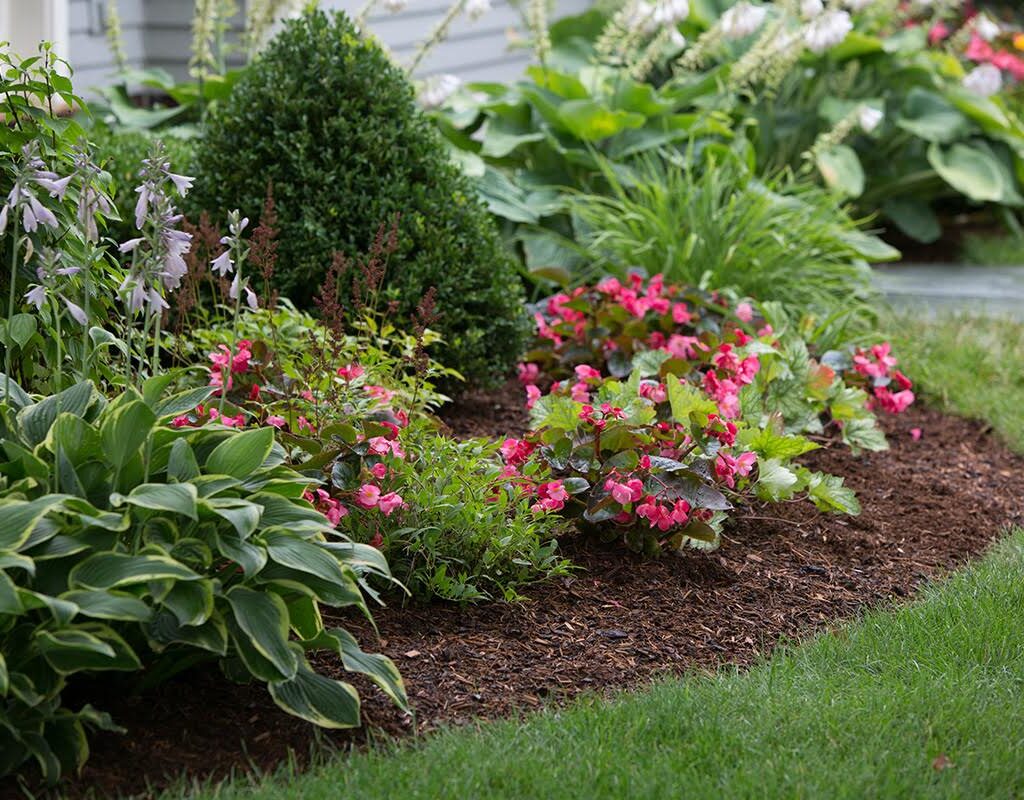
- Enhances flower bed appearance, giving a clean, polished look.
Types of Mulch for Flower Beds
Choosing the right mulch depends on your climate, plant types, and aesthetic preferences. Here’s a breakdown of popular mulch types for flowers:

Organic Mulch:
- Shredded bark: Long-lasting and attractive.
- Wood chips: Durable and decorative.
- Compost: Nutrient-rich and ideal for improving soil.
- Straw: Lightweight, good for annual flower beds.
- Pine needles: Acidic, great for acid-loving flowers.
- Cocoa hulls: Fine texture and pleasant aroma.
Inorganic Mulch:
- Gravel or stones: Permanent, ideal for dry, Mediterranean-style gardens.
- Landscape fabric: Weed control under decorative mulch.
Tip: Organic mulches improve soil health over time, while inorganic mulches are more permanent but don’t enrich the soil.
When Is the Best Time to Mulch Around Flowers?
Timing is crucial for effective mulching:
- Spring: The most popular time, after the soil warms up and before summer heat arrives. Mulching too early can trap cold in the soil.
- Fall: Helps insulate roots for winter and reduces soil erosion during rainy months.
- After planting: Wait until new flowers are established to avoid smothering tender plants.
Tip: Always mulch when soil is moist to help lock in water.
How to Mulch Around Flowers Effectively: Step-by-Step
1. Prepare the Flower Bed
Before adding mulch, clear the area:

- Remove weeds, grass, and old mulch.
- Loosen the soil lightly around plants.
- Water thoroughly to ensure moisture reaches the roots.
2. Choose the Right Mulch Type
Select mulch based on flower type, soil needs, and your preferred look:
- Use shredded bark or wood chips for perennials.
- Apply compost or cocoa hulls for nutrient boost in annual beds.
- Opt for pine needles around acid-loving flowers like azaleas or hydrangeas.
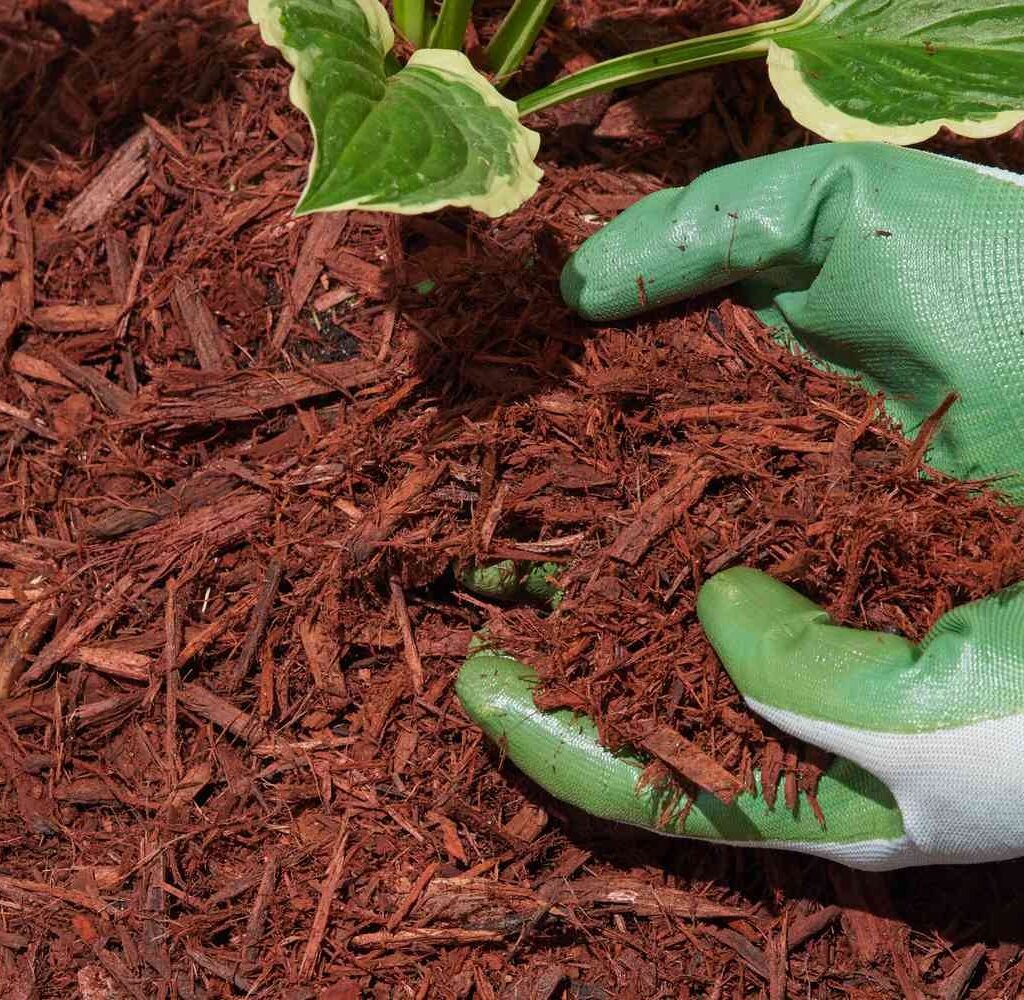
3. Apply the Mulch Correctly
Spread mulch evenly over the soil:
- Depth: 2–3 inches for most organic mulches. Thicker layers can suffocate roots or attract pests.
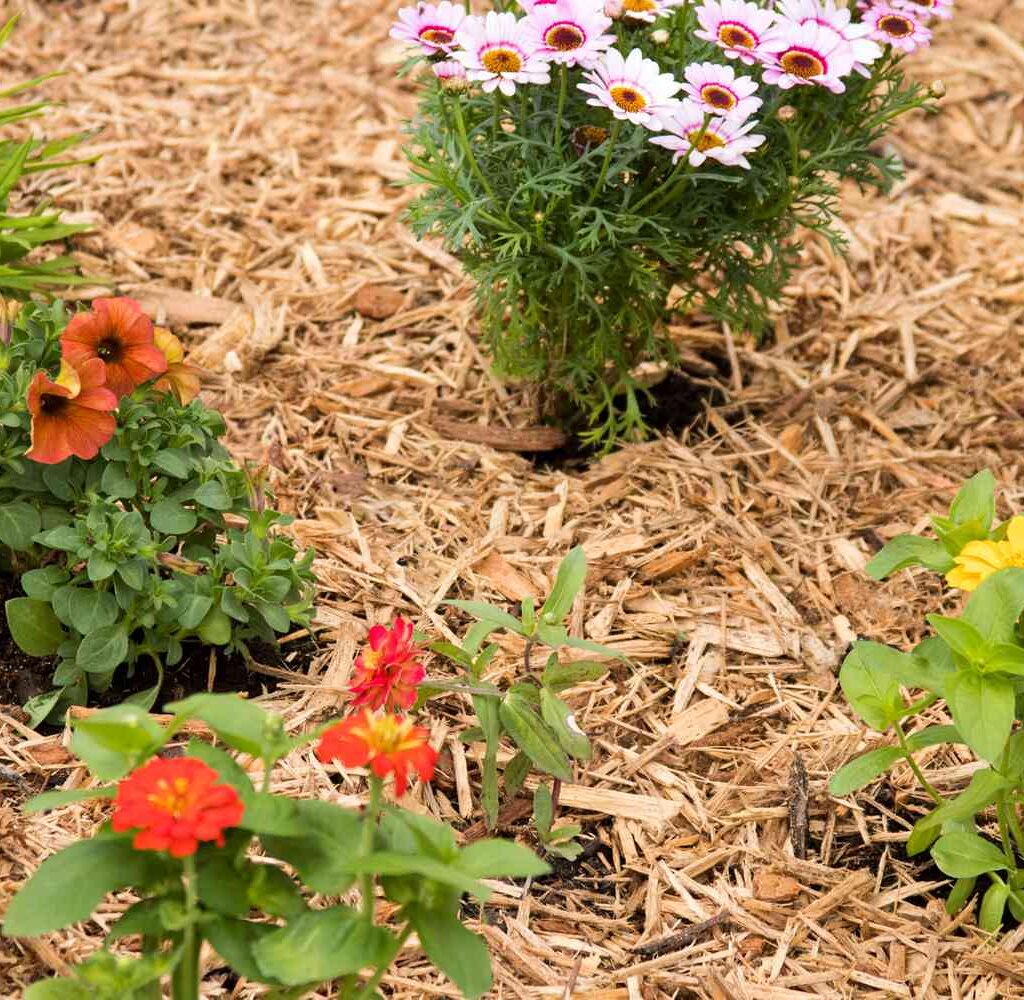
- Keep a gap around plant stems: Maintain a 1–2 inch gap around the base of each flower to prevent rot, mildew, and pest problems.
- Smooth mulch with a rake or gloved hands.
Tip: Taper mulch away from the plant base like a donut, not a volcano.
4. Water After Mulching
Lightly water the mulch to help settle it and hold it in place. This also ensures moisture reaches the soil beneath.

Special Considerations for Different Flower Types
Perennials:
- Use longer-lasting mulches like shredded bark or wood chips.
- Refresh mulch annually to maintain a 2–3 inch depth.
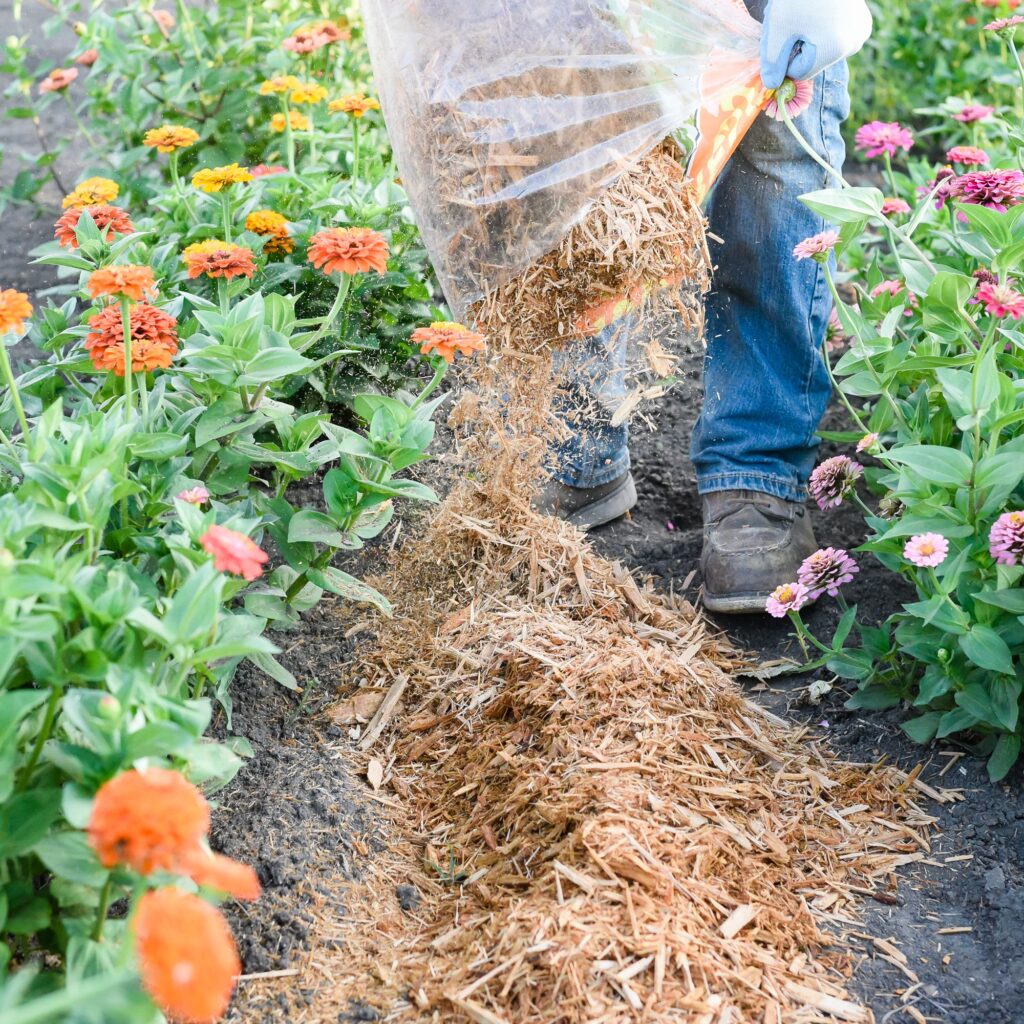
Annuals:
- Use lightweight mulches like straw or compost.
- Replace mulch after pulling out annuals at the end of the season.
Bulbs:
- Mulch after bulbs bloom and die back.
- Use a light layer to avoid suffocating dormant bulbs.
Tip: In wet climates, choose mulch materials that don’t retain excess water, like pine needles or bark.
Common Mulching Mistakes to Avoid
Even though mulching is simple, some common mistakes can harm your flowers:
- Piling mulch too thickly: More than 3 inches suffocates roots and fosters pests.
- Covering plant stems directly: Can cause rot, fungal infections, and stem damage.
- Using fresh, non-composted mulch: Can rob soil of nitrogen as it decomposes.
- Not replenishing mulch: Old mulch breaks down and loses effectiveness.
- Neglecting to water before and after mulching: Dry soil and mulch won’t help plant roots.
How to Maintain Mulch Around Flowers
Mulch isn’t a set-it-and-forget-it material. Regular maintenance keeps it looking and working its best:
- Check mulch depth seasonally and top up if it’s less than 2 inches.
- Rake or fluff mulch to prevent compaction and improve air circulation.
- Remove weeds that manage to poke through.
- Replace decomposed organic mulch every 1–2 years.
- Inspect for pests or mold especially during wet weather.
Mulching Tips for Different Climates
Hot, Dry Climates:

- Use light-colored mulches like straw or pine needles to reflect sunlight.
- Apply thicker layers (up to 3 inches) to retain moisture.
- Water thoroughly before and after mulching.
Wet, Humid Climates:
- Choose mulches that allow air flow like bark or gravel.
- Avoid heavy, water-retentive mulches like compost.
- Maintain thinner layers (2 inches) to prevent fungal growth.
Cold, Wintery Climates:
- Apply mulch in late fall to insulate roots.
- Use straw, leaves, or bark.
- Remove excess mulch in early spring as temperatures warm.
Conclusion: Mulching the Right Way Makes a Difference
A well-mulched flower bed isn’t just a pretty sight — it’s a healthier, more efficient garden space that saves you time, conserves water, and helps your flowers thrive. By choosing the right mulch, applying it at the appropriate time and depth, and maintaining it regularly, you’ll protect your plants, enrich your soil, and elevate your garden’s beauty.
Key takeaways:

- Choose mulch based on flower type, climate, and soil needs.
- Apply mulch in 2–3 inch layers, keeping space around plant stems.
- Maintain mulch through regular checks and seasonal top-ups.
- Avoid common mistakes like over-mulching or smothering stems.
Whether you’re caring for a backyard flower bed, a small patio container garden, or an ornamental border, these mulching tips will help you create a vibrant, healthy garden you’ll be proud of.