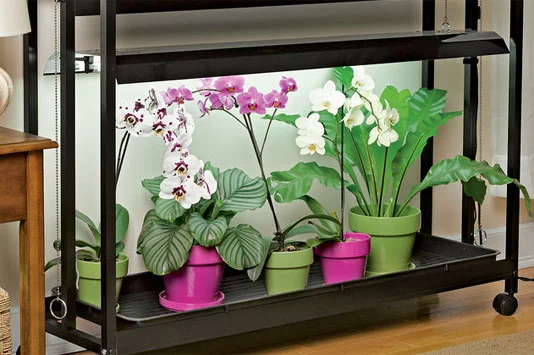
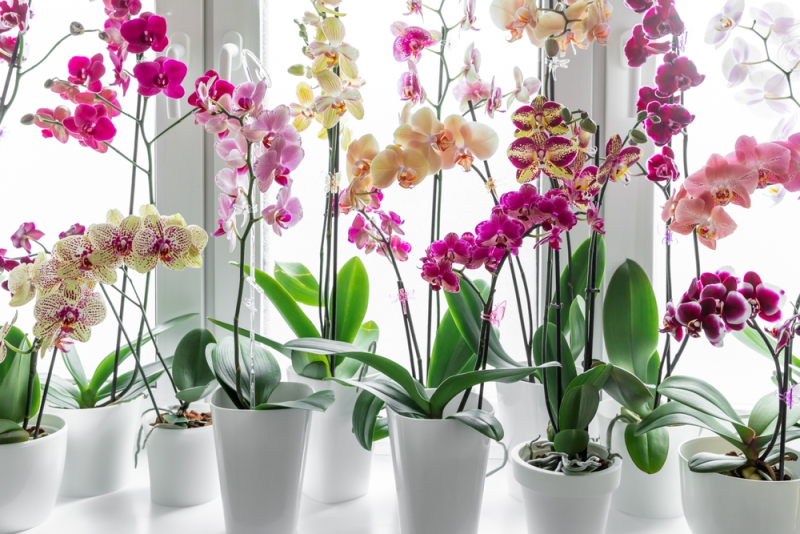
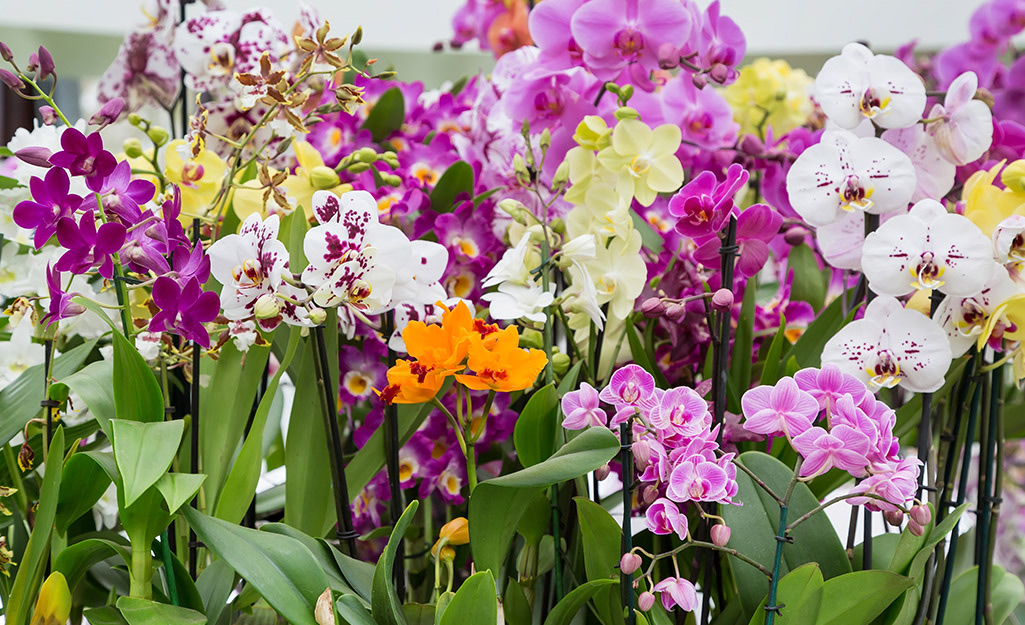
Orchids are among the most elegant, exotic, and rewarding houseplants you can grow. With their graceful blooms and lush green leaves, these plants instantly add a touch of sophistication to any indoor space. While many people assume orchids are delicate or difficult to grow, the truth is — with the right care, orchids thrive beautifully indoors.
Whether you’re a seasoned plant parent or a beginner curious about these striking blooms, this guide offers 10 practical, proven tips to help you grow healthy orchids indoors.
1. Choose the Right Orchid Variety
Not all orchids are created equal — especially when it comes to growing them indoors. Some varieties adapt much better to indoor environments than others.
Best beginner-friendly indoor orchids:
- Phalaenopsis (Moth Orchid): Hardy, forgiving, and blooms for months.
- Dendrobium: Known for long-lasting flowers and upright canes.
- Cattleya: Famous for their large, fragrant blooms.
- Oncidium (Dancing Lady): Delicate yellow flowers and tolerates varied conditions.
When buying, look for healthy plants with firm, green leaves and no signs of pests or root rot.
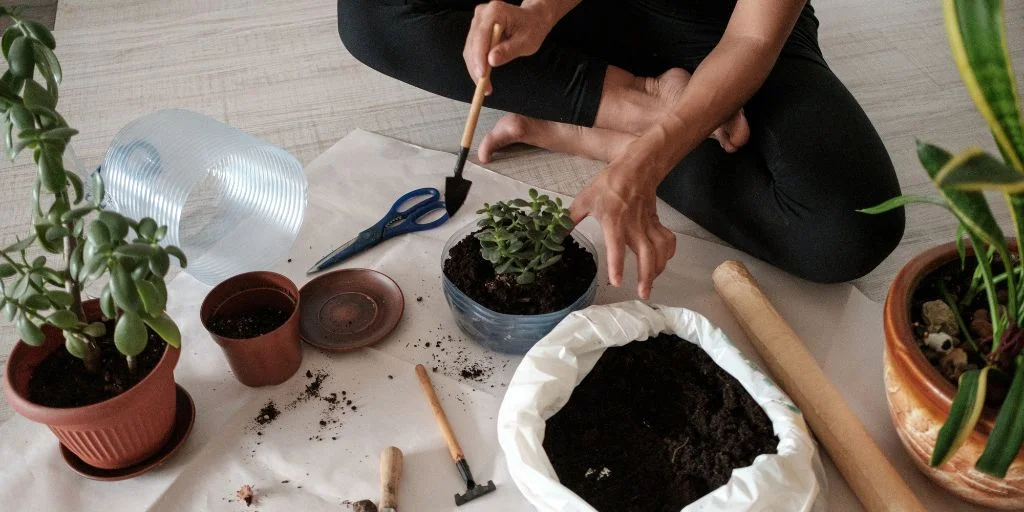
2. Provide Bright, Indirect Light
One of the most important factors in growing healthy orchids indoors is lighting. Orchids love bright but indirect sunlight.

Best lighting practices:
- Place orchids near an east- or south-facing window filtered by sheer curtains.
- Avoid harsh direct sun, especially in the afternoon, which can scorch leaves.
- If natural light is limited, use grow lights to supplement.
Pro tip: Orchid leaves should be a bright, light green. Dark green leaves may indicate insufficient light, while yellowish leaves suggest too much.

3. Master the Art of Watering
Improper watering is a common reason orchids struggle indoors. These tropical plants prefer moisture but hate standing in water.
Orchid watering tips:
- Water once a week in cooler months, twice in warmer weather.
- Check moisture by poking a finger 1 inch into the potting mix — water when it feels dry.
- Use room-temperature, distilled, or rainwater for best results.
- Avoid letting water sit in the crown (the base of the leaves) to prevent rot.
Always use pots with drainage holes to let excess water escape.
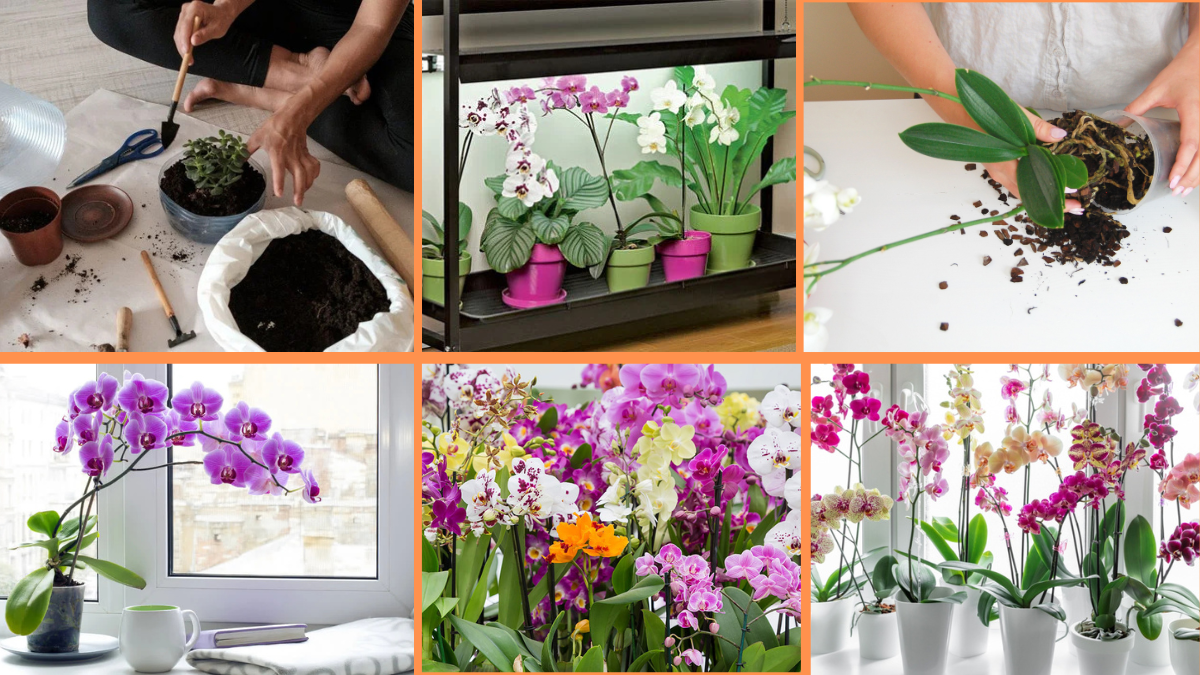
4. Use the Right Potting Medium
Unlike most houseplants, orchids aren’t potted in regular soil. They need a loose, well-draining medium that mimics their natural habitat on trees.
Ideal potting media include:
- Bark chips
- Coconut husk
- Sphagnum moss
- Perlite or charcoal mix
Repot your orchid every 1–2 years or when the medium breaks down and compacts.
5. Maintain Ideal Temperature and Humidity
Orchids love warmth and humidity, similar to their tropical origins.
Temperature needs:
- Daytime: 65–80°F (18–27°C)
- Nighttime: 55–65°F (13–18°C)
Humidity:
- Aim for 40–70% indoor humidity.
- Increase humidity with a tray of pebbles and water under the pot (without submerging roots) or by misting the leaves daily.
In dry homes, especially in winter, a small humidifier can help orchids thrive.

6. Feed Your Orchids Regularly
Orchids are light feeders, but regular fertilizing boosts their growth and flowering.
Feeding tips:
- Use a balanced, water-soluble orchid fertilizer (like 20-20-20).
- Dilute fertilizer to half strength.
- Feed every two weeks during the growing season (spring to early fall).
- Reduce to once a month in winter when growth slows.
Avoid over-fertilizing, as it can damage delicate roots.
7. Prune and Deadhead with Care
Removing dead or faded flowers encourages your orchid to focus energy on new blooms.
How to prune orchids:
- Trim spent flower spikes (stems) down to the nearest healthy node or base.
- Remove yellow or withered leaves with sterile scissors.
- Always sanitize cutting tools to prevent disease spread.
Some orchids like Phalaenopsis can bloom again from an old spike if trimmed correctly.

8. Repot Regularly and Gently
Over time, the potting medium breaks down and holds too much moisture, risking root rot.
When and how to repot orchids:
- Every 1–2 years or when roots outgrow the pot.
- After flowering, not during blooming season.
- Gently remove the orchid, shake off old medium, and trim away dead roots.
- Replant in fresh orchid mix in a slightly larger pot.
Repotting refreshes the plant’s environment and encourages healthier growth.
9. Watch Out for Common Problems
Even healthy orchids can occasionally face issues.
Common indoor orchid problems:
- Root Rot: From overwatering or poor drainage. Remedy by trimming rotten roots and repotting in fresh medium.
- Leaf Spot or Yellowing: Usually caused by excess water on leaves or insufficient light. Adjust care accordingly.
- Pests (mealybugs, aphids, spider mites): Wipe leaves with neem oil or insecticidal soap.
Regularly inspect your orchids to catch and treat problems early.

10. Be Patient and Let Orchids Rest
After a blooming cycle, orchids naturally enter a resting phase where they grow fewer leaves and no flowers. Many beginners mistakenly think their orchid is dying and overcompensate.
During rest periods:
- Reduce watering frequency.
- Keep in a bright spot.
- Continue light feeding once a month.
This resting phase allows your orchid to gather energy for its next glorious bloom — often bigger and better than the last!
Final Thoughts
Orchids aren’t as fussy as their reputation suggests. With a little attention to lighting, watering, temperature, and feeding, you can easily grow healthy, vibrant orchids indoors. These exotic beauties reward patience with dazzling, long-lasting blooms that brighten any room.
By following these 10 simple, practical tips, you’ll gain confidence as an orchid grower and transform your home into a lush, blooming paradise.