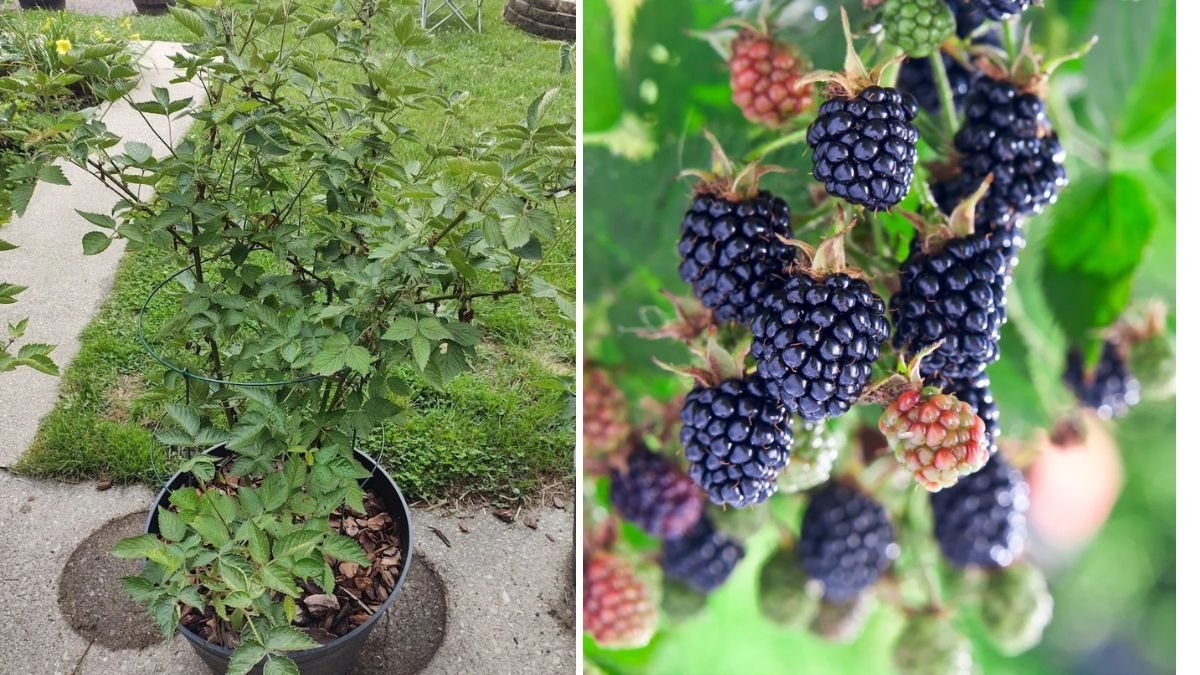
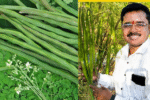
If you’ve ever wanted to grow blackberries but were hesitant because of their notorious thorns, you’re in luck — thornless blackberries are a game-changer. These modern cultivars give you the same juicy, flavorful berries without the painful scratches. Whether you have a sprawling garden or a small backyard, thornless blackberries are one of the easiest and most rewarding fruits to grow.
In this comprehensive guide, we’ll walk through everything you need to know — from planting and soil preparation to pruning, watering, and harvesting — to help you grow abundant thornless blackberries right at home.
Understanding Thornless Blackberries
Thornless blackberries belong to the Rubus genus and are cultivated varieties bred specifically to remove the thorns from traditional blackberry canes. Despite being smooth and easy to handle, these plants still produce the same delicious, nutrient-rich berries known for their deep color and tangy sweetness.
There are several types of thornless blackberries, including:
- Erect types – These grow upright and require little support. Examples: ‘Navaho,’ ‘Apache,’ and ‘Arapaho.’
- Semi-erect types – These benefit from a trellis or support system. Examples: ‘Chester Thornless’ and ‘Triple Crown.’
- Trailing types – These have long, flexible canes that need trellising. Example: ‘Black Satin.’
Choosing the right type depends on your growing space and climate, but all can provide abundant harvests with minimal maintenance.
Ideal Conditions for Growing Thornless Blackberries
To get the best results, it’s important to give your plants the right environment.

- Sunlight: Blackberries need full sun, meaning at least 6–8 hours of direct light daily. The more sunlight they receive, the sweeter and more plentiful the berries.
- Soil: They thrive in well-drained, slightly acidic soil with a pH between 5.5 and 6.5. Avoid heavy clay soils that retain water, as this can lead to root rot.
- Temperature: Thornless blackberries are hardy and can handle a range of climates, but they grow best in USDA zones 5–10.
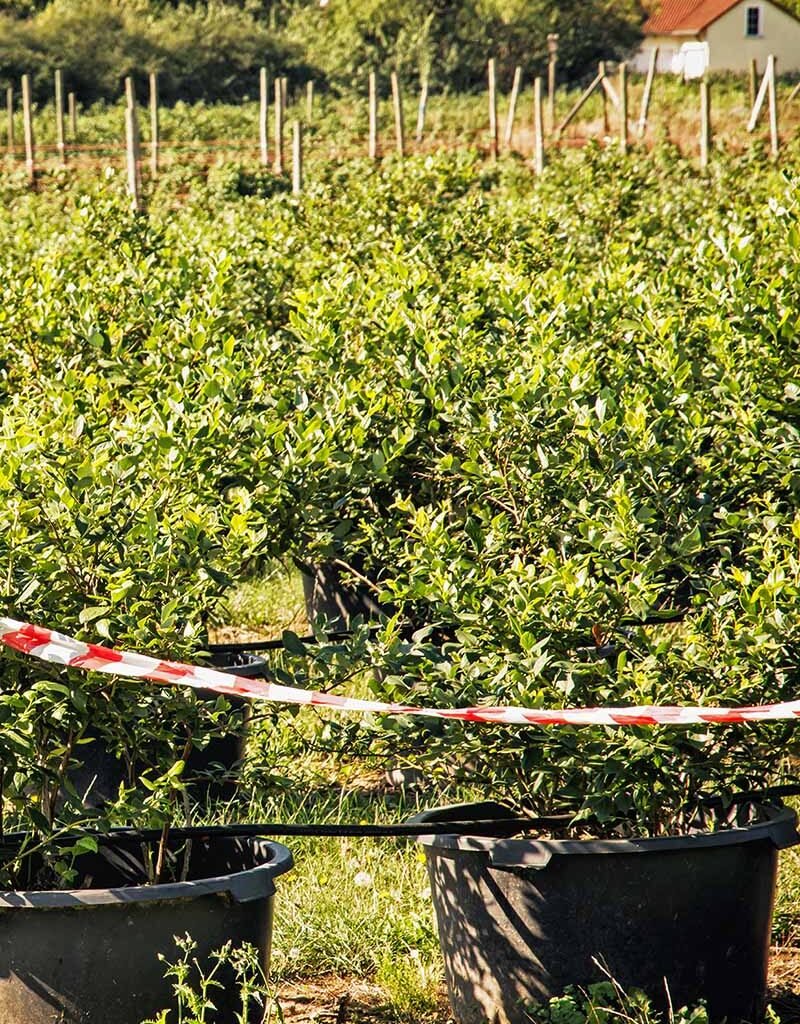
- Spacing: Each plant needs about 3–5 feet of space between them, and rows should be about 6–8 feet apart to allow airflow and sunlight penetration.
Before planting, amend your soil with compost or well-rotted manure to improve fertility and drainage.
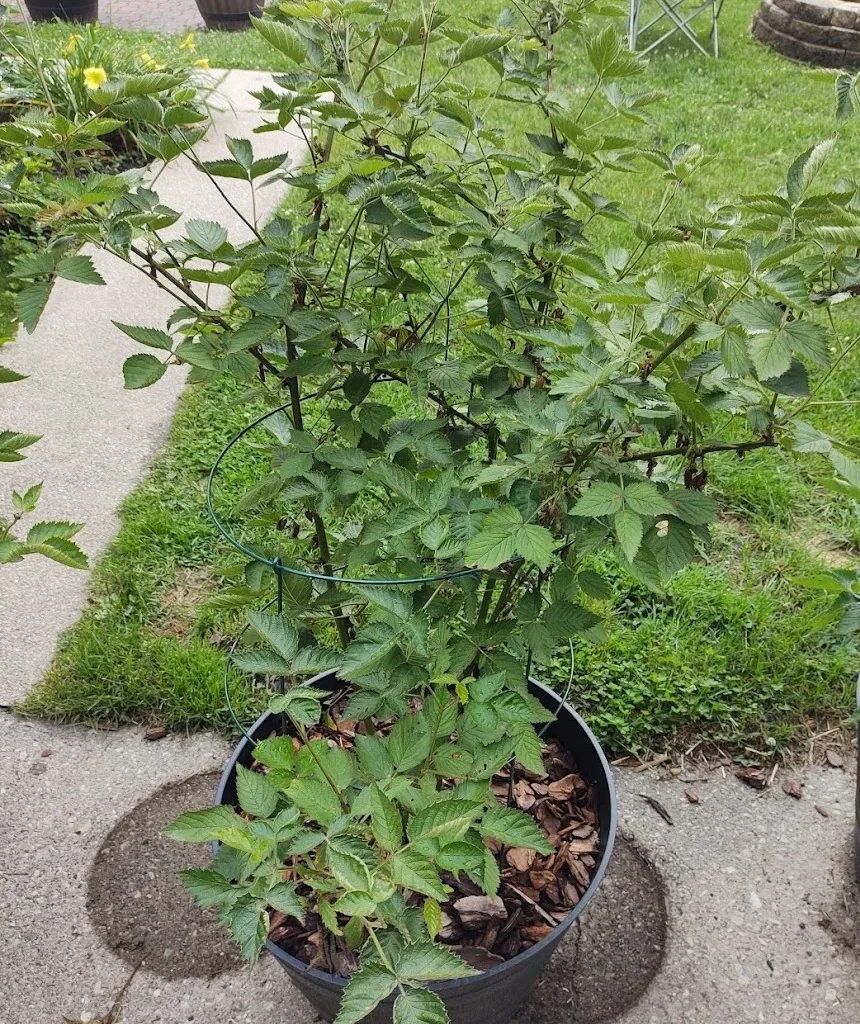
How to Plant Thornless Blackberries
Planting thornless blackberries is straightforward, but timing and technique matter.
1. Choose the Right Time
The best time to plant is in early spring or late fall, when the soil is workable but not frozen. In cooler regions, spring planting gives plants time to establish before winter.
2. Prepare the Soil
Dig a hole about 12 inches deep and wide enough to accommodate the root system. Mix compost or organic matter into the soil to provide nutrients.
3. Planting Steps
- Place the plant in the hole with the crown (where the stem meets the roots) at soil level.
- Backfill with soil and firm it gently around the roots.
- Water thoroughly after planting.
- Apply a 2–3 inch mulch layer around the base to retain moisture and suppress weeds.
4. Support Structure
For semi-erect or trailing varieties, set up a trellis system using wires or posts about 5–6 feet tall. This keeps the canes off the ground, improves air circulation, and makes harvesting easier.
Watering and Feeding
Consistent watering is crucial, especially during the first year as plants establish roots.
- Watering: Give your blackberries about 1–2 inches of water per week, more during hot, dry spells. Avoid overhead watering to reduce the risk of fungal diseases; instead, use drip irrigation or a soaker hose.
- Feeding: In early spring, apply a balanced fertilizer (10-10-10) around the plants. Avoid excessive nitrogen, as it promotes leafy growth at the expense of fruit. Compost or organic mulch also works well to slowly release nutrients.
Pruning Thornless Blackberries
Pruning is the secret to strong growth, disease prevention, and higher yields. Since blackberries produce fruit on second-year canes (called floricanes), proper pruning ensures new growth each year.
Here’s how to do it:
1. After Planting (Year 1):
Cut the canes back to about 6 inches tall. This encourages root development and branching.
2. Summer Pruning:
When new canes (primocanes) reach 3–4 feet tall, pinch off the tips. This promotes lateral growth and more fruiting sites.
3. Winter Pruning:
After harvesting in late summer or early fall, remove all canes that bore fruit that year — these will not produce again. Cut them down to the ground, and tie up the new canes to the trellis for next season’s crop.

Regular pruning also improves air circulation and reduces the chances of diseases like anthracnose or rust.
Common Pests and Problems
Thornless blackberries are relatively hardy, but they can still face some issues if not properly cared for.
1. Diseases:
- Anthracnose – Causes grayish lesions on canes. Prevent by pruning and using disease-free plants.
- Botrytis fruit rot (gray mold) – Affects ripe berries; improve airflow and avoid overhead watering.
- Root rot – Avoid waterlogging and plant in well-drained soil.
2. Pests:
- Aphids and spider mites – Can be controlled with insecticidal soap or neem oil.
- Japanese beetles – Handpick or use organic traps.
- Birds – Use netting to protect ripening berries.
Maintaining good garden hygiene and rotating crops every few years also helps prevent pest buildup.
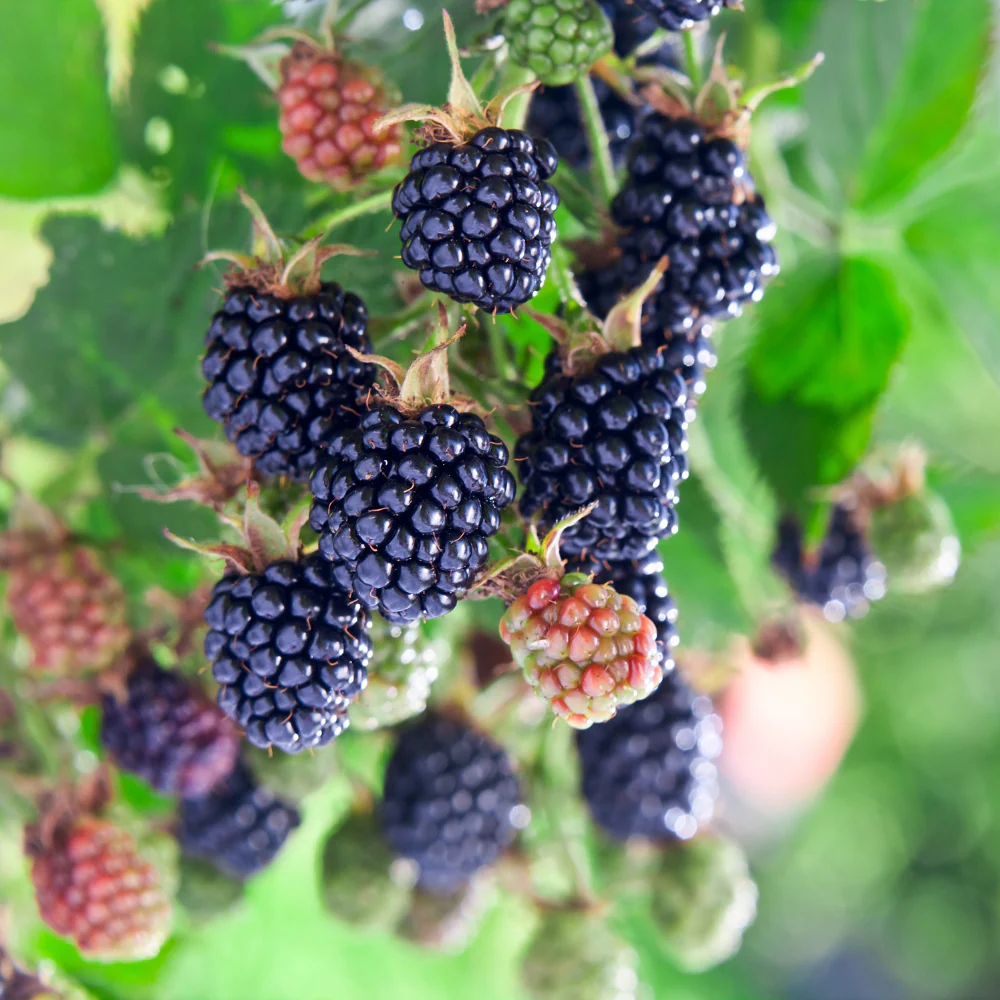
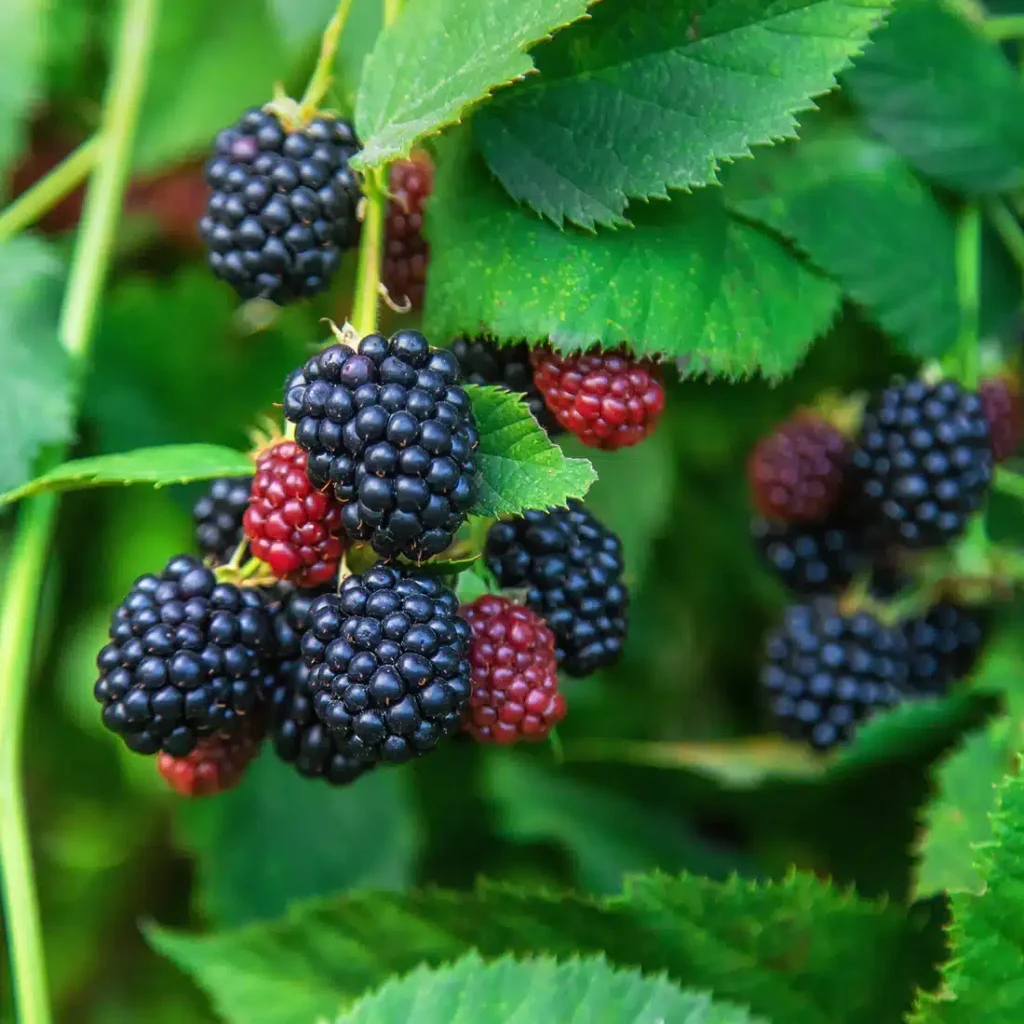
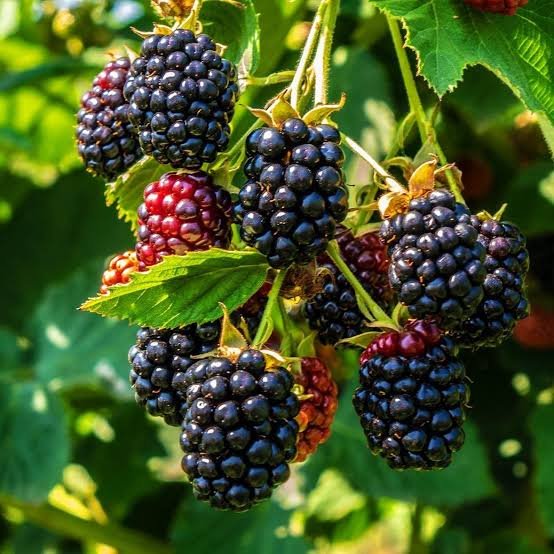
Harvesting Thornless Blackberries
One of the best parts of growing blackberries is harvesting those juicy clusters. Thornless varieties make this even more enjoyable!
When to Harvest:
Blackberries are ready when they turn deep black, plump, and glossy. They should come off the stem easily with a gentle tug. If they’re still red or purple, give them more time to ripen.
Harvesting Tips:
- Pick berries every 2–3 days during the harvest season (usually mid to late summer).
- Handle them gently; blackberries are delicate and bruise easily.
- Collect them in shallow containers to avoid crushing.
After picking, refrigerate immediately. They’ll last for about 3–5 days fresh but can also be frozen, canned, or turned into delicious jams, pies, or smoothies.
Propagation and Expanding Your Patch
Once your thornless blackberry plants are established, you can easily propagate them to grow more.
- Tip Layering: Bend a young cane to the ground, bury the tip, and secure it with a small rock. After a few weeks, roots will form. Cut the new plant from the parent and transplant it.
- Division: In early spring, dig up a mature plant and separate the root clumps, replanting them elsewhere.
Both methods help expand your berry patch naturally and economically.
Why Grow Thornless Blackberries?
Beyond their delicious flavor, there are many benefits to growing thornless blackberries:

- Ease of Harvesting: No thorns means no scratches — even children can help pick.
- High Yield: With proper care, plants can produce for 10–15 years.
- Nutrient-Rich Fruit: Packed with antioxidants, vitamins C and K, fiber, and manganese.
- Low Maintenance: Once established, they’re drought-tolerant and require minimal input.
- Landscape Value: Their lush green foliage and white spring blossoms make them attractive additions to gardens.
Final Thoughts
Growing thornless blackberries is one of the most satisfying experiences for home gardeners. With just a little attention to soil, sunlight, and pruning, these plants will reward you with baskets of juicy, flavorful fruit every year — all without a single scratch.
Whether you’re a seasoned grower or a beginner, thornless blackberries offer a perfect blend of convenience, beauty, and taste. Plant them this season, and in no time, you’ll be enjoying your own homegrown blackberries fresh from the vine — the sweetest reward any gardener can have.
Leave A Comment